Voltlog #274 – Installing Traccar GPS Tracking Server On A Raspberry Pi

Welcome to a new Voltlog, today I’m gonna show you how to setup your own GPS tracking server on a raspberry pi. It doesn’t have to be a Raspberry pi, because the software that we’re going to be using for the tracking server is available for Windows and Linux as well, so you could host this on your windows machine or in a virtual machine on a cloud service, it’s up to you, but in this video I’m going to do it on a Raspberry pi 4.

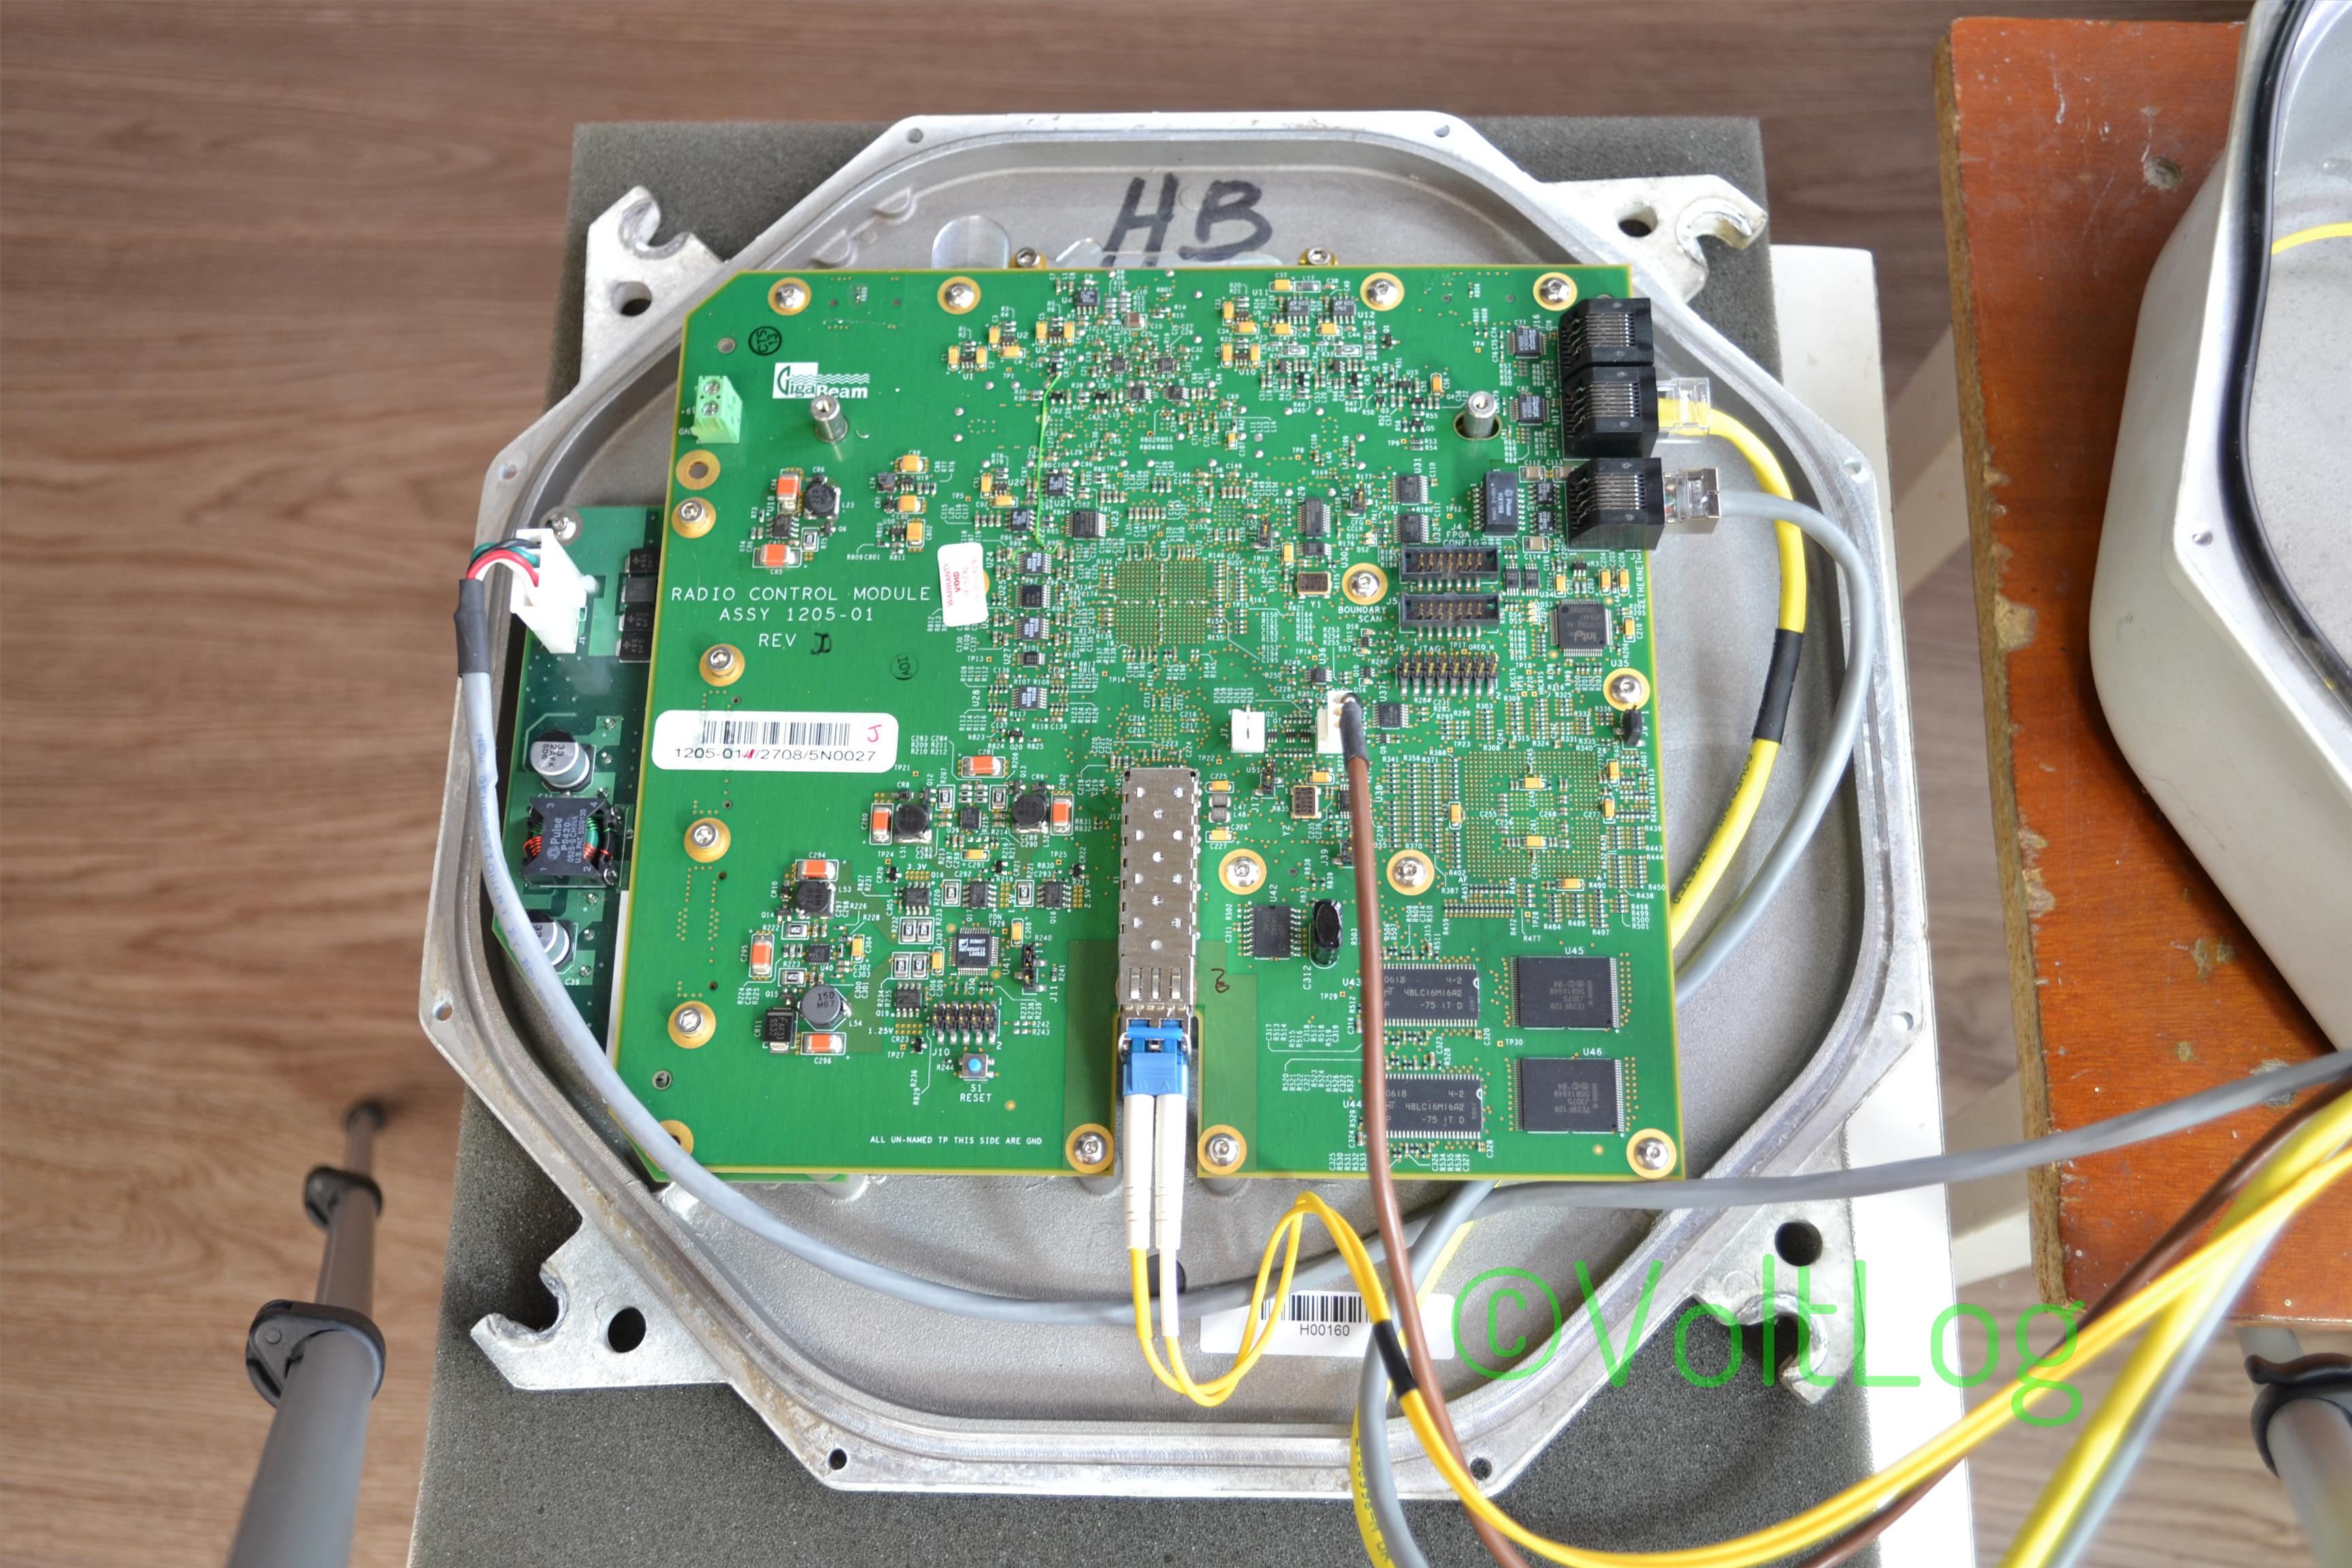
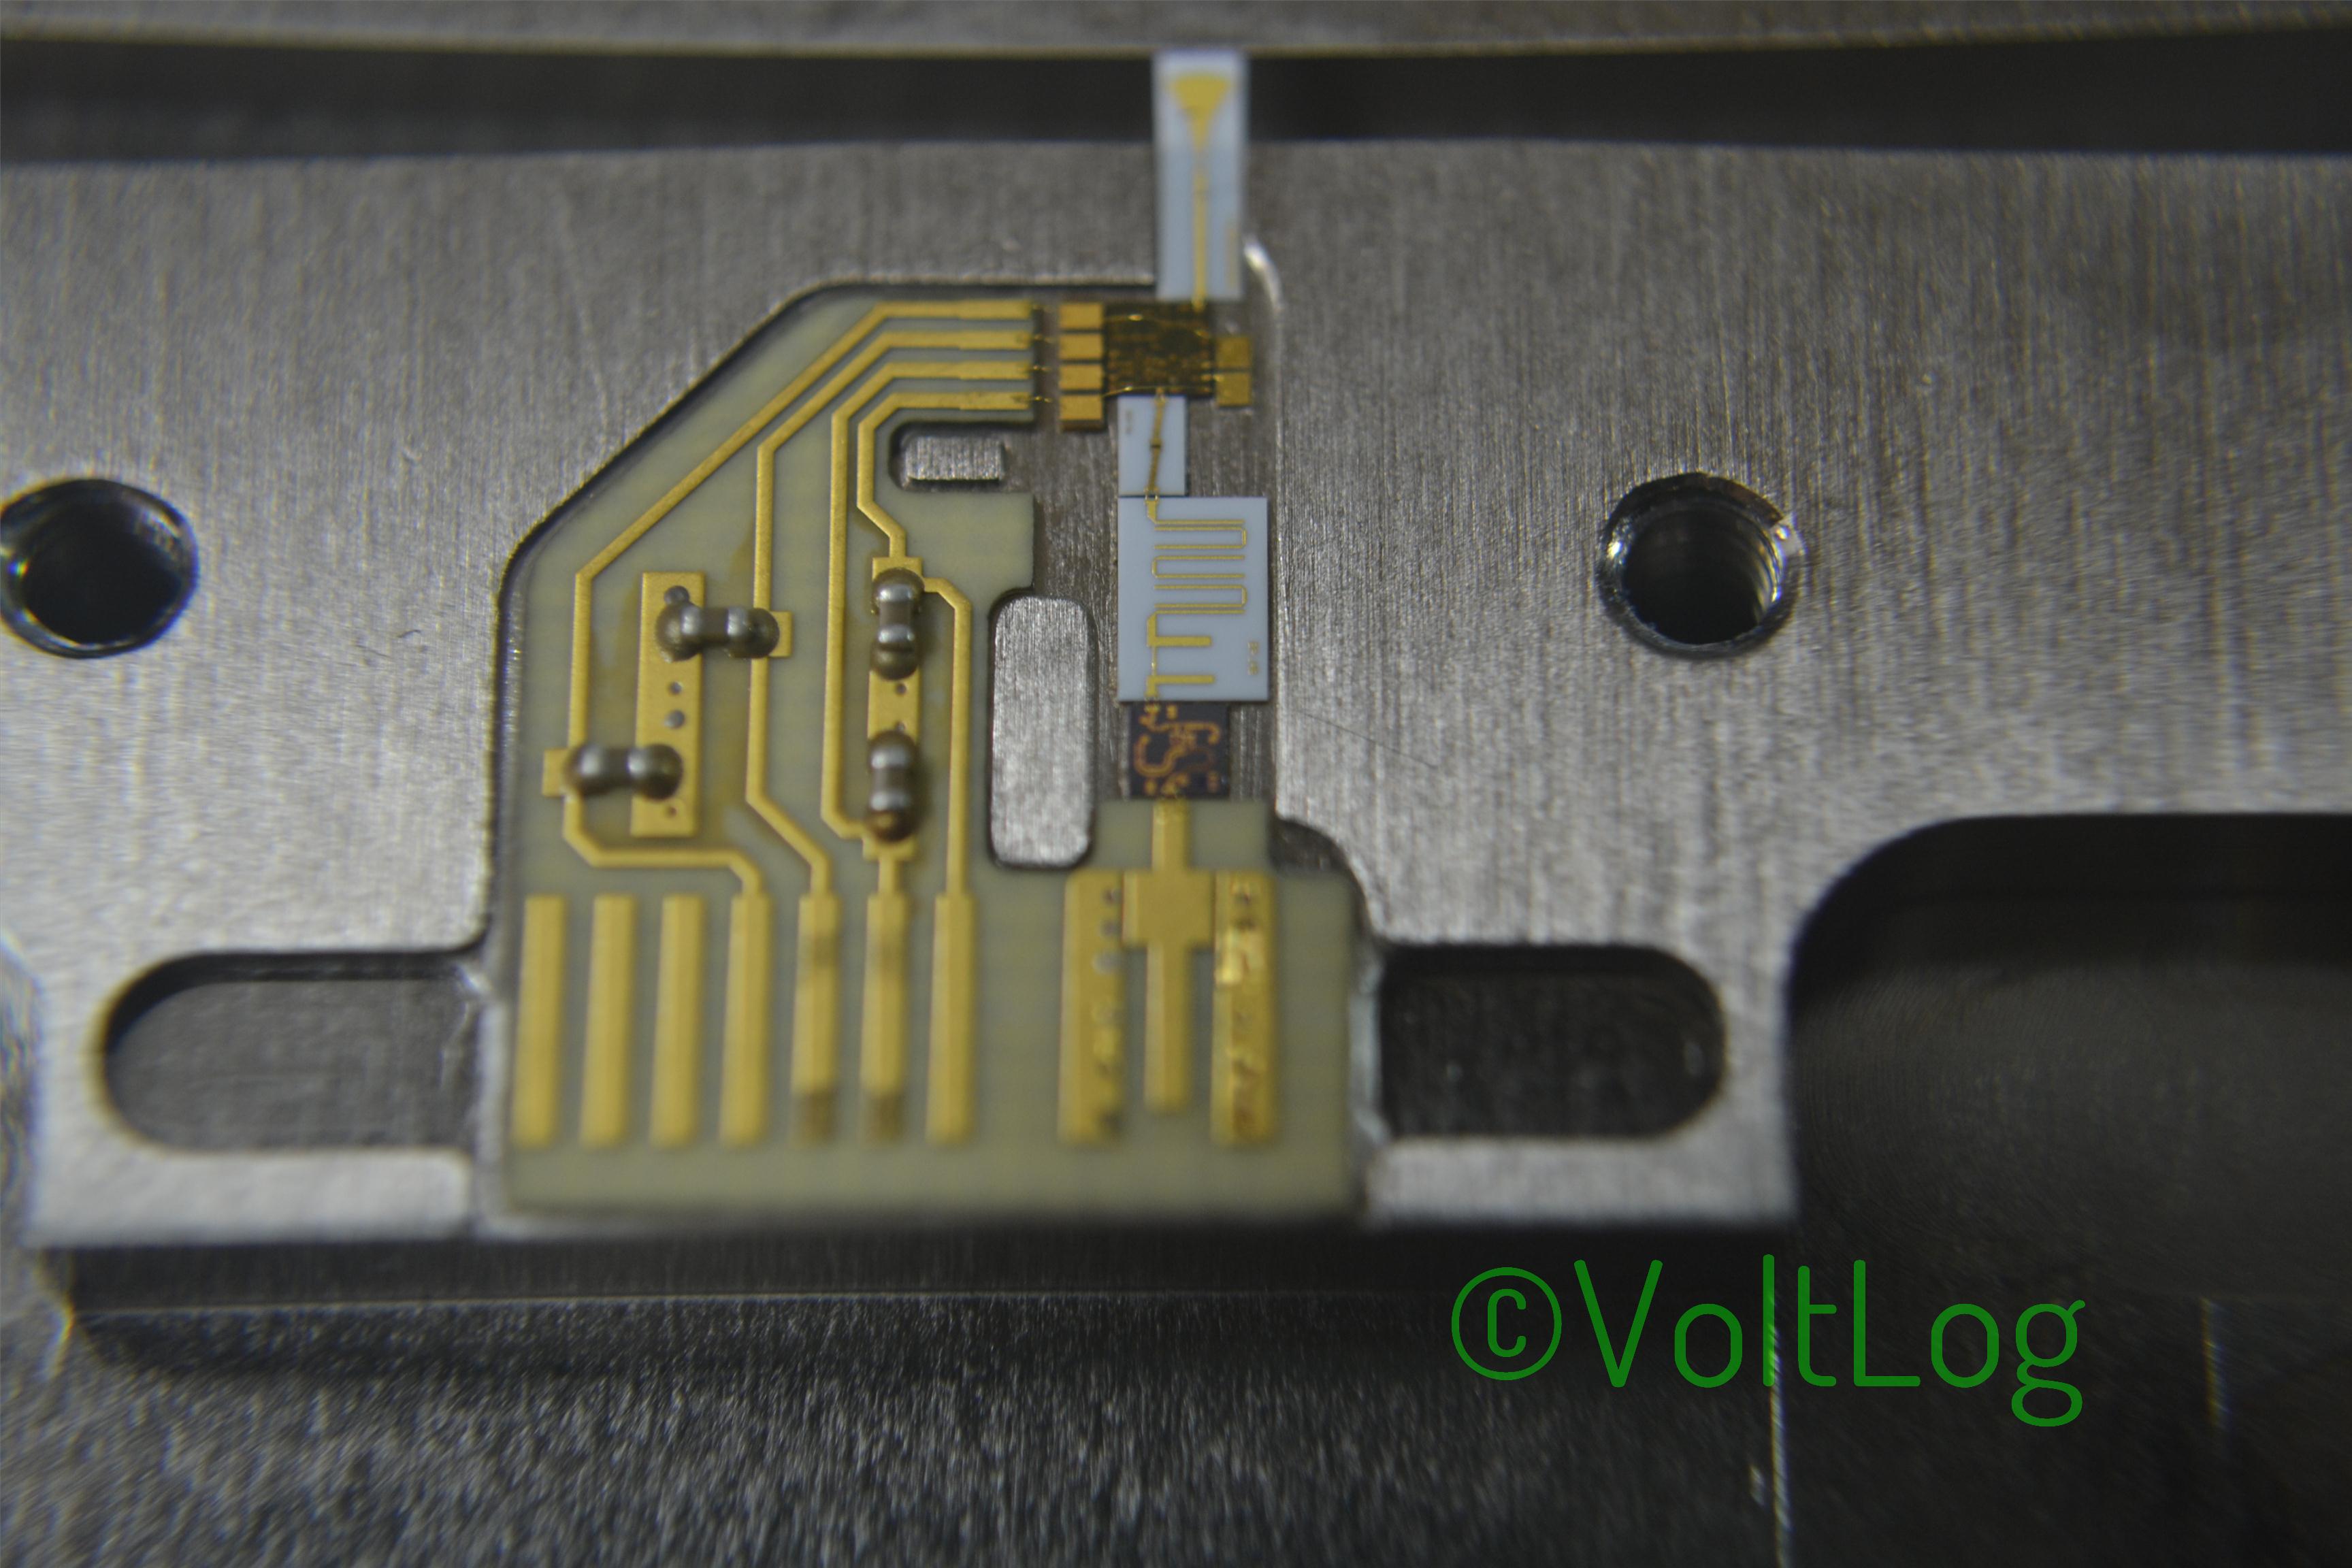
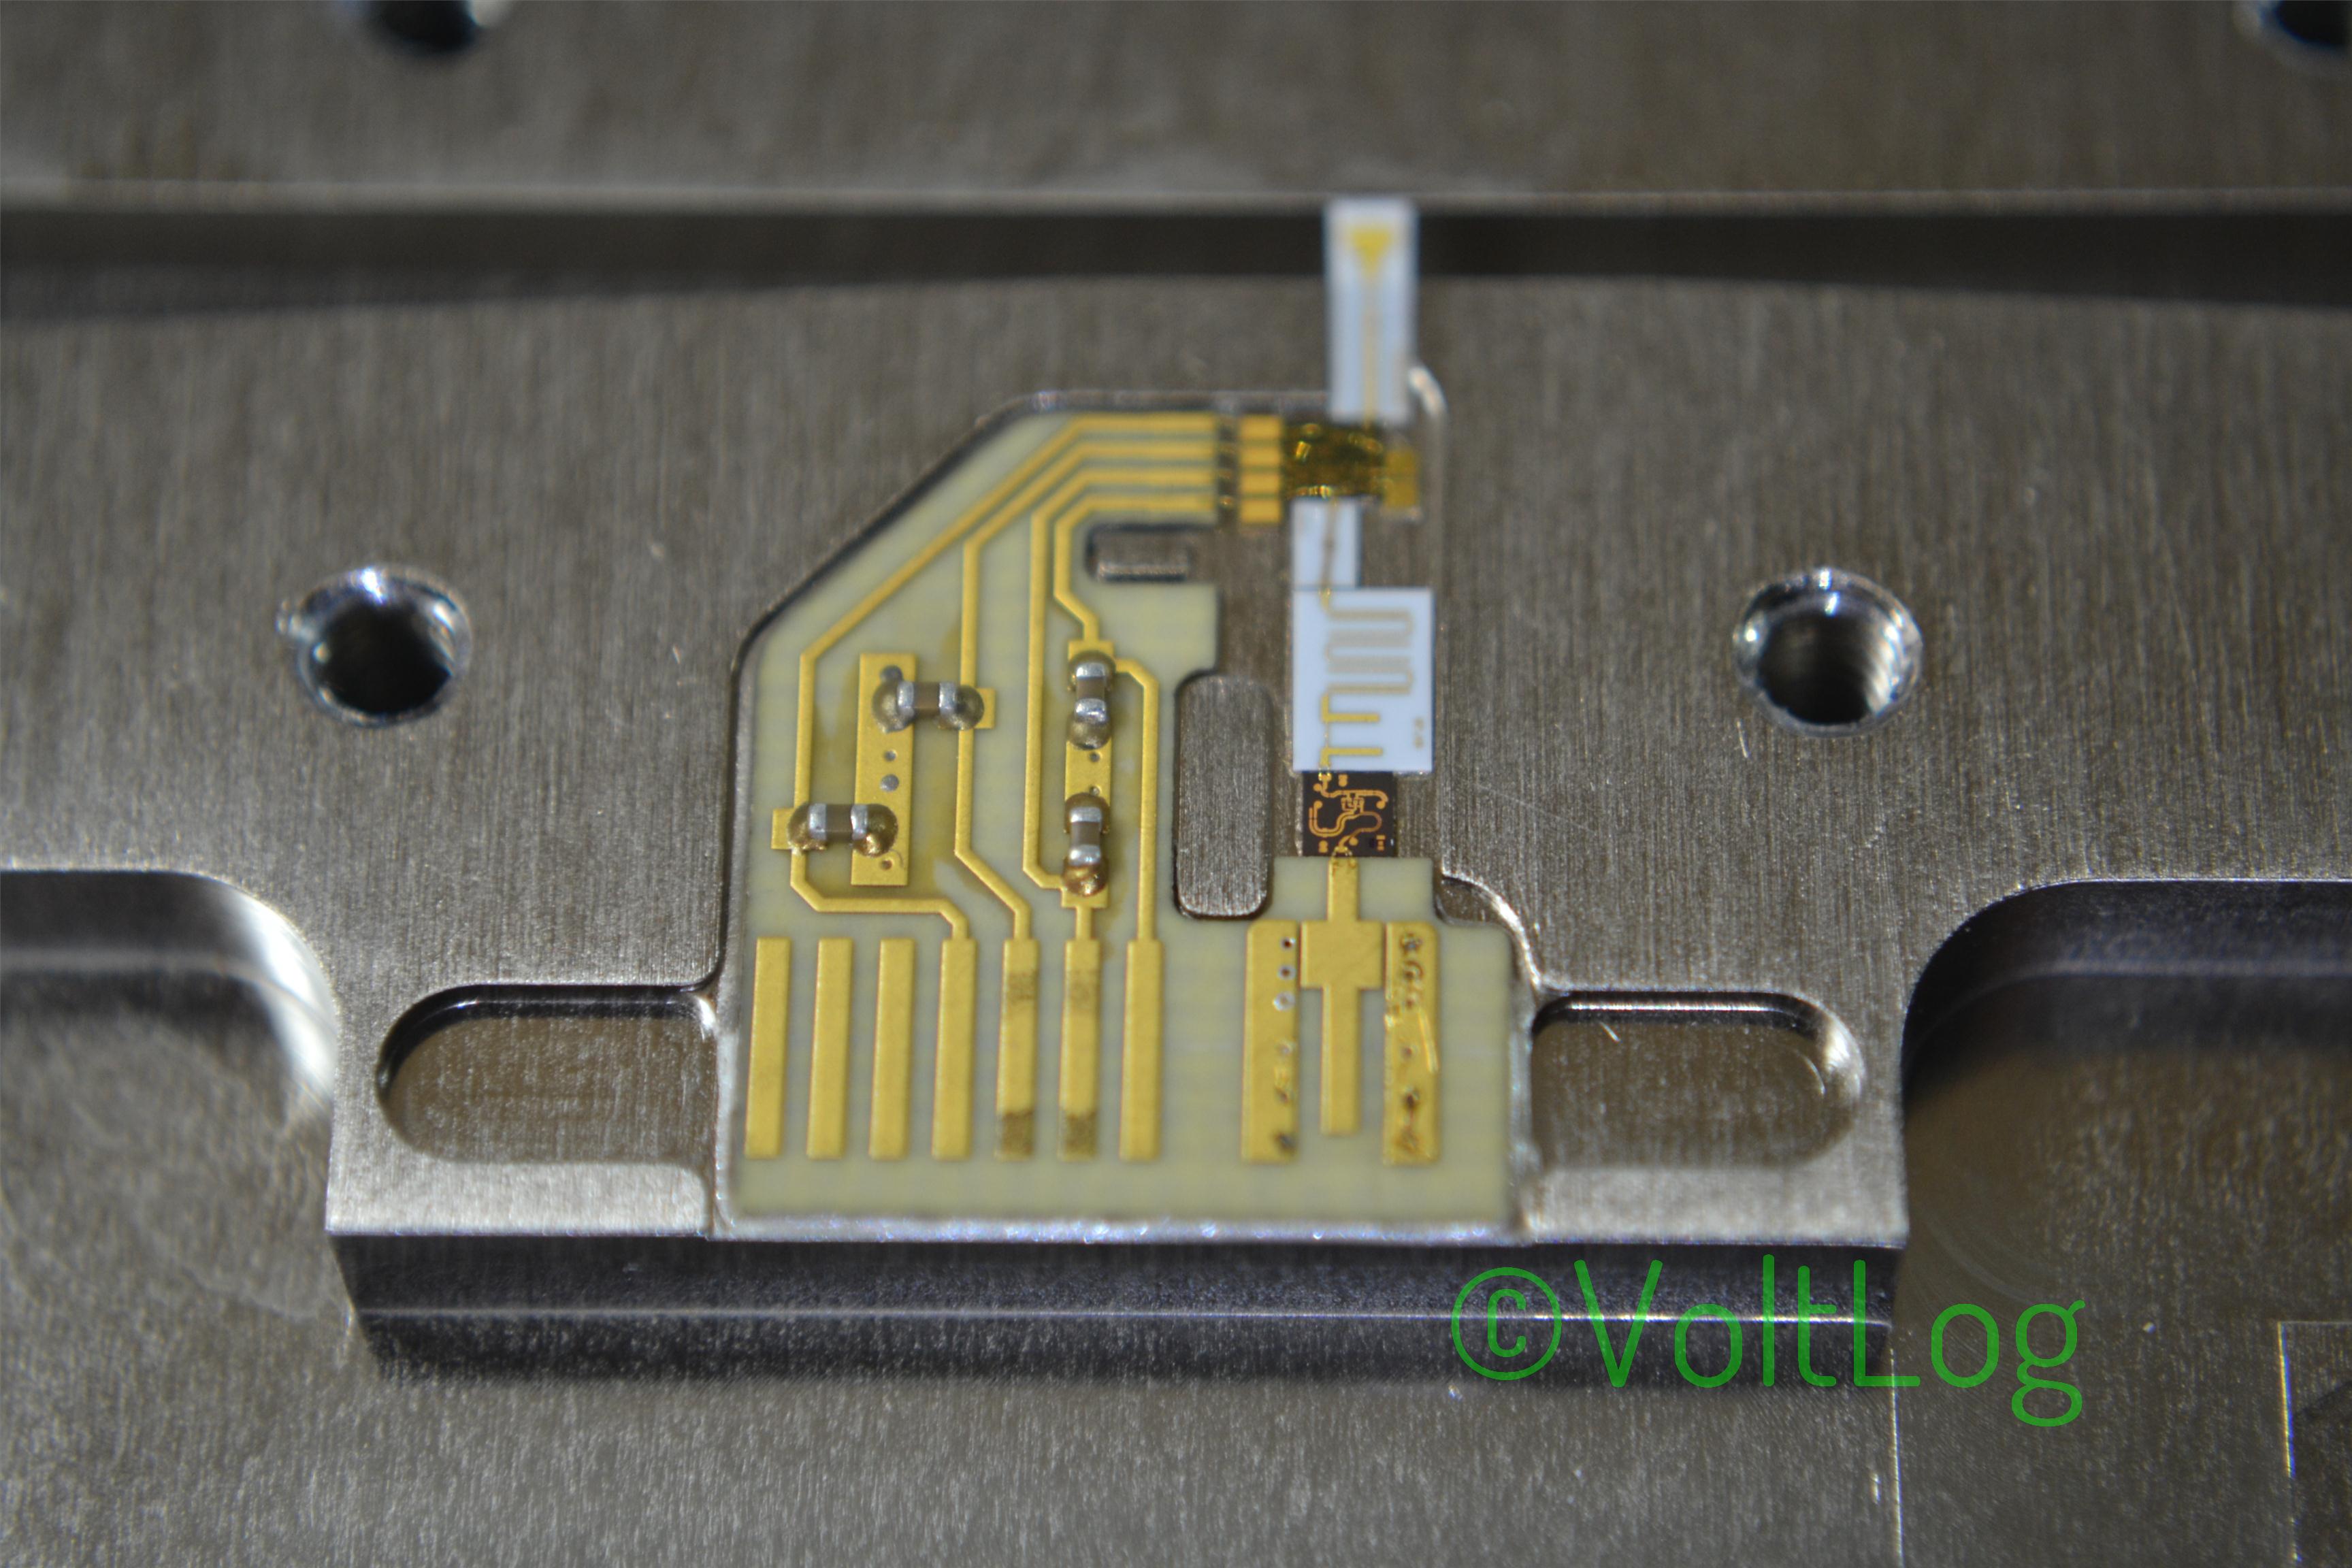
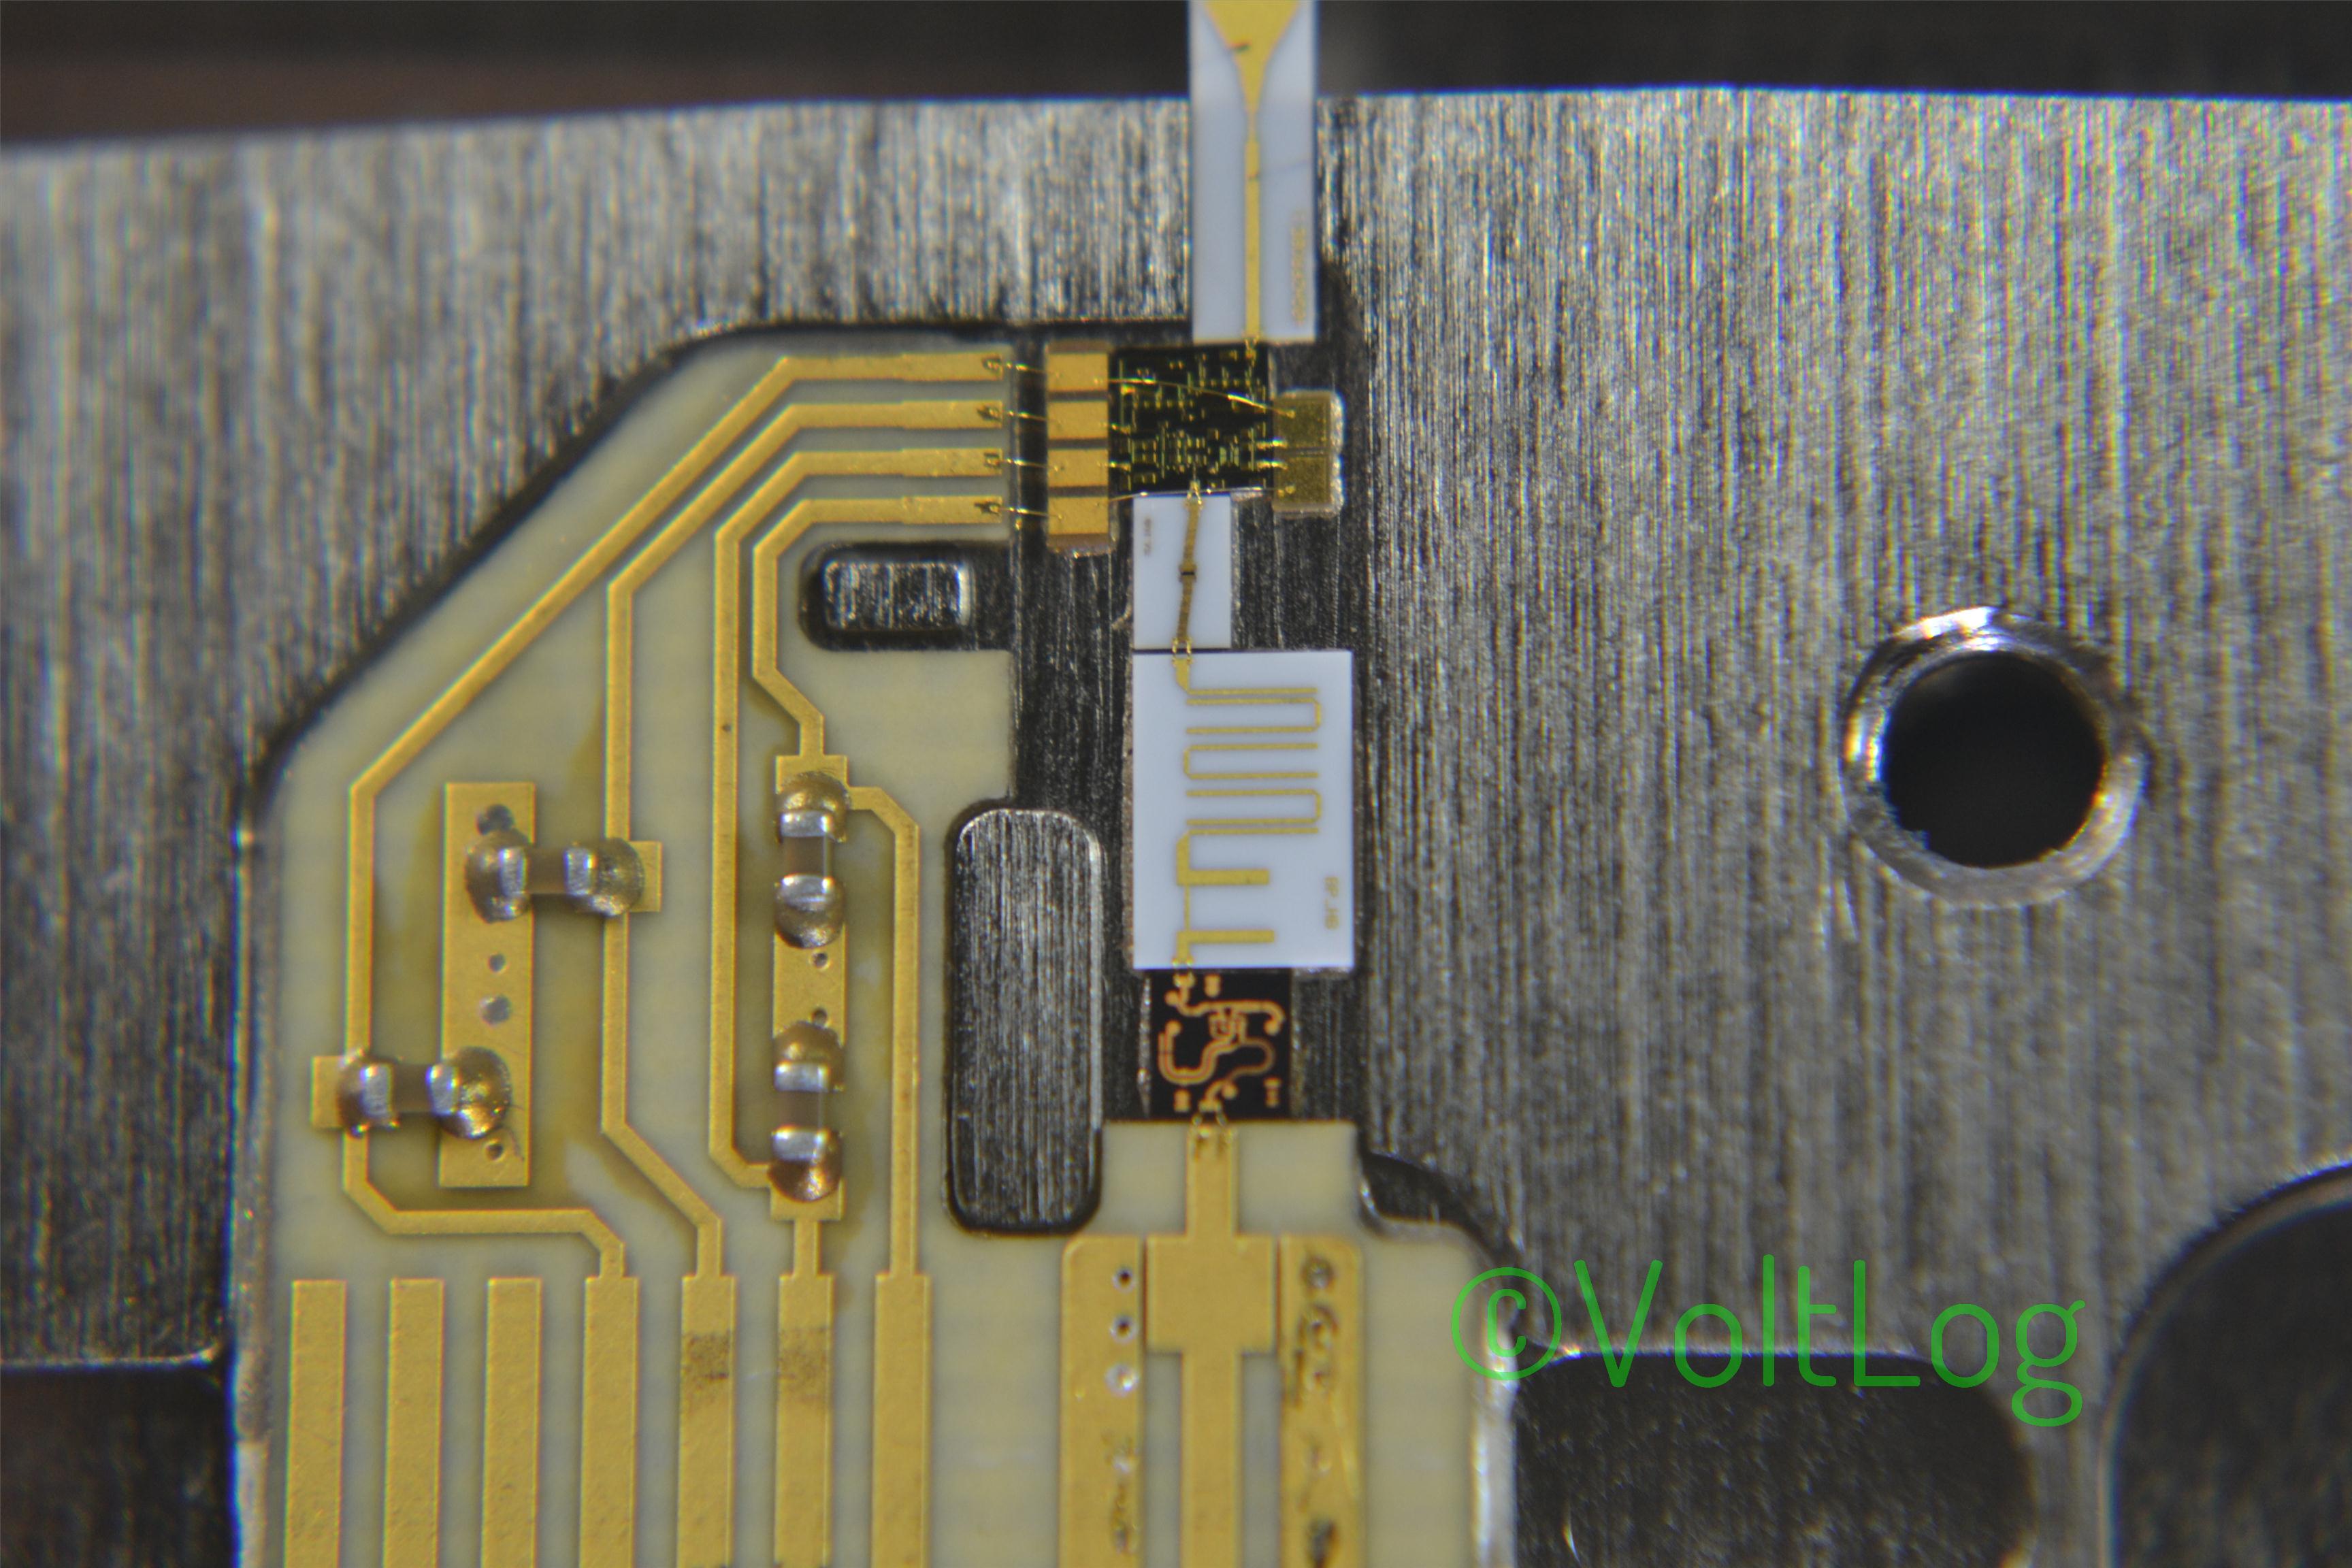
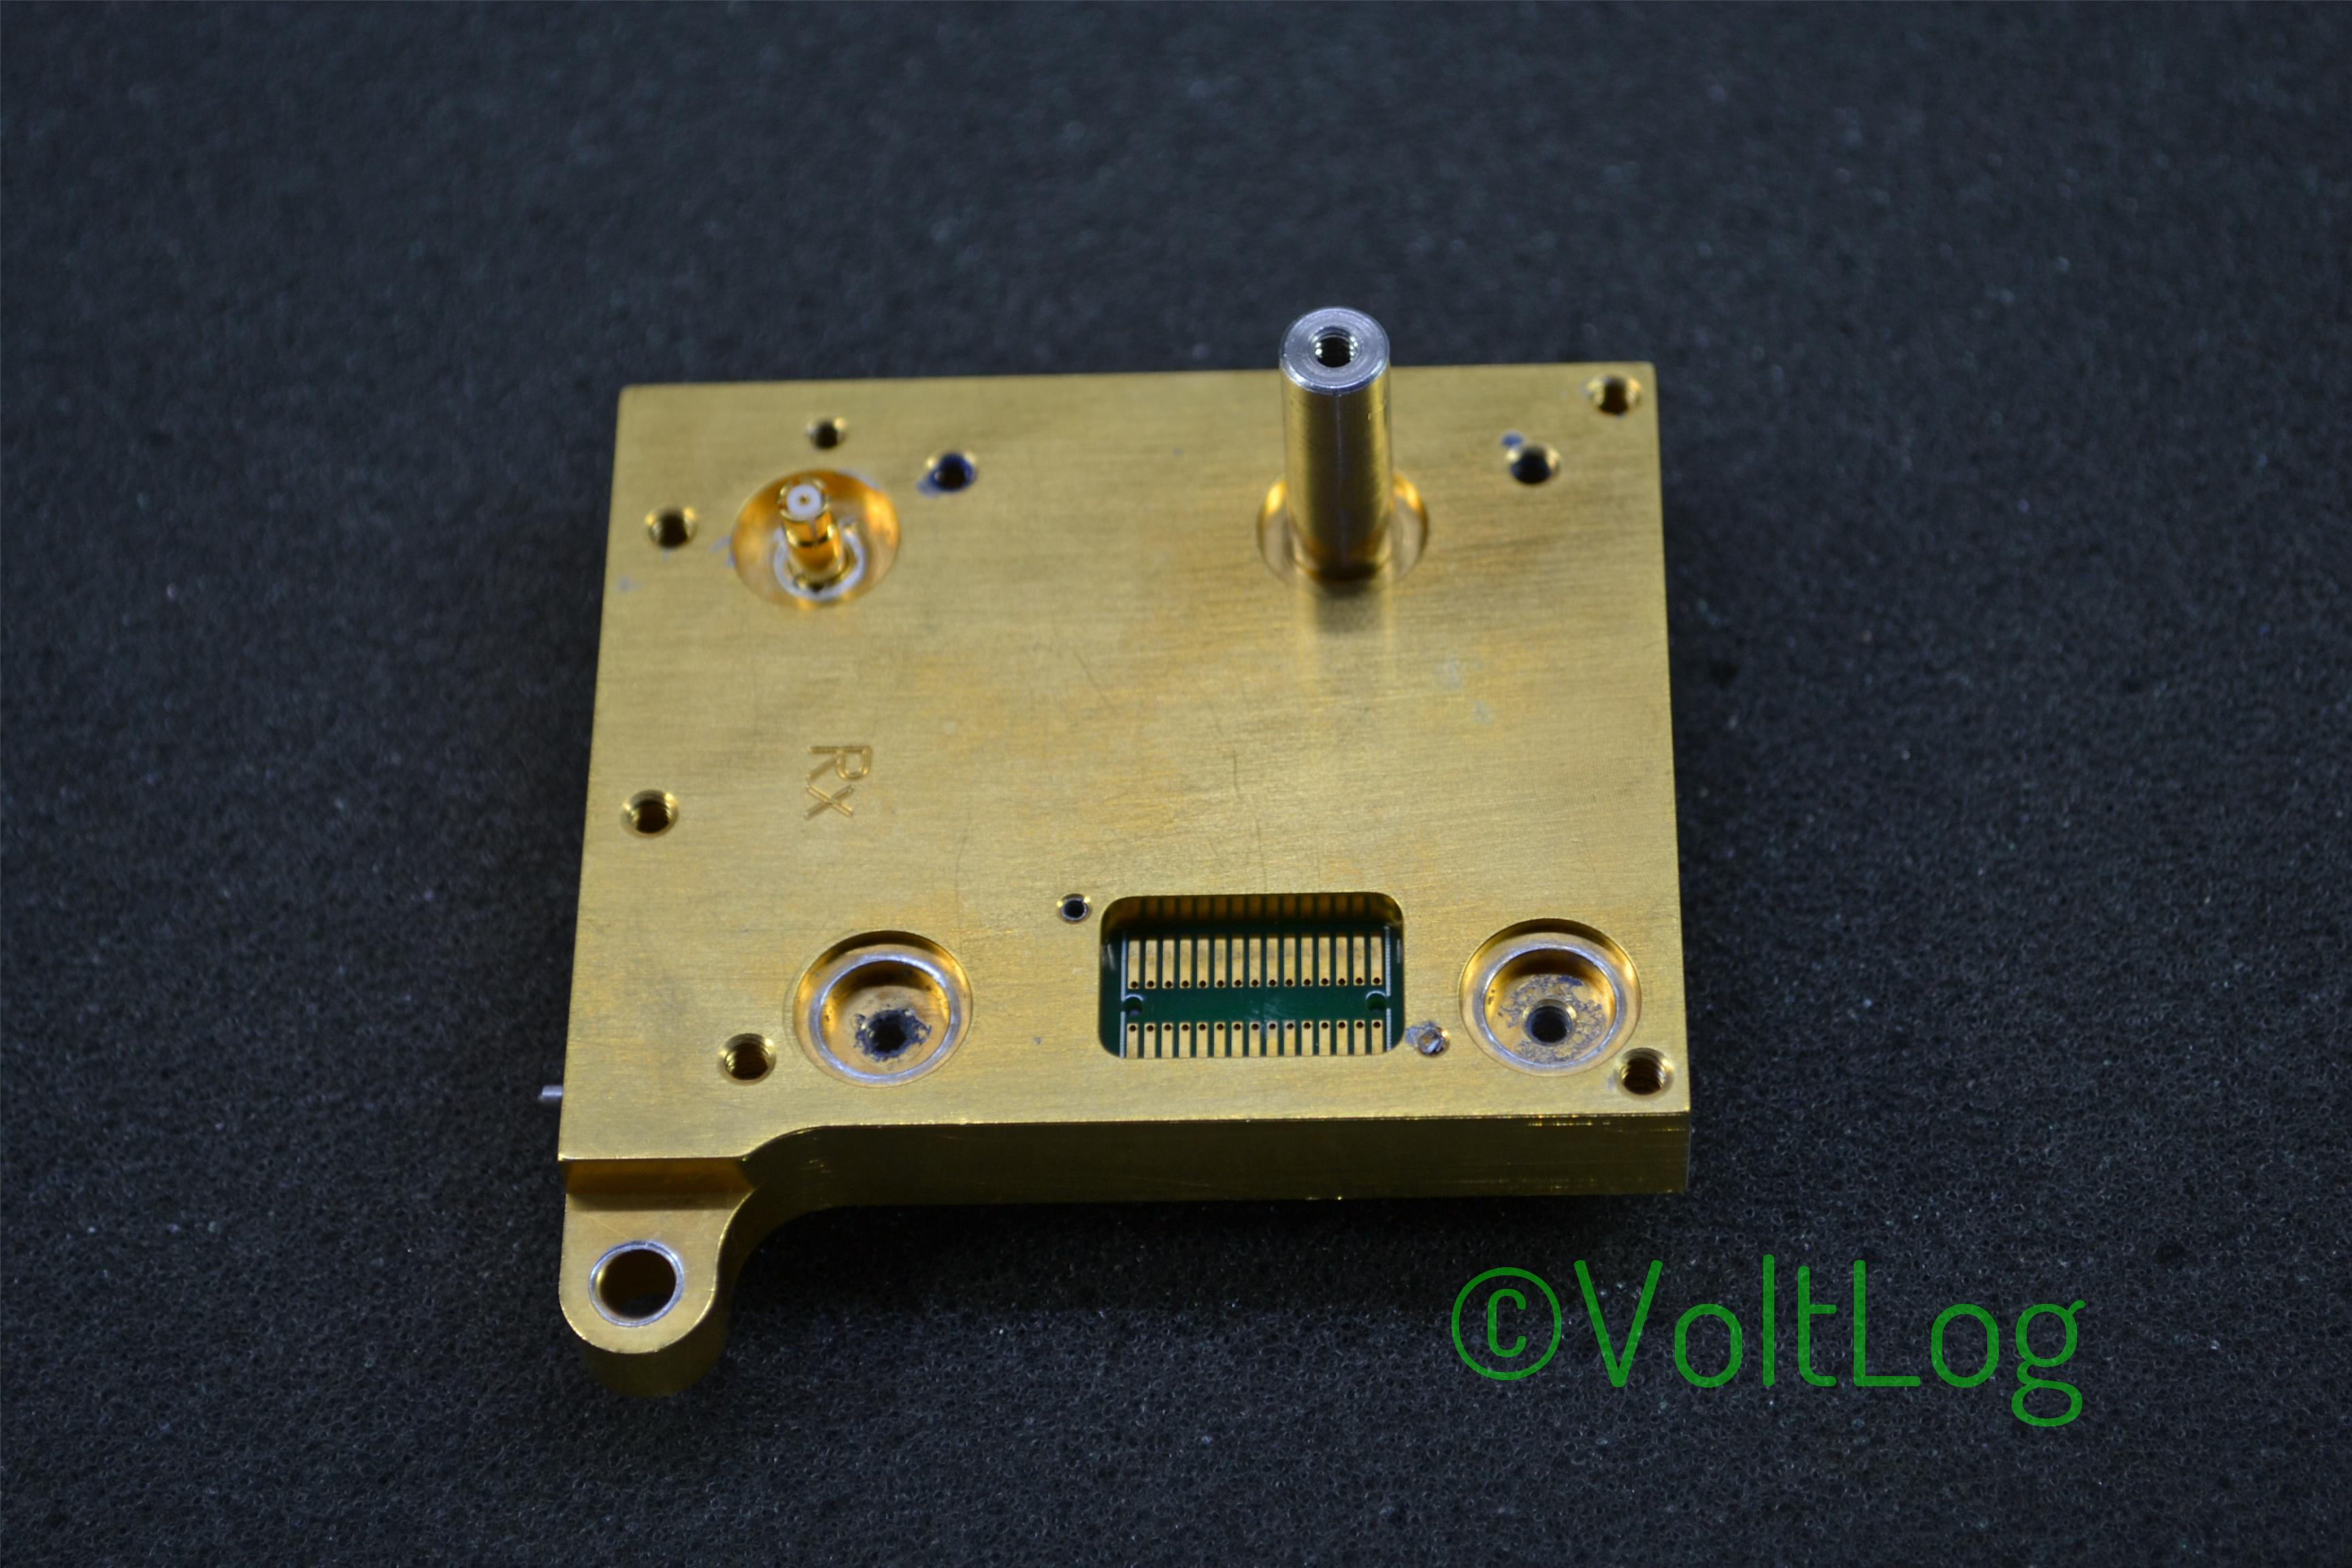
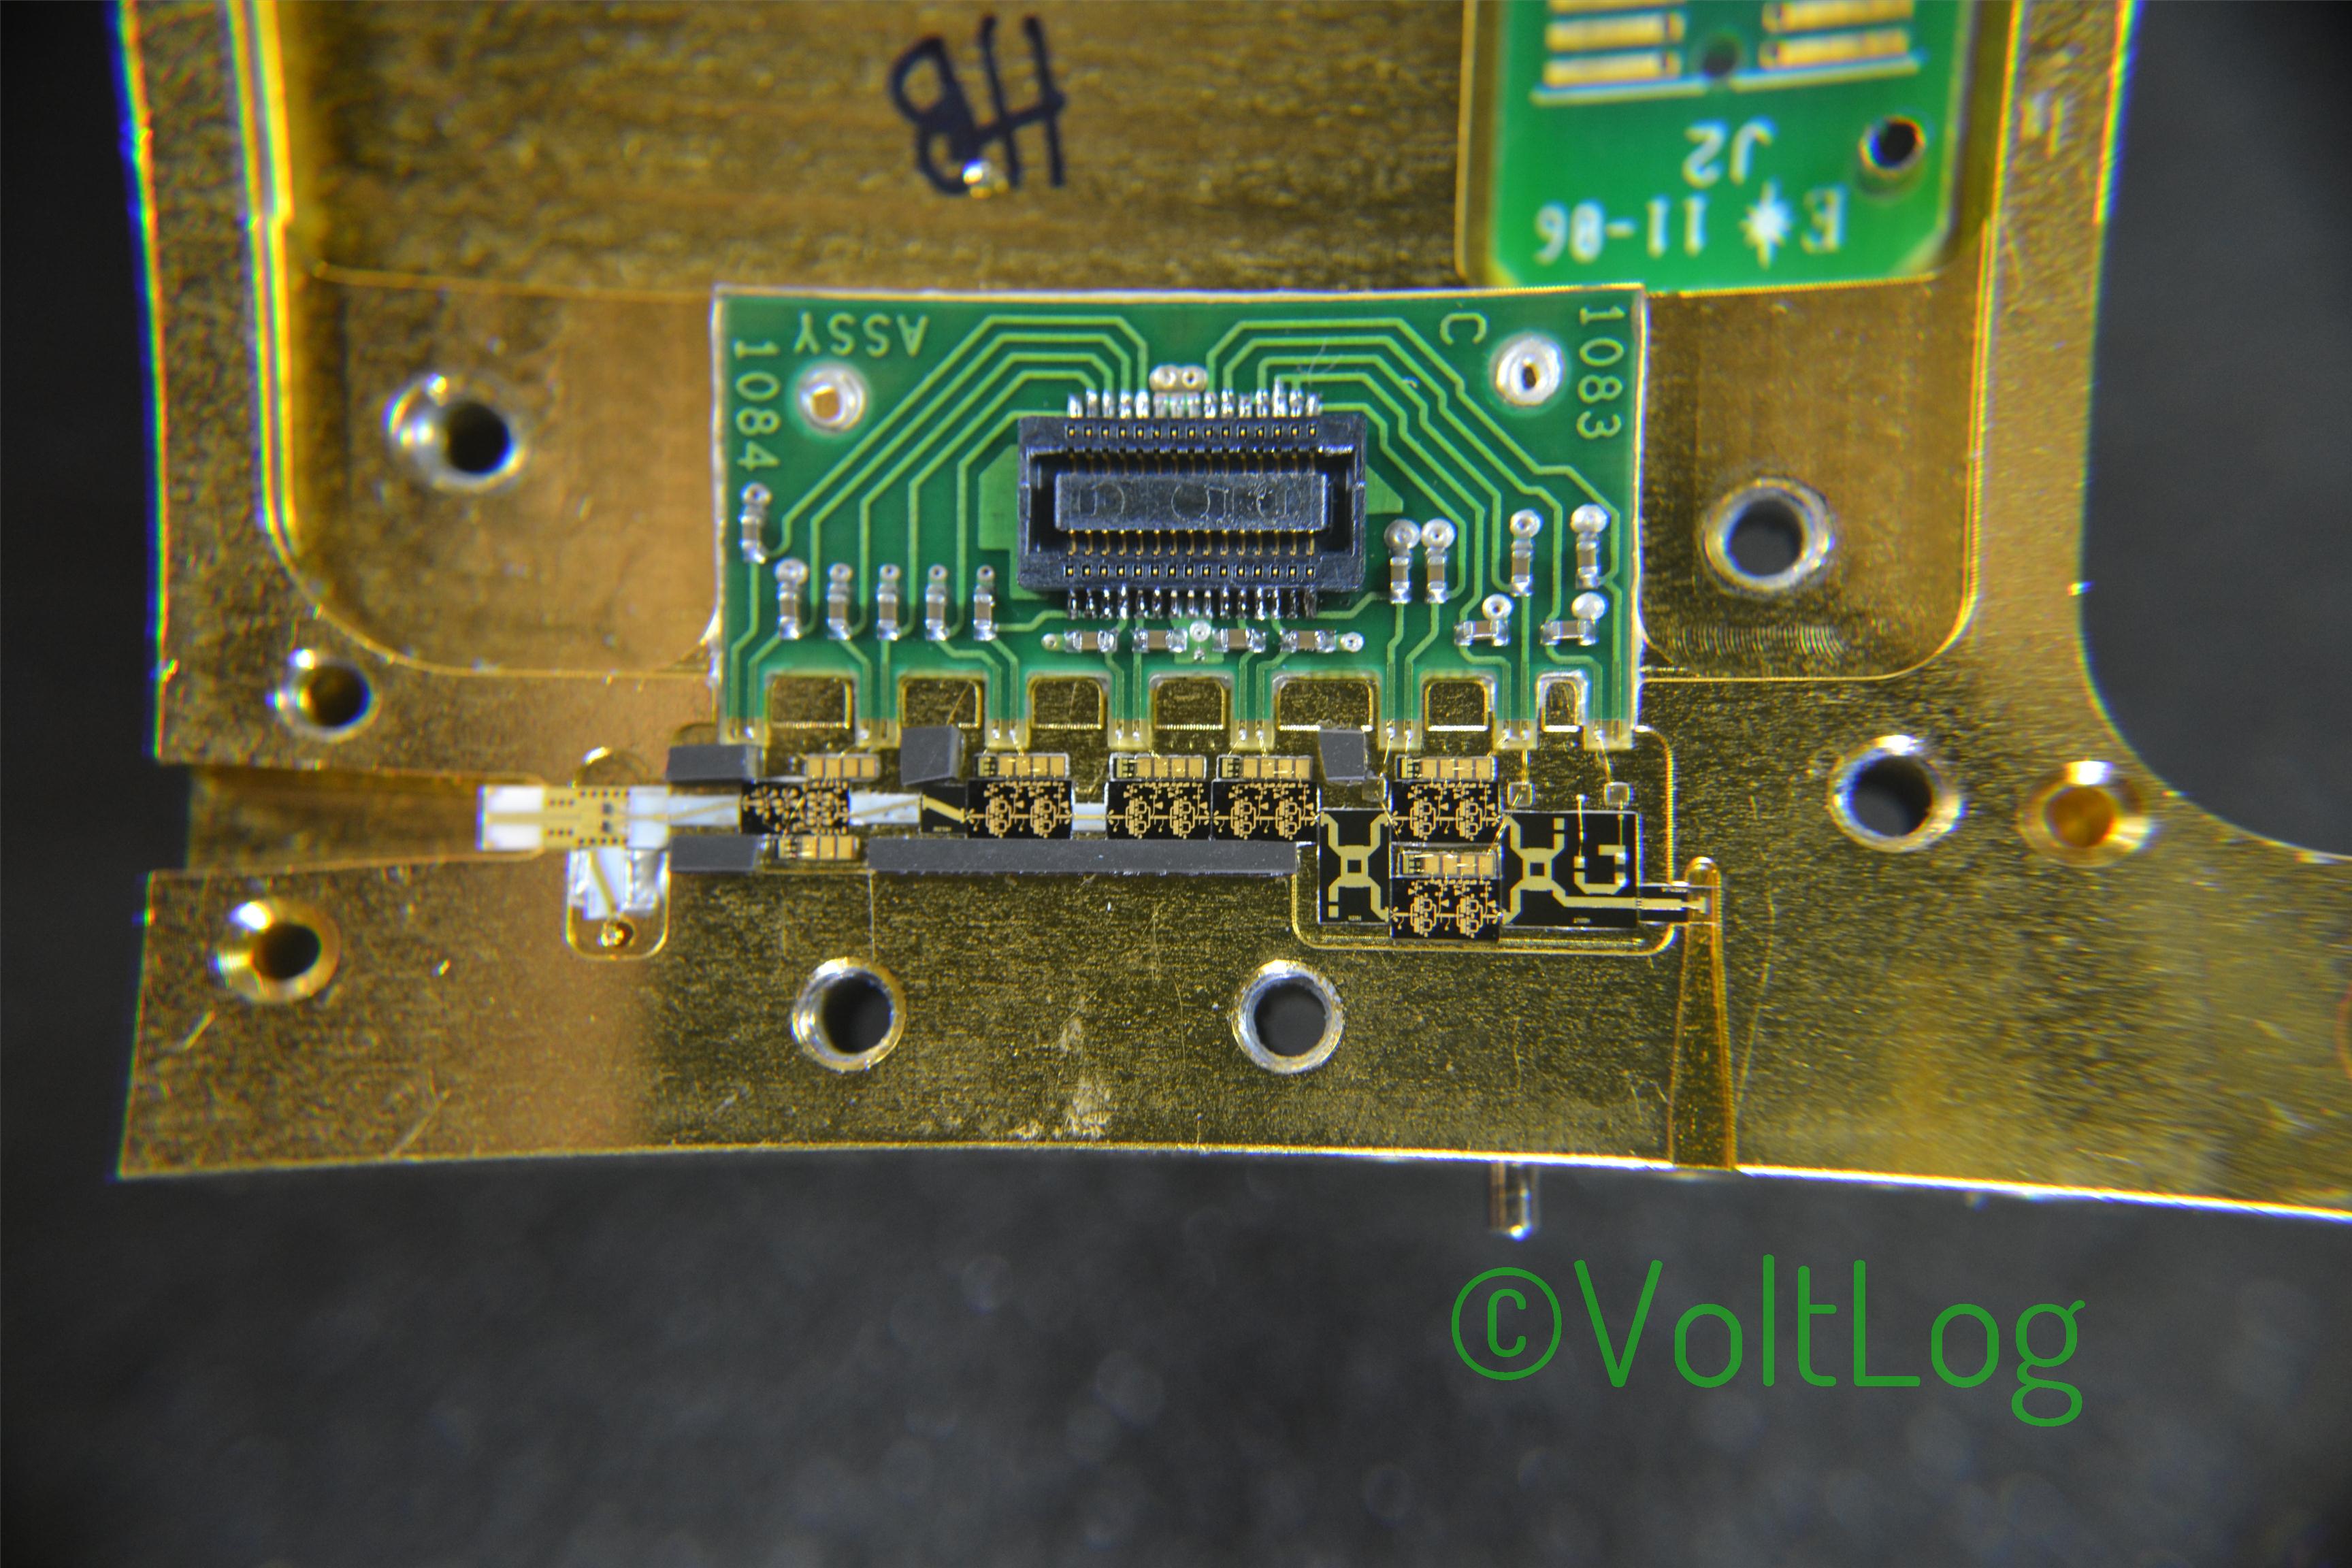
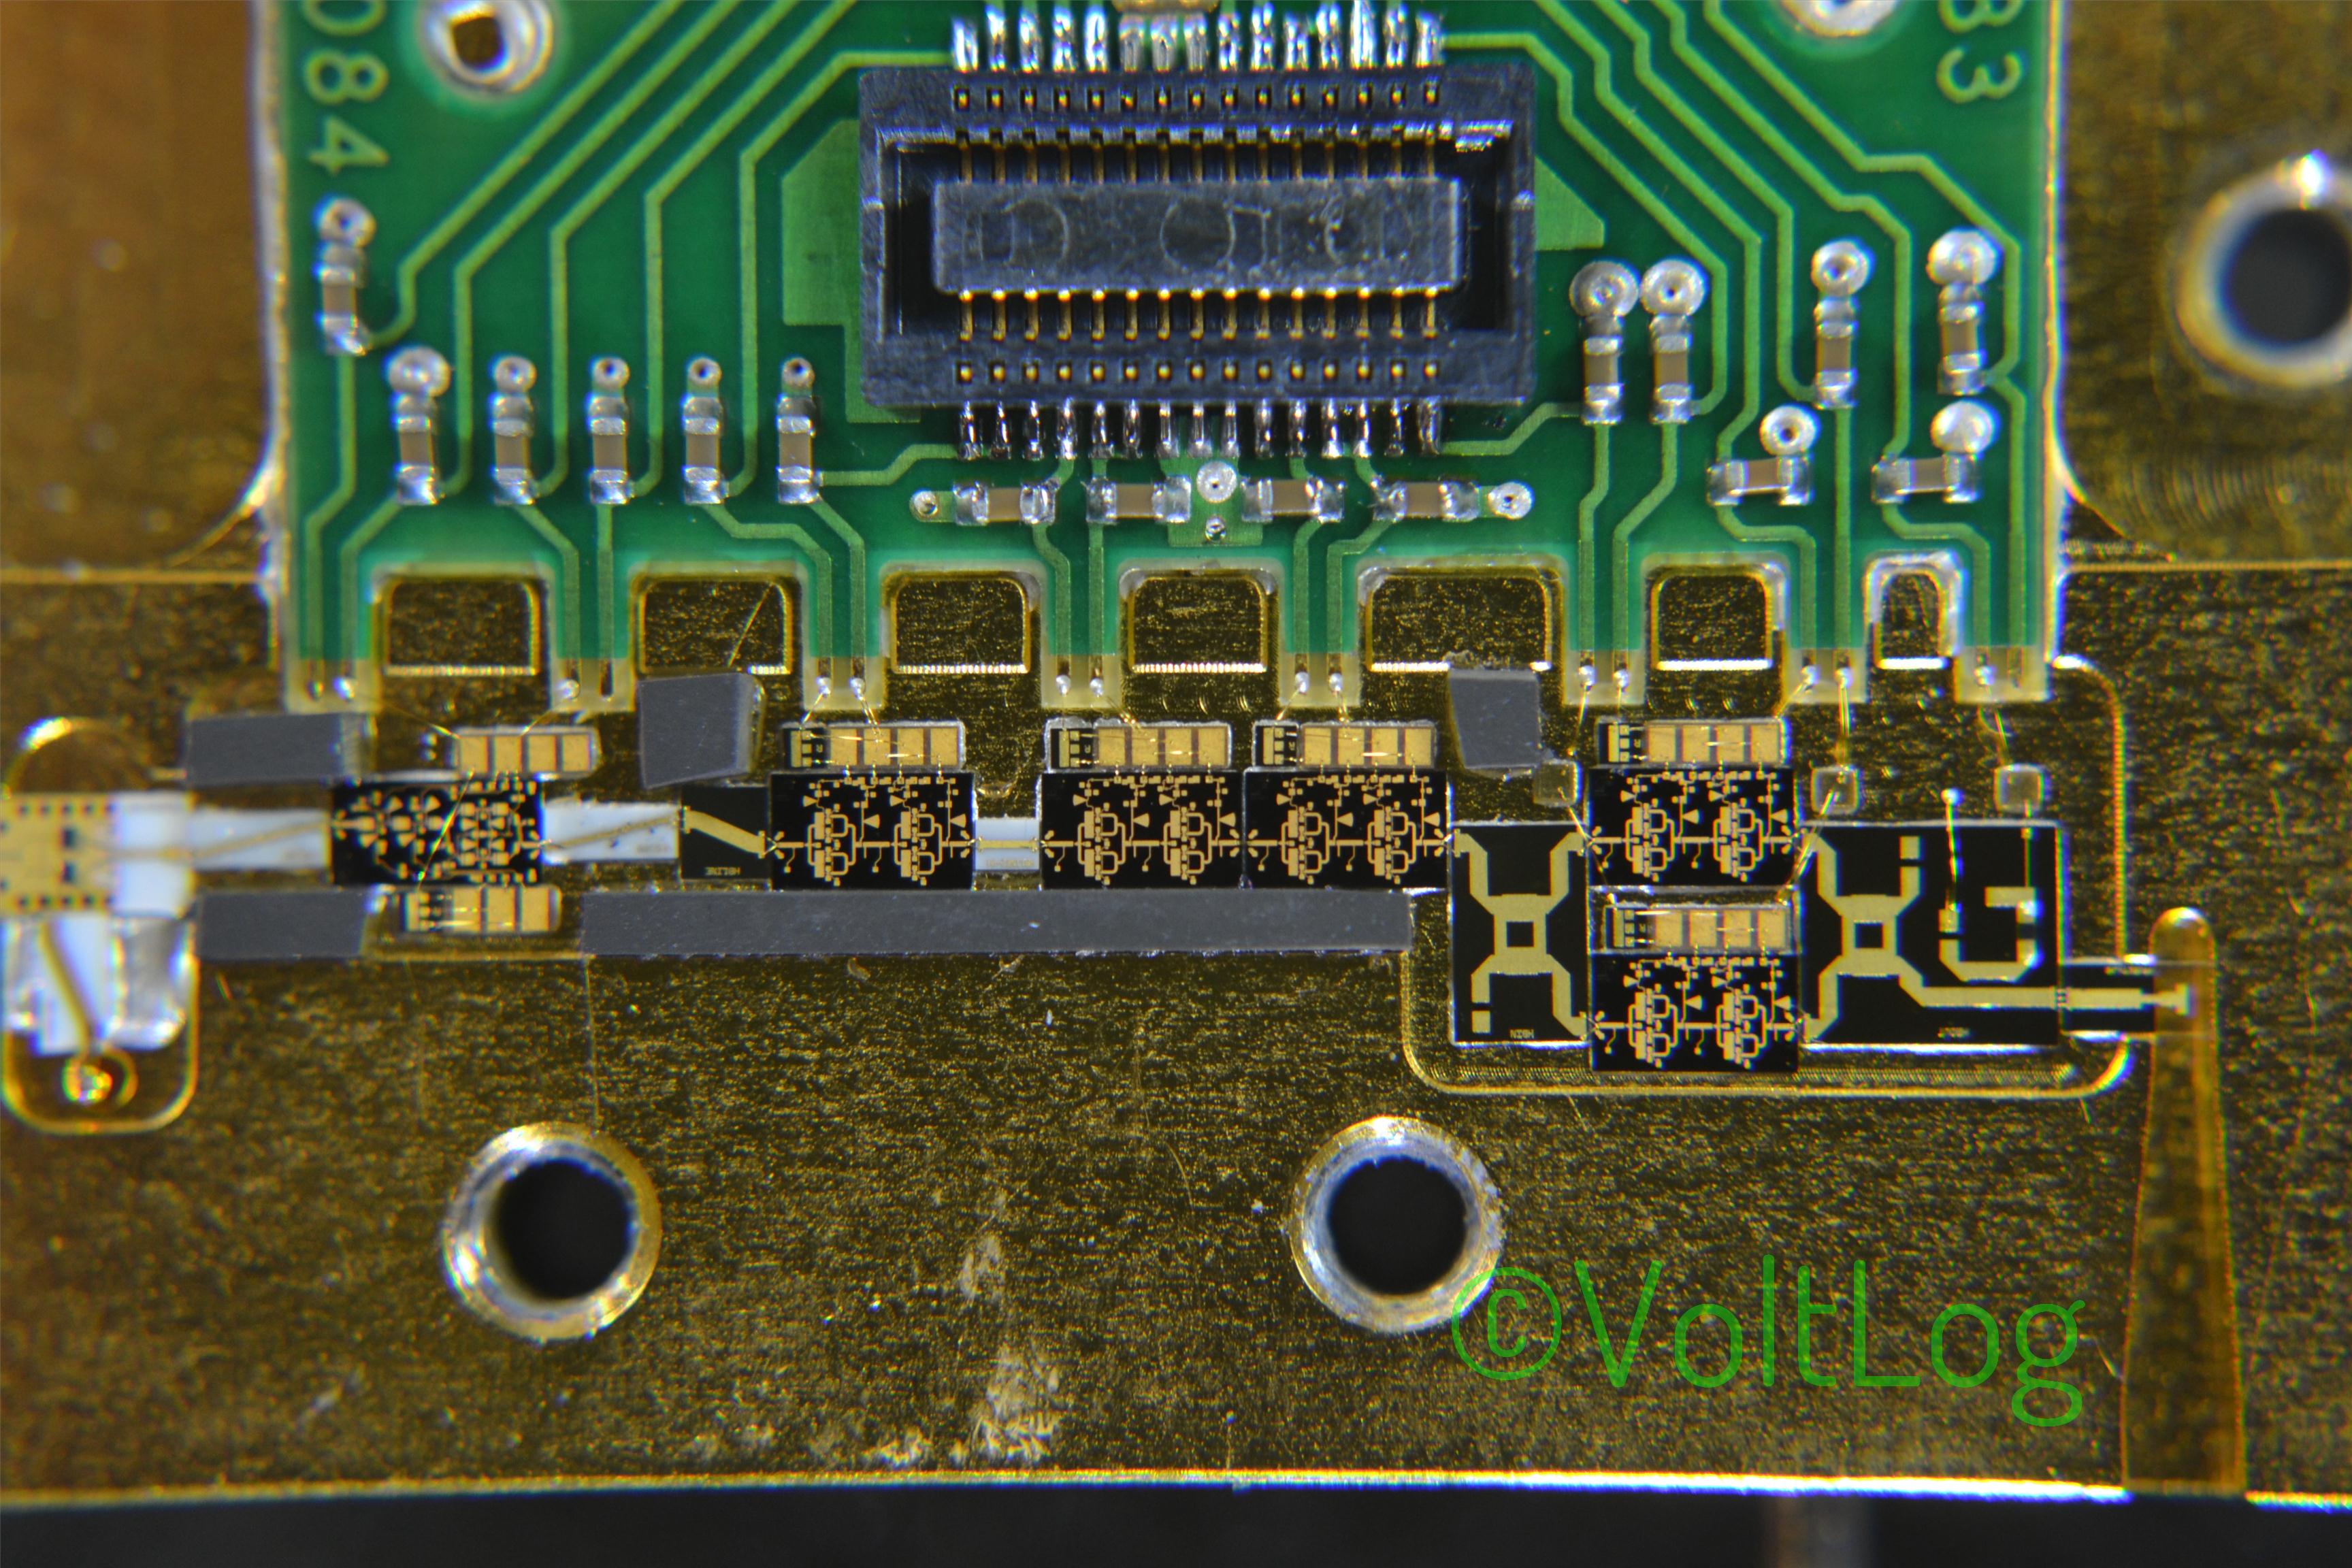
The idea started a couple of videos back, in Voltlog #272 when I got this GPS tracker disguised into a general purpose automotive relay. In theory this should come with free online tracking service on some Chinese hosted server but I wasn’t able to connect to that server and so I thought why not setup my own server and try to pair it with this tracker. So if you want to learn more about this tracker, checkout Voltlog #272 linked on screen right now and then come back to watch this video.

First step is to setup a fresh install of Raspbian, latest version from the source. Next step is to setup the tracking server, the name of the software is Traccar and here is their website. We’re going to be using the Linux arm release, because the raspberry pi runs on an arm processor. Next, your raspberry pi is likely sitting behind a router or firewall so you will need to forward a port so an external device like a GPS tracker can connect to our newly created server.

Next we can add our GPS tracker in the web interface of Traccar, on the left side I click add, choose a name for your device and fill in the 10 digit identifier which is this label on the side of your trackers case.The newly created device will be shown as offline until the server starts receiving data.

The final step is to configure the GPS tracker and these particular commands apply to the tracker that I am using, you might have to use different commands for a different tracker but the idea is to reset the tracker, set your admin number, configure the APN settings for your network operator, set the external ip address we saved earlier, the port is 5013. Set the upload frequency in seconds and enable the GPRS connection. Going back to the Traccar web interface, status should switch to online and we should start seeing data about our device.

Voltlog #272 – Car Relay GPS Tracker Setup CJ720

In this video we’ll take a look at the CJ720 car relay gps tracker, I’ll show you how to setup the tracker and how to get position information. I will show you what kind of commands this tracker accepts and I will also do a teardown towards the end.

For information on how to setup your own GPS Tracking server, running on a raspberry pi, using open source software, checkout Voltlog #274.

Voltlog #23 – Gigabeam WiFiber G1.25 Teardown

Hi, welcome to a new voltlog, today we’re going to teardown something interesting. As you can see on my left I have this huge antenna / radio assembly which btw weighs approximately 25 Kg so it’s not easy to handle in my small lab, in fact it takes up most of my bench so I will probably do the teardown on the floor.

This antenna is called Gigabeam Wifiber and it’s manufactured by a company called Gigabeam Corporation that went bankrupt in 2010. The system is supposed to act like a transparent access point offering gigabit links over radio where fiber infrastructure is difficult to implement.

The radios operate in the 71-76 and 81-86 GHz radio spectrum bands and the modulation format is BiPhase Shift Key (BPSK). They have a transmit power of 20 dBm which translates to 100mW and that is not really a great deal of power but the antenna has a large gain of 50dB. The system takes a gigabit fiber input and on the other side from the receiving antenna you get a gigabit fiber output.

I have a pair of these, one of them is broken and I’m going to attempt to find the fault and maybe fix it. I’m hoping the problem is somewhere in the power section because that will be an easy fix because otherwise I don’t have a spectrum analyzer to take a look at the different RF stages.

Anyway In this video you are only going to see the teardown but that should interesting on its own because I expect to see lots of RF magic inside and interesting system design.

Also checkout the high res photos below:

Here is a list of the components I managed to identify inside the unit:

  • SMT4004: integrated programmable voltage manager IC which can monitor and control up to 4 independent supplies.
  • Texas Instruments OPA725: low noise, high speed, rail-to-rail op-amp.
  • Analog Devices AD8604: quad rail-to-rail, input and output, single-supply amplifier.
  • Maxim MAX4663: quad, SPST, CMOS analog switch.
  • IDT ICS601: Low phase noise 1 to 5 clock multiplier.
  • XCF04: Xilinx In-System Programmable 4 Mbit ROMs for Configuration of FPGAs.
  • Sipex 3232 RS232 transceiver.
  • Semtech LC03-3.3: transient voltage suppressor.
  • Intel XT971ALE: Single-Chip 10/100Mbps Ethernet PHY Transceiver.
  • Pericom PI49FCT3803: 1 to 7 clock buffer targeted at networking applications.
  • Maxim DS1339C: Real Time Clock.
  • TLK1201: gigabit ethernet transceivers.
  • Xilinx XC3S1500: Spartan 3 FPGA with aproximately 30K logic cells inside.
  • MPC8270: PowerQUICC II Processor with embedded communications processor module targeted for telecom applications.
  • Analog Devices ADF4154: frequency synthesizer.
  • Hittite HMC368LP4: frequency doubler with both an input and output amplifier.
  • Hittite HMC441: GaAs PHEMT MMIC medium power amplifier.