Kunkin KP184 Electronic Load Issues Fixed | Voltlog #302

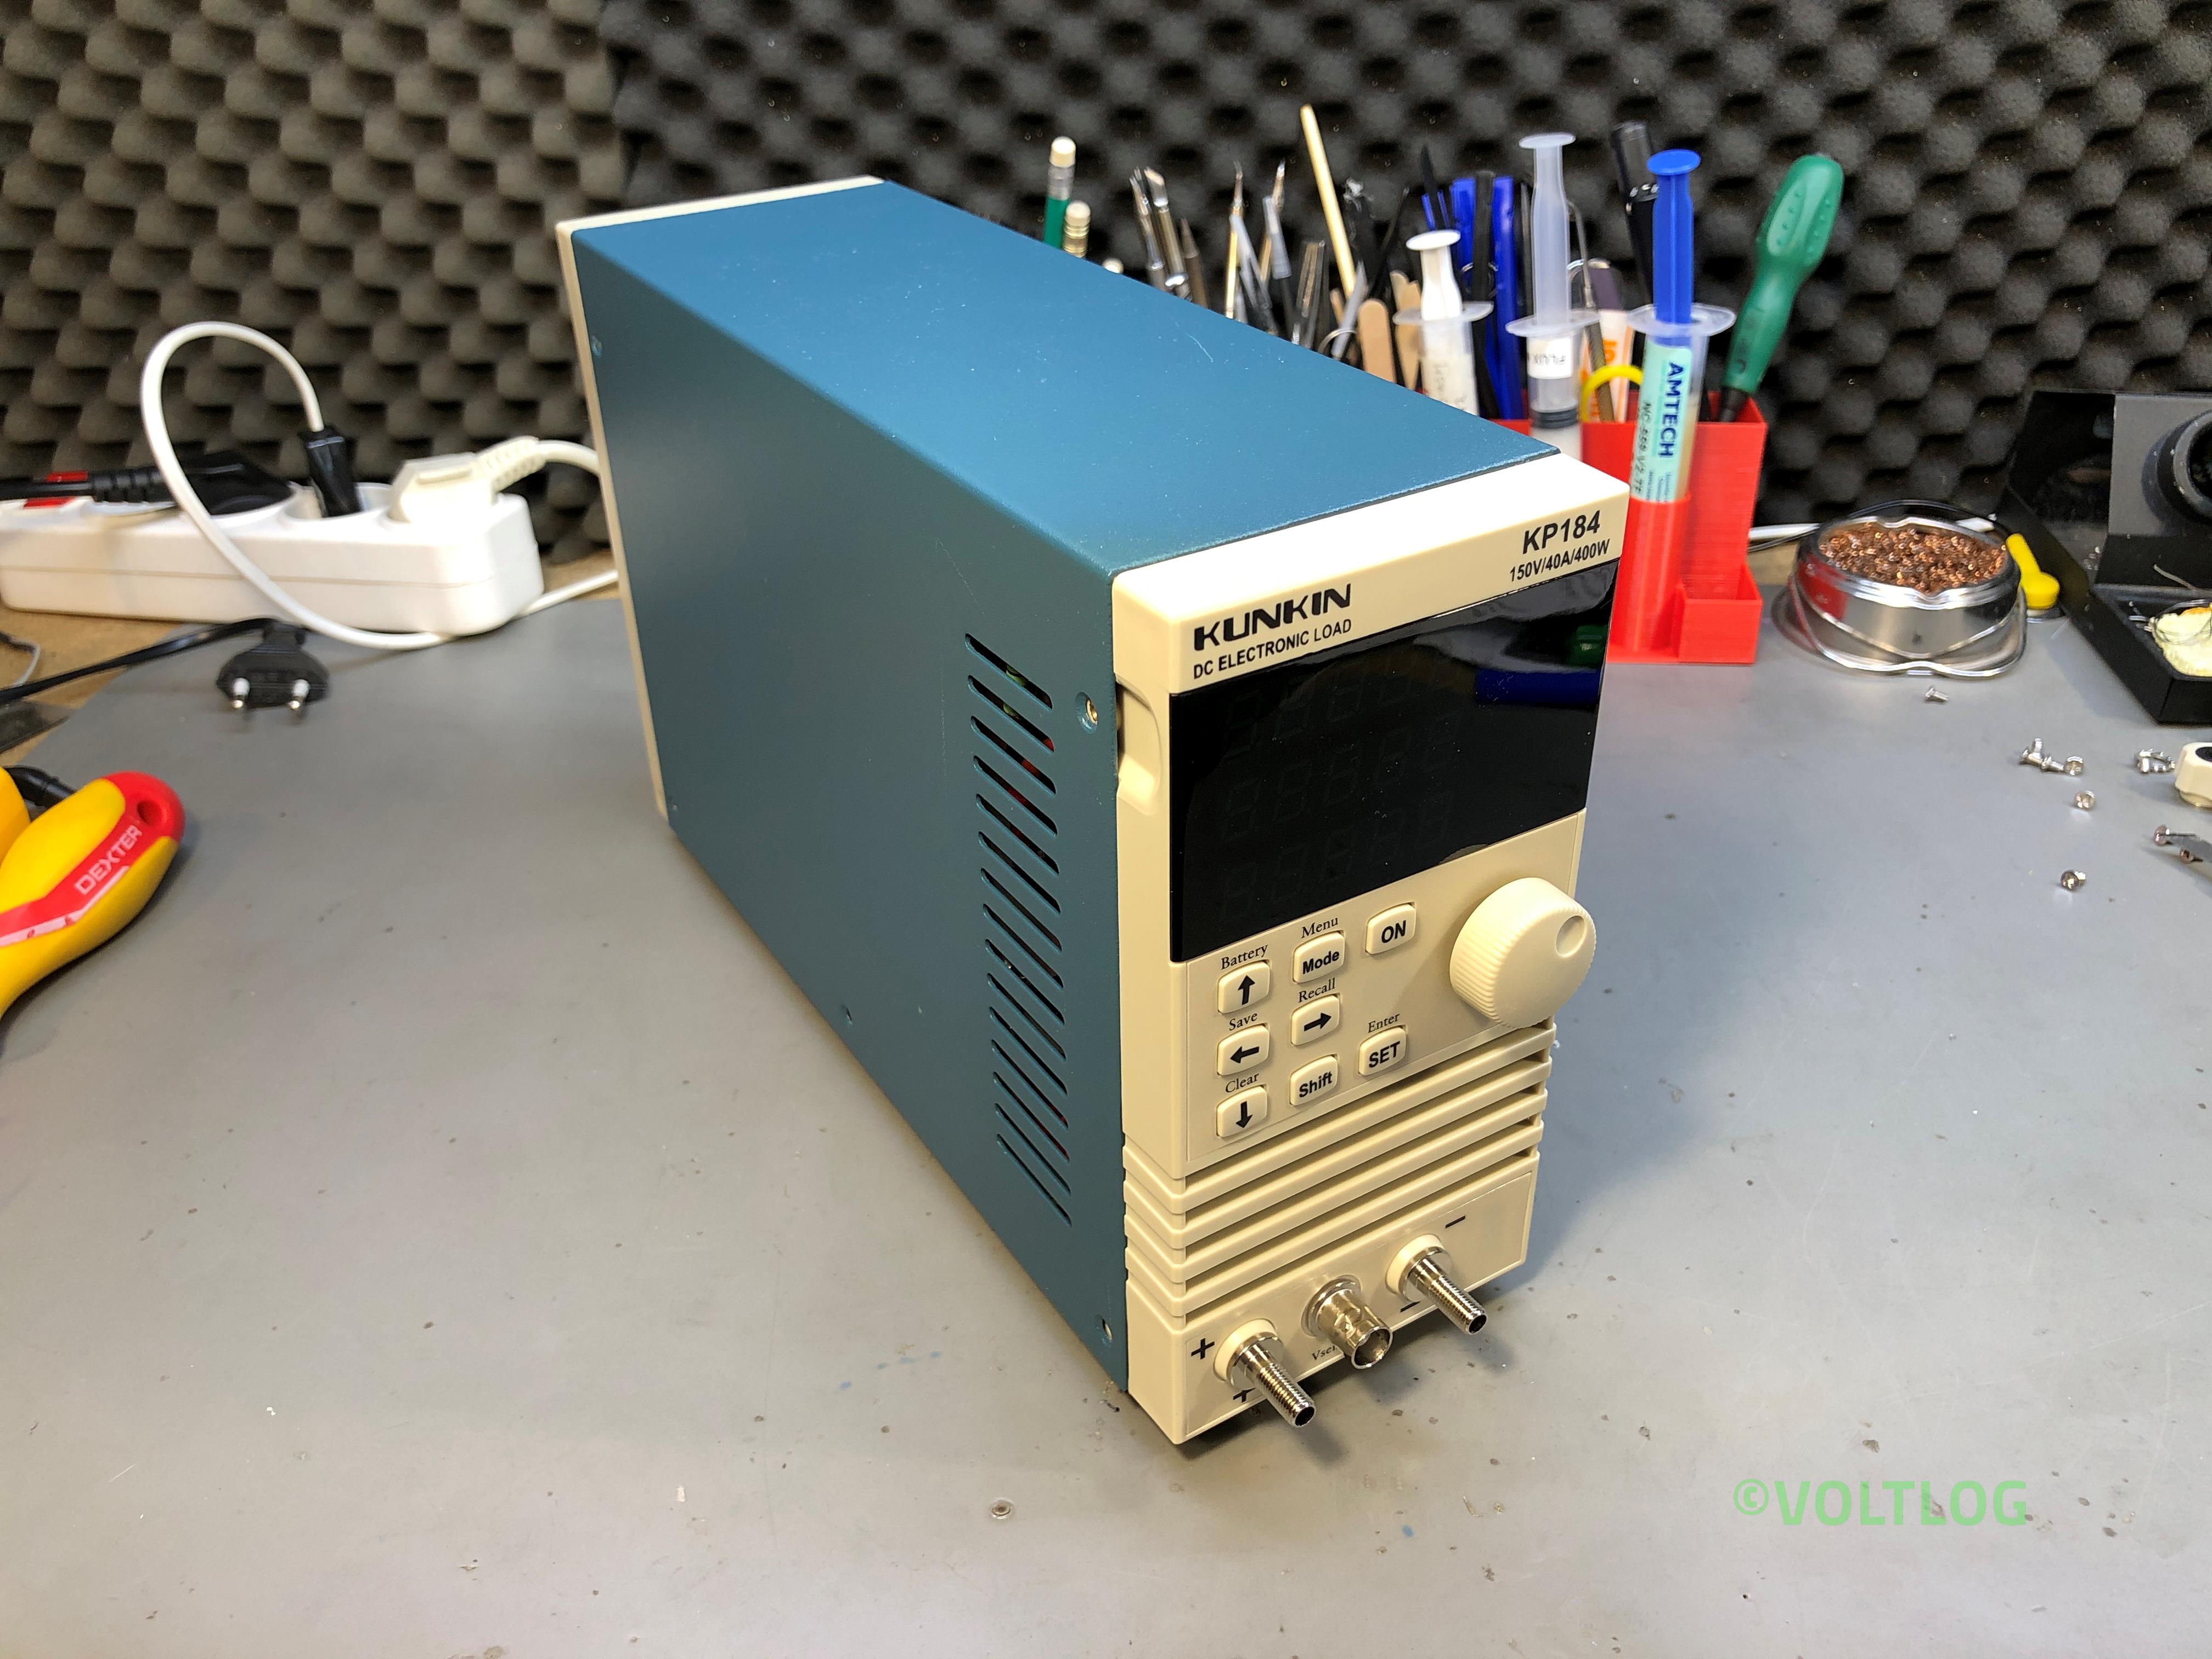
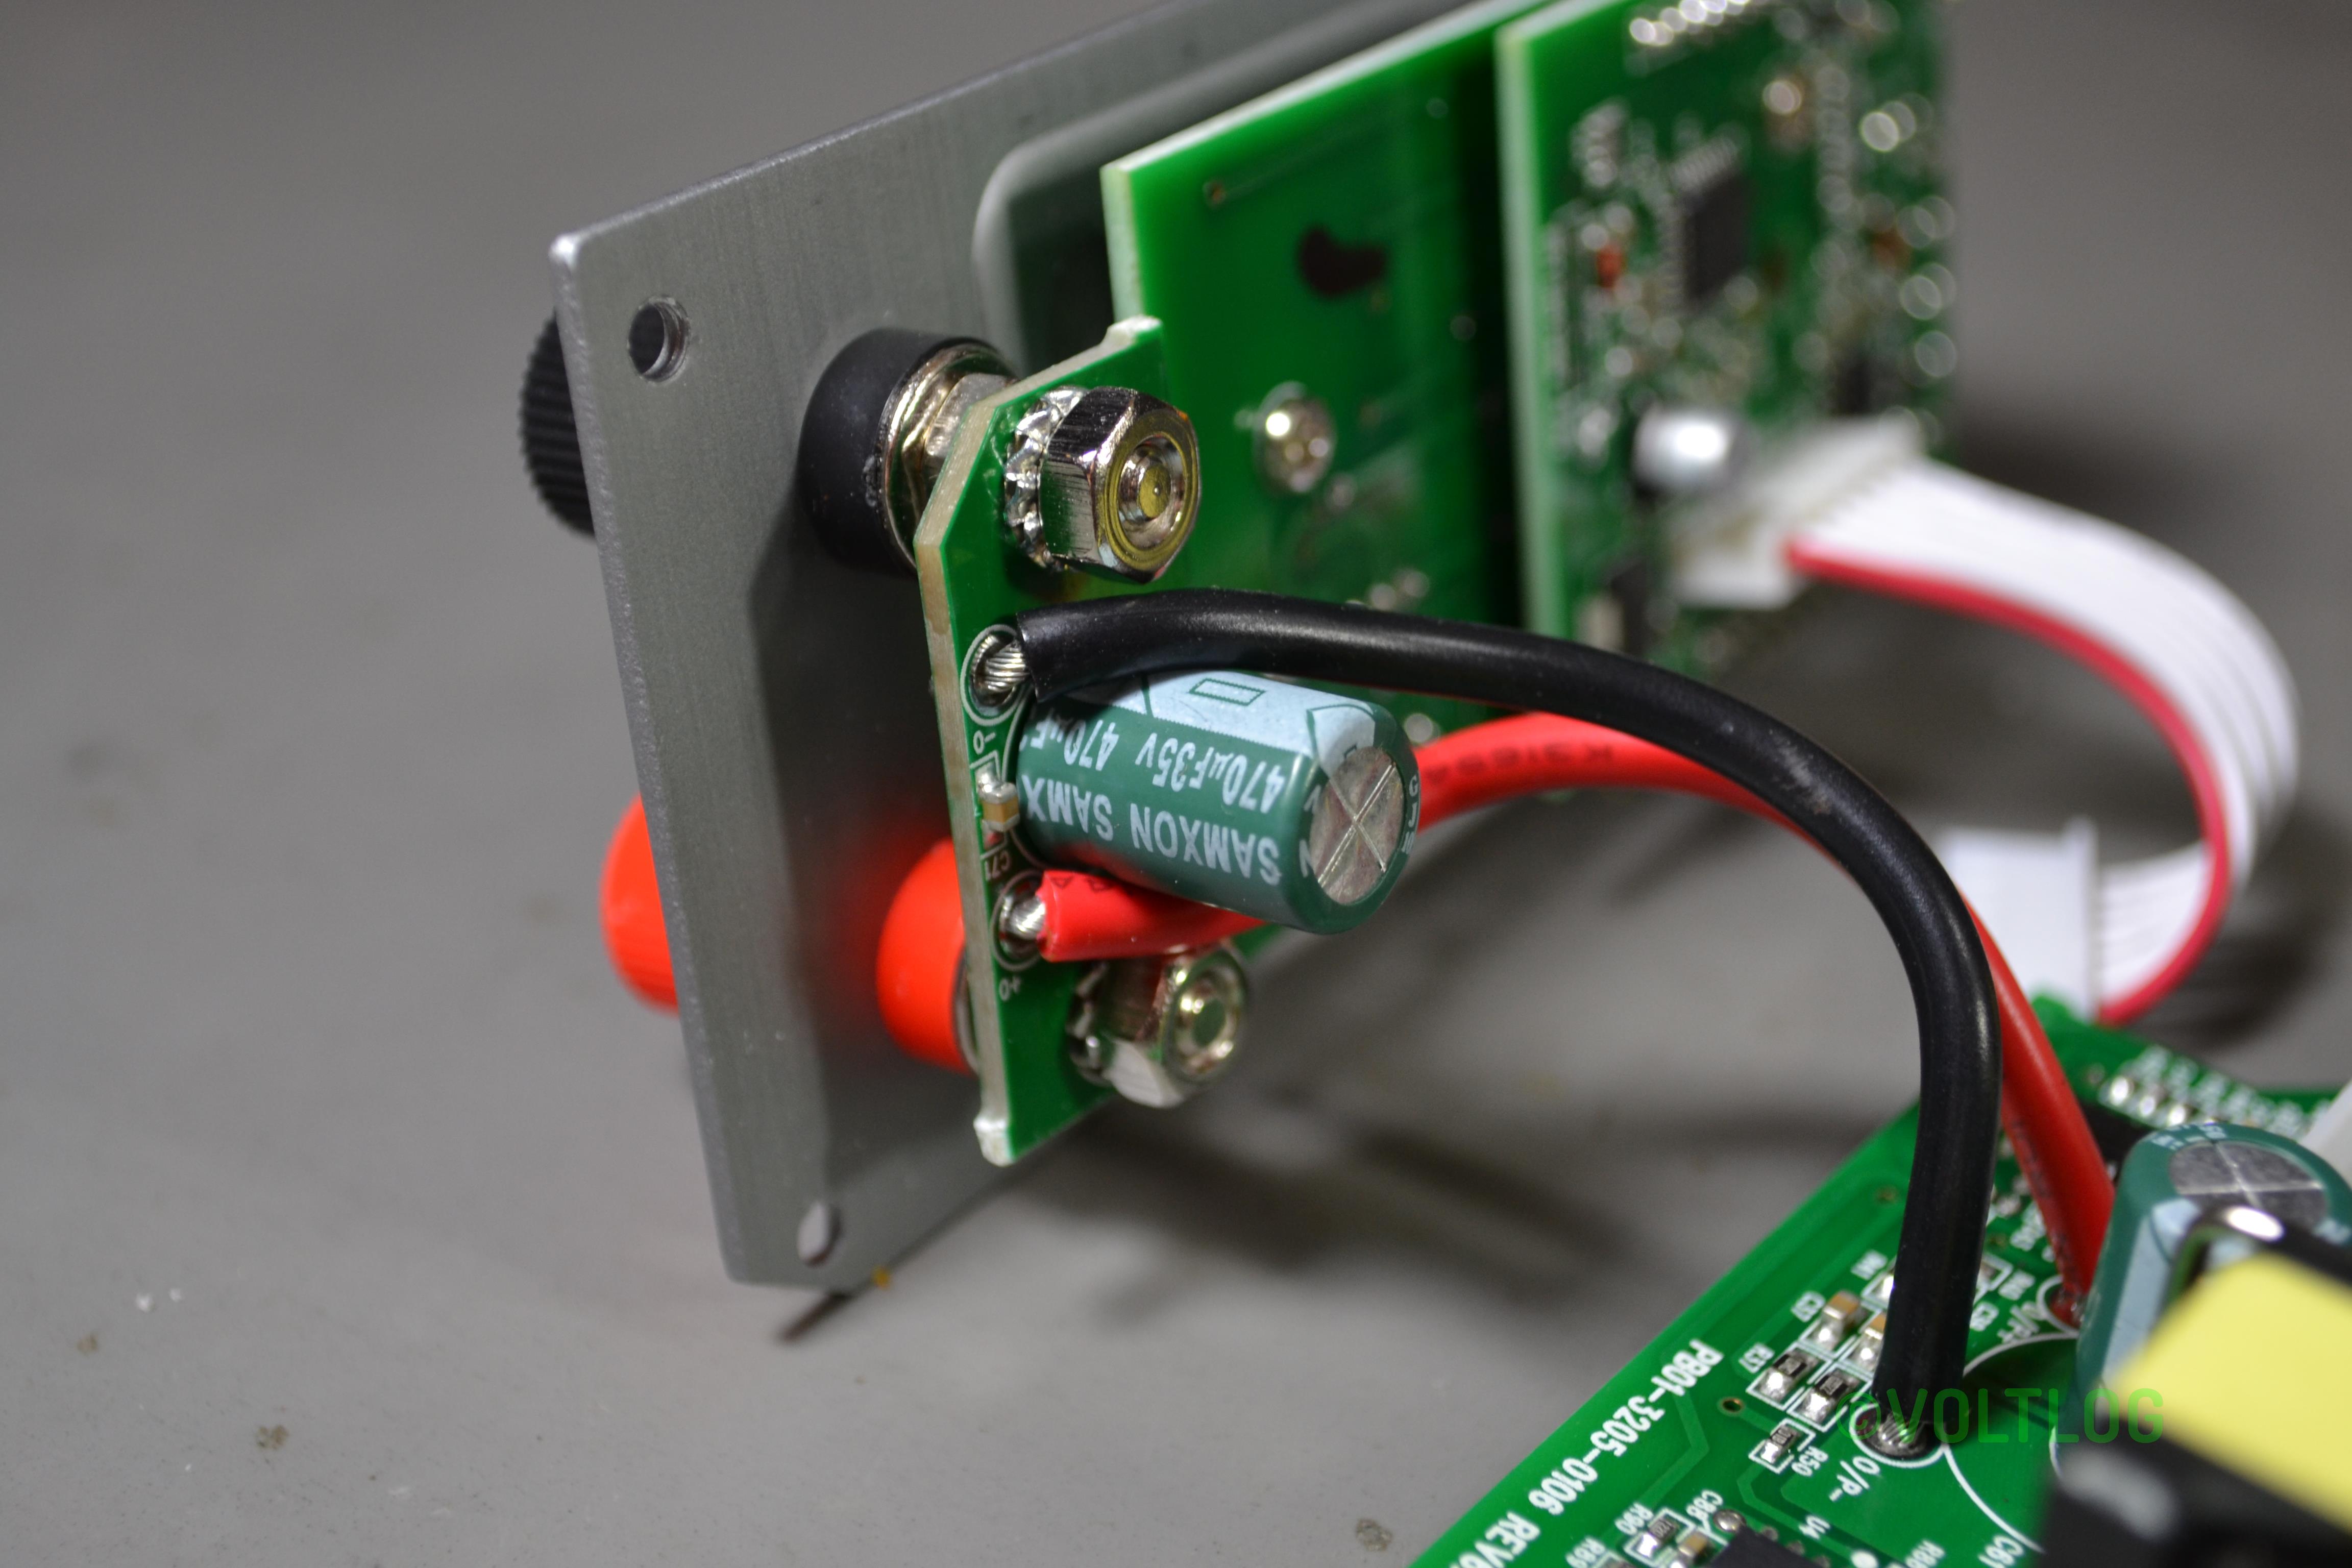
In this video I’m going to address the issues I found with the Kunkin KP184 electronic load during the review and teardown of the unit but also some issues people mentioned in the comments. There are 7 things I would like to address in total:

  1. Binding post internal diameter issue.
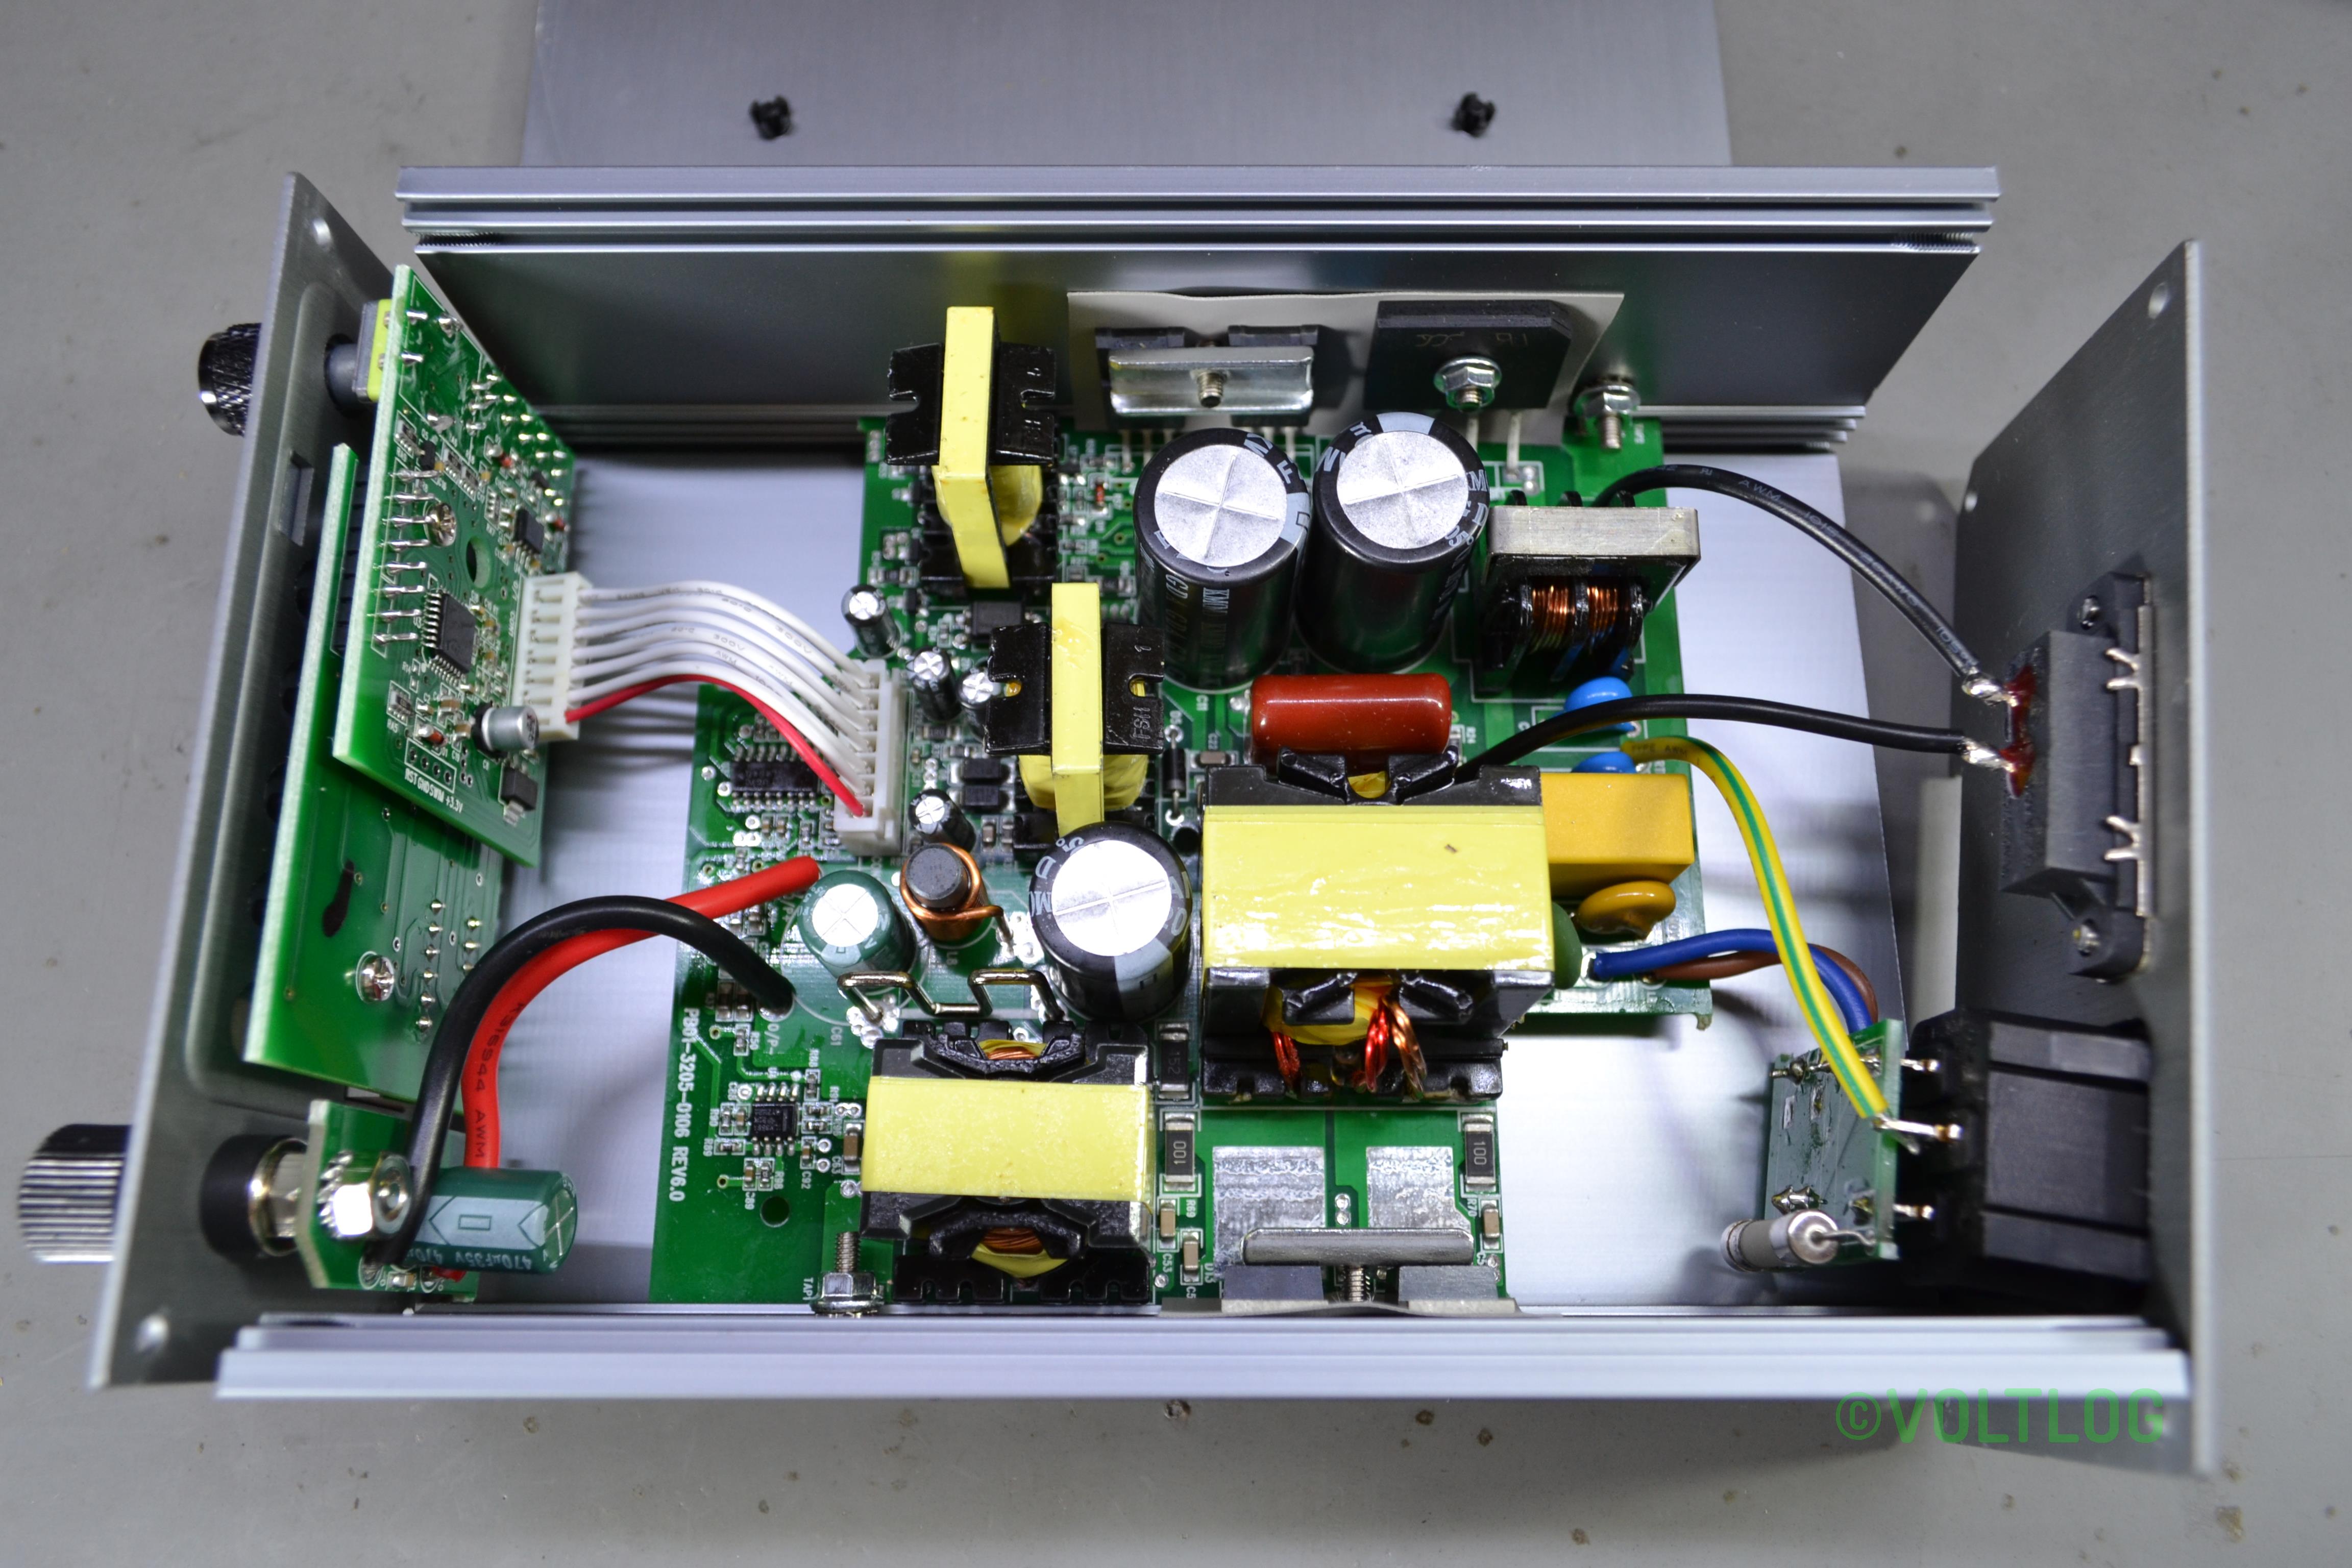
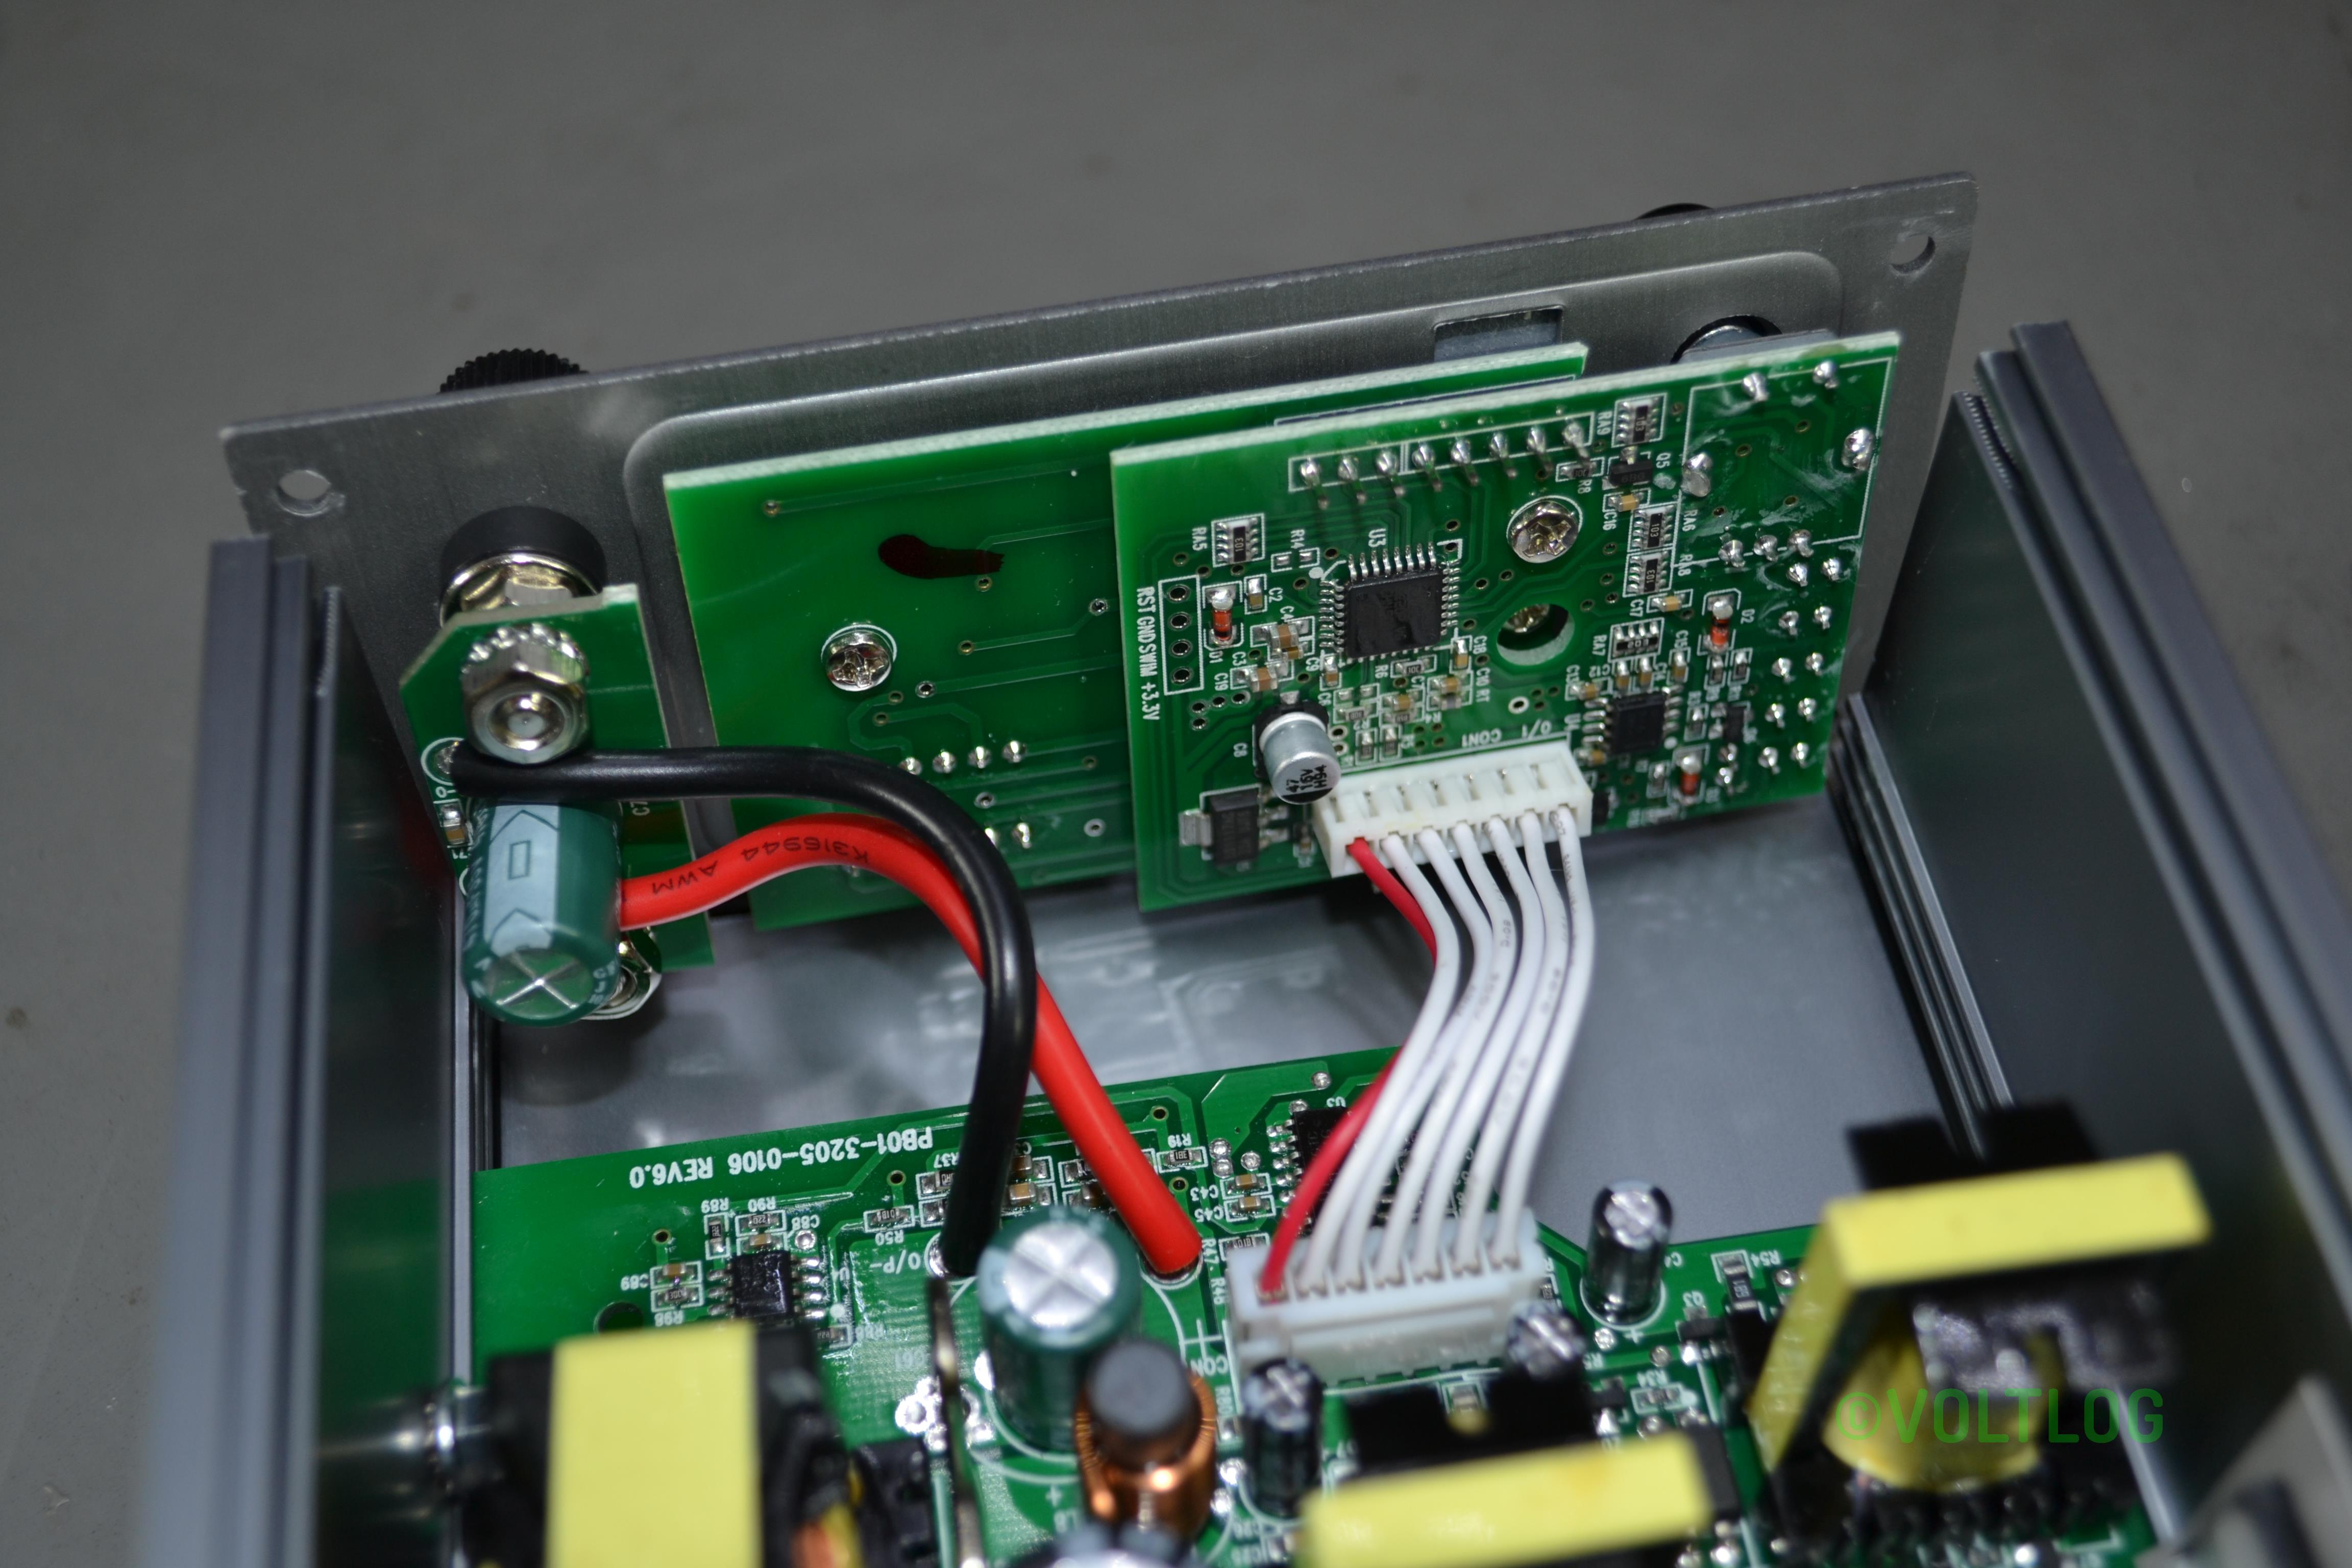
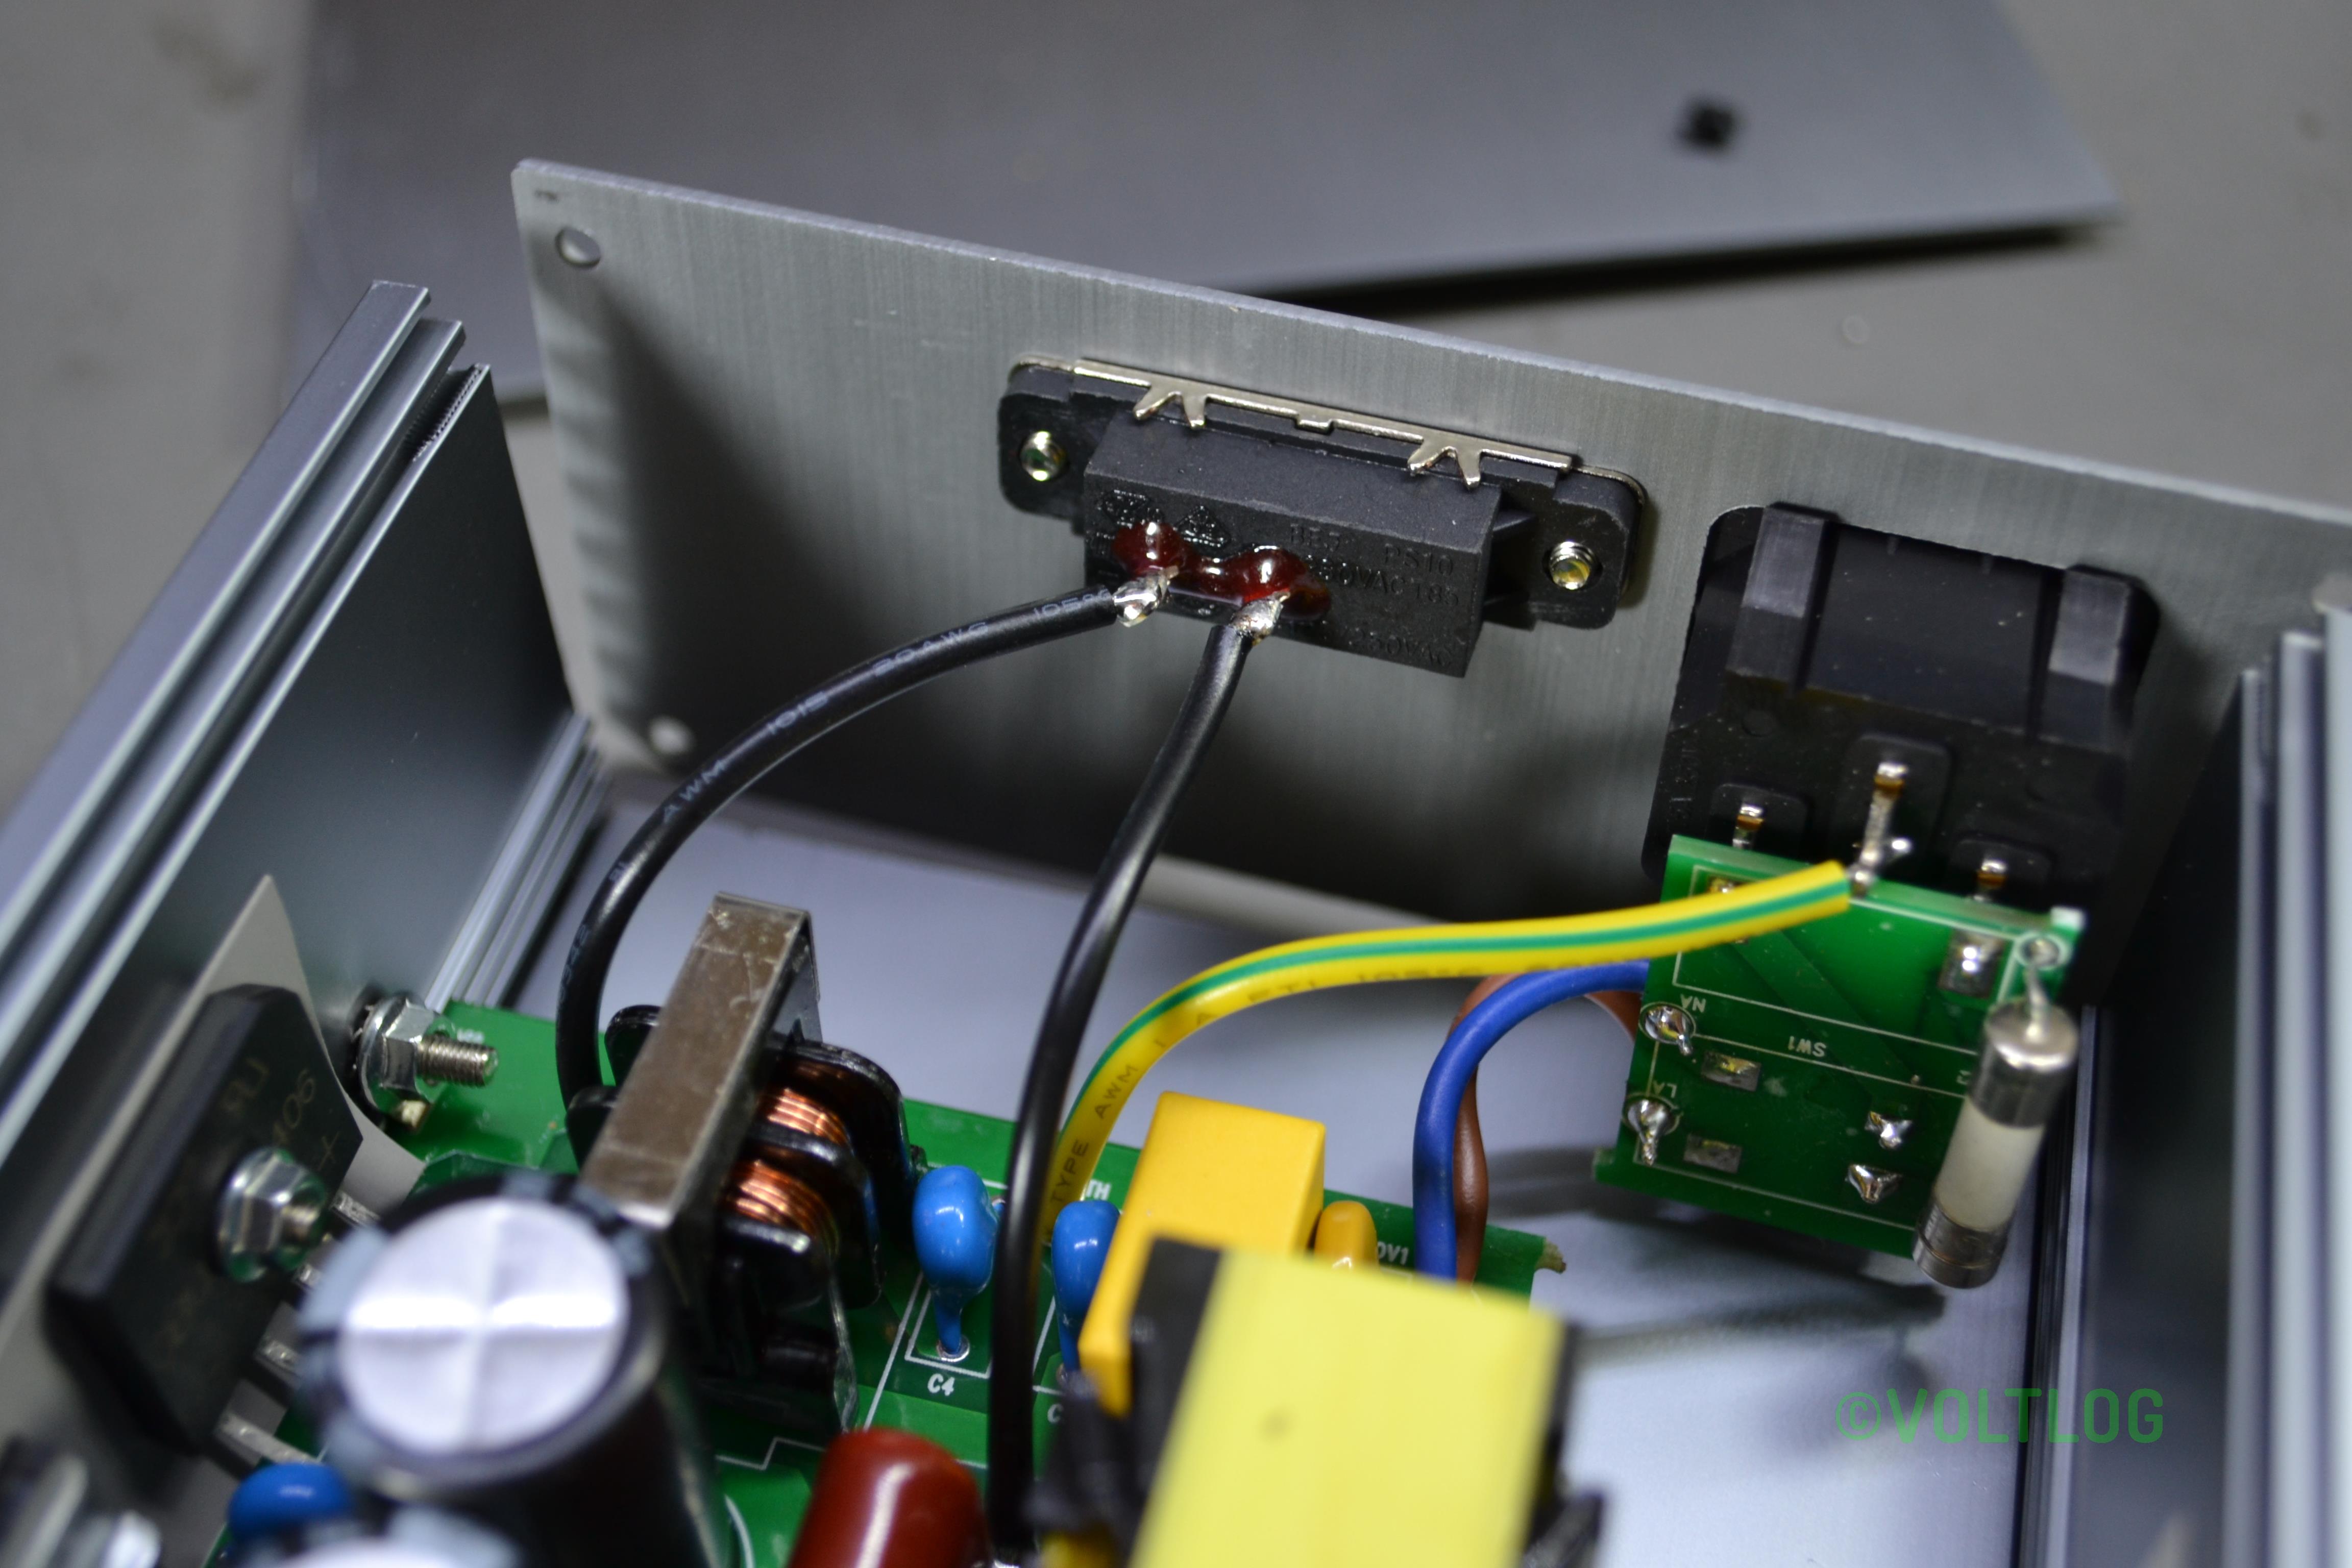
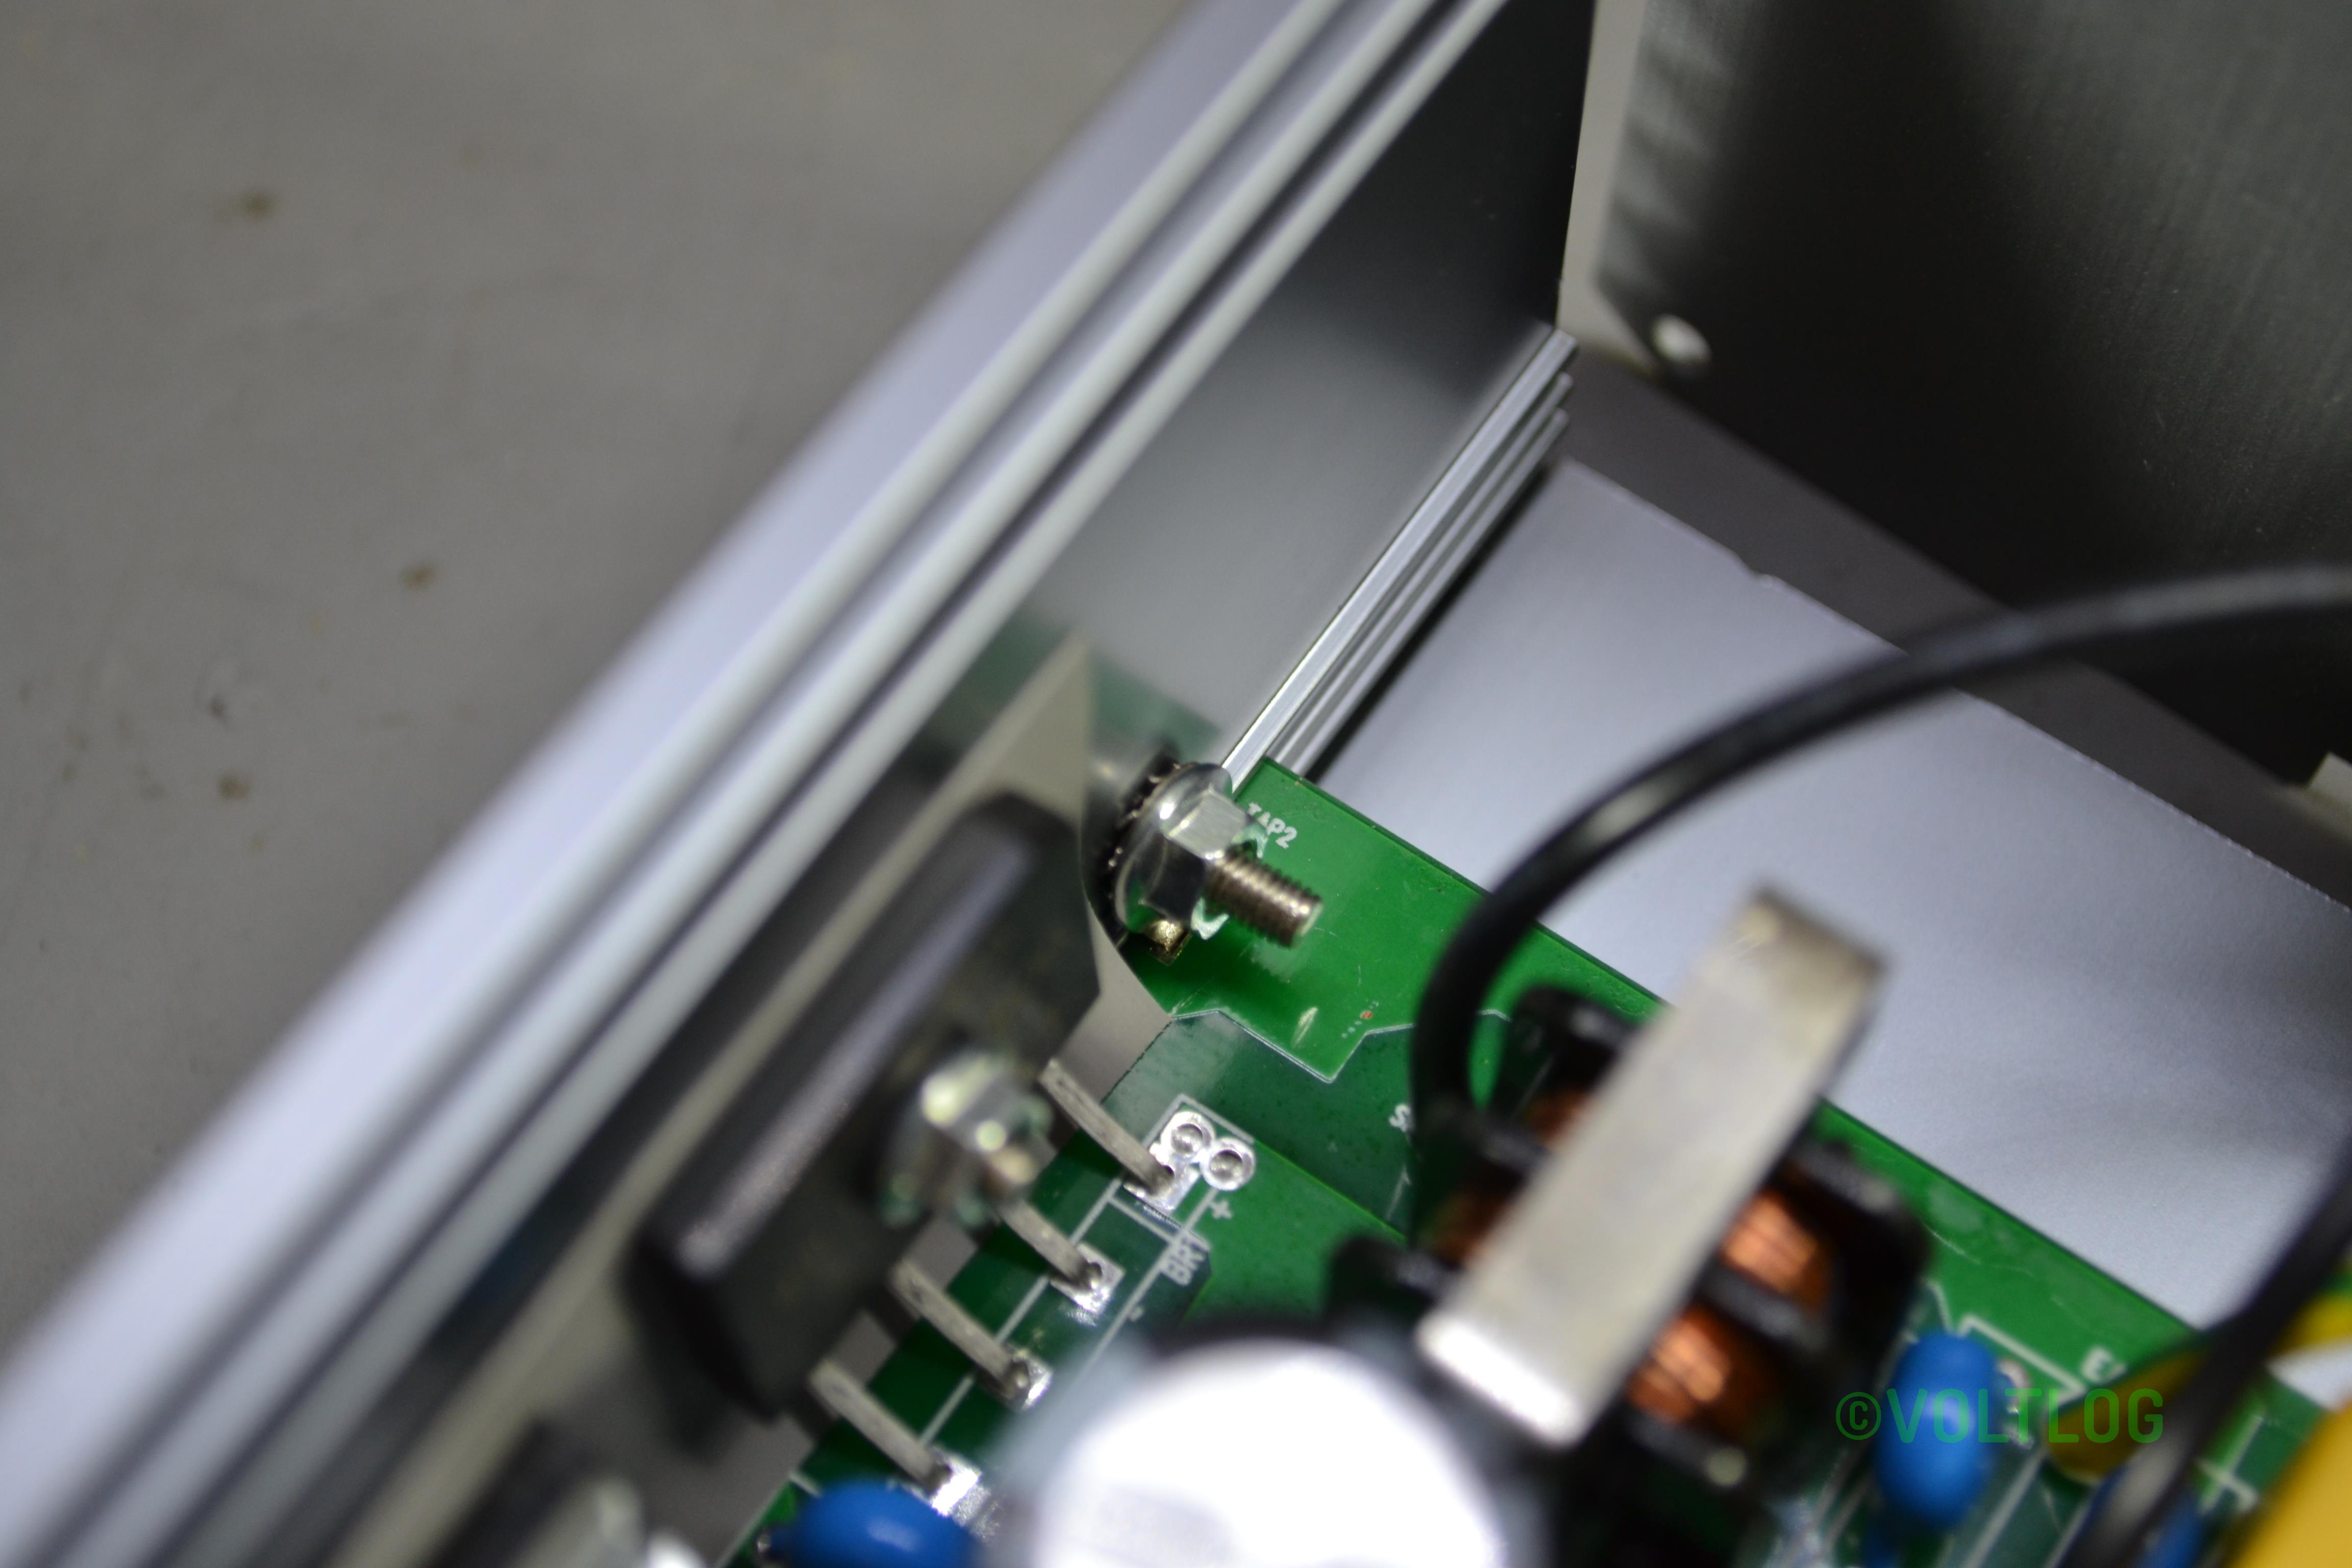
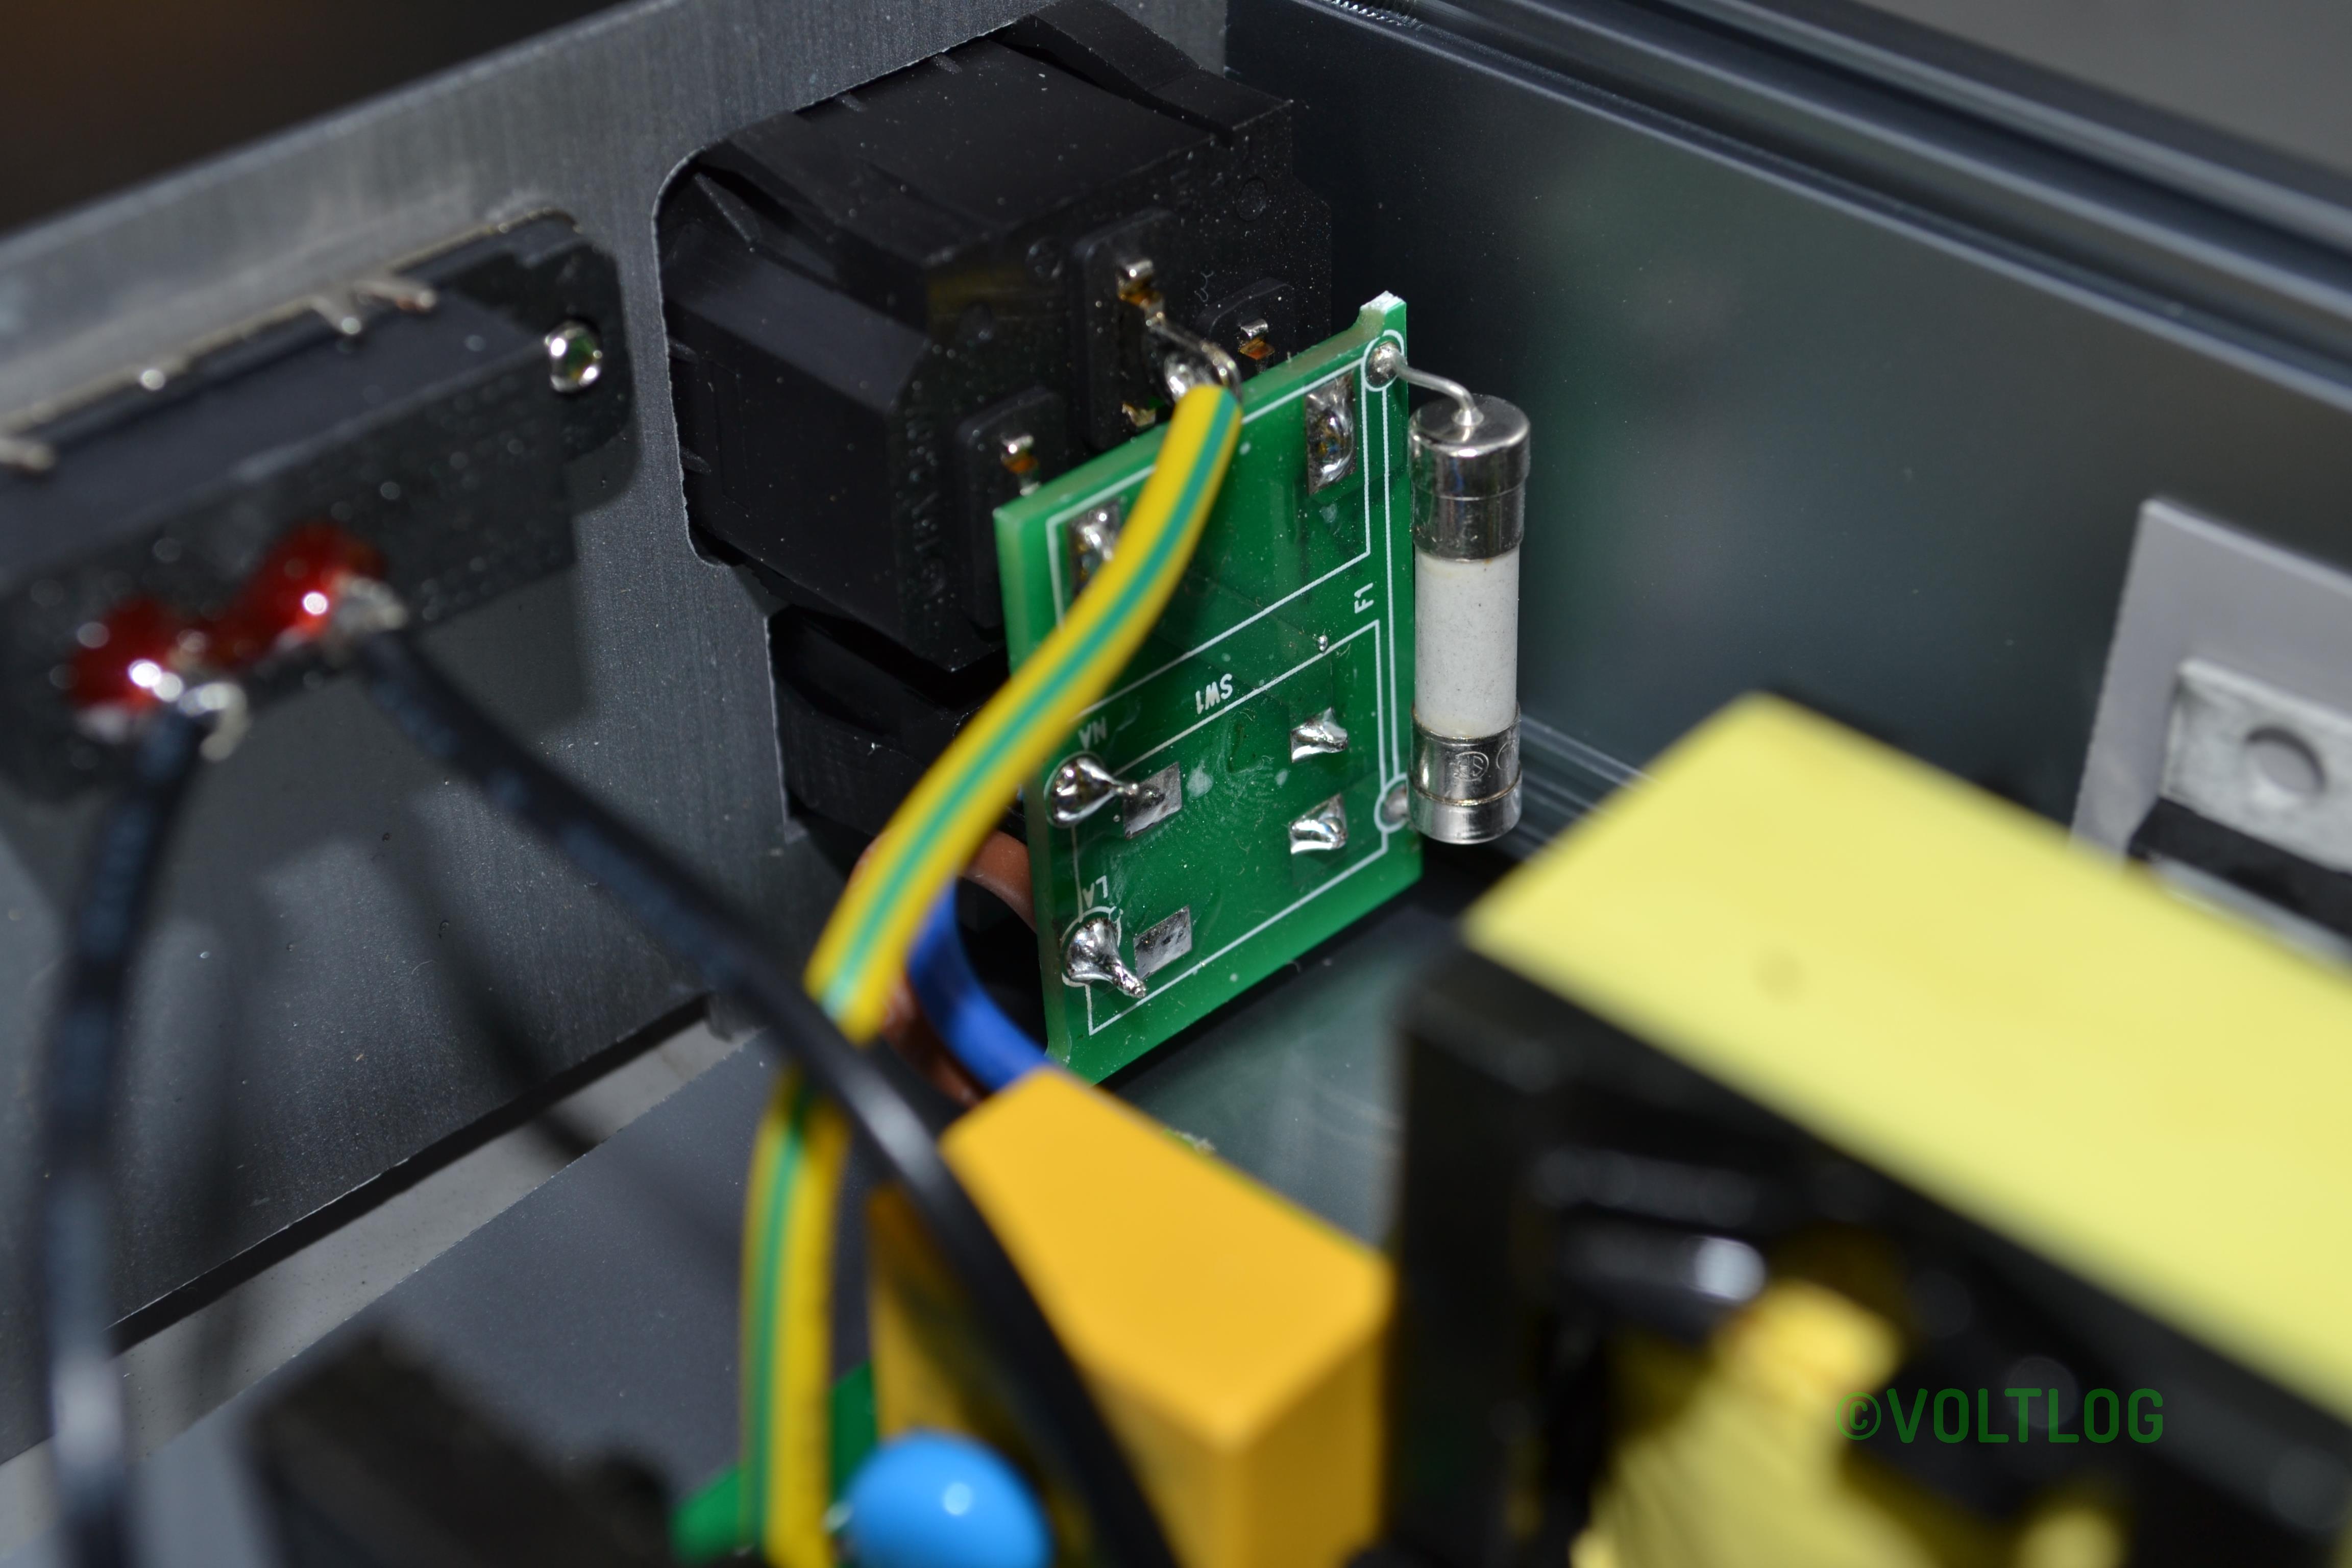
  2. Grounding issue with blue metal enclosure.
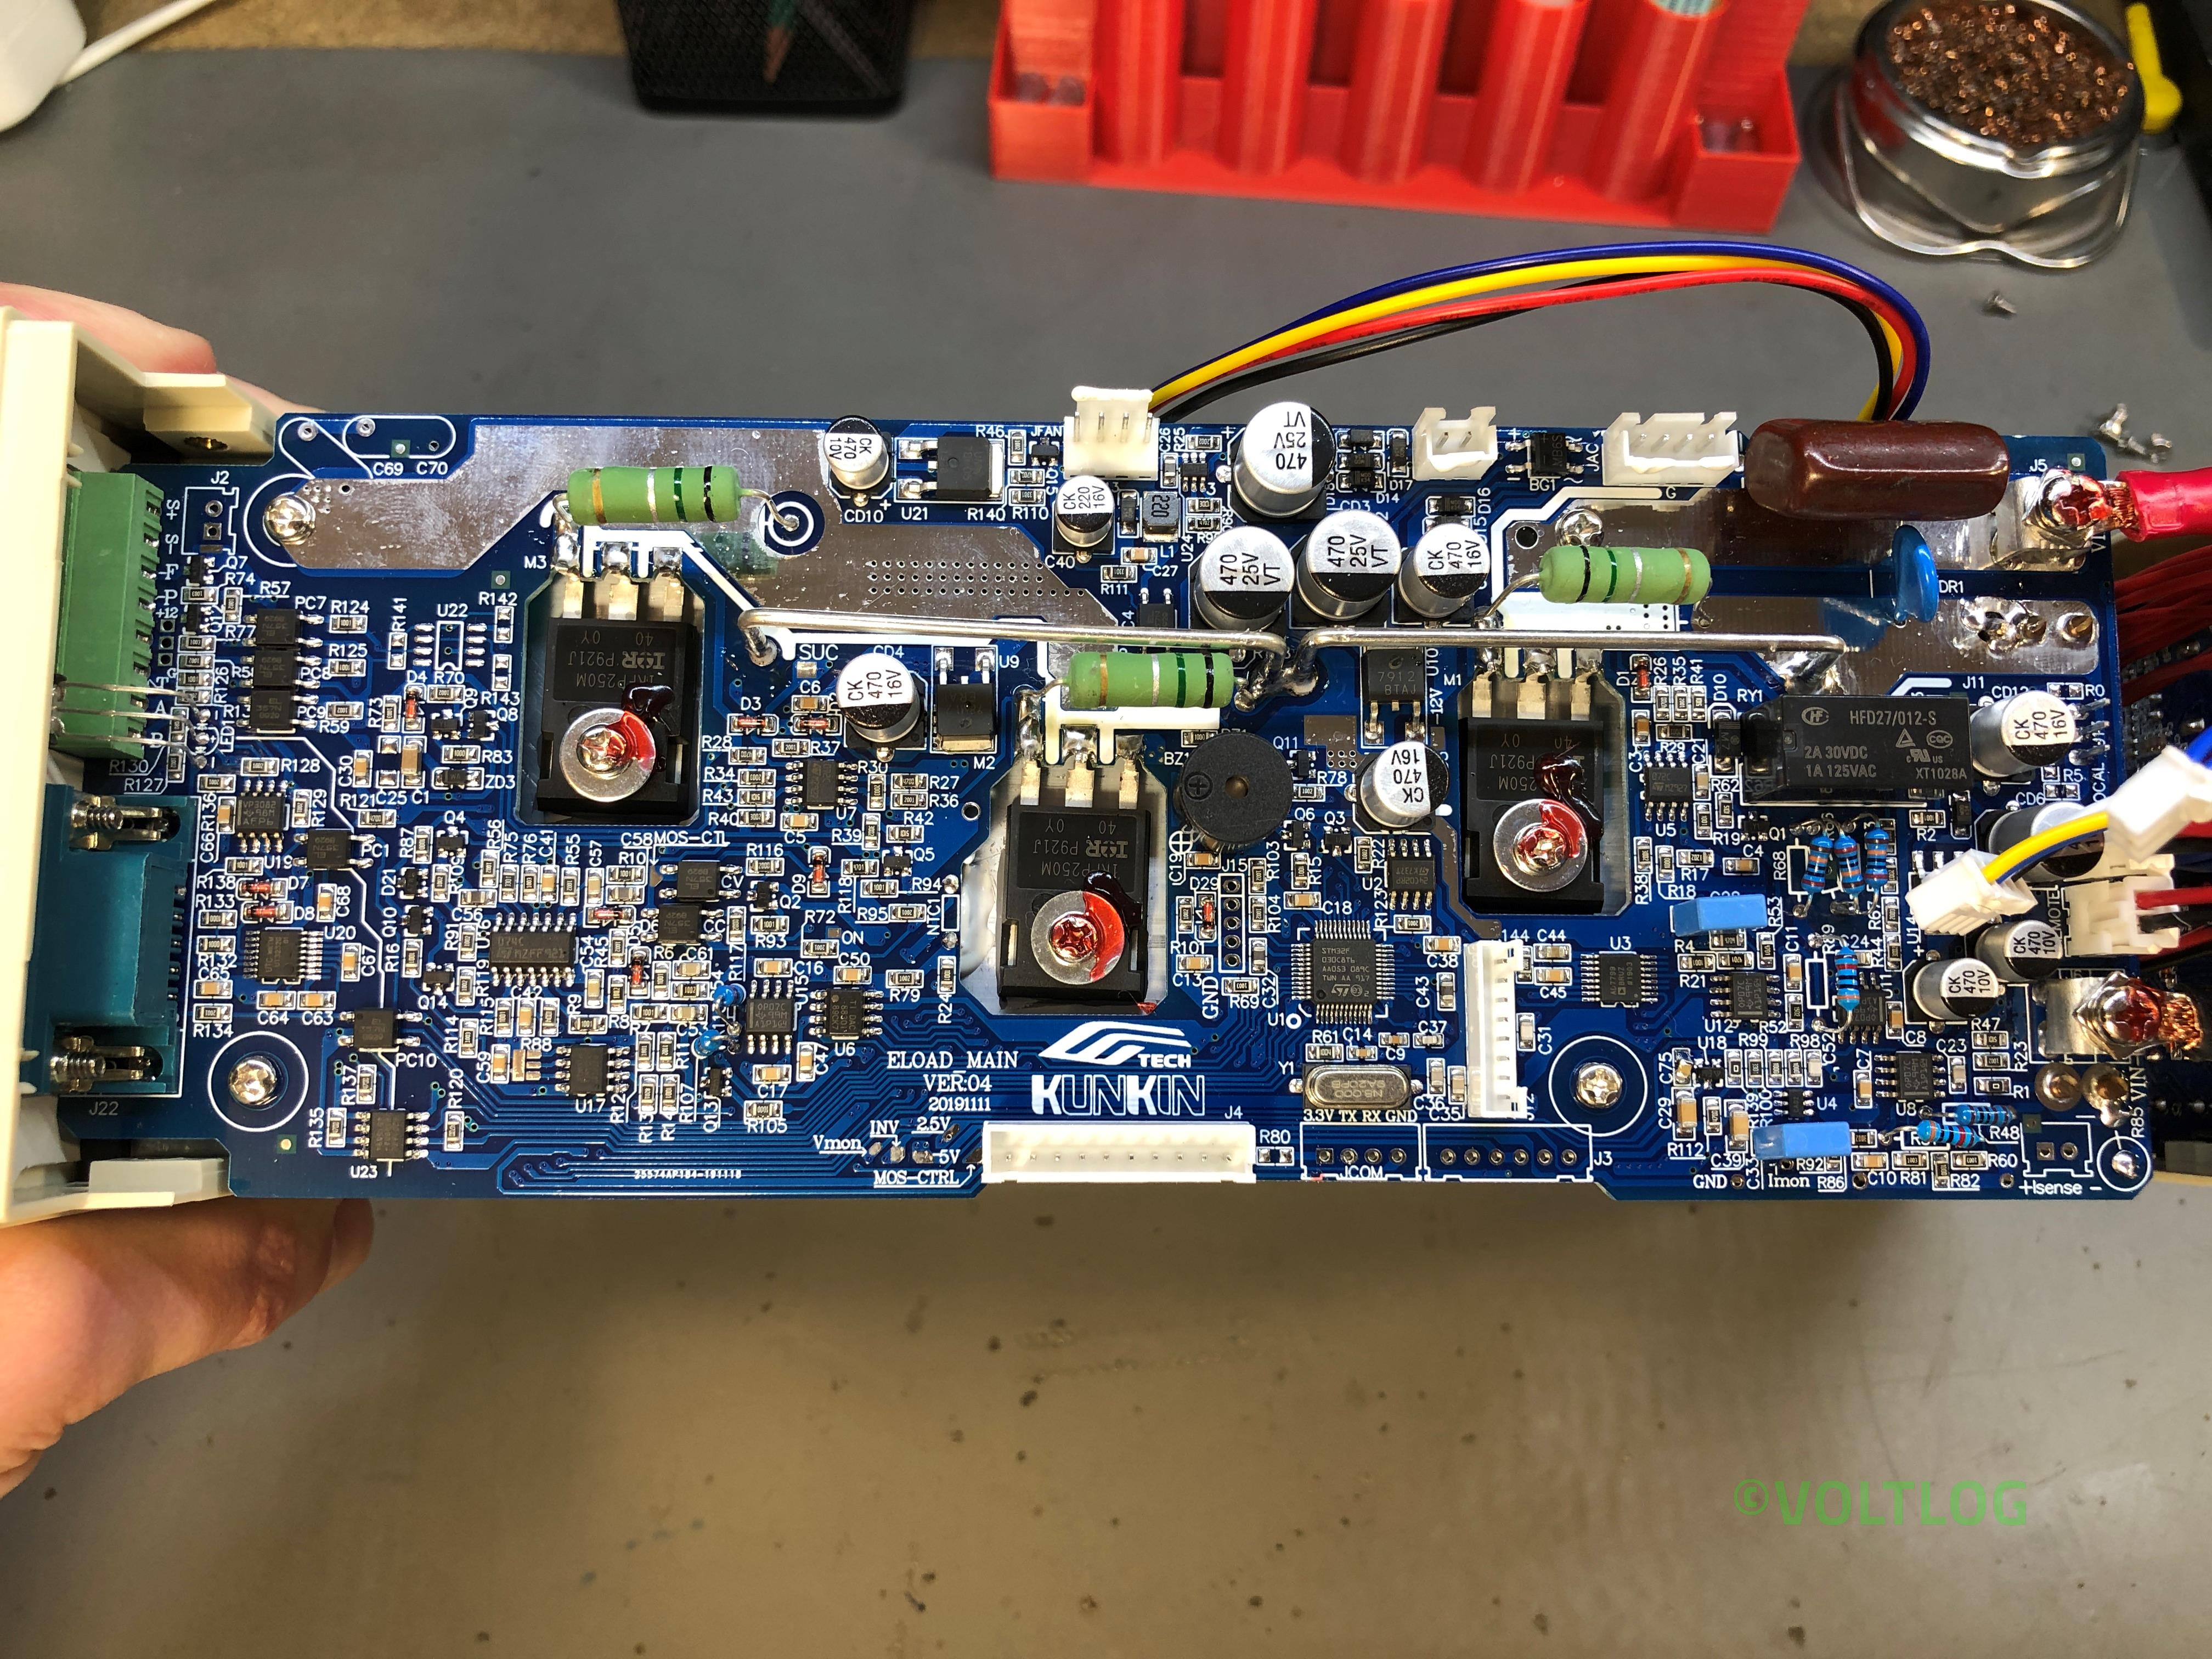
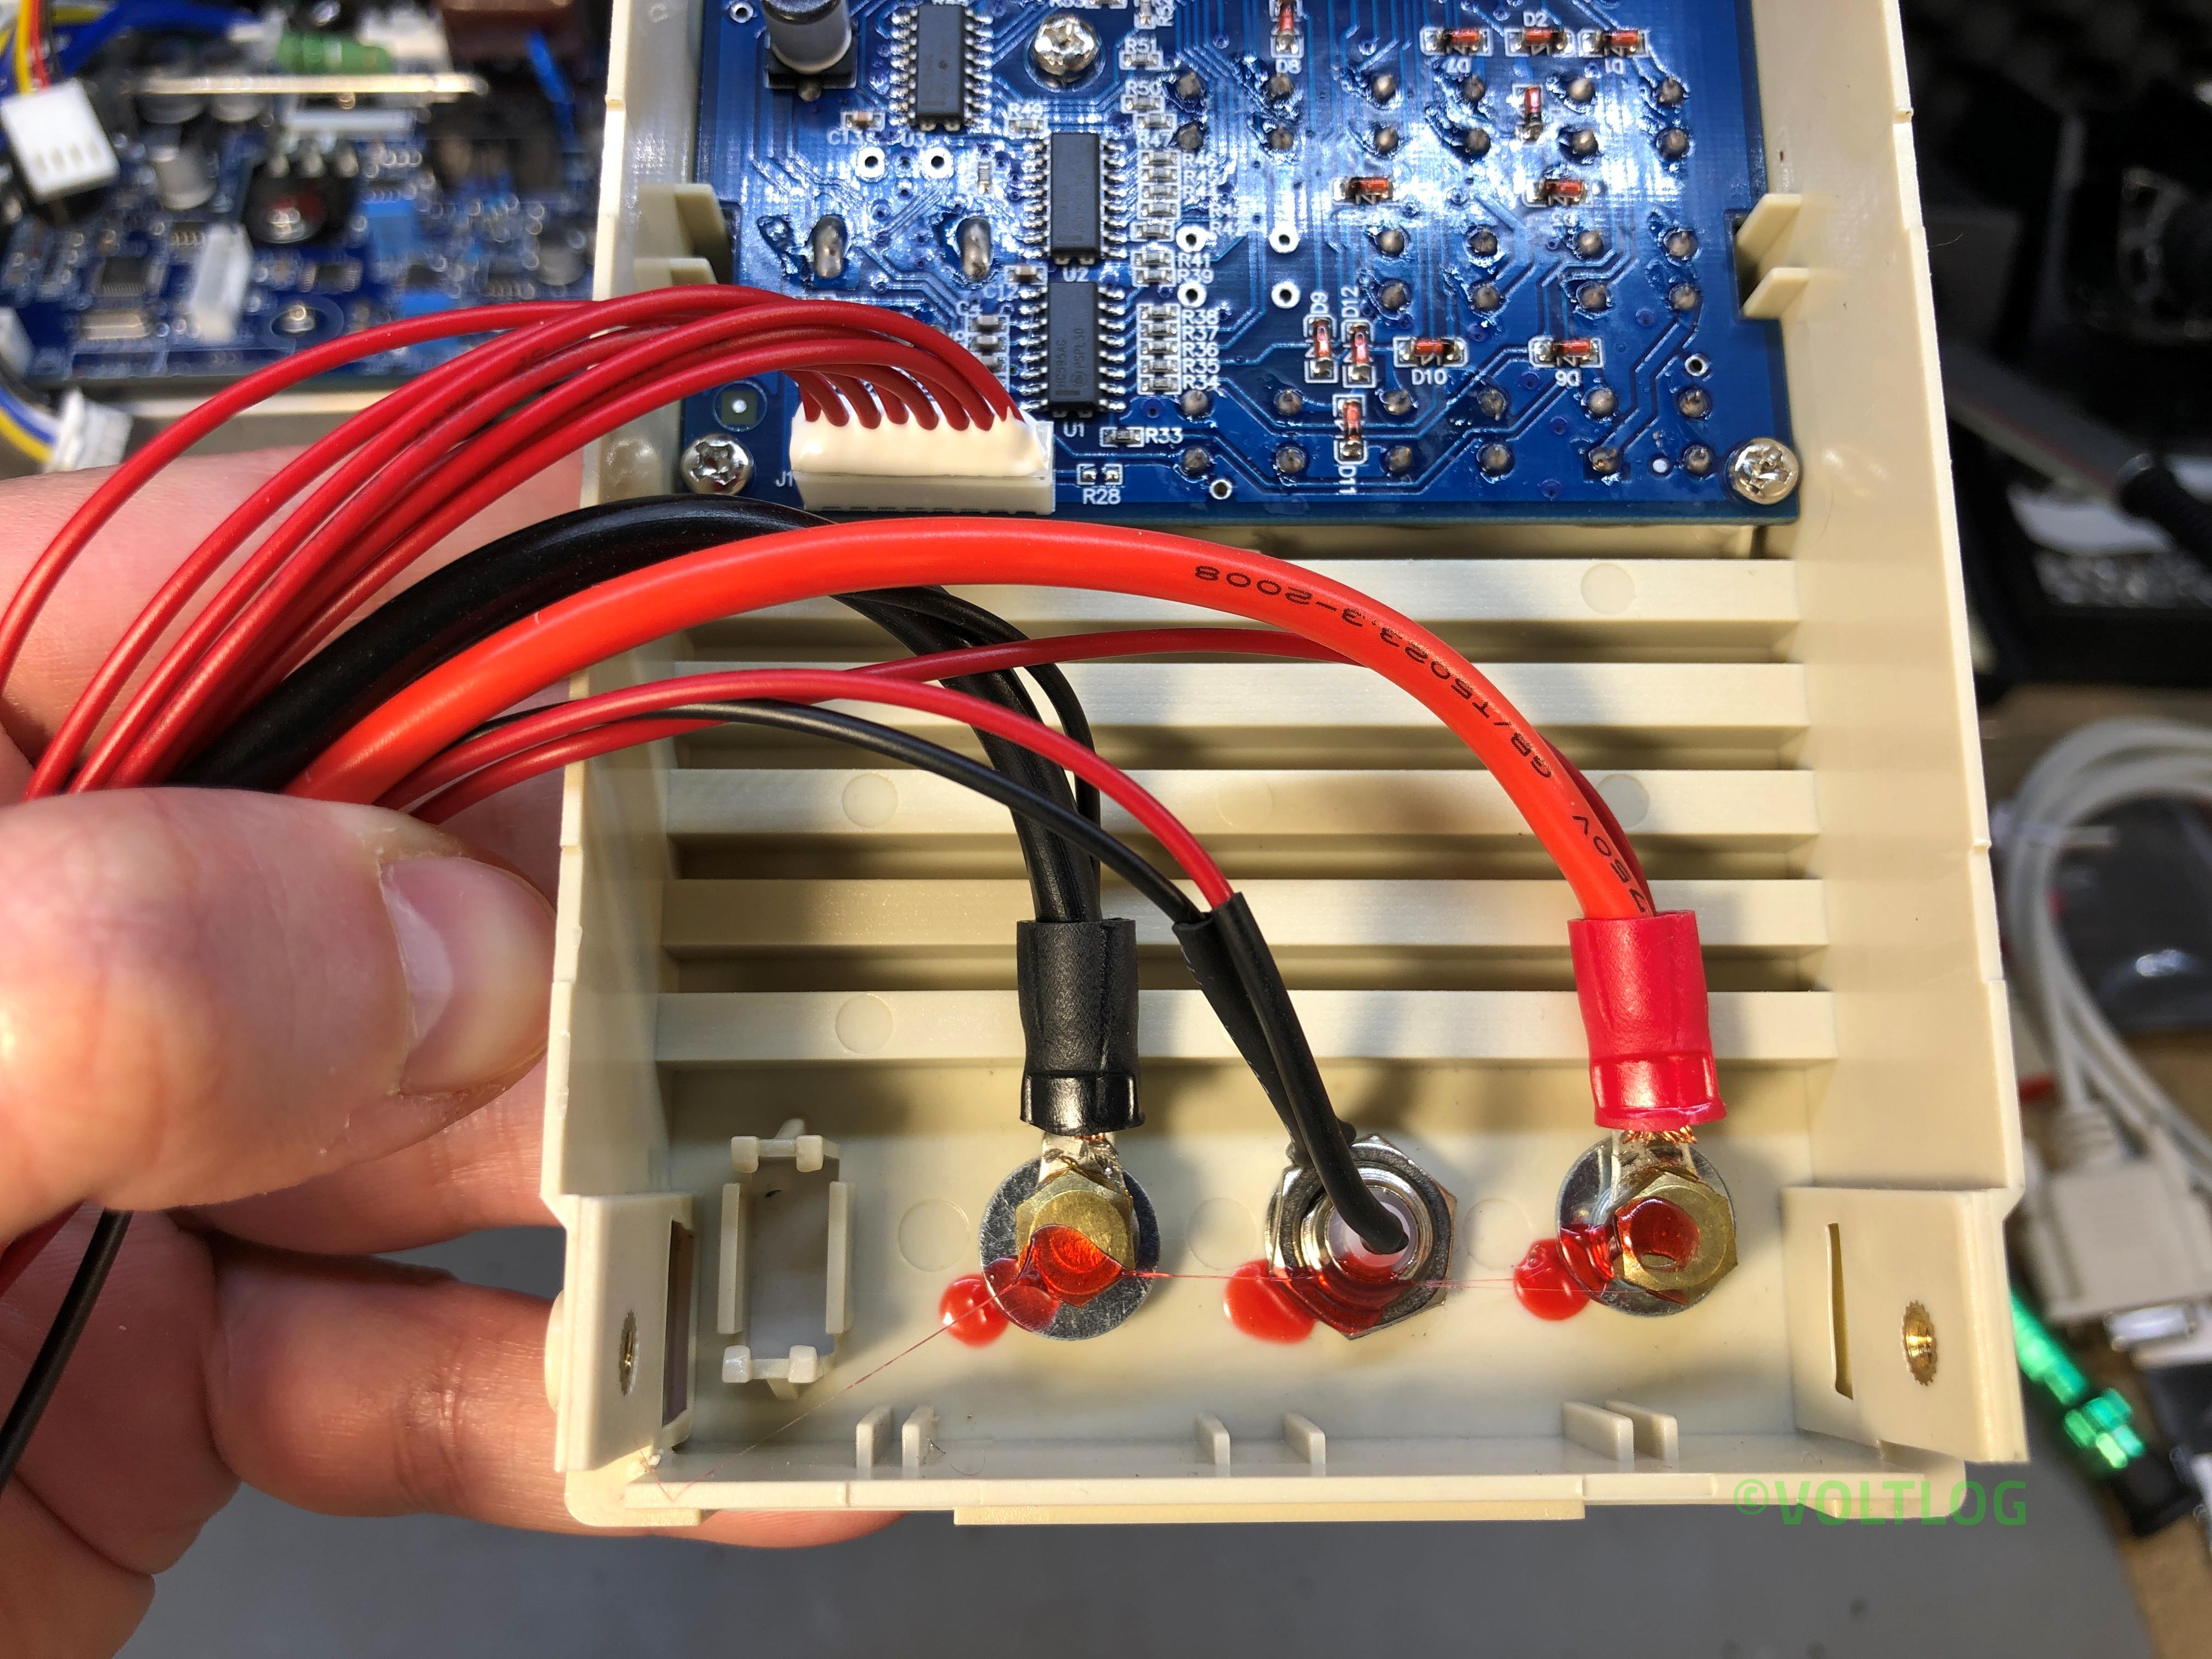
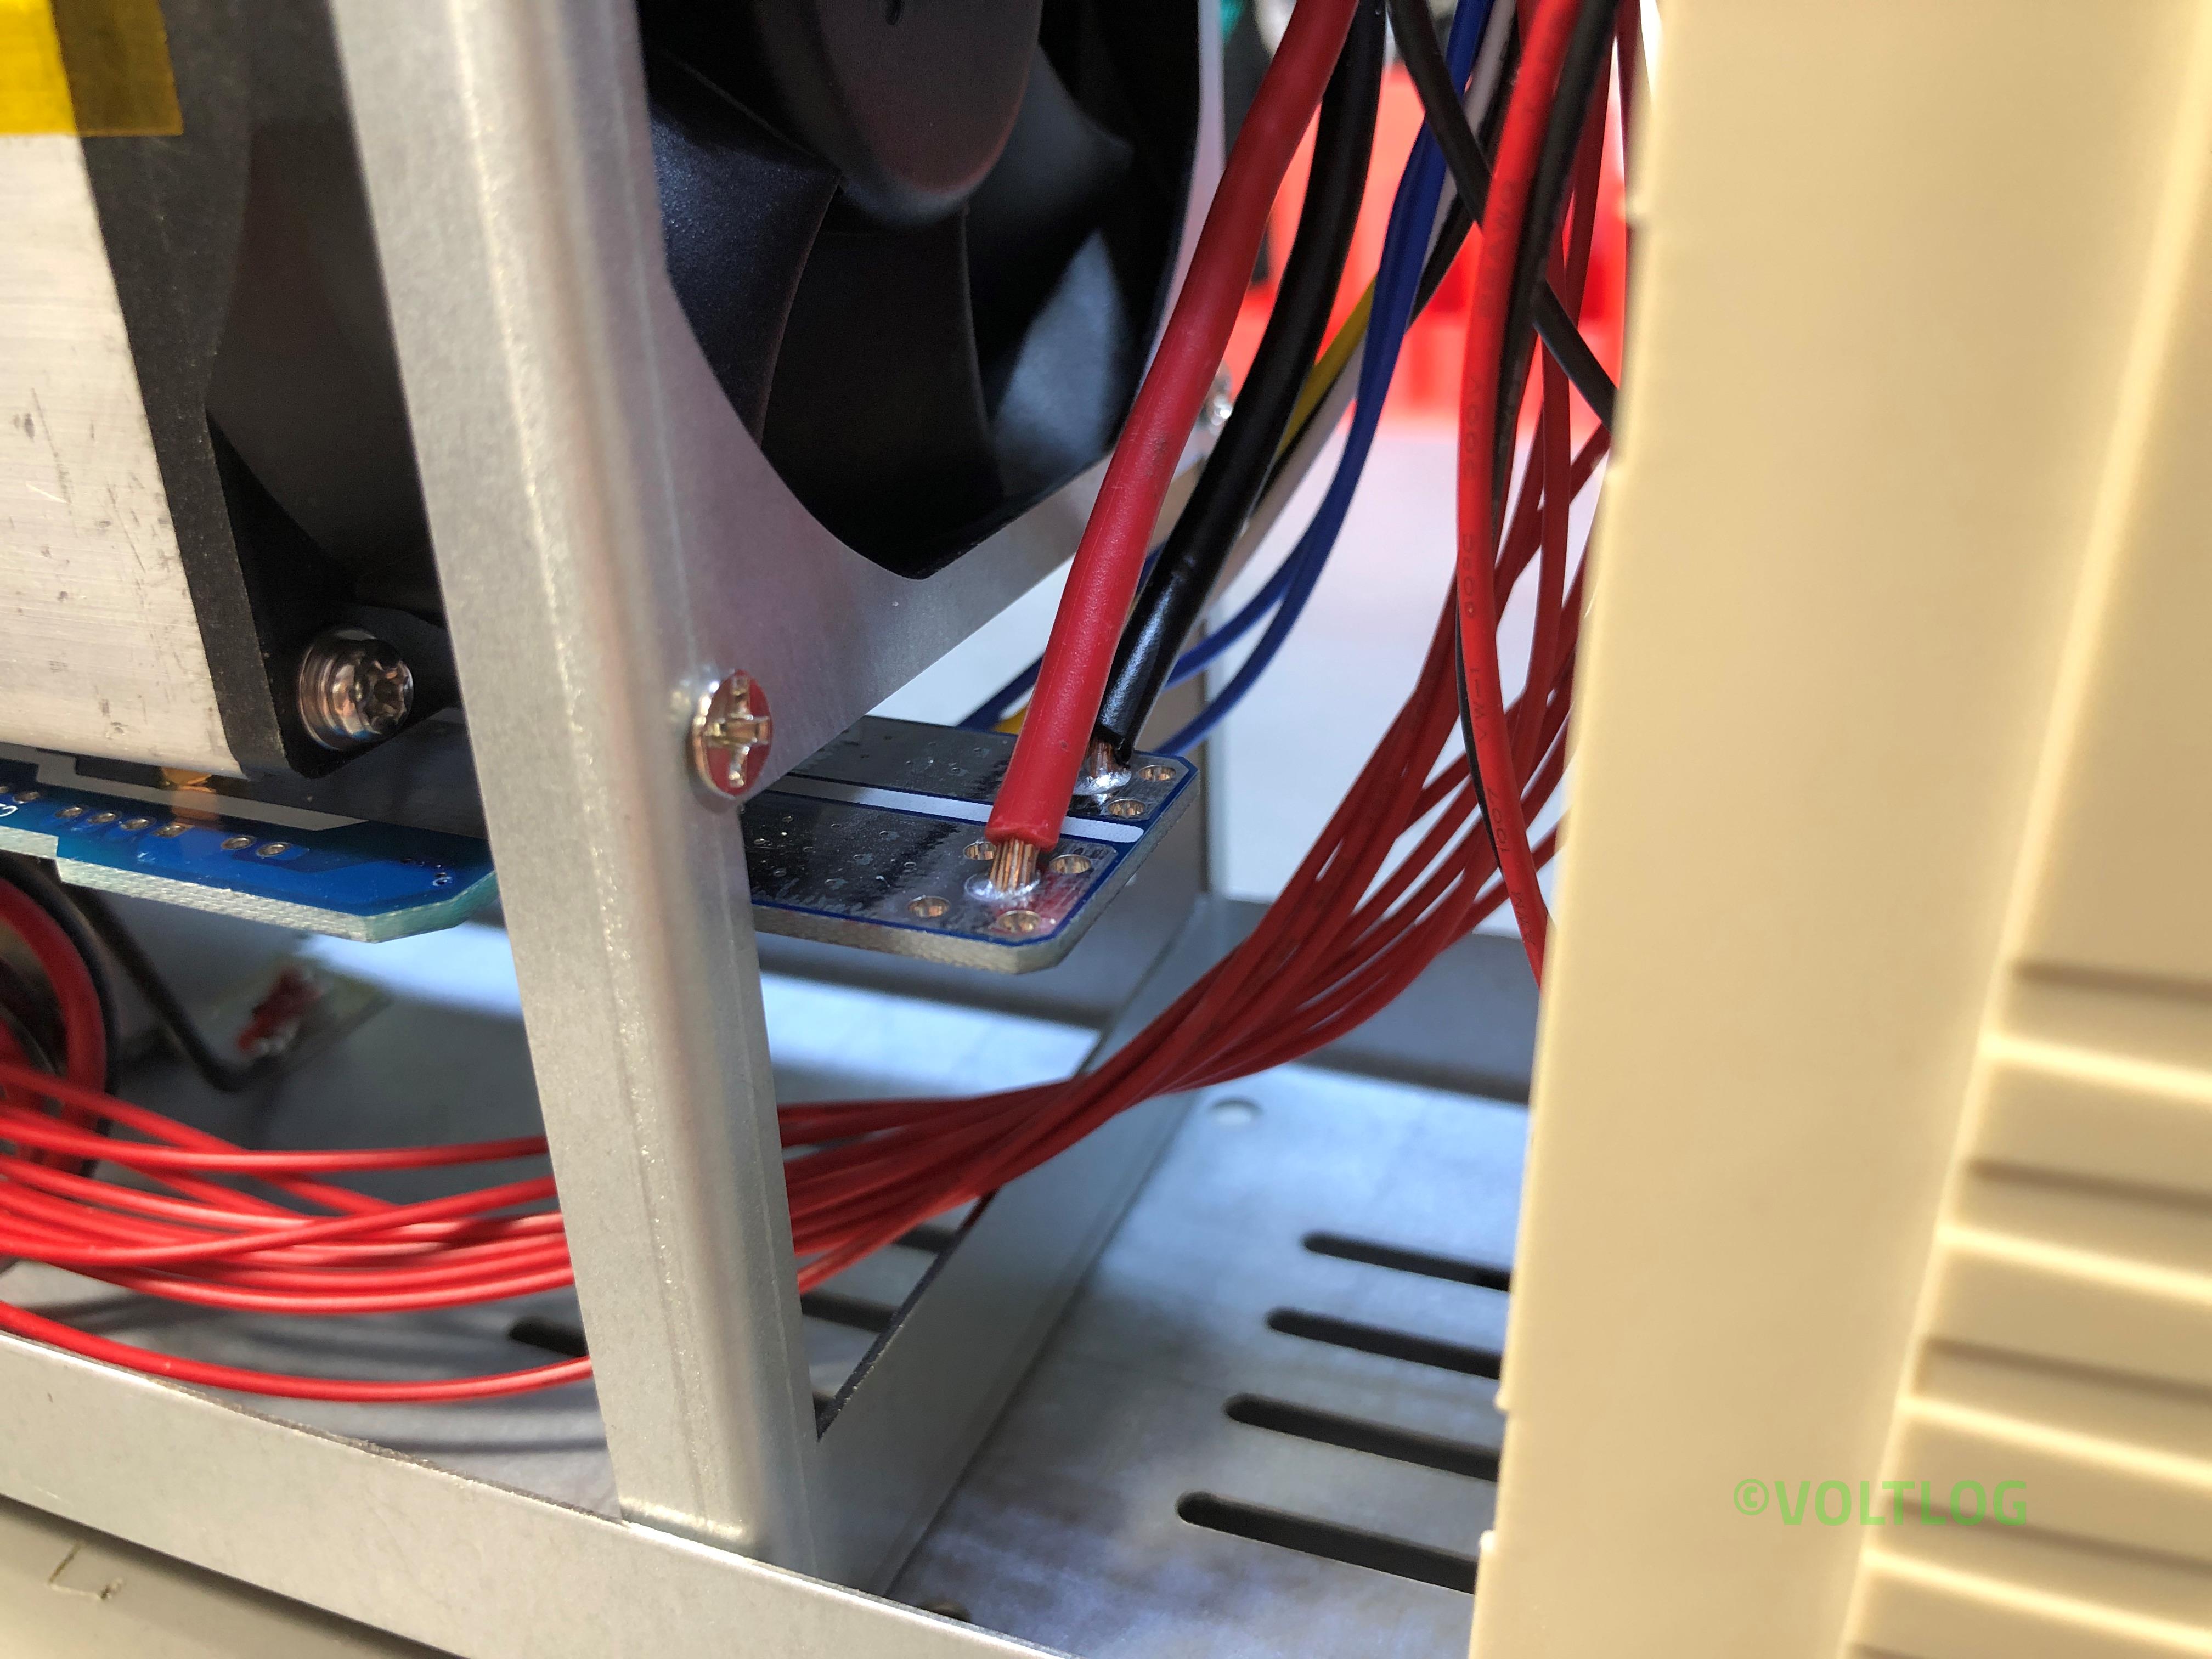
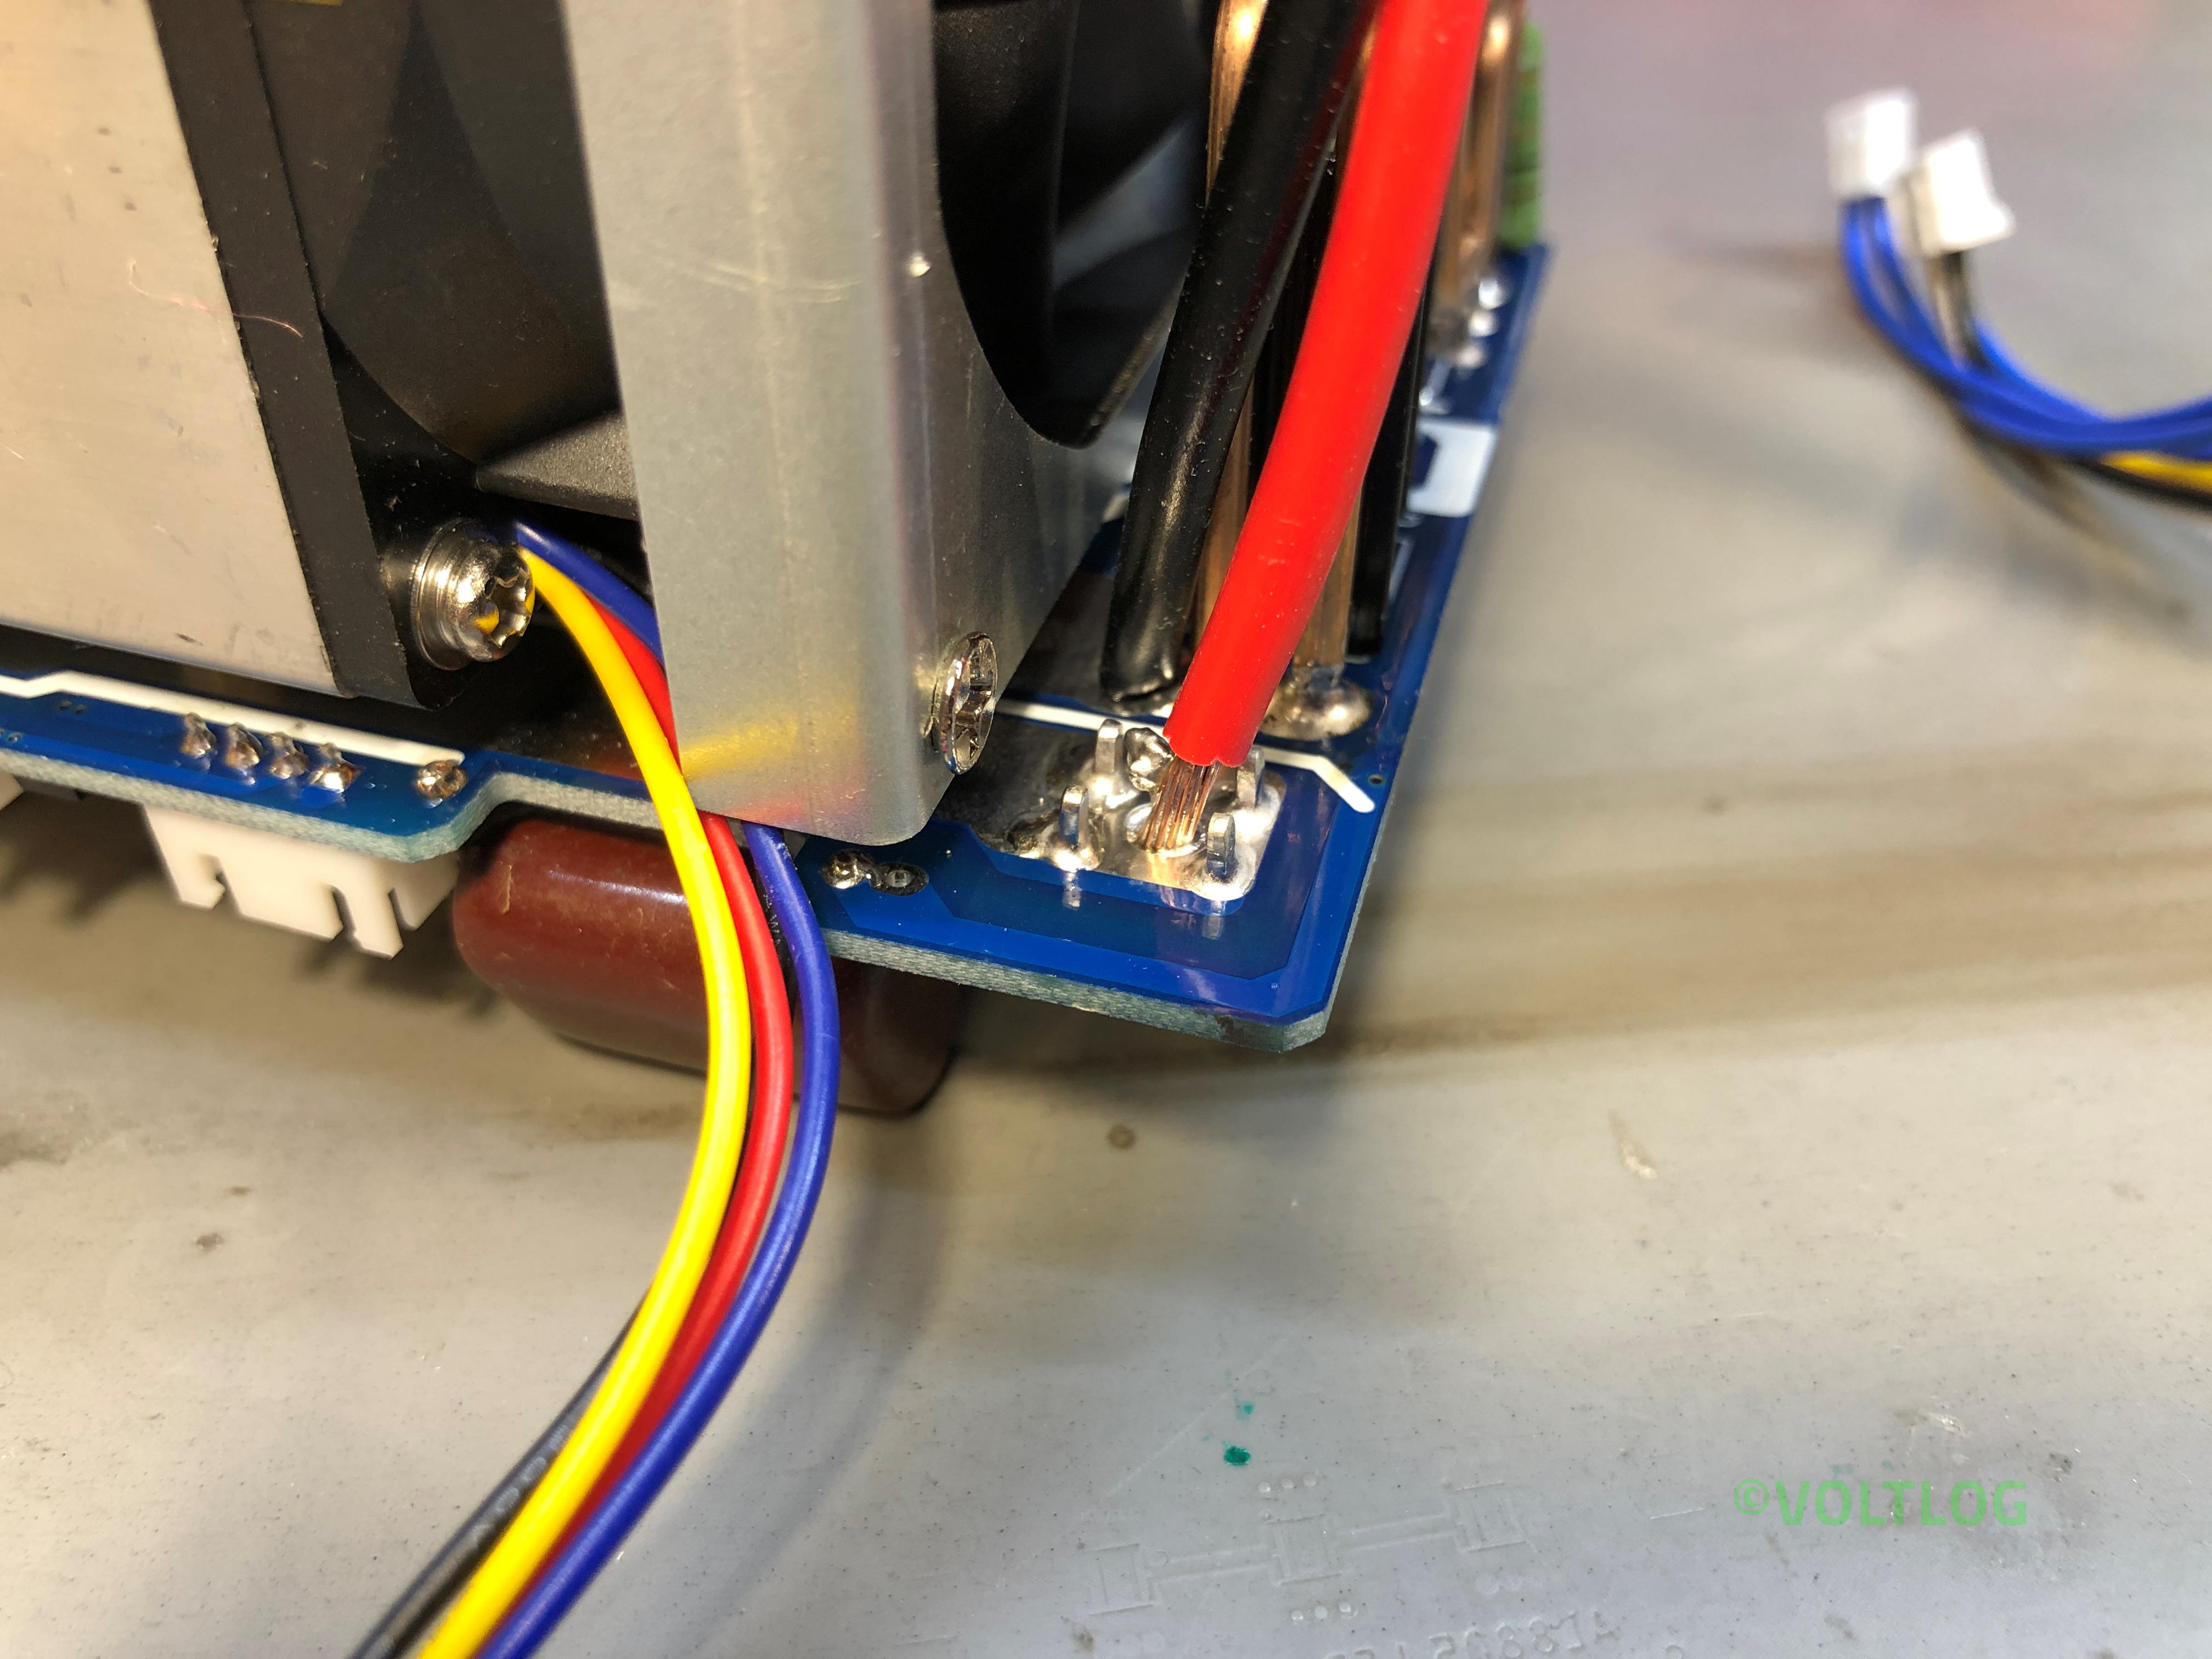
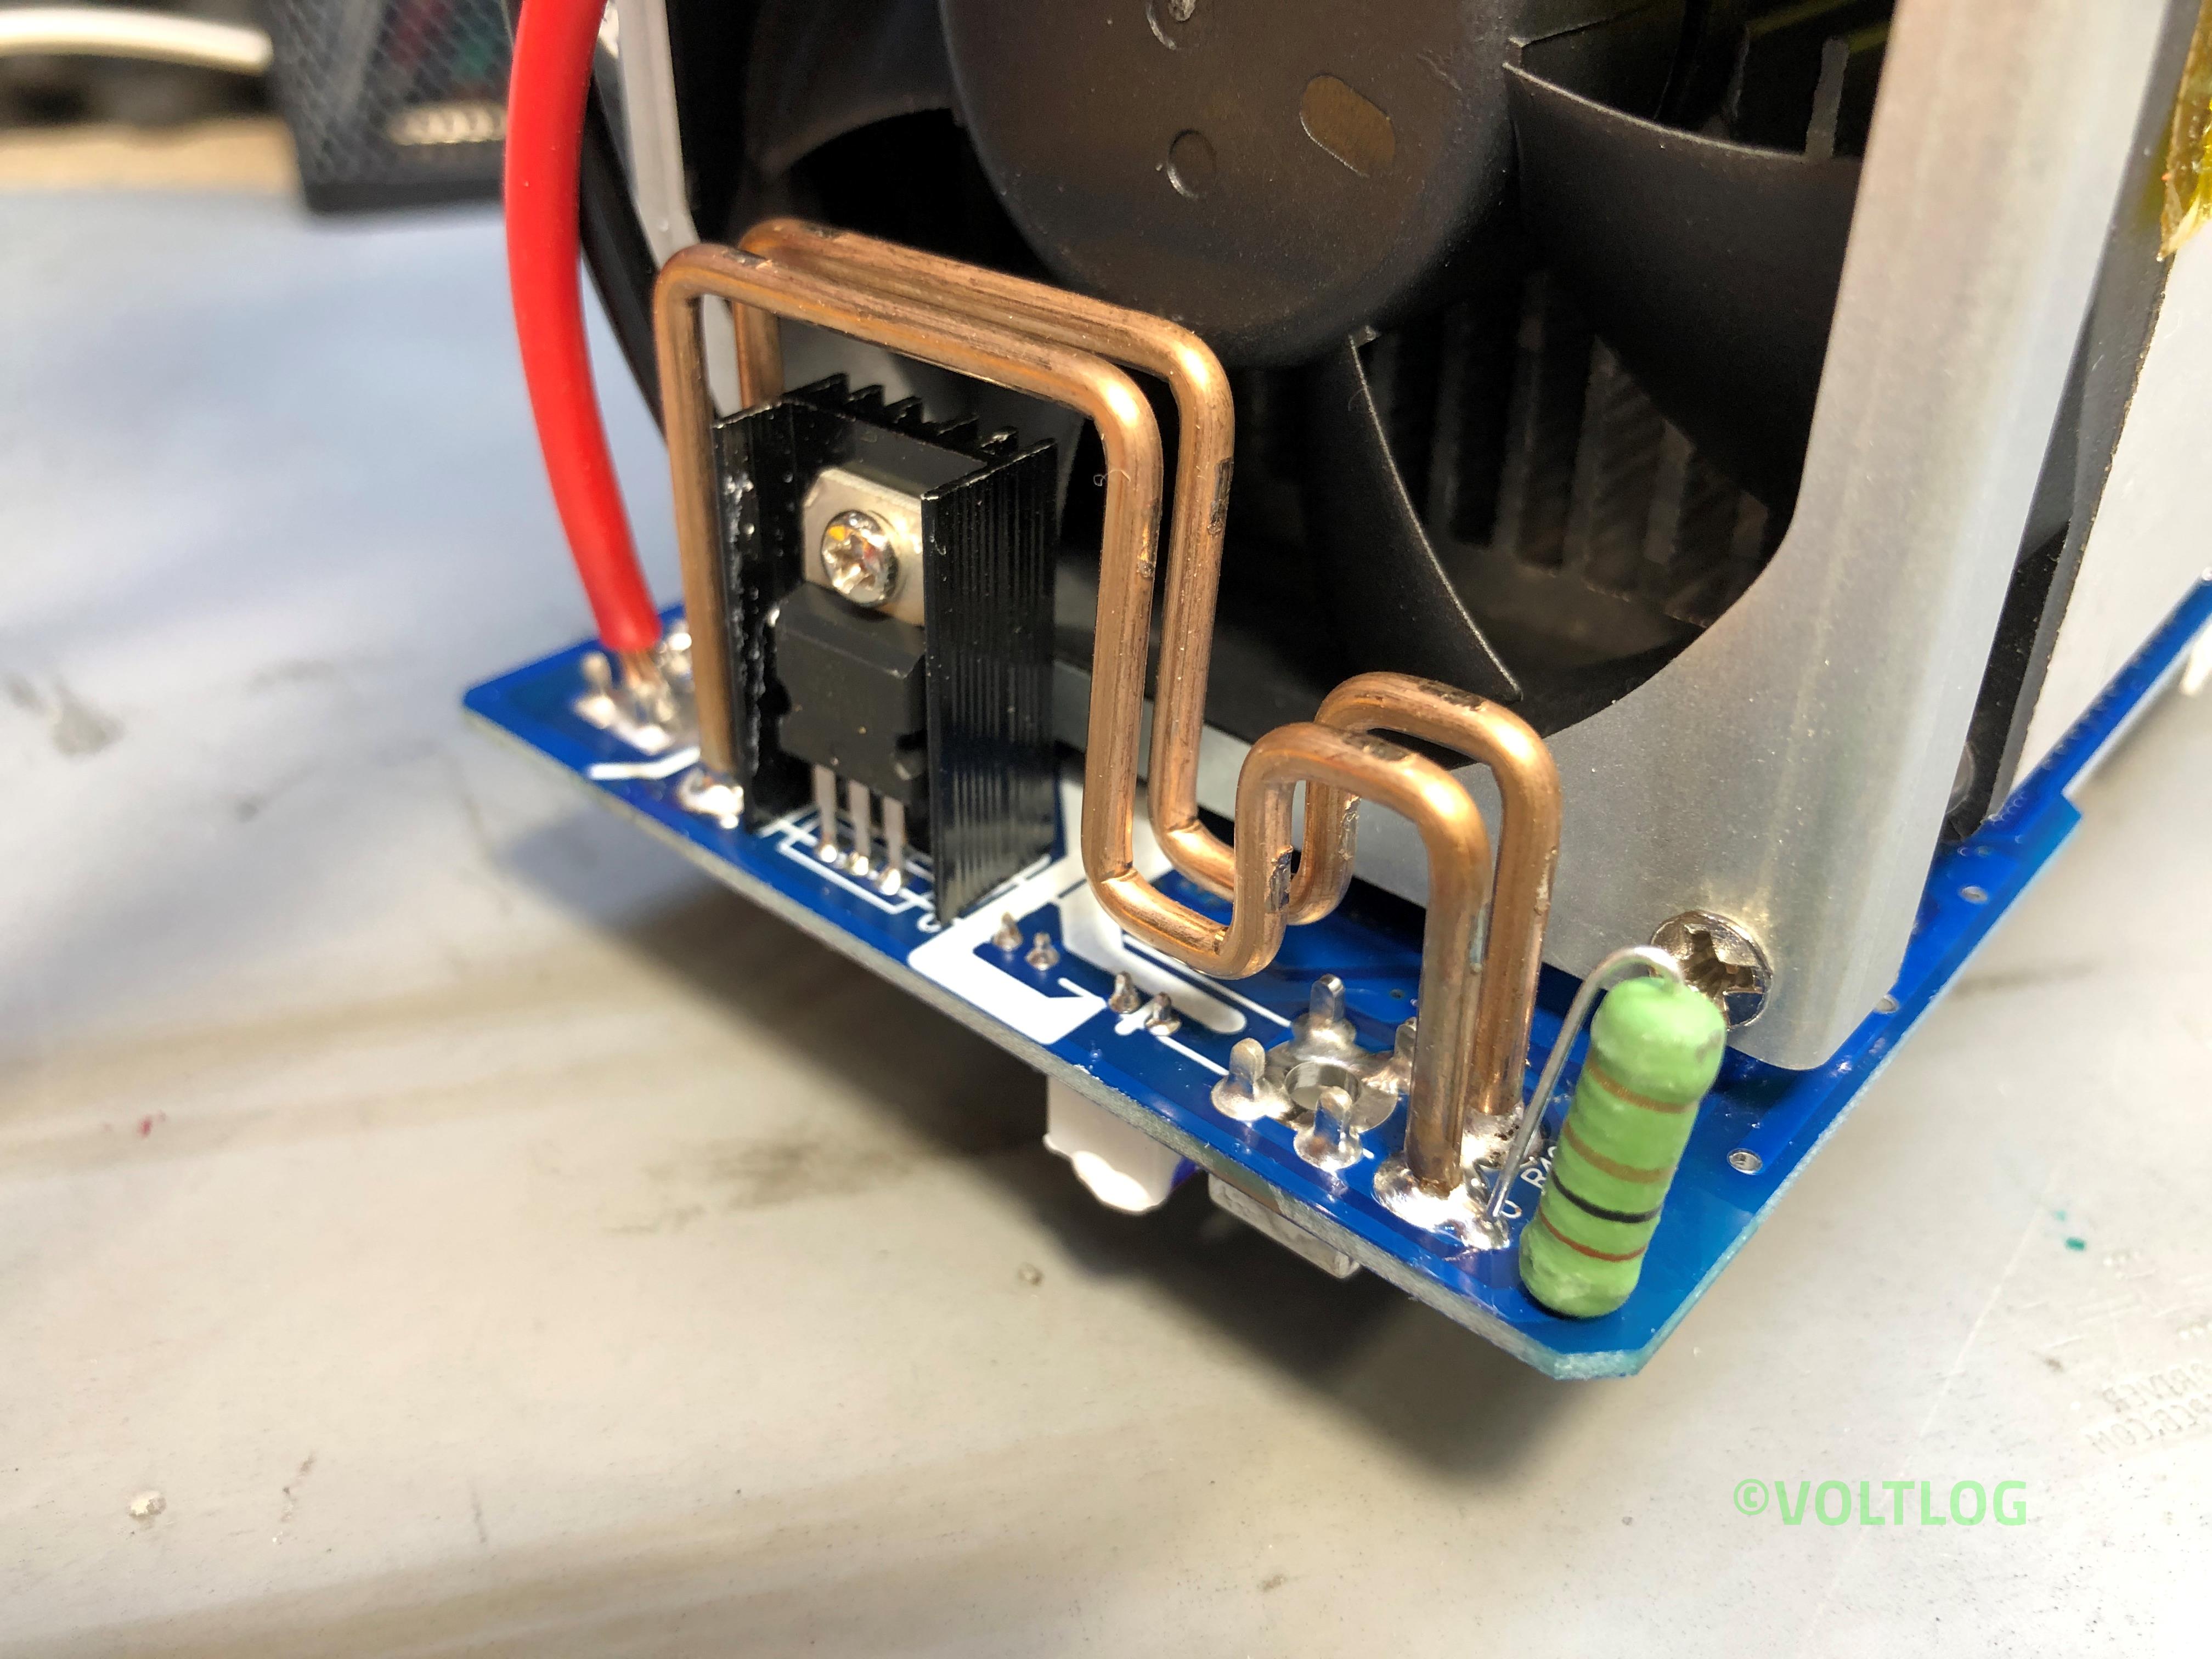
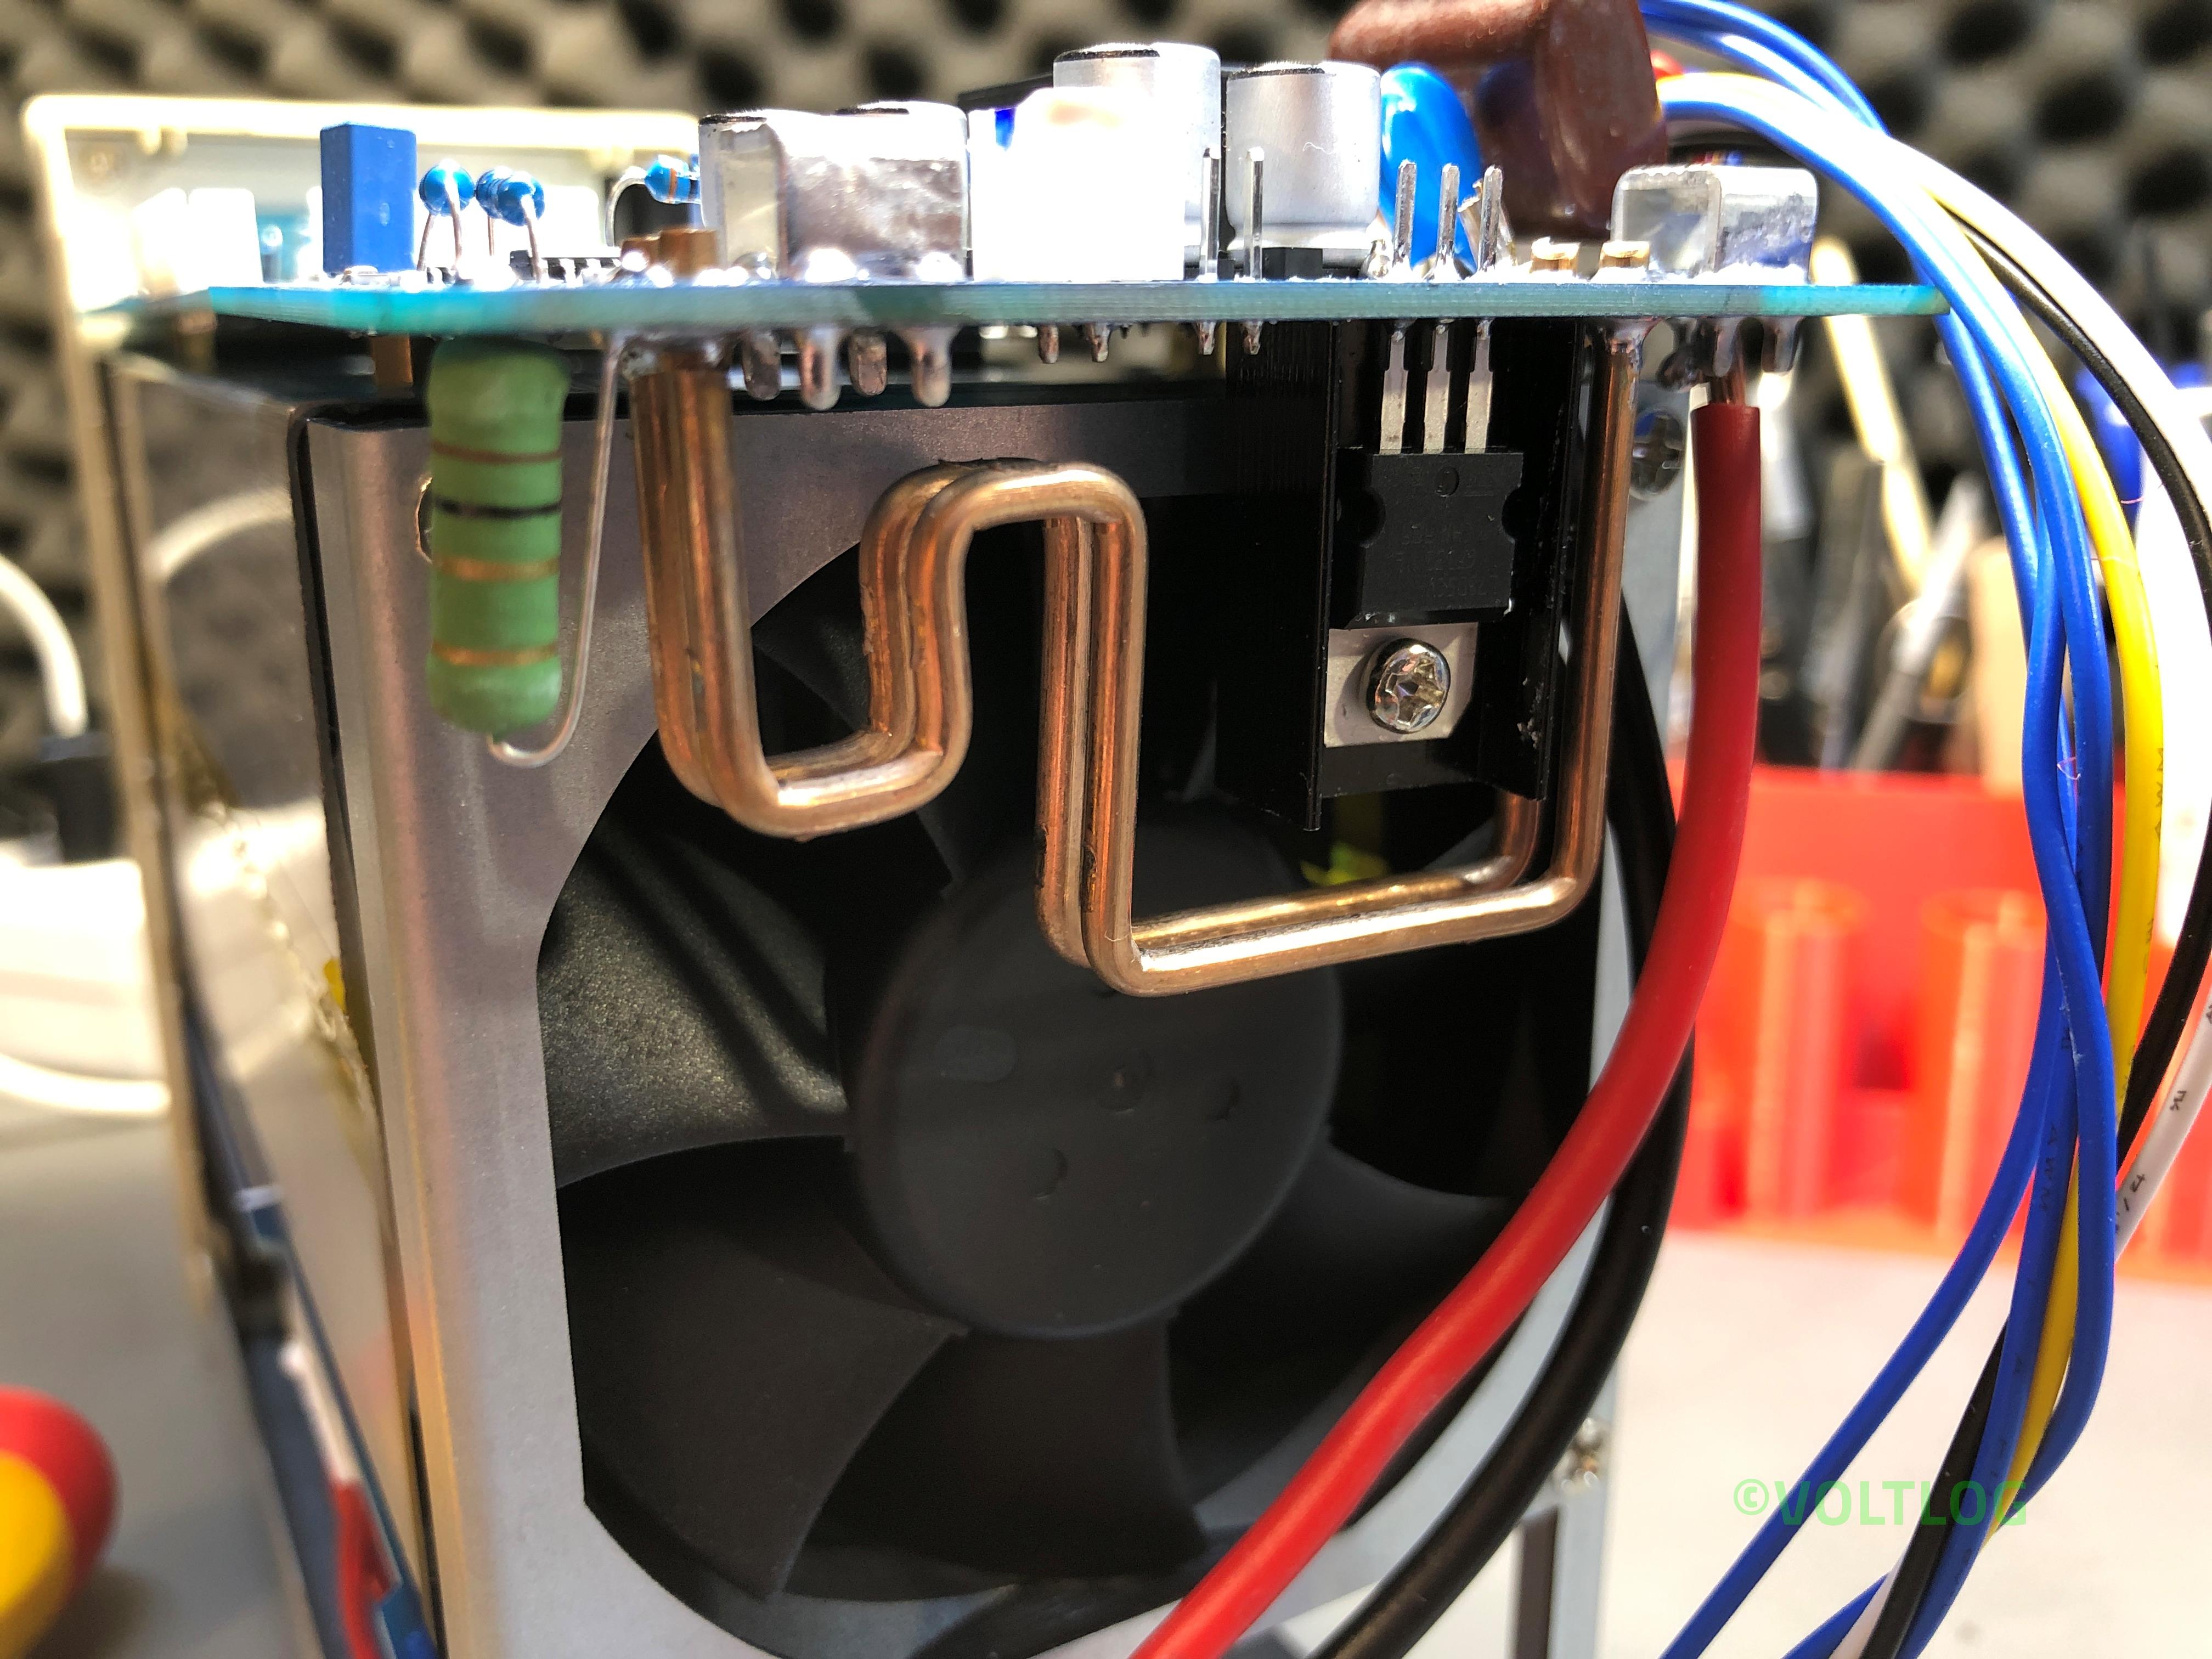
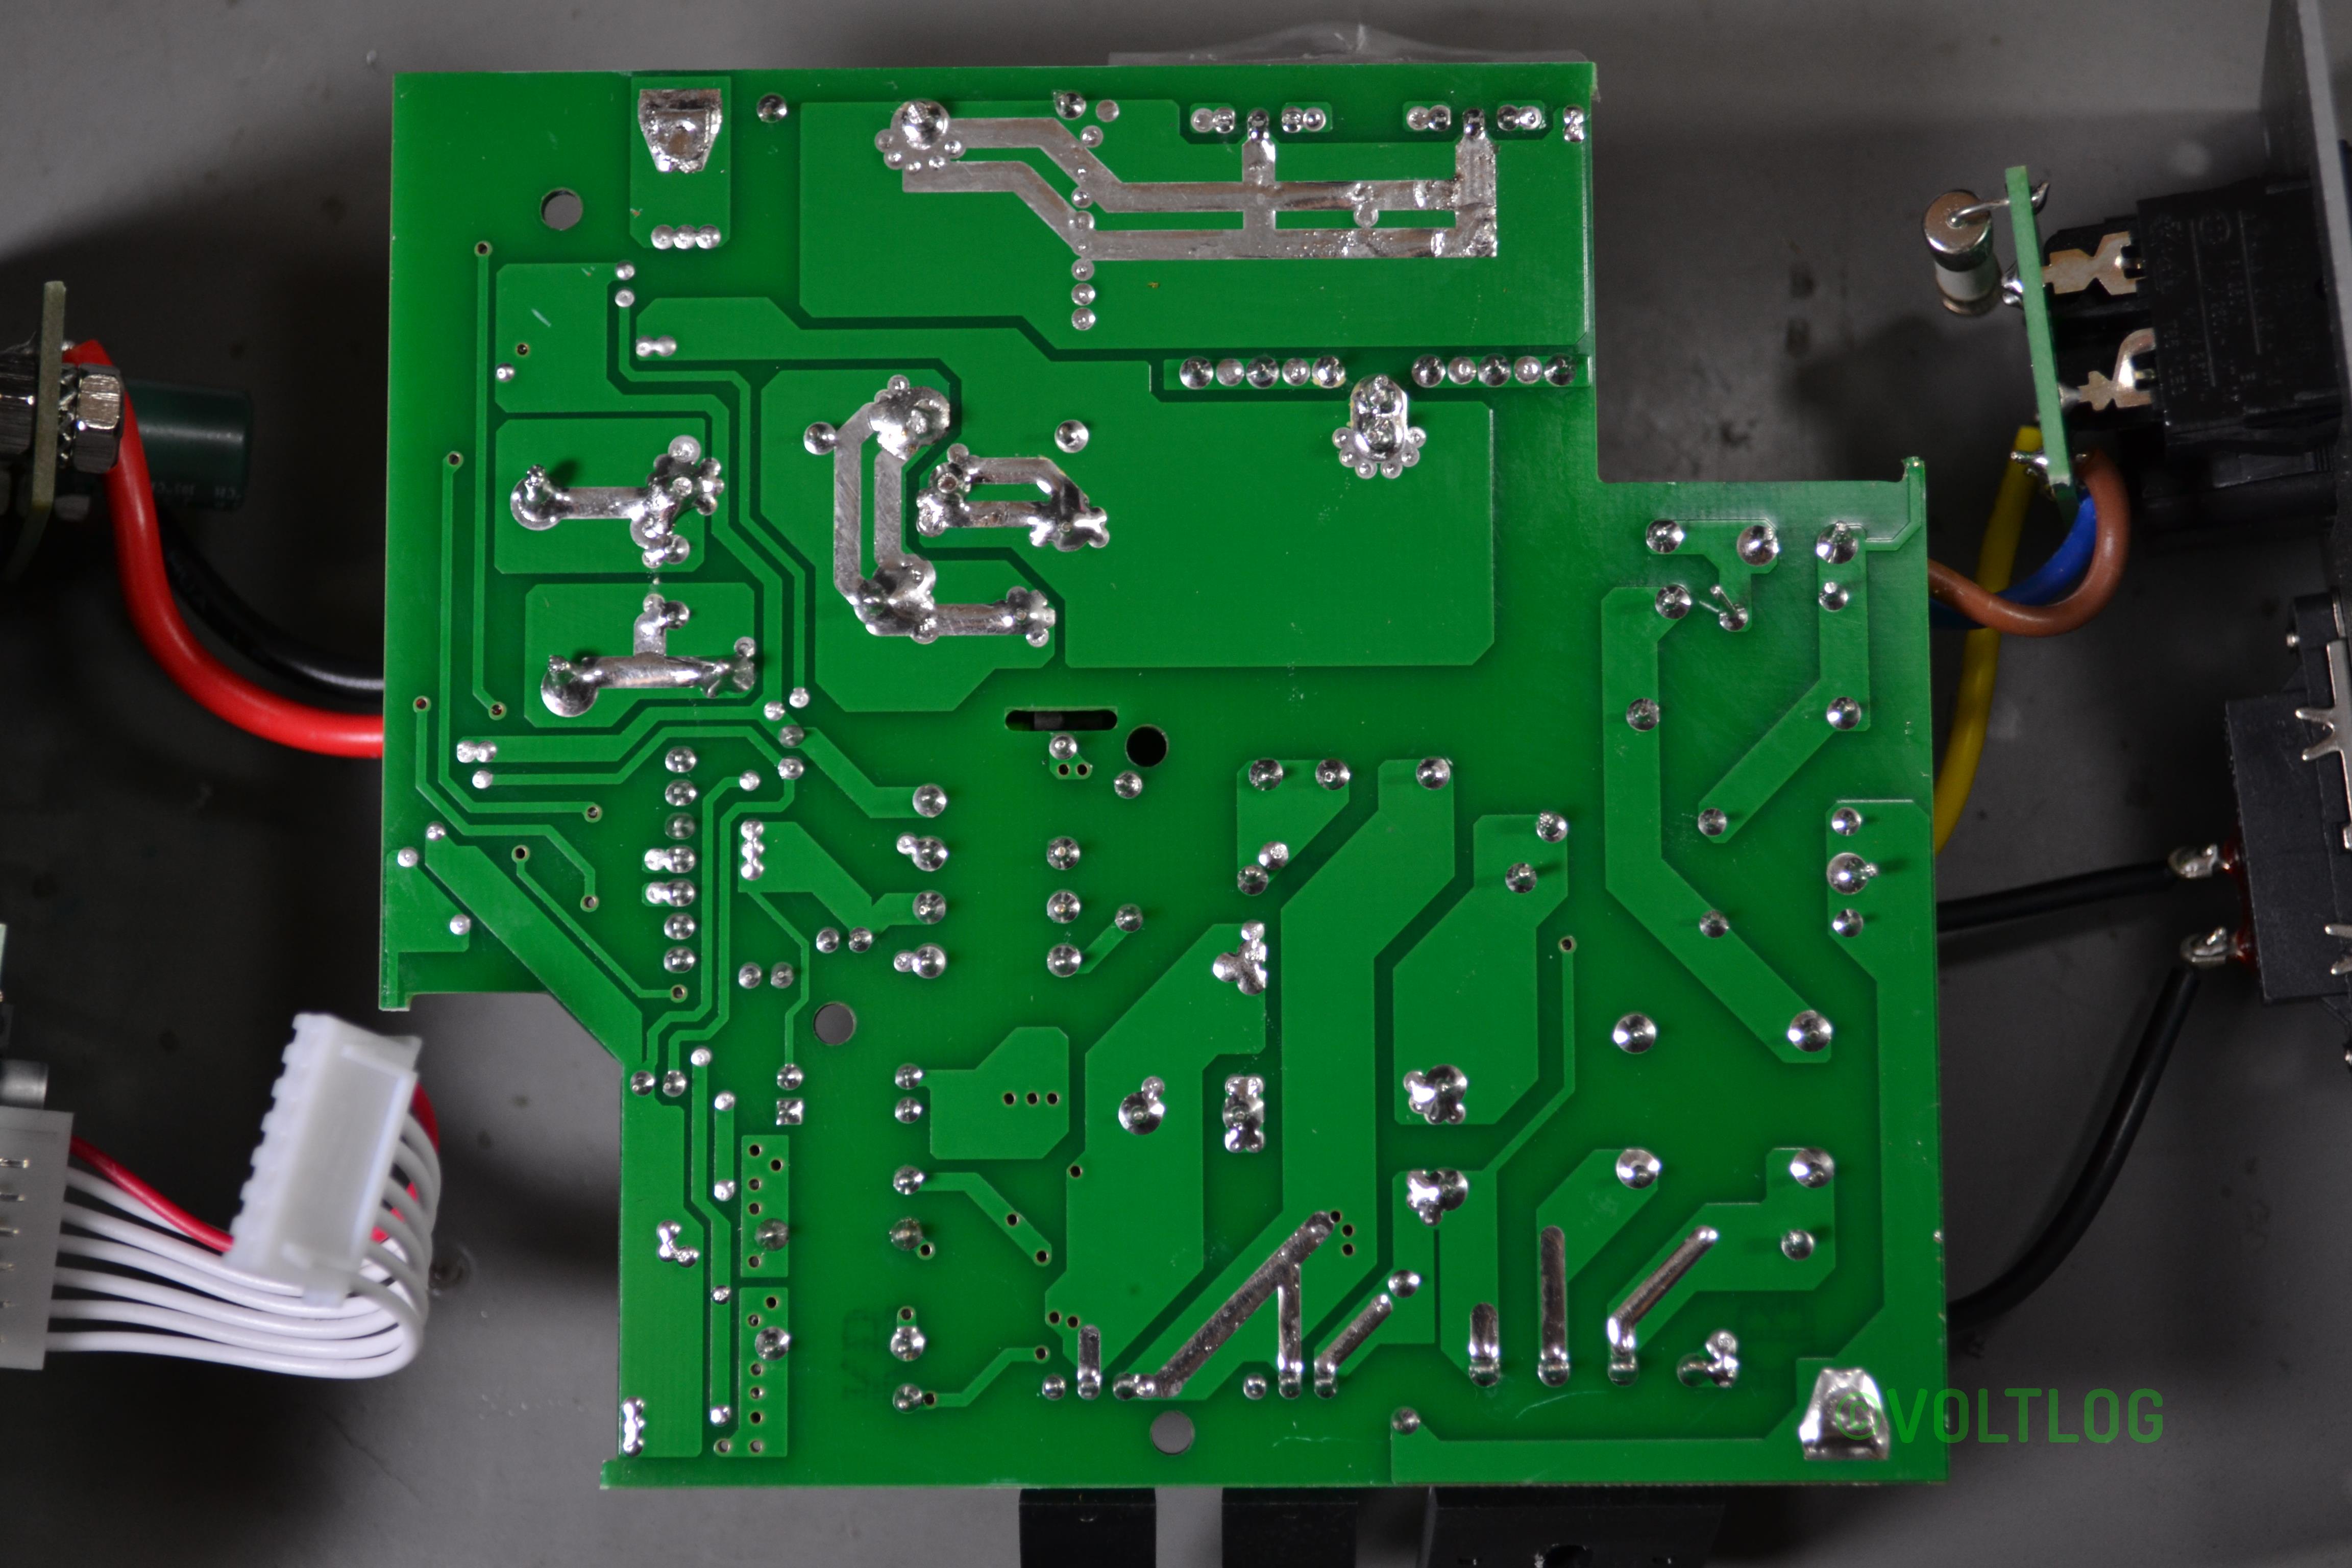
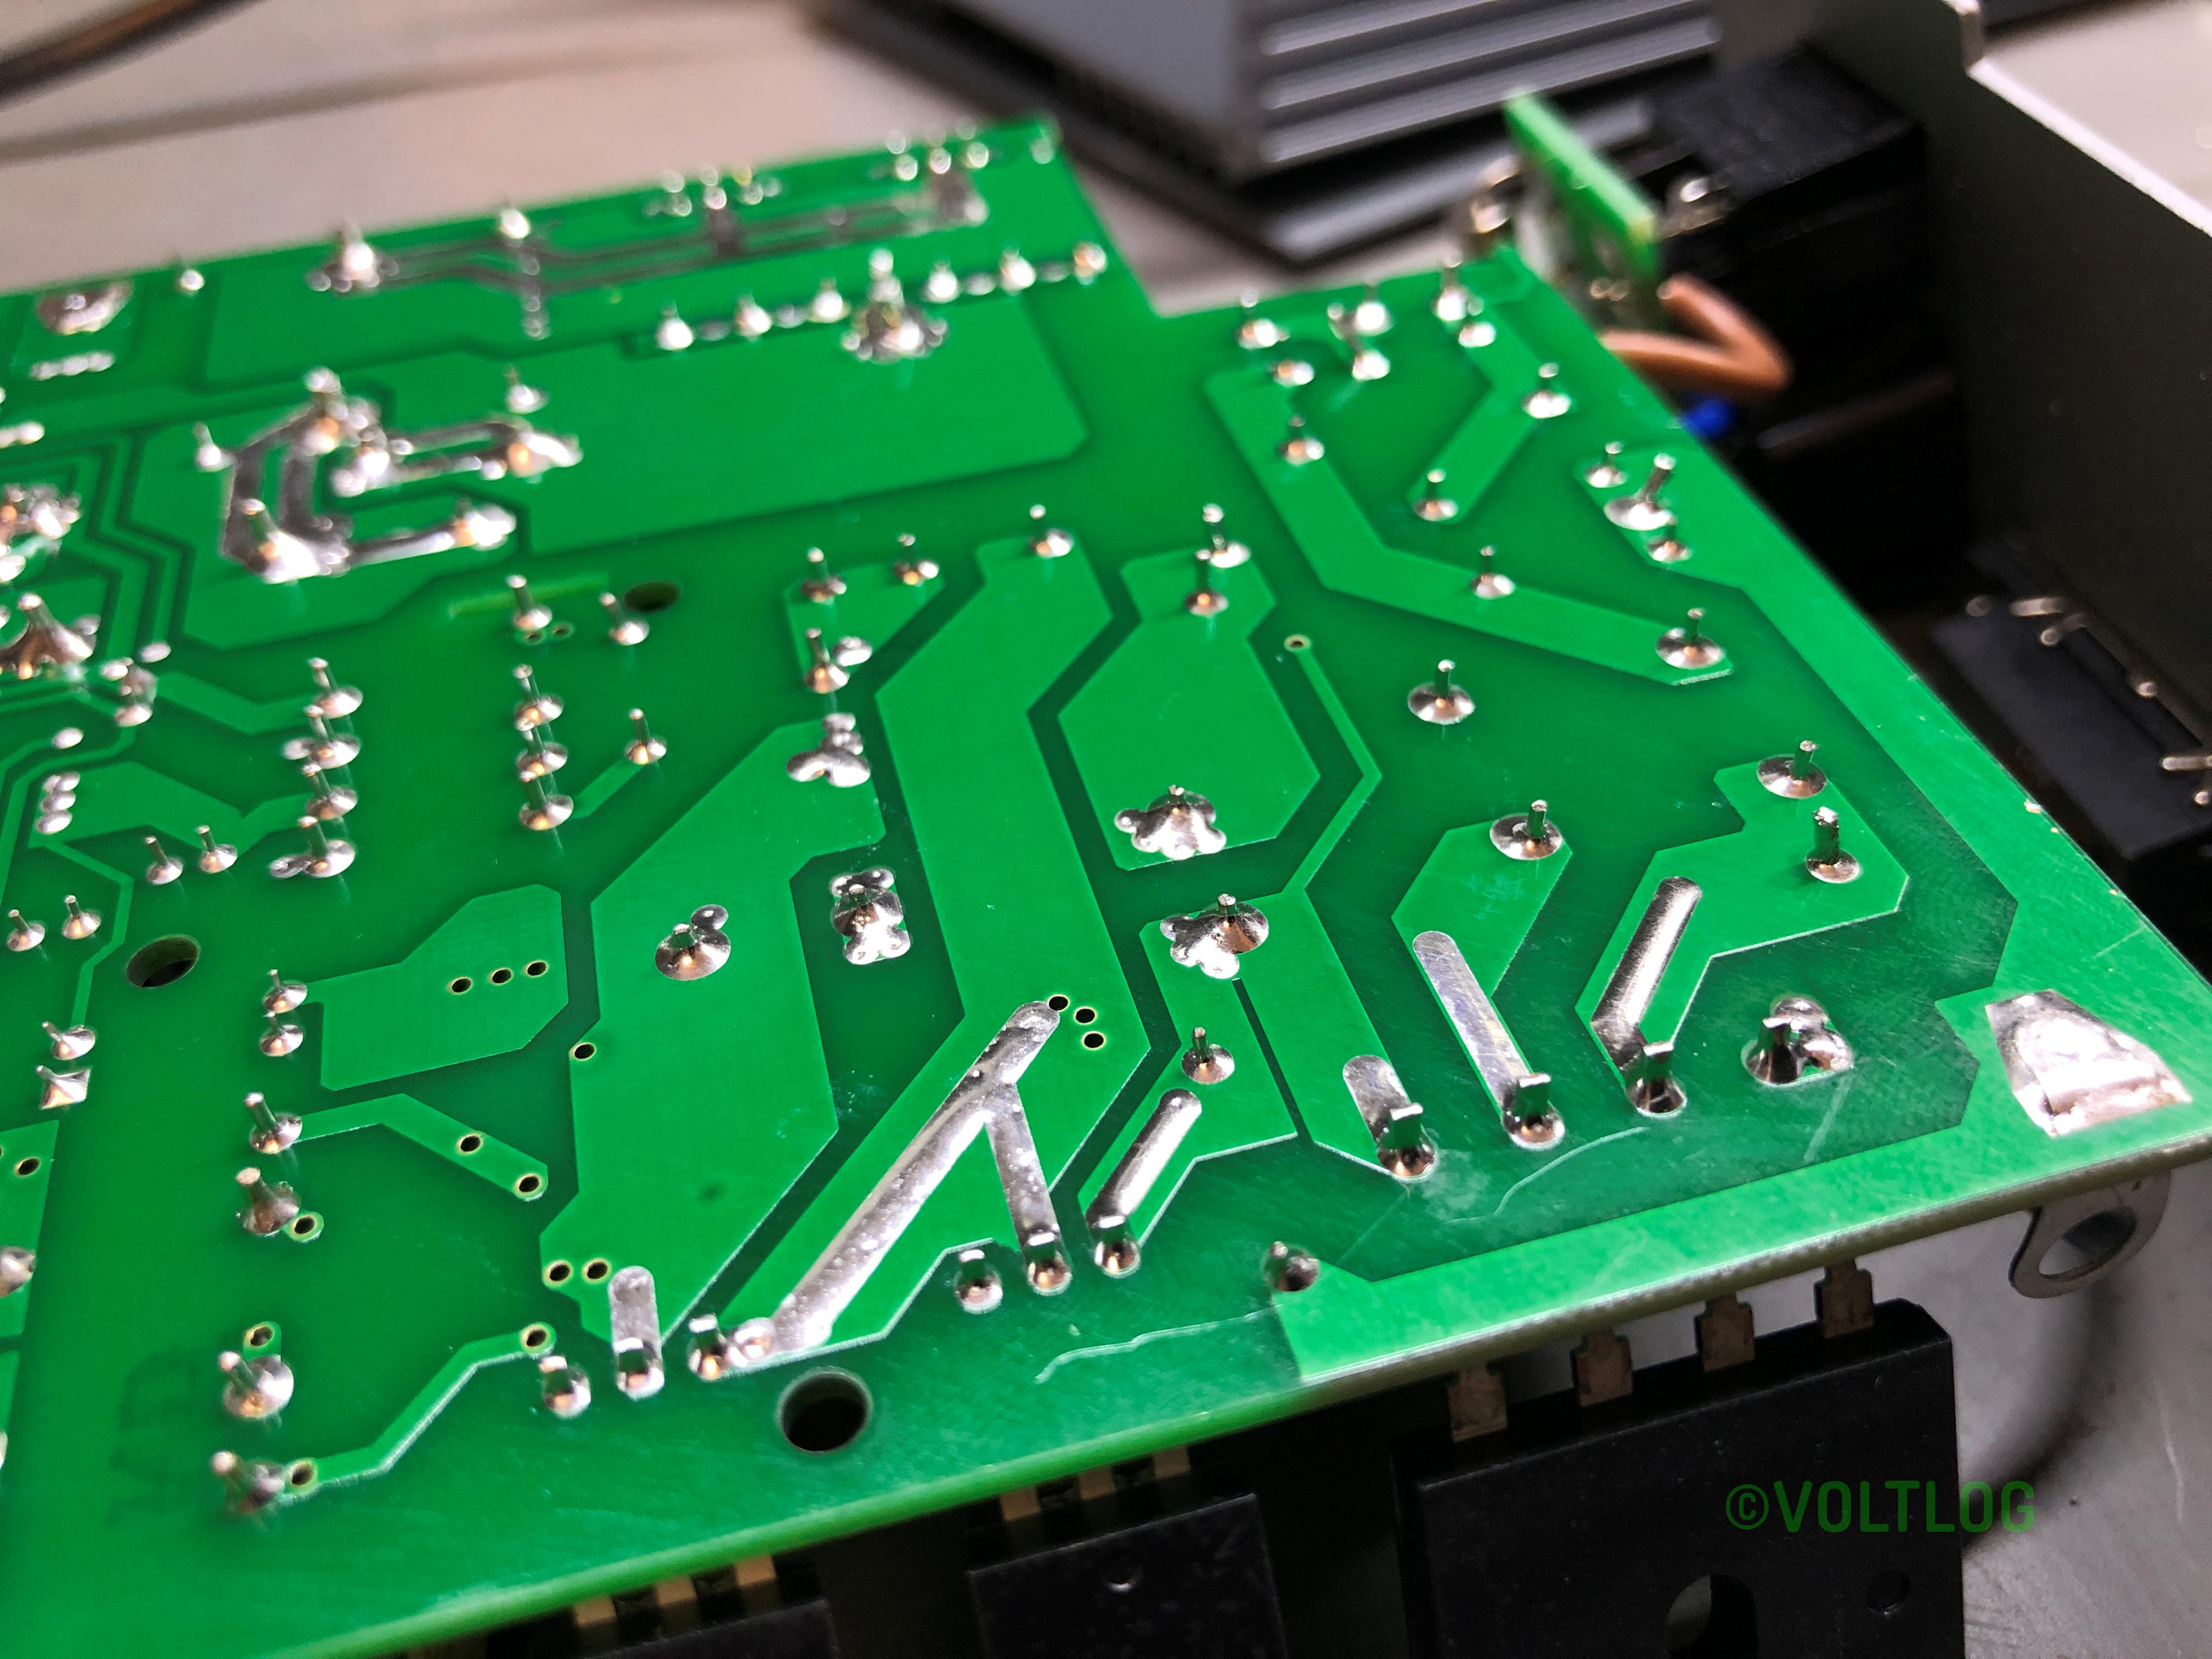
  3. Bad solder joints on thick wires coming to mainboard.
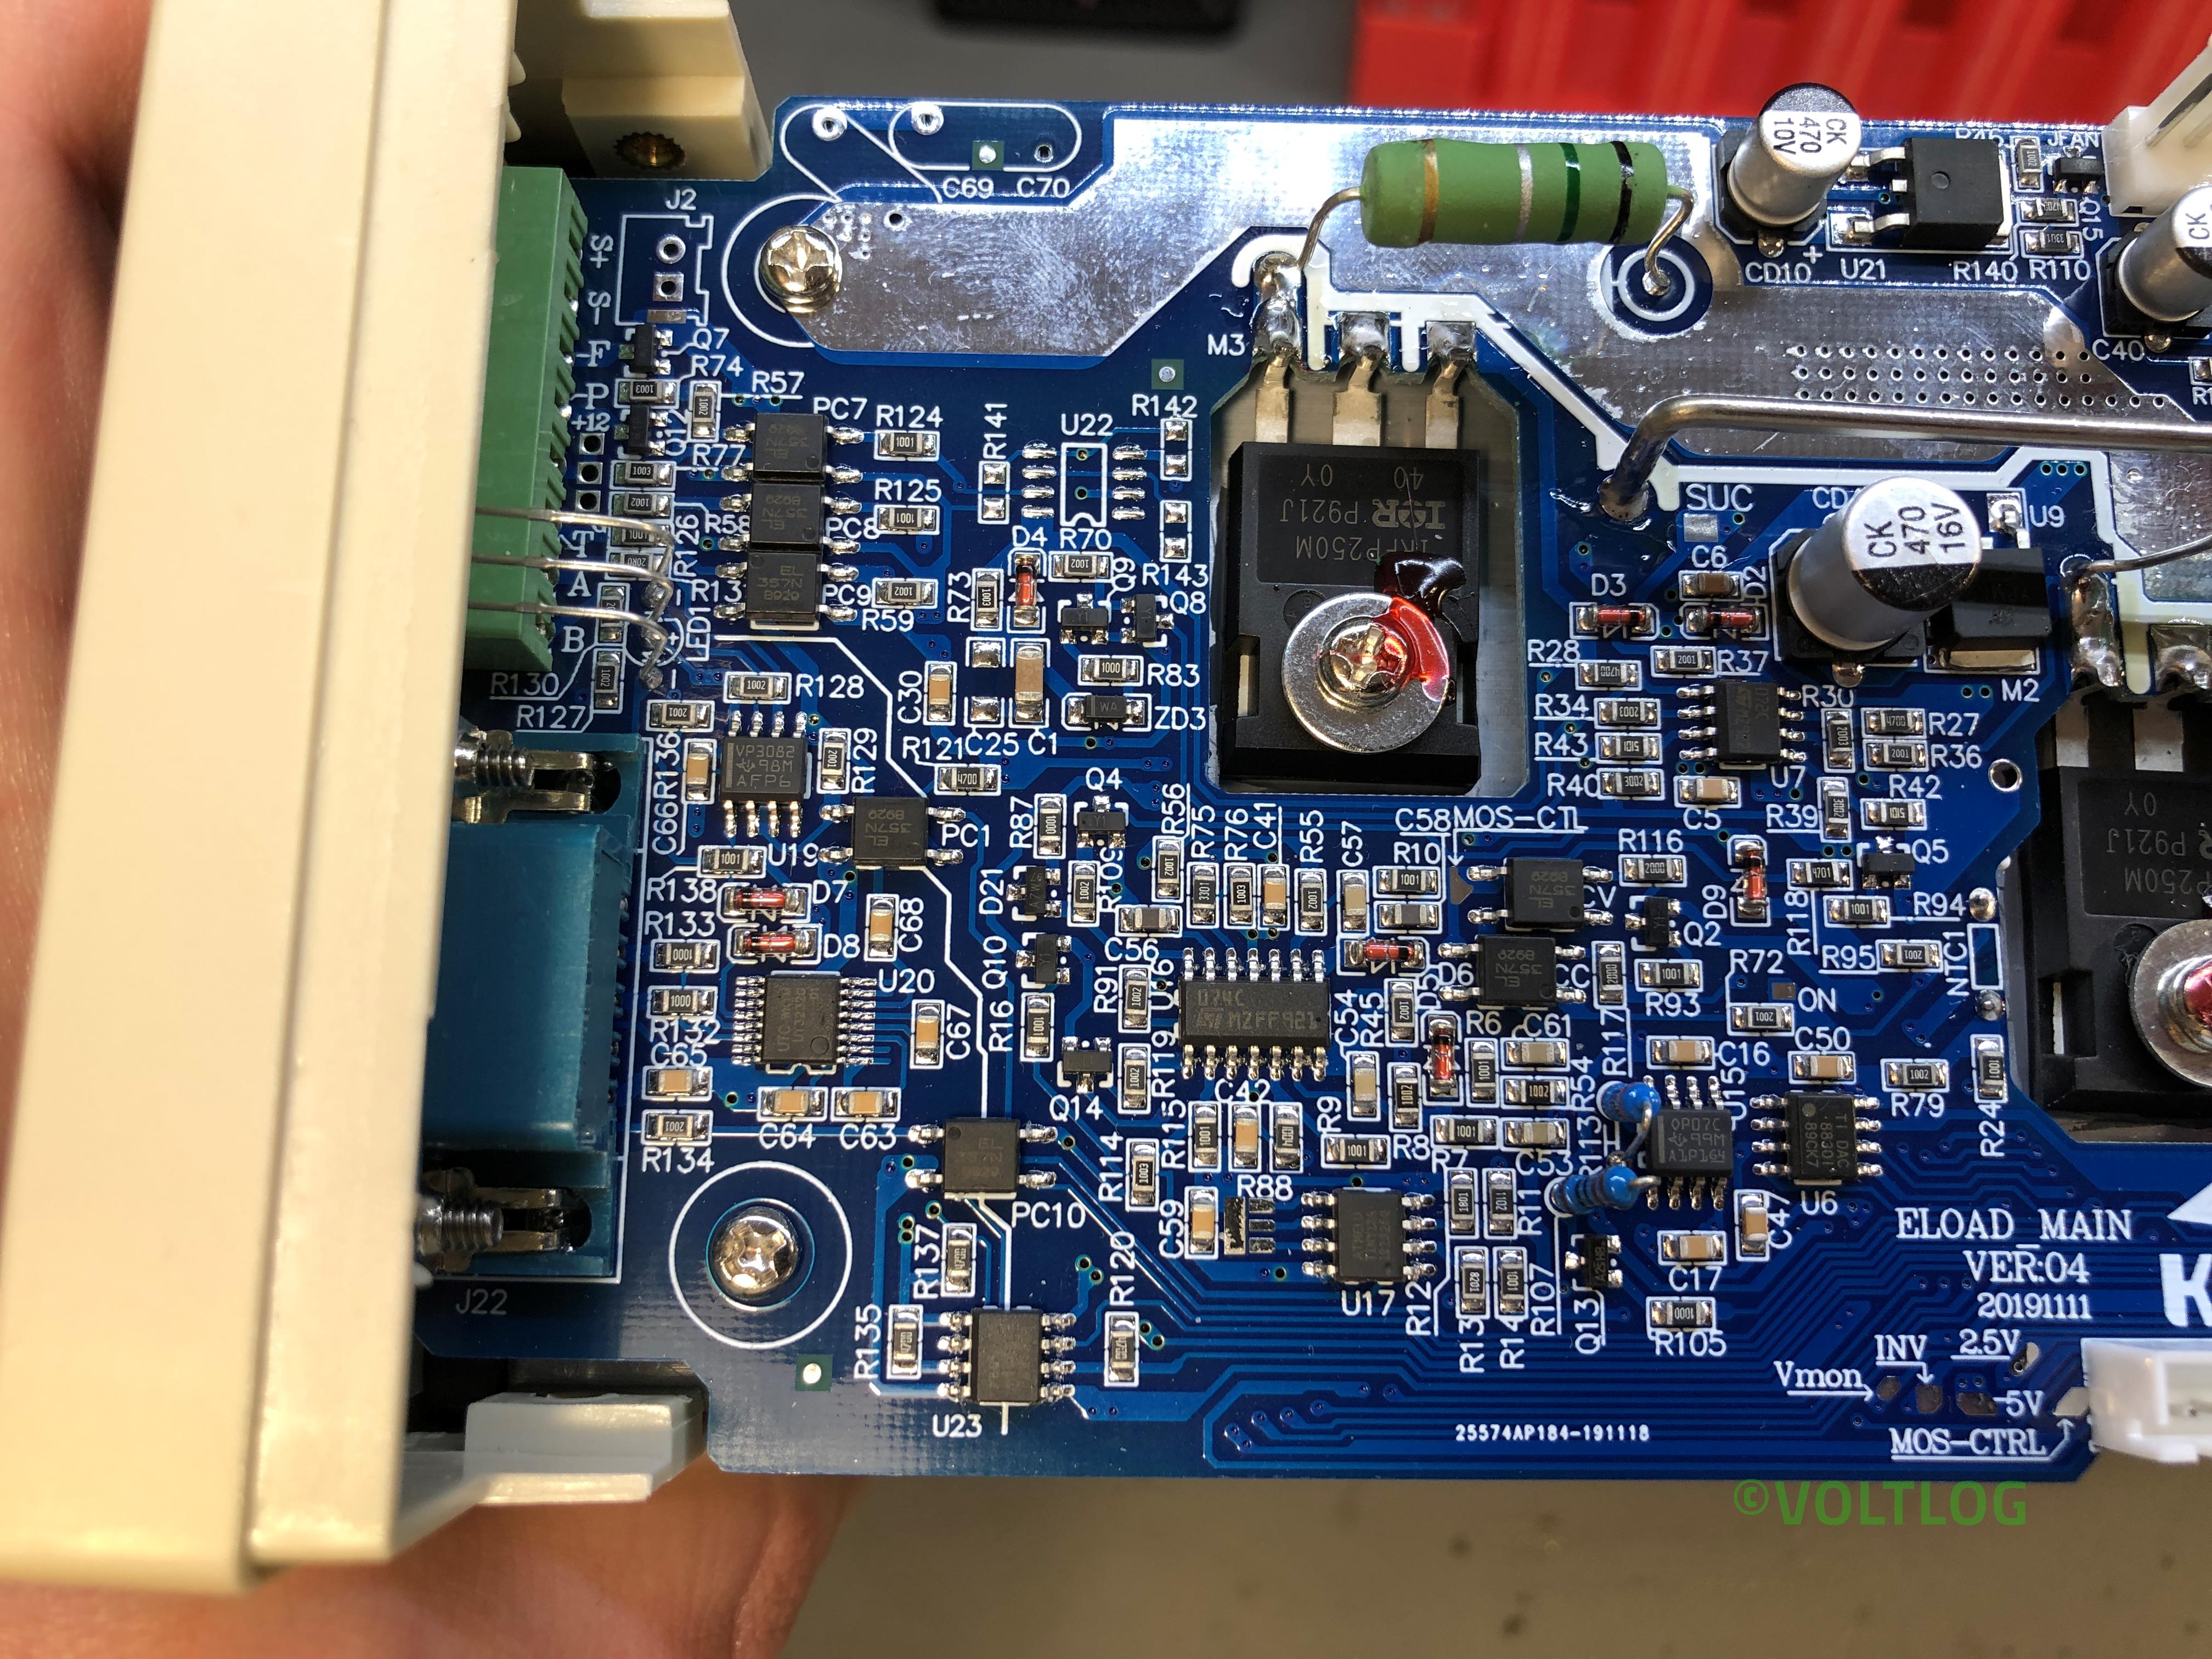
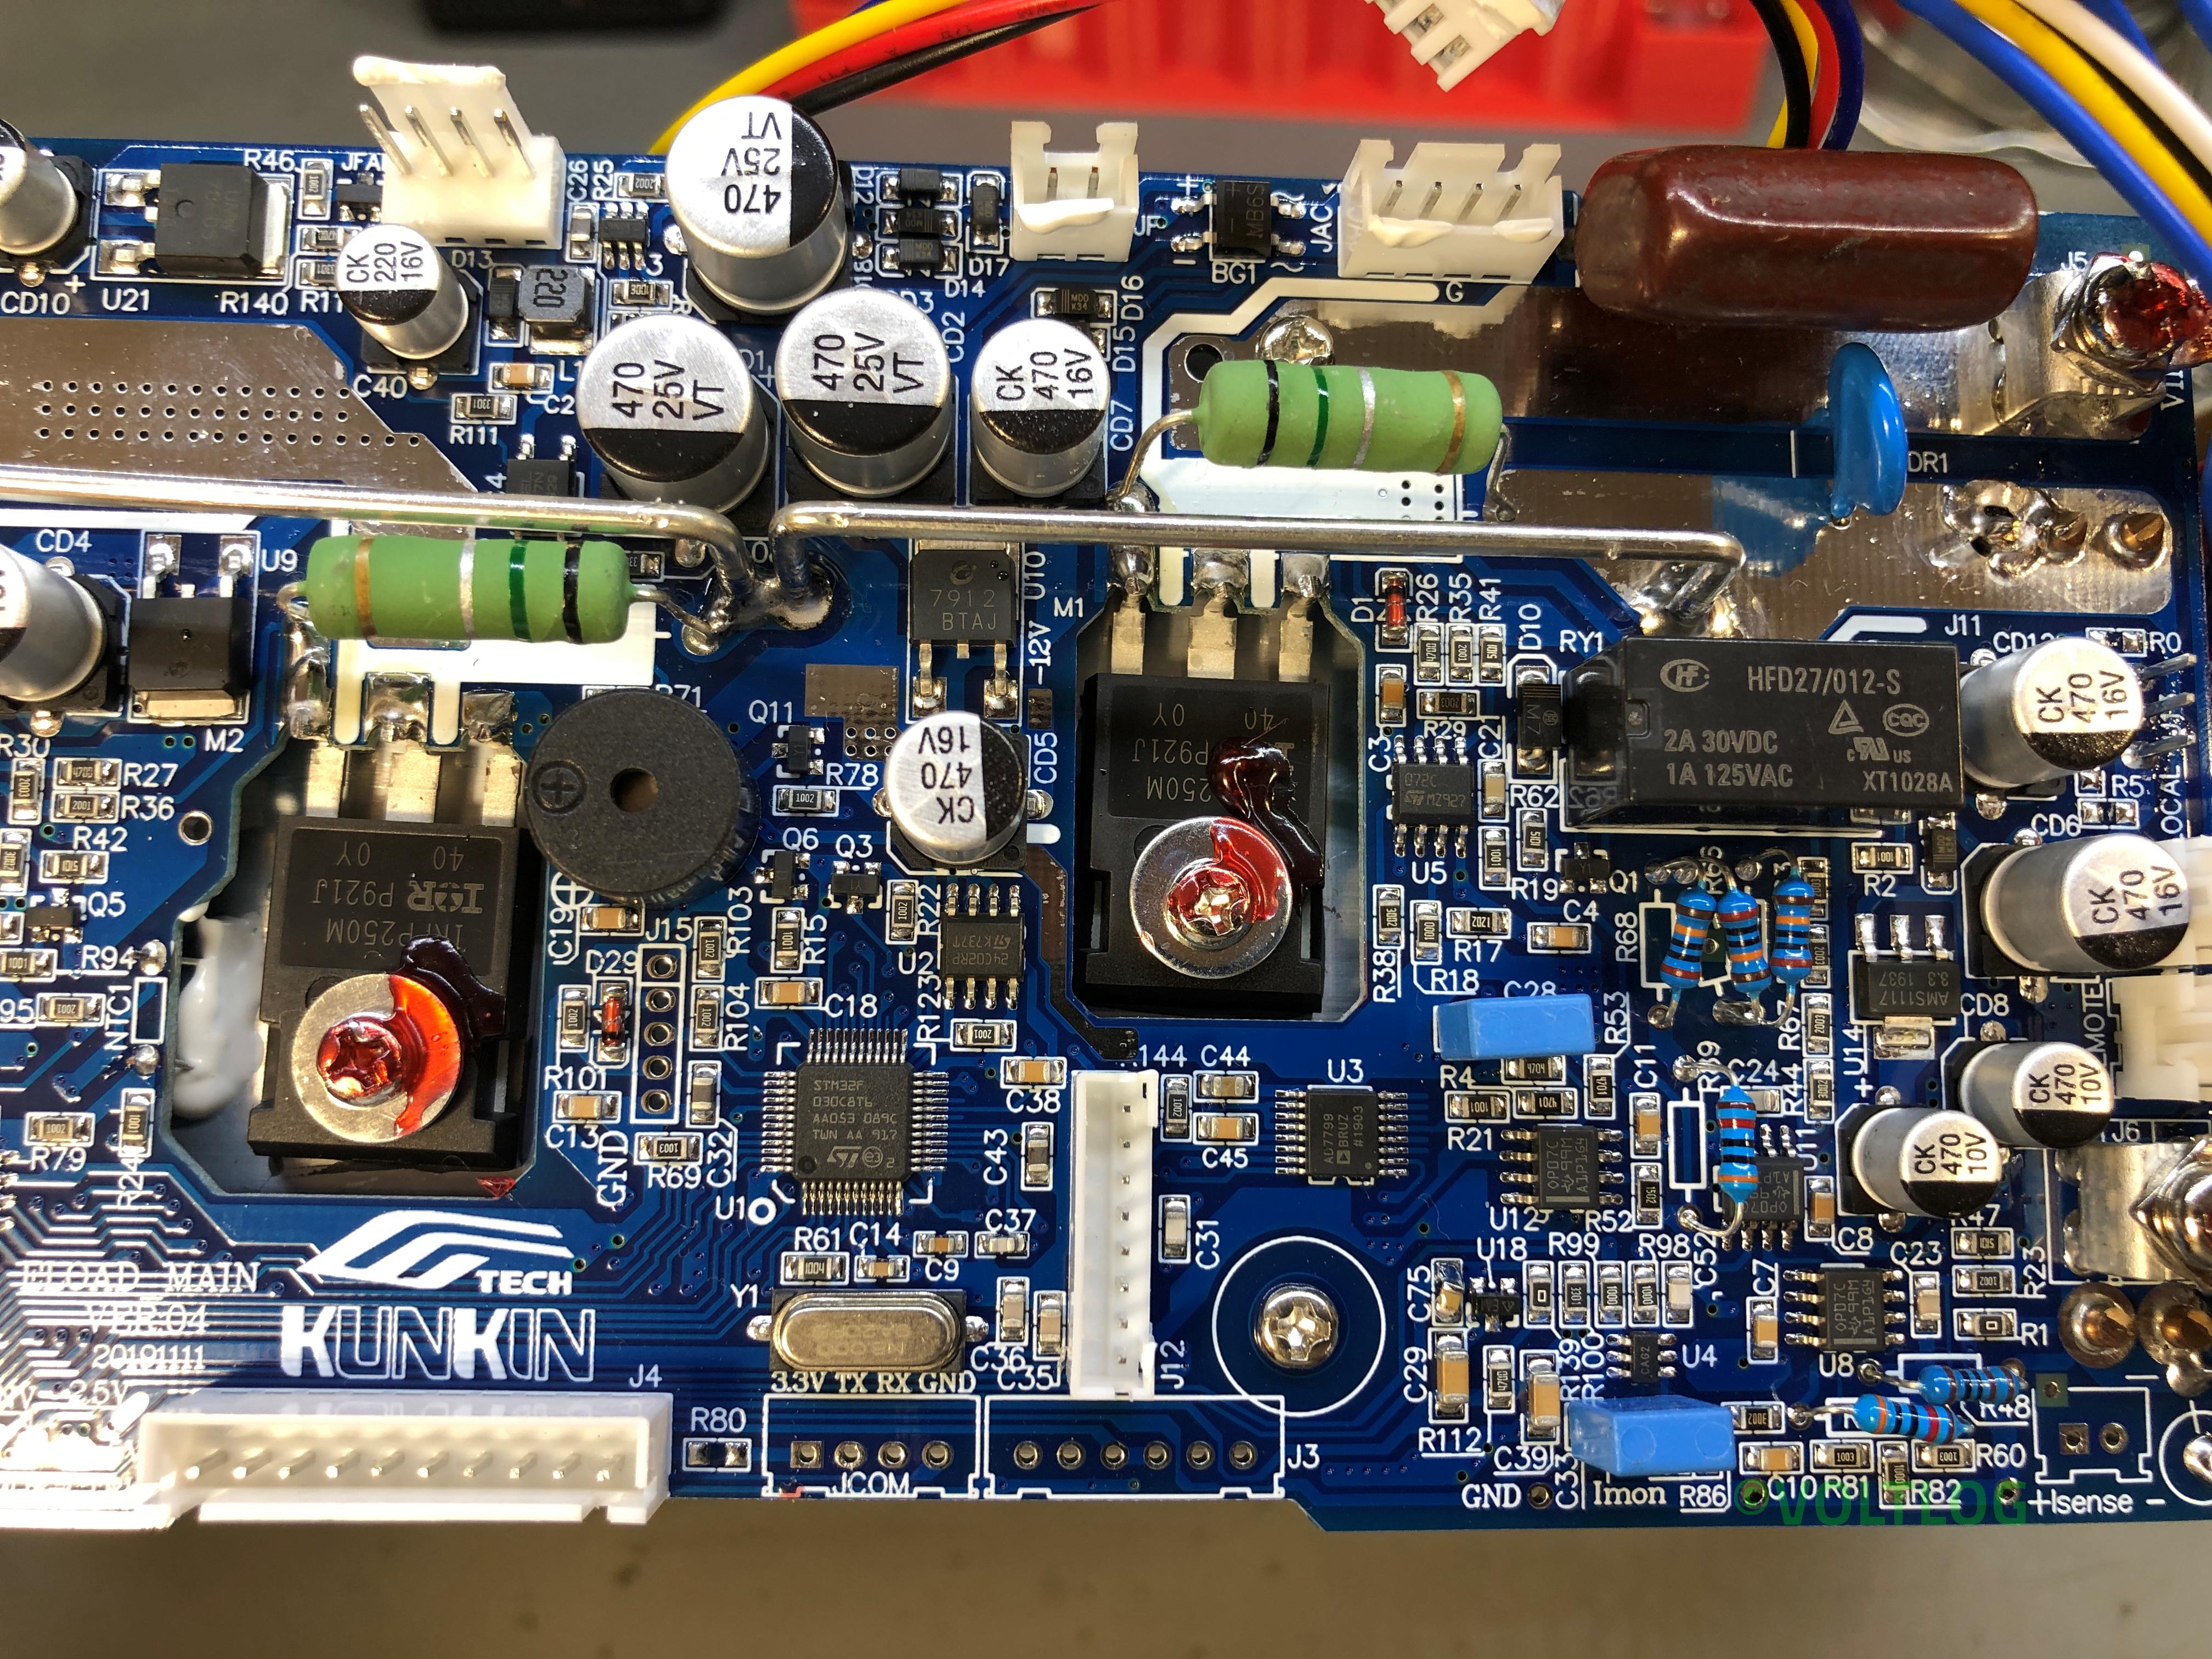
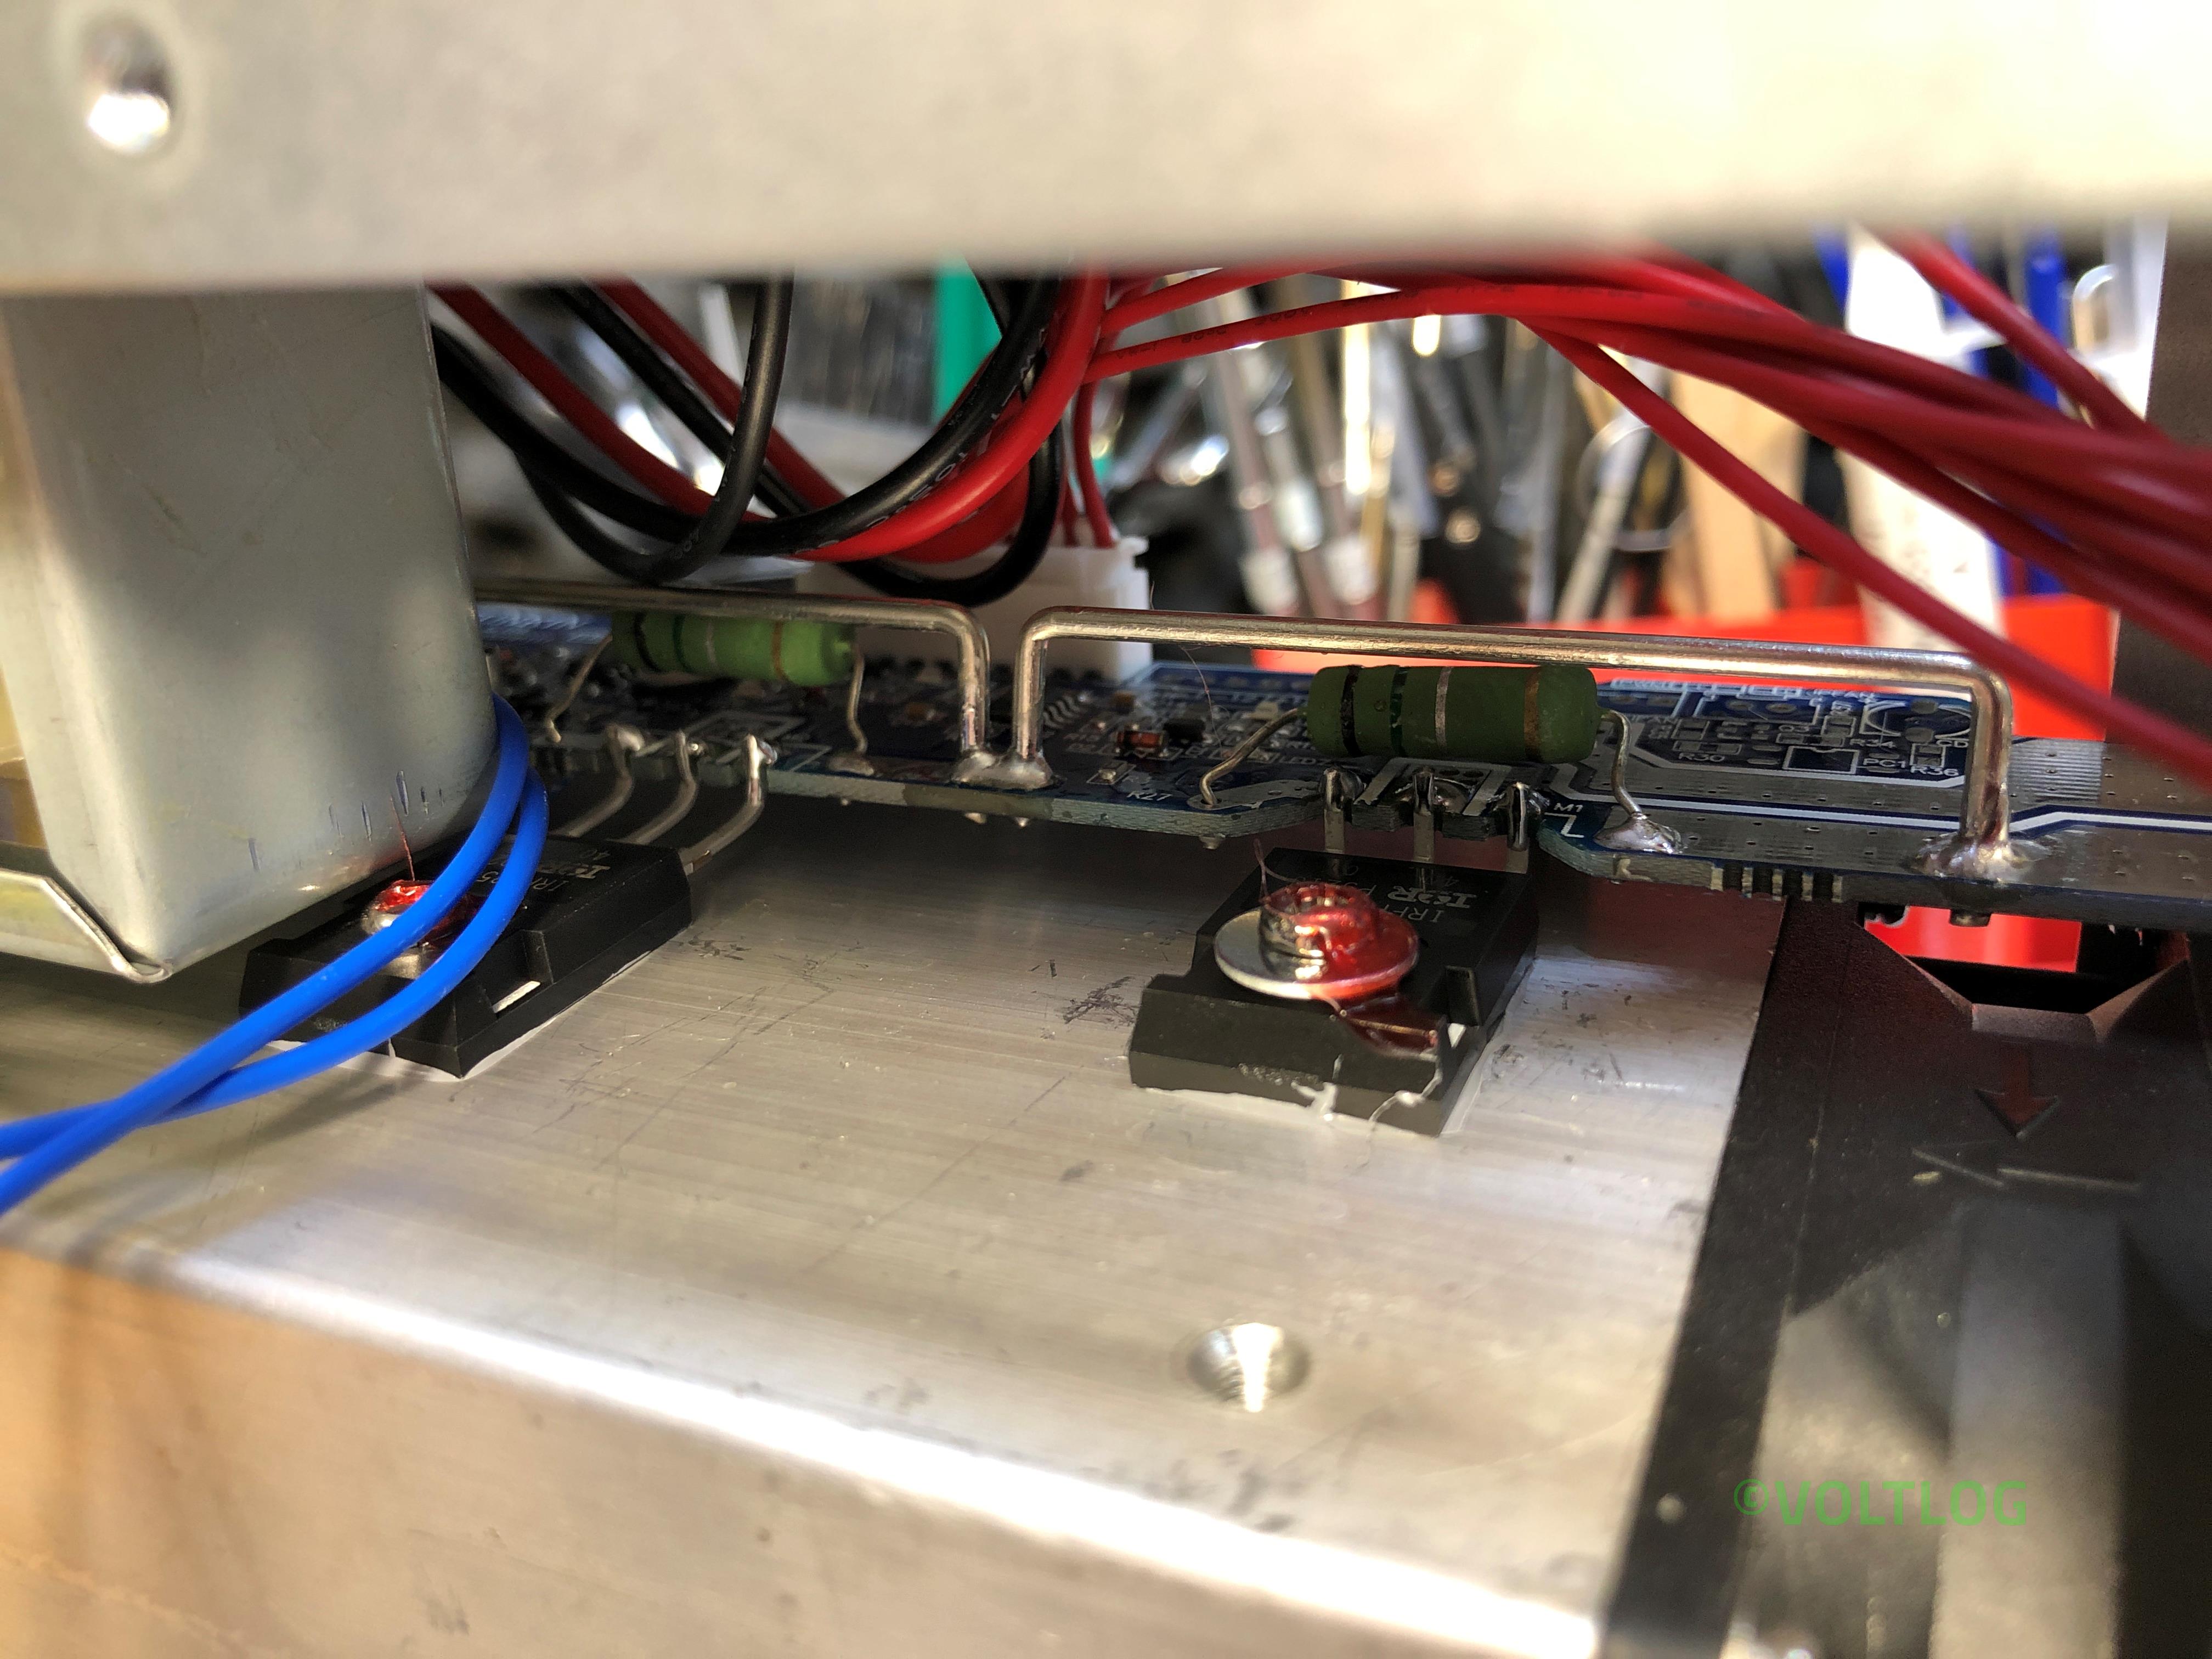
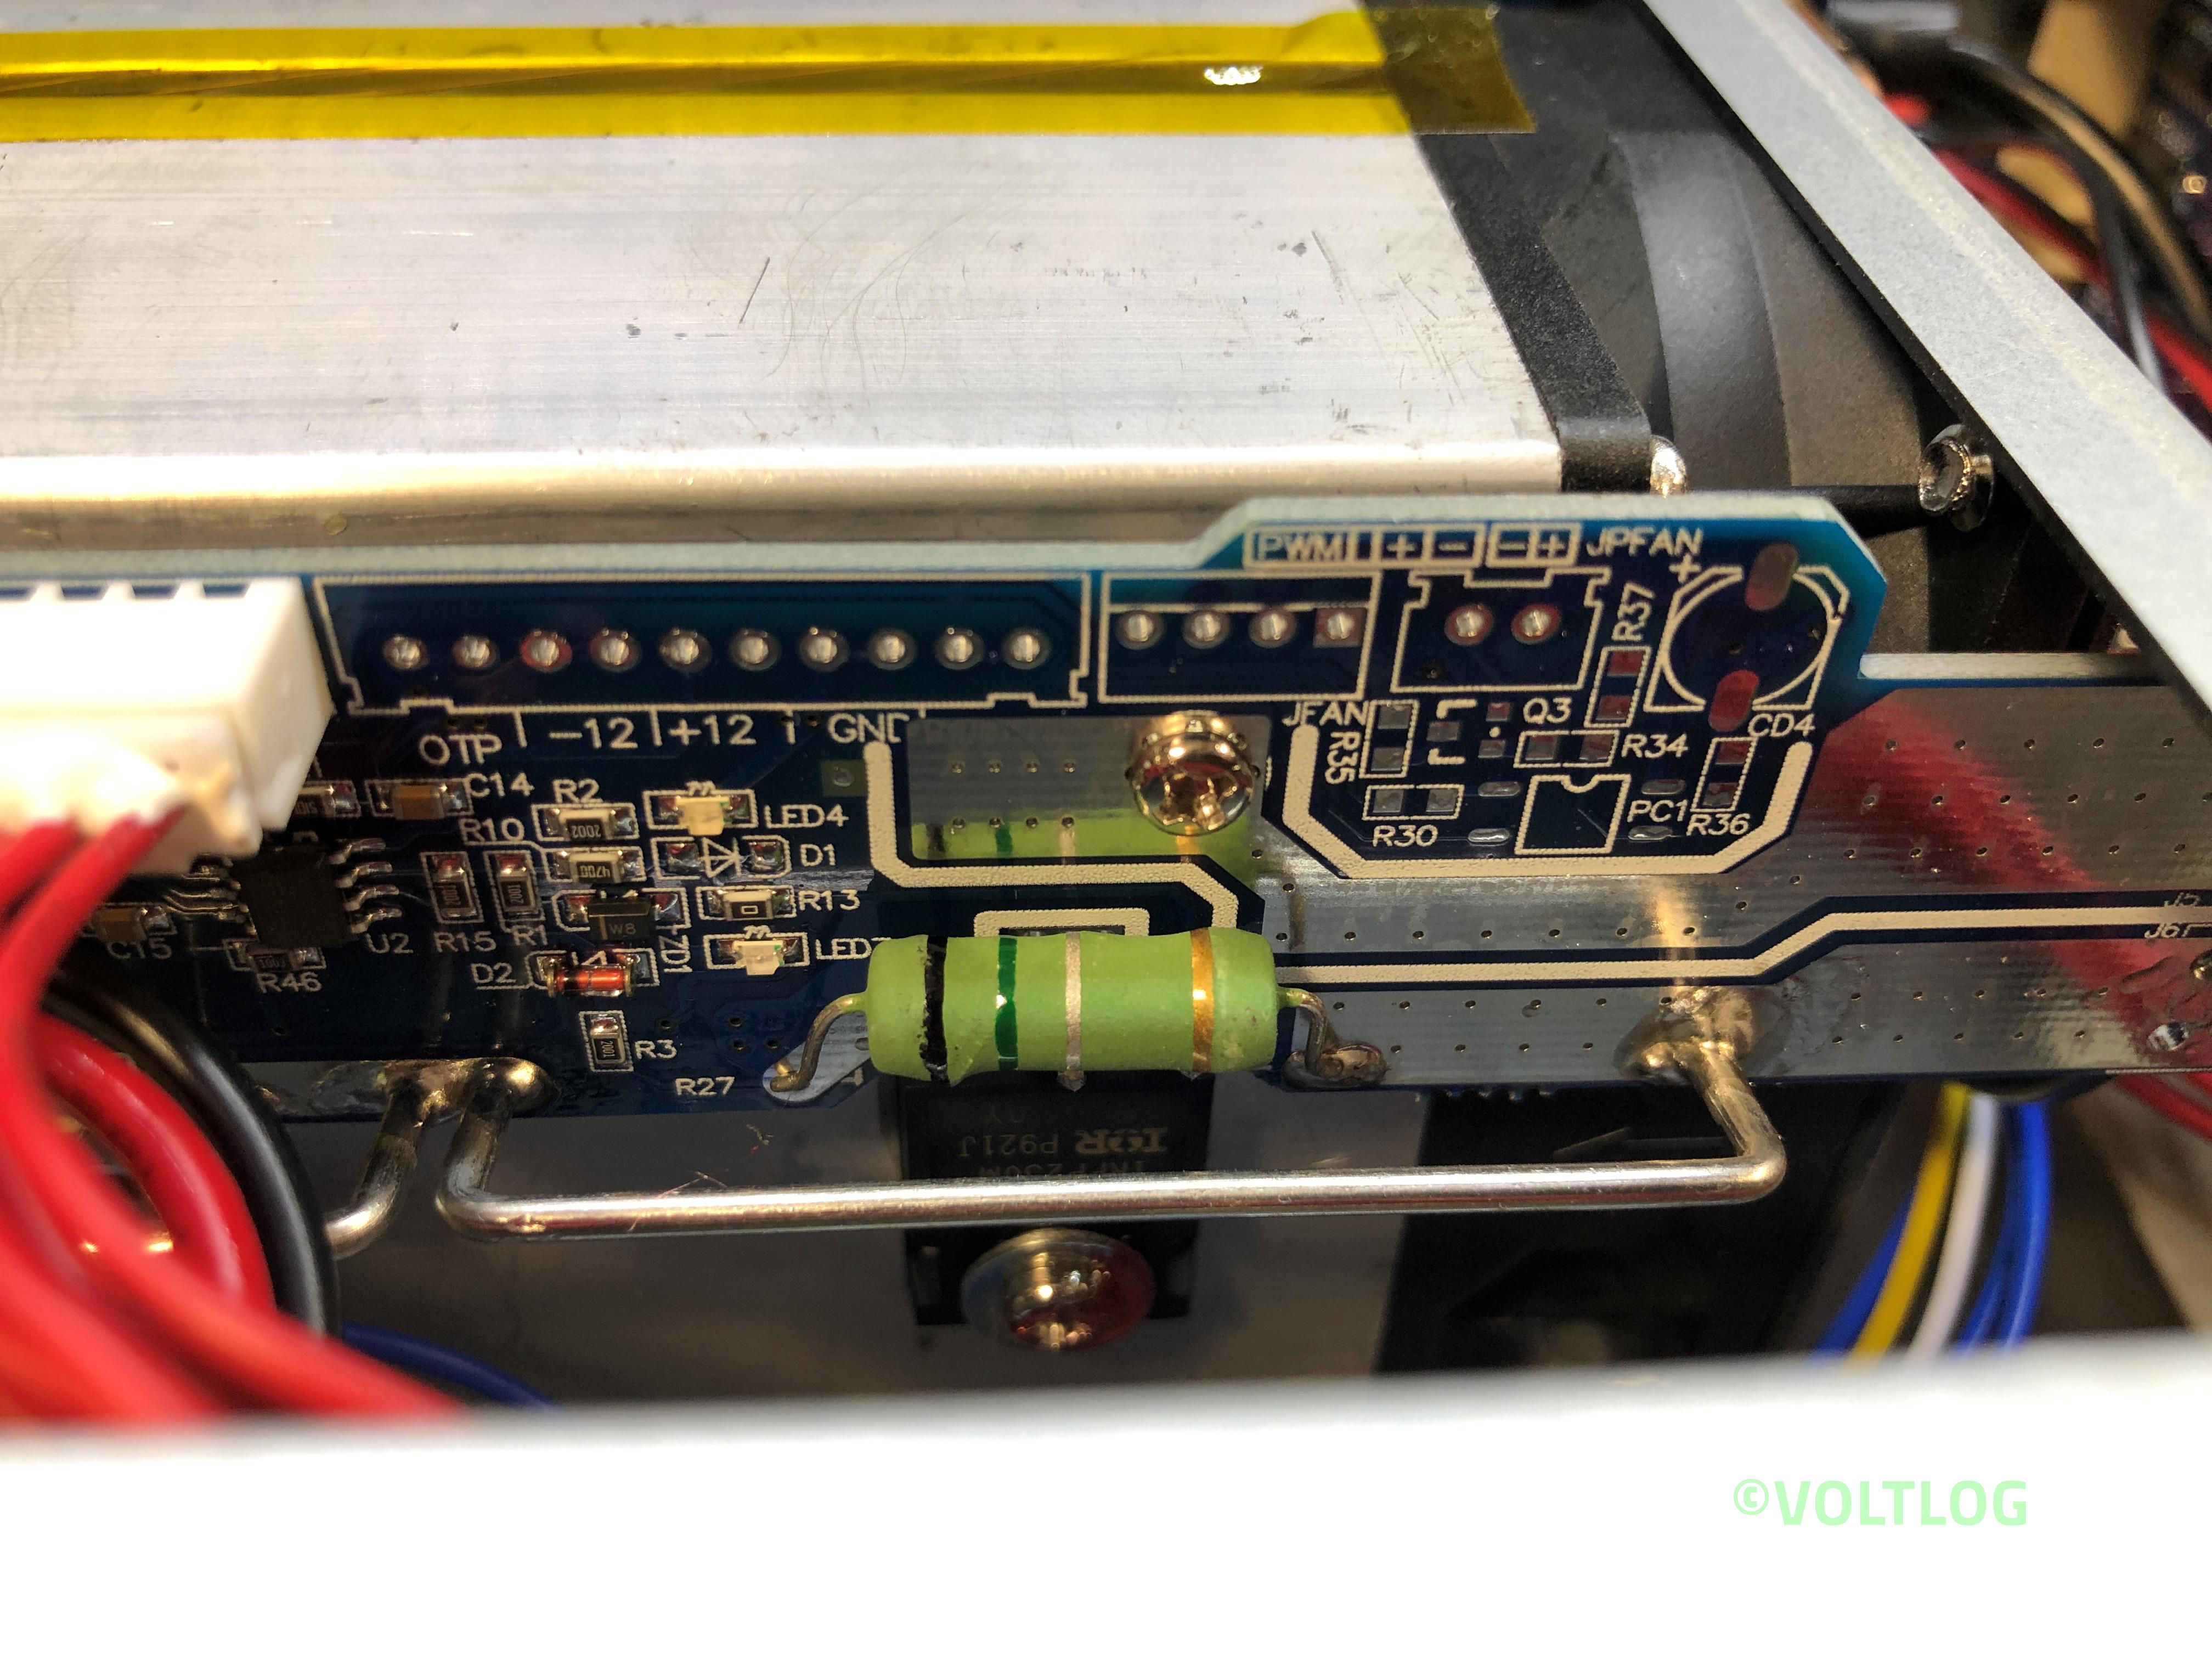
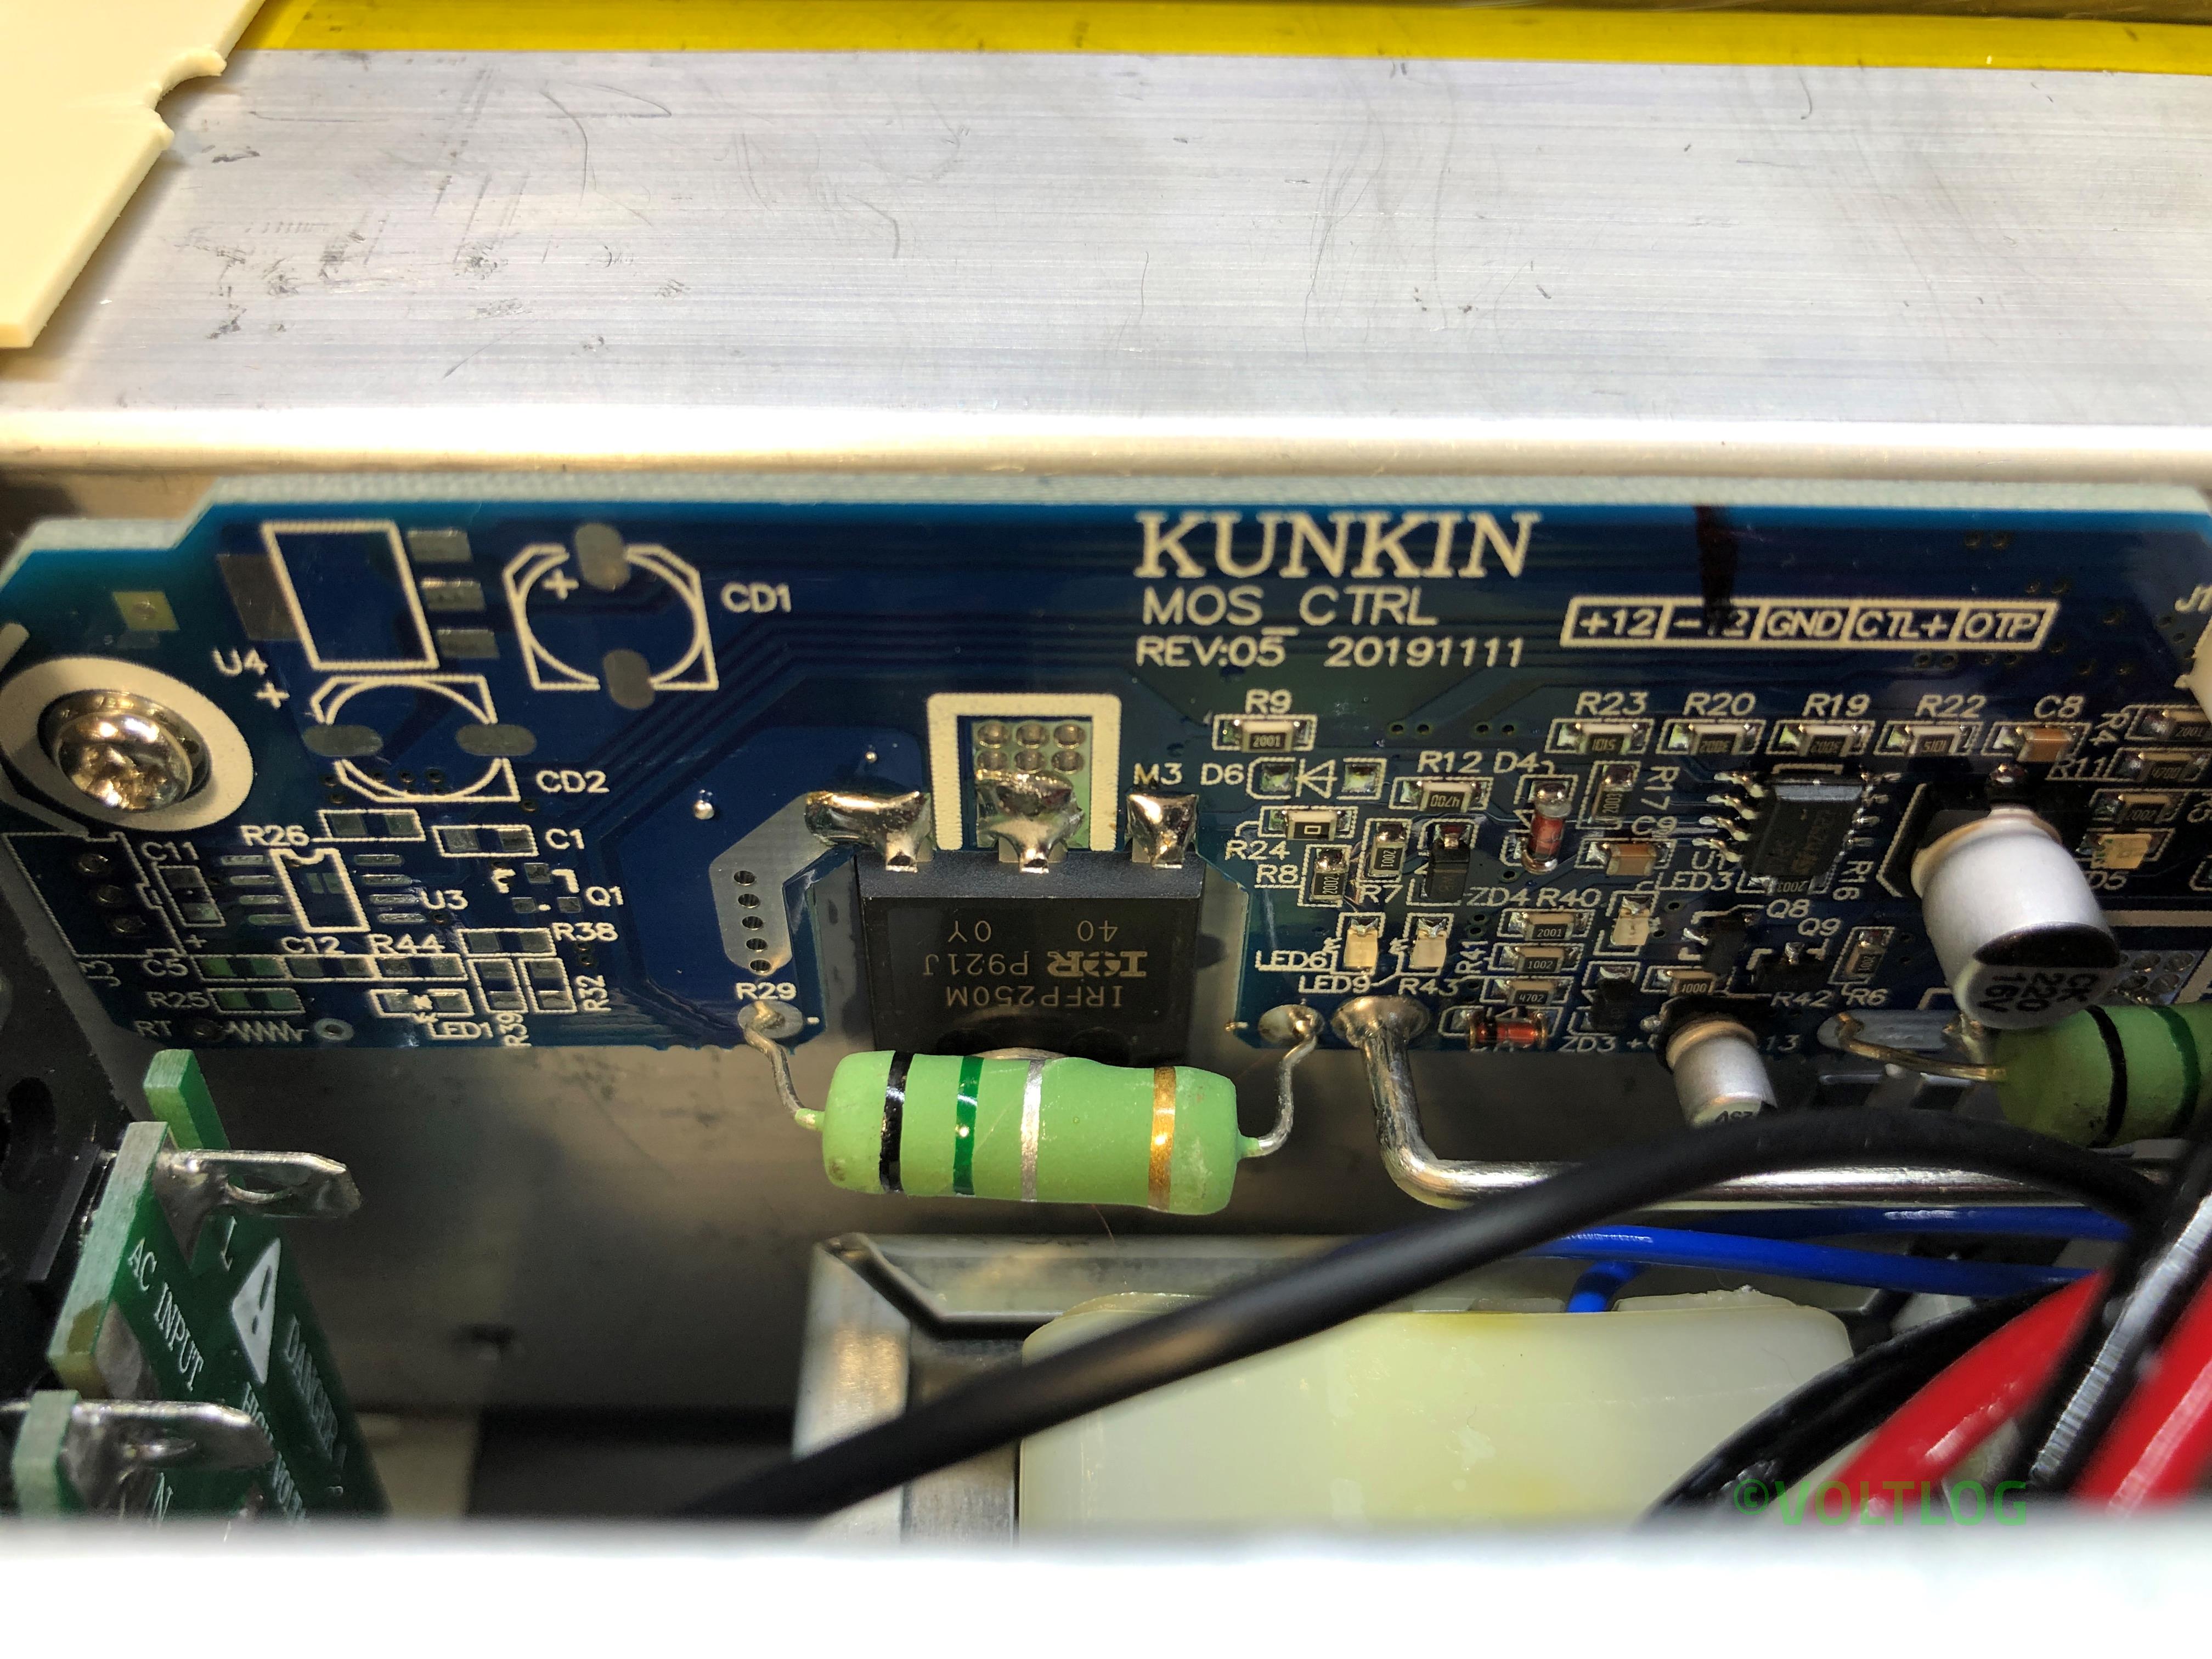
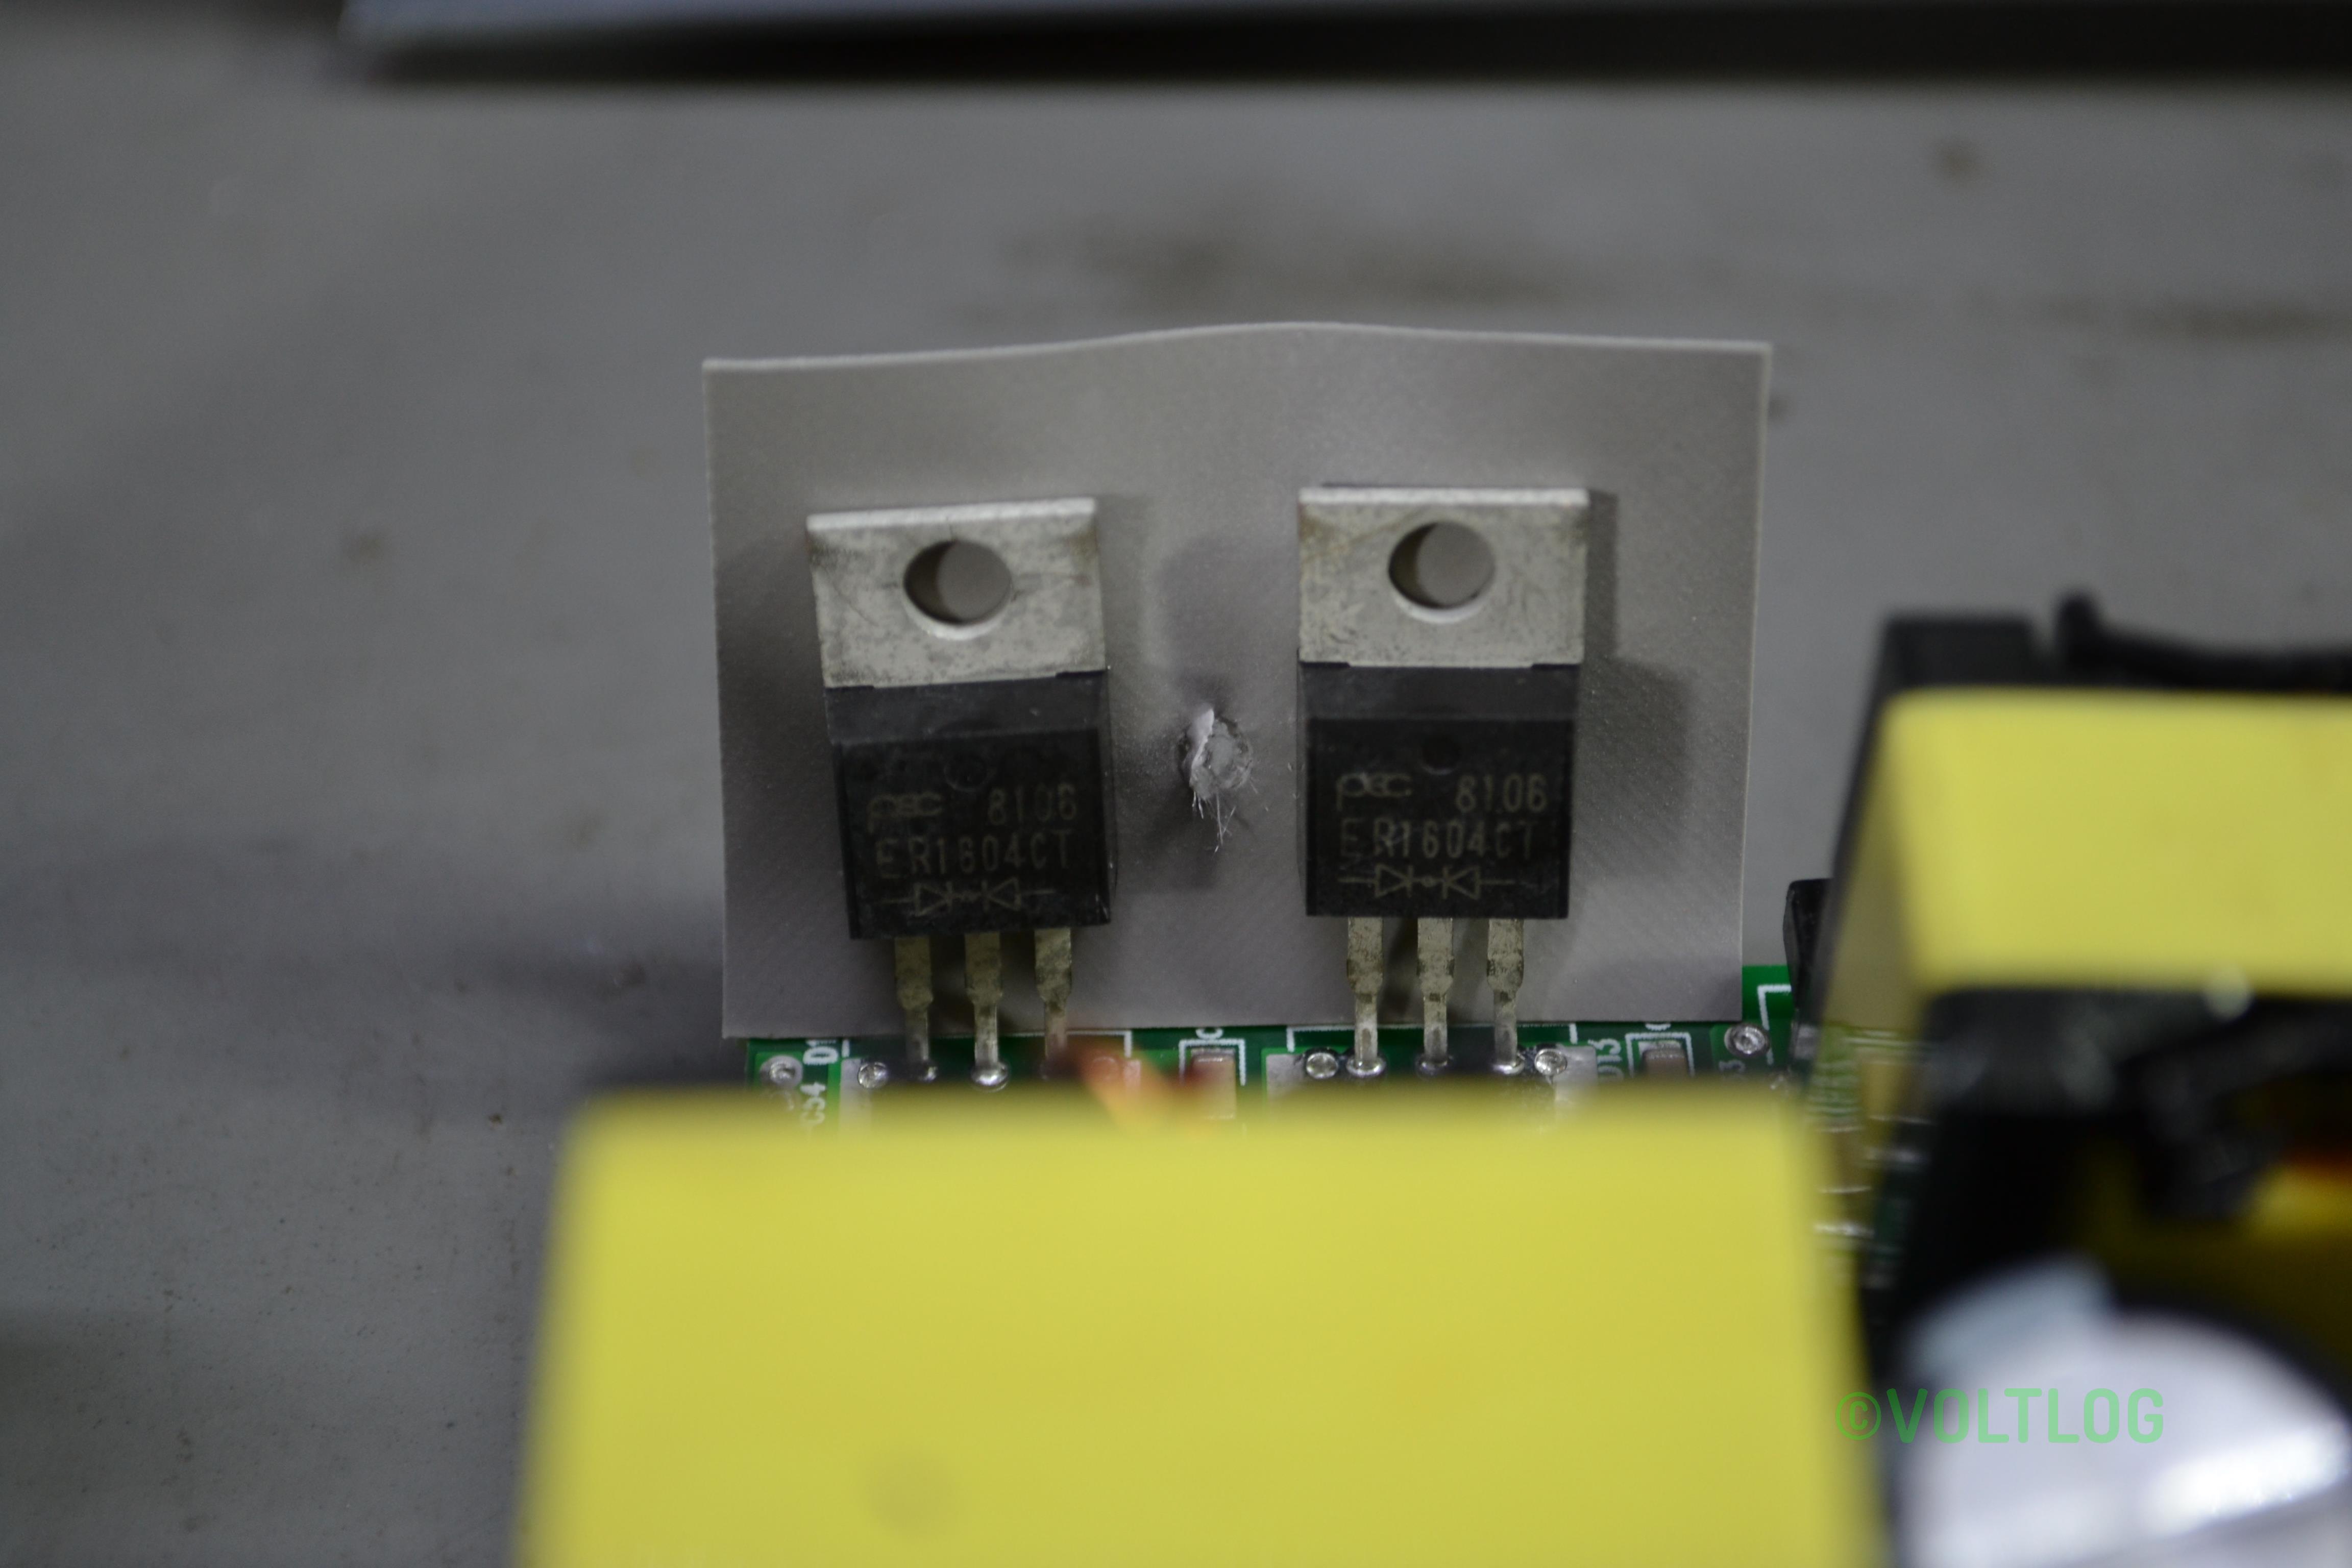
  4. IRFP250M mosfet safe operating area, fake or genuine?
  5. Supposed bug in tripping over-power protection.
  6. Supposed noise in constant current mode loop.
  7. Calibration procedure.

Nothing changes in terms of this being the best electronic load you can buy in this price range, II like it and I highly recommend it if you need to test power supplies or batteries, I think you will be pleased with this unit. If you would like to see the review or the teardown video I will link those on screen right now so you just have to click somewhere in this area. As always thank you for watching and don’t forget you can support this channel on Patreon.


Best Affordable Electronic Load – Kunkin KP184 Teardown | Voltlog #300

In the previous video I reviewed the KP184 electronic load, I showed you all the features it has, I tested the accuracy of the front panel meter but the video was getting quite long and I skipped the teardown for a future video. Well, this is it, it looks like we have a bunch of screws that have to be removed to slide the folded metal cover off.

As you may remember from the previous video I discovered something related to wiring & safety, the earth wire was connected to the bottom part of the enclosure but it wasn’t connected to this blue cover which is also metallic. Now we can see why, this has a thick coat of paint so we can fix this by either scraping the paint away in the area where this makes contact with the bottom part or we could add a separate earth wire which would probably be a more reliable way to fix this.

The first thing I’m noticing is the silkscreen, this board is version 04 and has a date code of November 2019. And there are a bunch of other nicely placed labels for various signals throughout the board. Soldering looks to be nice and clean with the exception of these thick wires coming from the bottom board, which in this particular joint looks like it hasn’t flowed sufficiently, I will have to fix that later. Wires are nicely secured with adhesive to their end connectors and apart from these thick wires coming from the bottom board everything has connectors which makes it easy to disassemble and service.

Checkout the teardown pictures of the Kunkin KP184 electronic load below

Best Affordable Electronic Load – Kunkin KP184 Review | Voltlog #299

Welcome to a new video, this will be a review of a new test instrument I discovered, you know I like electronic loads and I’ve tested a bunch of hobby grade electronic loads in the past, these were sub $50 items and that budget also meant they had some disadvantages like limited power, limited reliability, limited connectivity, limited functionality and limited accuracy. You were basically trading off a bunch of stuff to be able to get a cheap affordable electronic load.

This is the Kunkin KP184 and I believe this will be a game changer for those who are looking to get something a bit more professional but are still limited by budget and they can’t go for the better instruments starting at 500 USD. The unit is delivered in a large box with nice padding protection and inside you get the instrument, a user manual and a few accessories like some spade connector, an RS232 cable and some wiring.

Let’s talk a bit about the specs of this unit, I have the KP184 model which is like their better equipped model, it works with both 110 and 240VAC, the load voltage can be a DC voltage between 1 and 150V, up to 40A, up to 400W. Measurement accuracy is 0.05% + 5 counts for both current and voltage with 1mV and 1mA of resolution, we’ll be verifying that later. There is RS232 and RS485 connectivity with a modbus protocol which is specified in the user manual and there is a piece of software for the PC, you have to obtain it from the manufacturer which doesn’t respond to emails but I’ve managed to source it and I’m gonna put a link to this in the description below the video and I’ll try to connect it towards the end of this video.

If you would like to checkout the teardown of the Kunkin KP184 click here.

Voltlog #290 – Riden RD6006 Output Noise Using Recommended Power Supply NVVV S-400-60

Welcome to a new Voltlog, this will be a rather short video cause I will only be addressing one short subject regarding the Riden RD6006 ripple noise. In my review of this power supply in Voltlog #284 I did measure the output ripple but that was measured while using a transformer to power the unit. 

That transformer has very little output noise so the results we obtain can be considered best case scenarios but this may vary in practice, especially if you are using the recommended switch mode power supply. The output of that power supply may not be as clean as the one from the transformer so in this video I’m going to measure the output noise with the switch mode power supply installed.

I’m using the recommended NVVV 400W 60V 6.6A rated power supply, this is what RuiDeng officially recommends to use with their power supply kit. In Voltlog 284 part 3 I took a look inside this power supply so I will link that video on screen if you want to check it out.

Voltlog #284 – Riden RD6006 Power Supply Review

Welcome to a new Voltlog, if you’ve been watching the channel for a while you might know I’m a fan of the gopher power supply units, I think they are great value for money, they’re simple and they have good specs, in fact I reviewed their latest revision in Voltlog #255 and it had very low noise at the output, even though it is a switch mode power supply. They’re pretty compact, they don’t take up much space on the bench so what’s there not to like about these?

But in recent years there’s been another company which has slowly built-up a name among hobbyists due to their really low priced power supply modules, the name of the company is RuiDeng and they’ve been selling these compact switch mode power supply modules for $20 to $30 for years. They were not great specs, the quality was not great, you needed an external power supply unit but they had a bunch of functionality built into that color TFT display and they were cheap so everyone gave them a try

Now RuiDeng has developed and released a new model RD6006 which resembles a real bench power supply. It has a bigger front panel and it comes with a separate enclosure and power supply unit which are optional.

Voltlog #255 – Gophert NPS-1601 Review (possibly the best power supply in this price range)

Welcome to a new Voltlog, those who have been with me since the beginning of this channel, may know the first video I ever released, Voltlog #1 was a review of a switch mode bench power supply from Gopher Technology. It was the CPS-3205C and it was a great little unit, it has served me well over the years and I still have it.

At that time I complained about the fact that the unit has the output jacks on the back which is not really convenient for bench use. There were also other issues mentioned while measuring the performance of the power supply,  I will link that video on screen if you want to watch it but the video, audio and editing quality are lower than what you’re seeing today.

Gophert made some improvements to the original design and have now released a newer version of that power supply, it has a new model number it’s NPS-1601 but it’s the same range of 0-32V and 0-5A. There are other models with different ranges but this is what would correspond to the CPS3205 I reviewed years ago.

They have made a bunch of changes on the front panel, the most important one is they moved the output jacks to the front panel so now it’s easier to connect the output of this power supply but they are still not standard spacing so you can’t connect one of these adapters with banana jacks. They have also redesigned the front panel completely, they are still using 7 segment displays but now they also have a wattage display which can be switched on temporarily in place of the amps display, you press the watts button and it will show watts measurement for about 3 seconds before reverting to amps display.

The switch for A/V adjustment is now tactile instead of a sliding switch but the rest has stayed the same. I like this redesigned front panel I just wished they used a lighter color for the text, because for example there are some markings which are barely visible next to the LEDs.

Here is a set of pictures I captured during the teardown:

Voltlog #128 – LM338 Constant Current Regulator Circuit

Welcome to a new voltlog, today we are building a very simple constant current regulator based on the LM338 linear regulator. This is a very robust and stable classical regulator that is being manufactured by many big names like ST and TI, it has quite a high output current  rating of 5A continuous, it even comes in a TO-3 can package but today we’re going to use a TO220 which is more commonly available.

To make a constant current regulator out of this, is very simple, the datasheet gives us the circuit we need to use and we only need a low value resistor to do that plus the optional input bypassing cap which is 0.1uF. We’re going to use this formula to calculate the value of the resistor, so the output current is equal to the Vref divided by the value of the resistor.

External references: