Welcome to a new video, today we’ll be taking a look at a device which I believe is gaining more popularity, especially as summer time approaches and people are spending more time outdoors. It’s no secret that we are dependent on our gadgets now more than ever and we need to keep them charged.
Regular 10-20Ah powerbanks can save the day for your phone or tablet but if we’re talking about multiple gadgets like multiple phones, tablets, laptops, portable speakers, lights, etc then you need something more serious with higher capacity, multiple ports, maybe even an AC outlet.
That’s why today we’ll be looking at this guy, it’s the Blitzwolf PG1 a true power station holding 124Ah of battery capacity(in this version which is the upgraded one) and providing you with multiple USB ports for DC output, two AC outputs, a built-in bluetooth speaker, an LED light with everything built into this nice rugged case which comes with a carry handle so this might be a true companion for a camping trip or a summer beach day or even for those unexpected long power outages.
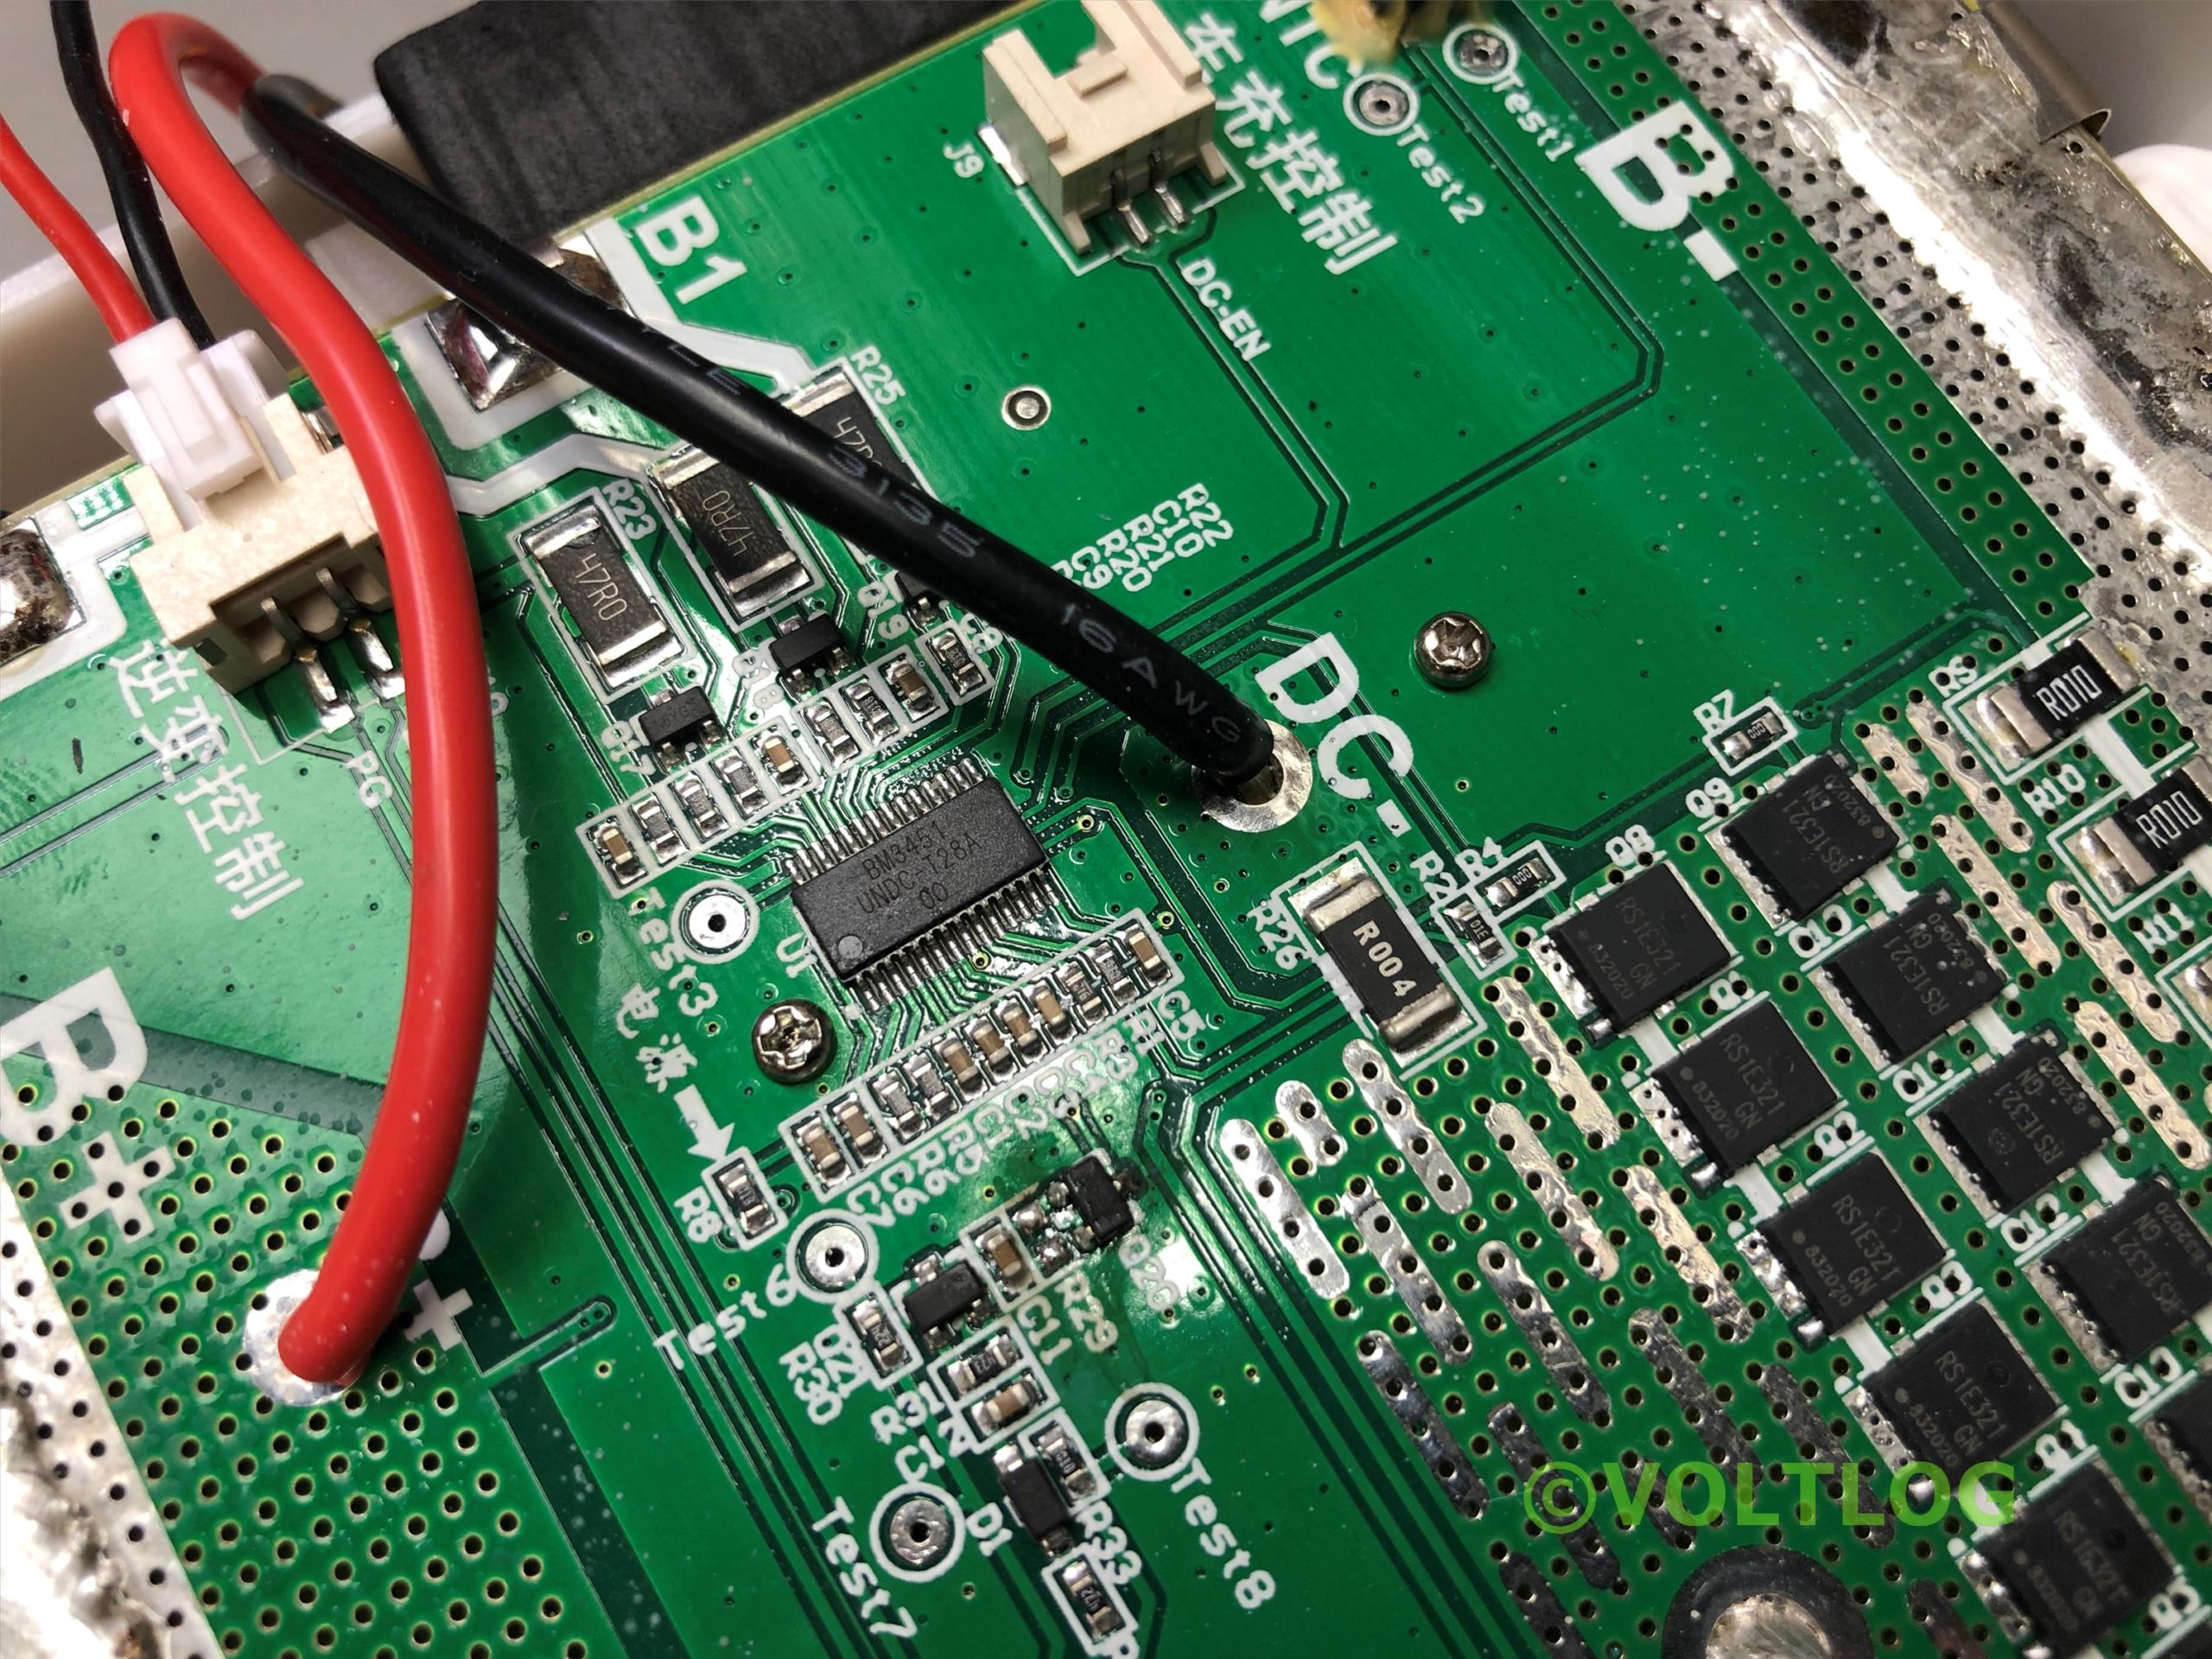
So everything sounds good on paper for this power station and blitzwolf products are generally pretty good. I’ve owned several power adapters, usb charging cables and various other smartphone accessories from Blitzwolf in the past and they’ve been great. I would say they are similar in quality with Baseus products if you are familiar with that brand which I also show a lot on this channel. But in this video we’ll check for ourselves, we’ll do a teardown, because having all of that energy inside this power station can be dangerous if it’s not built with a certain degree of quality and attention to detail.
The unit was super nicely packed in a thick double box so it arrived in perfect condition and its own internal packaging and protection is very professional so I don’t think anything can happen to this product during shipping but it’s also not wise to underestimate what shipping companies are capable of.
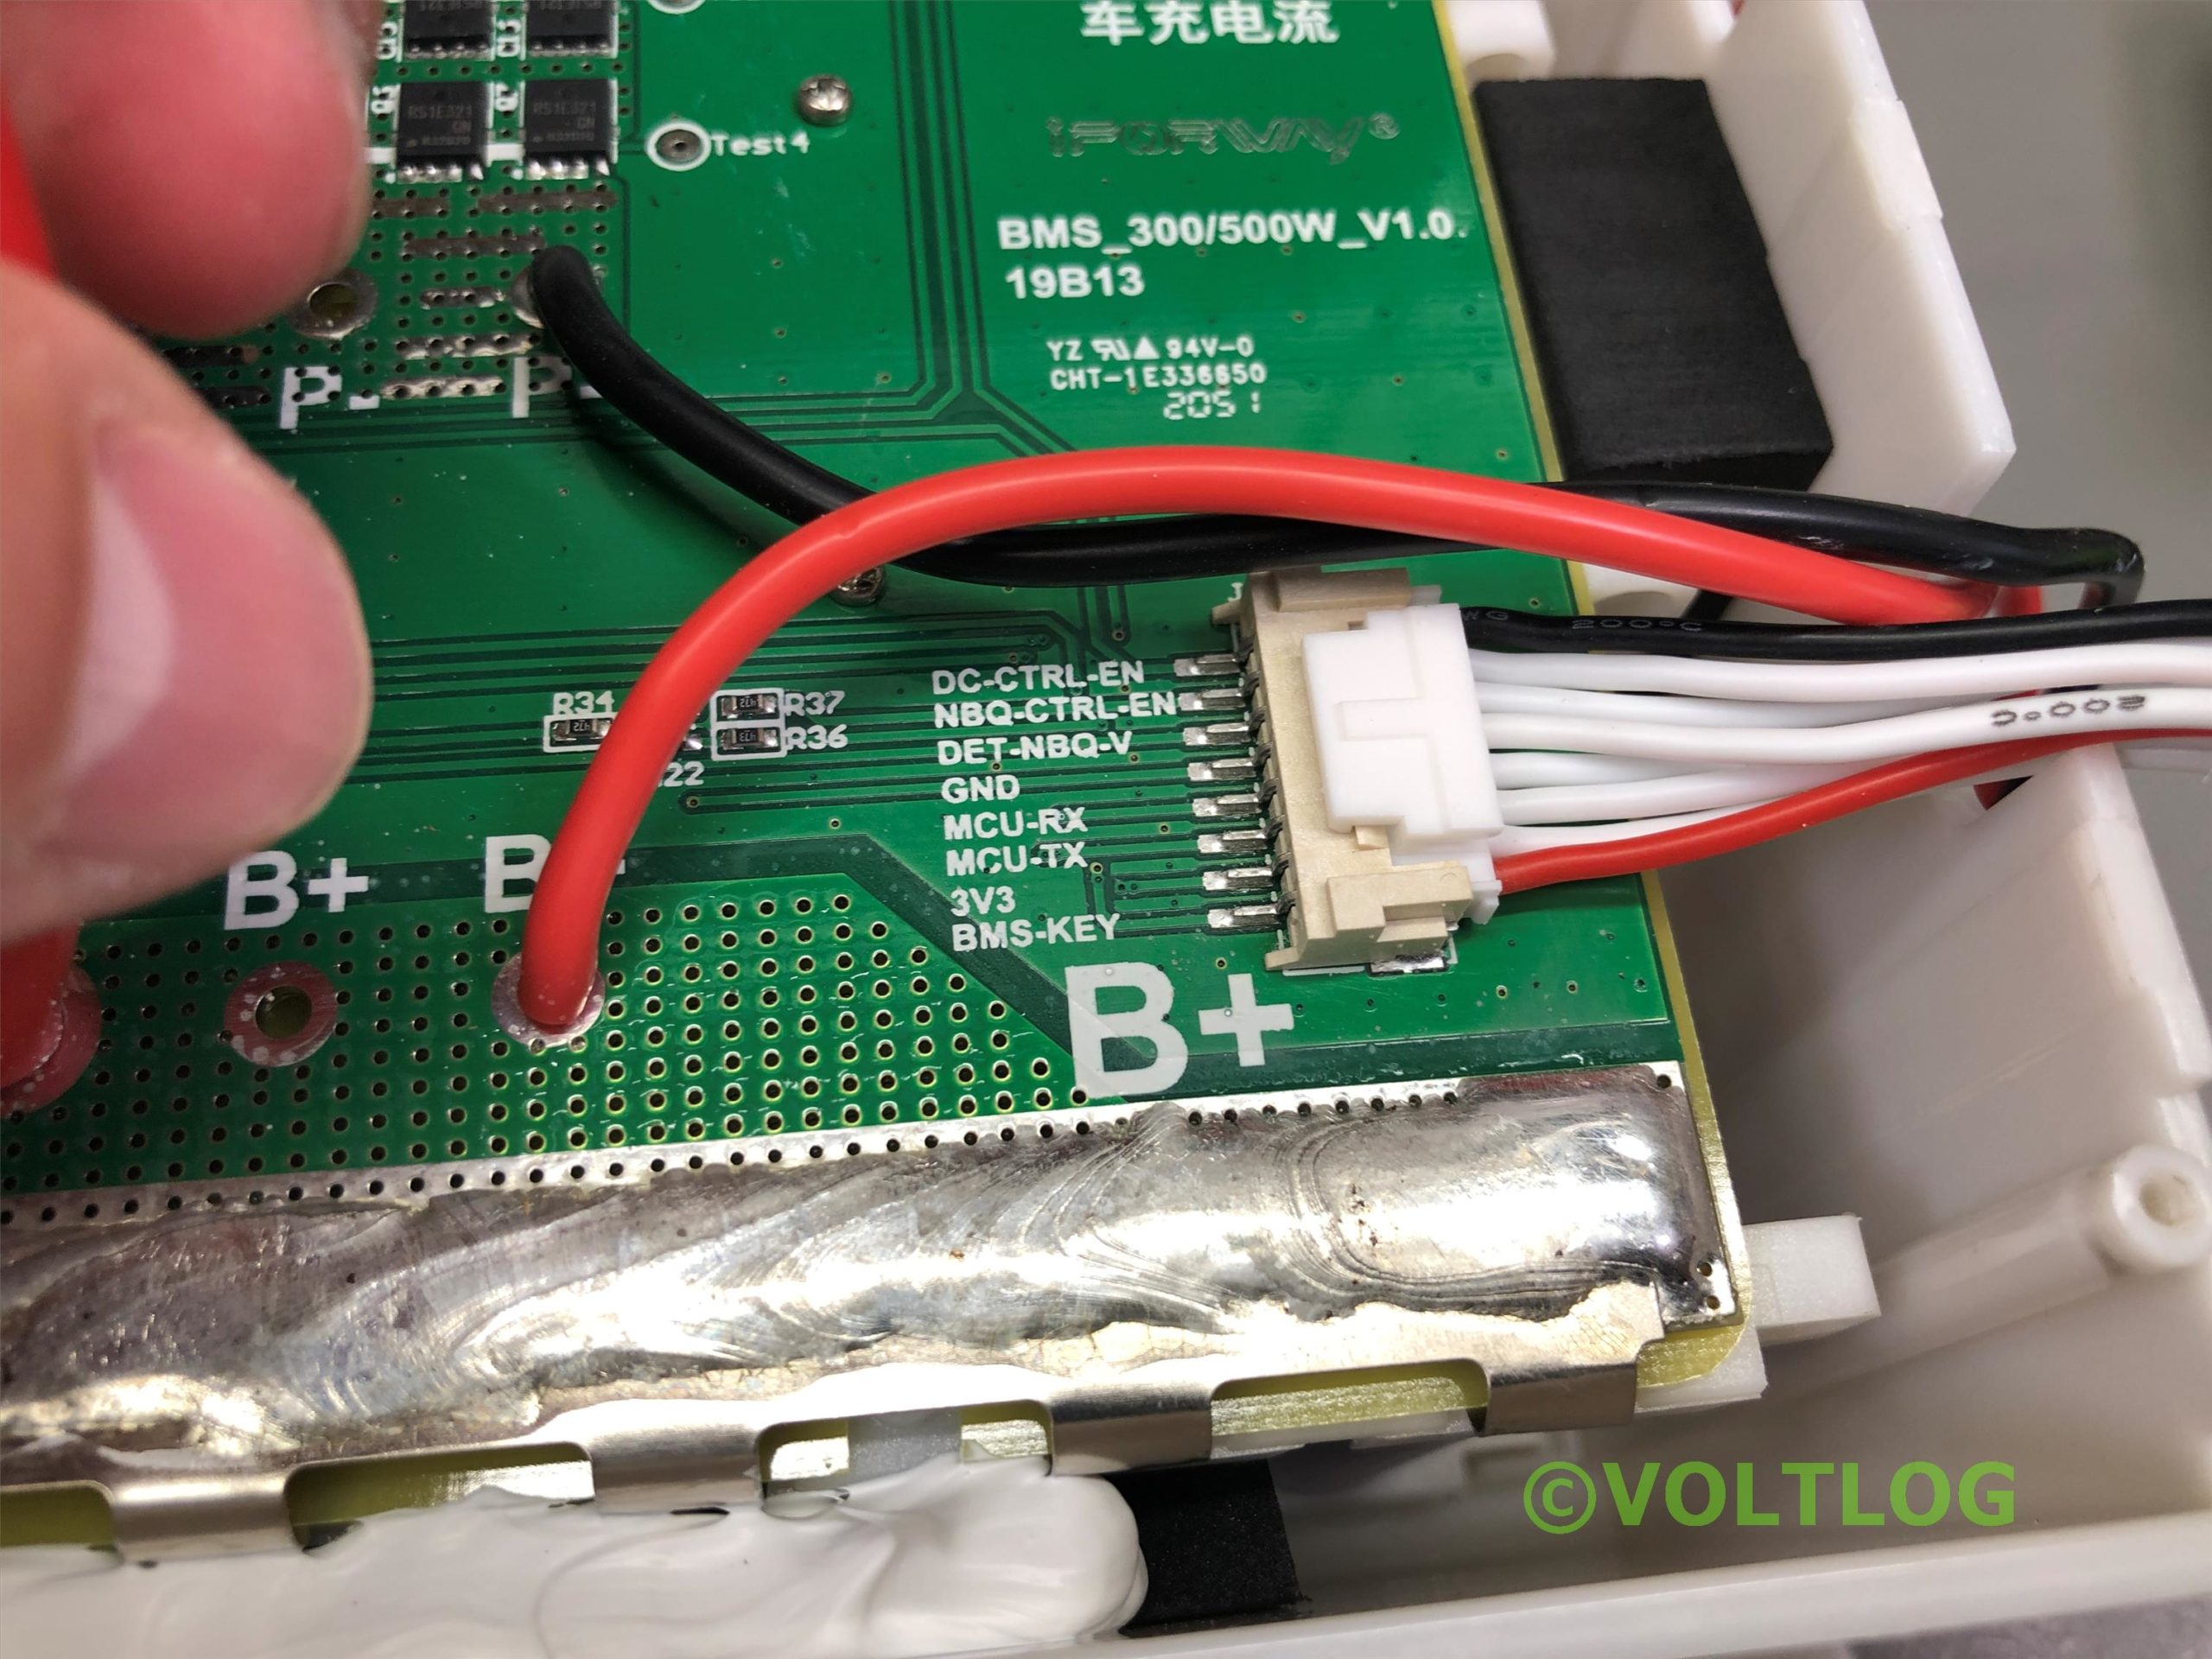
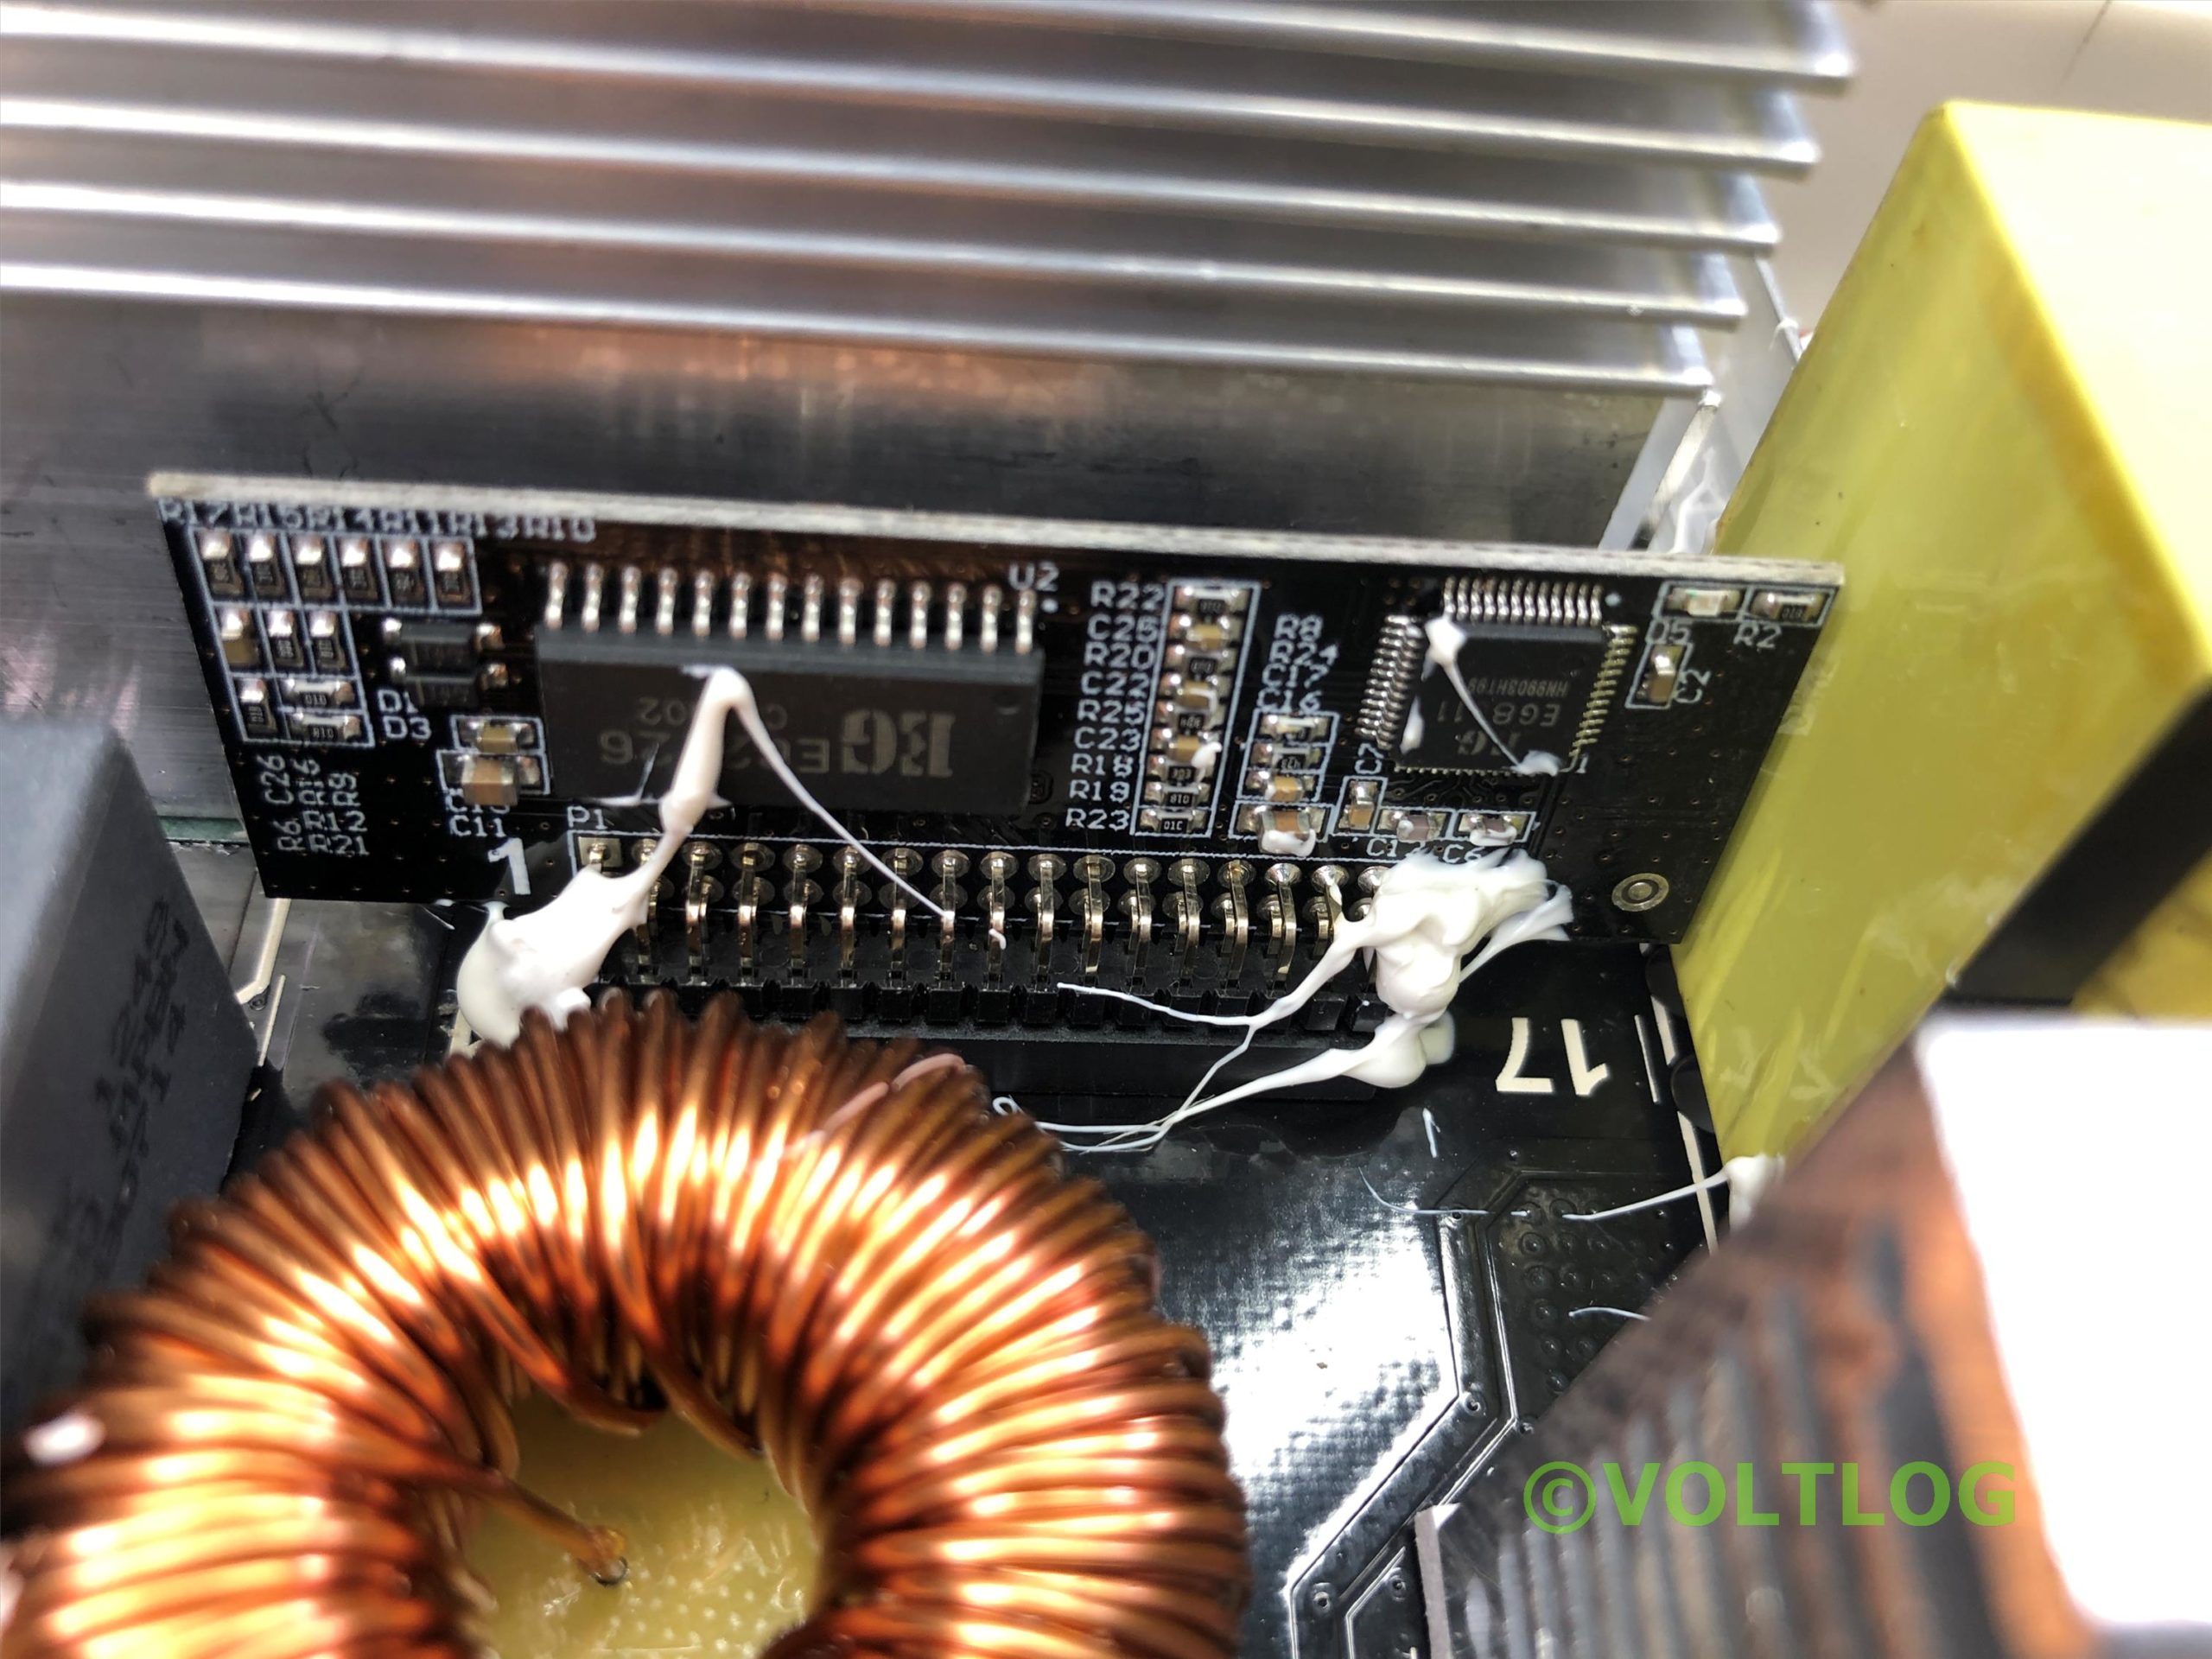
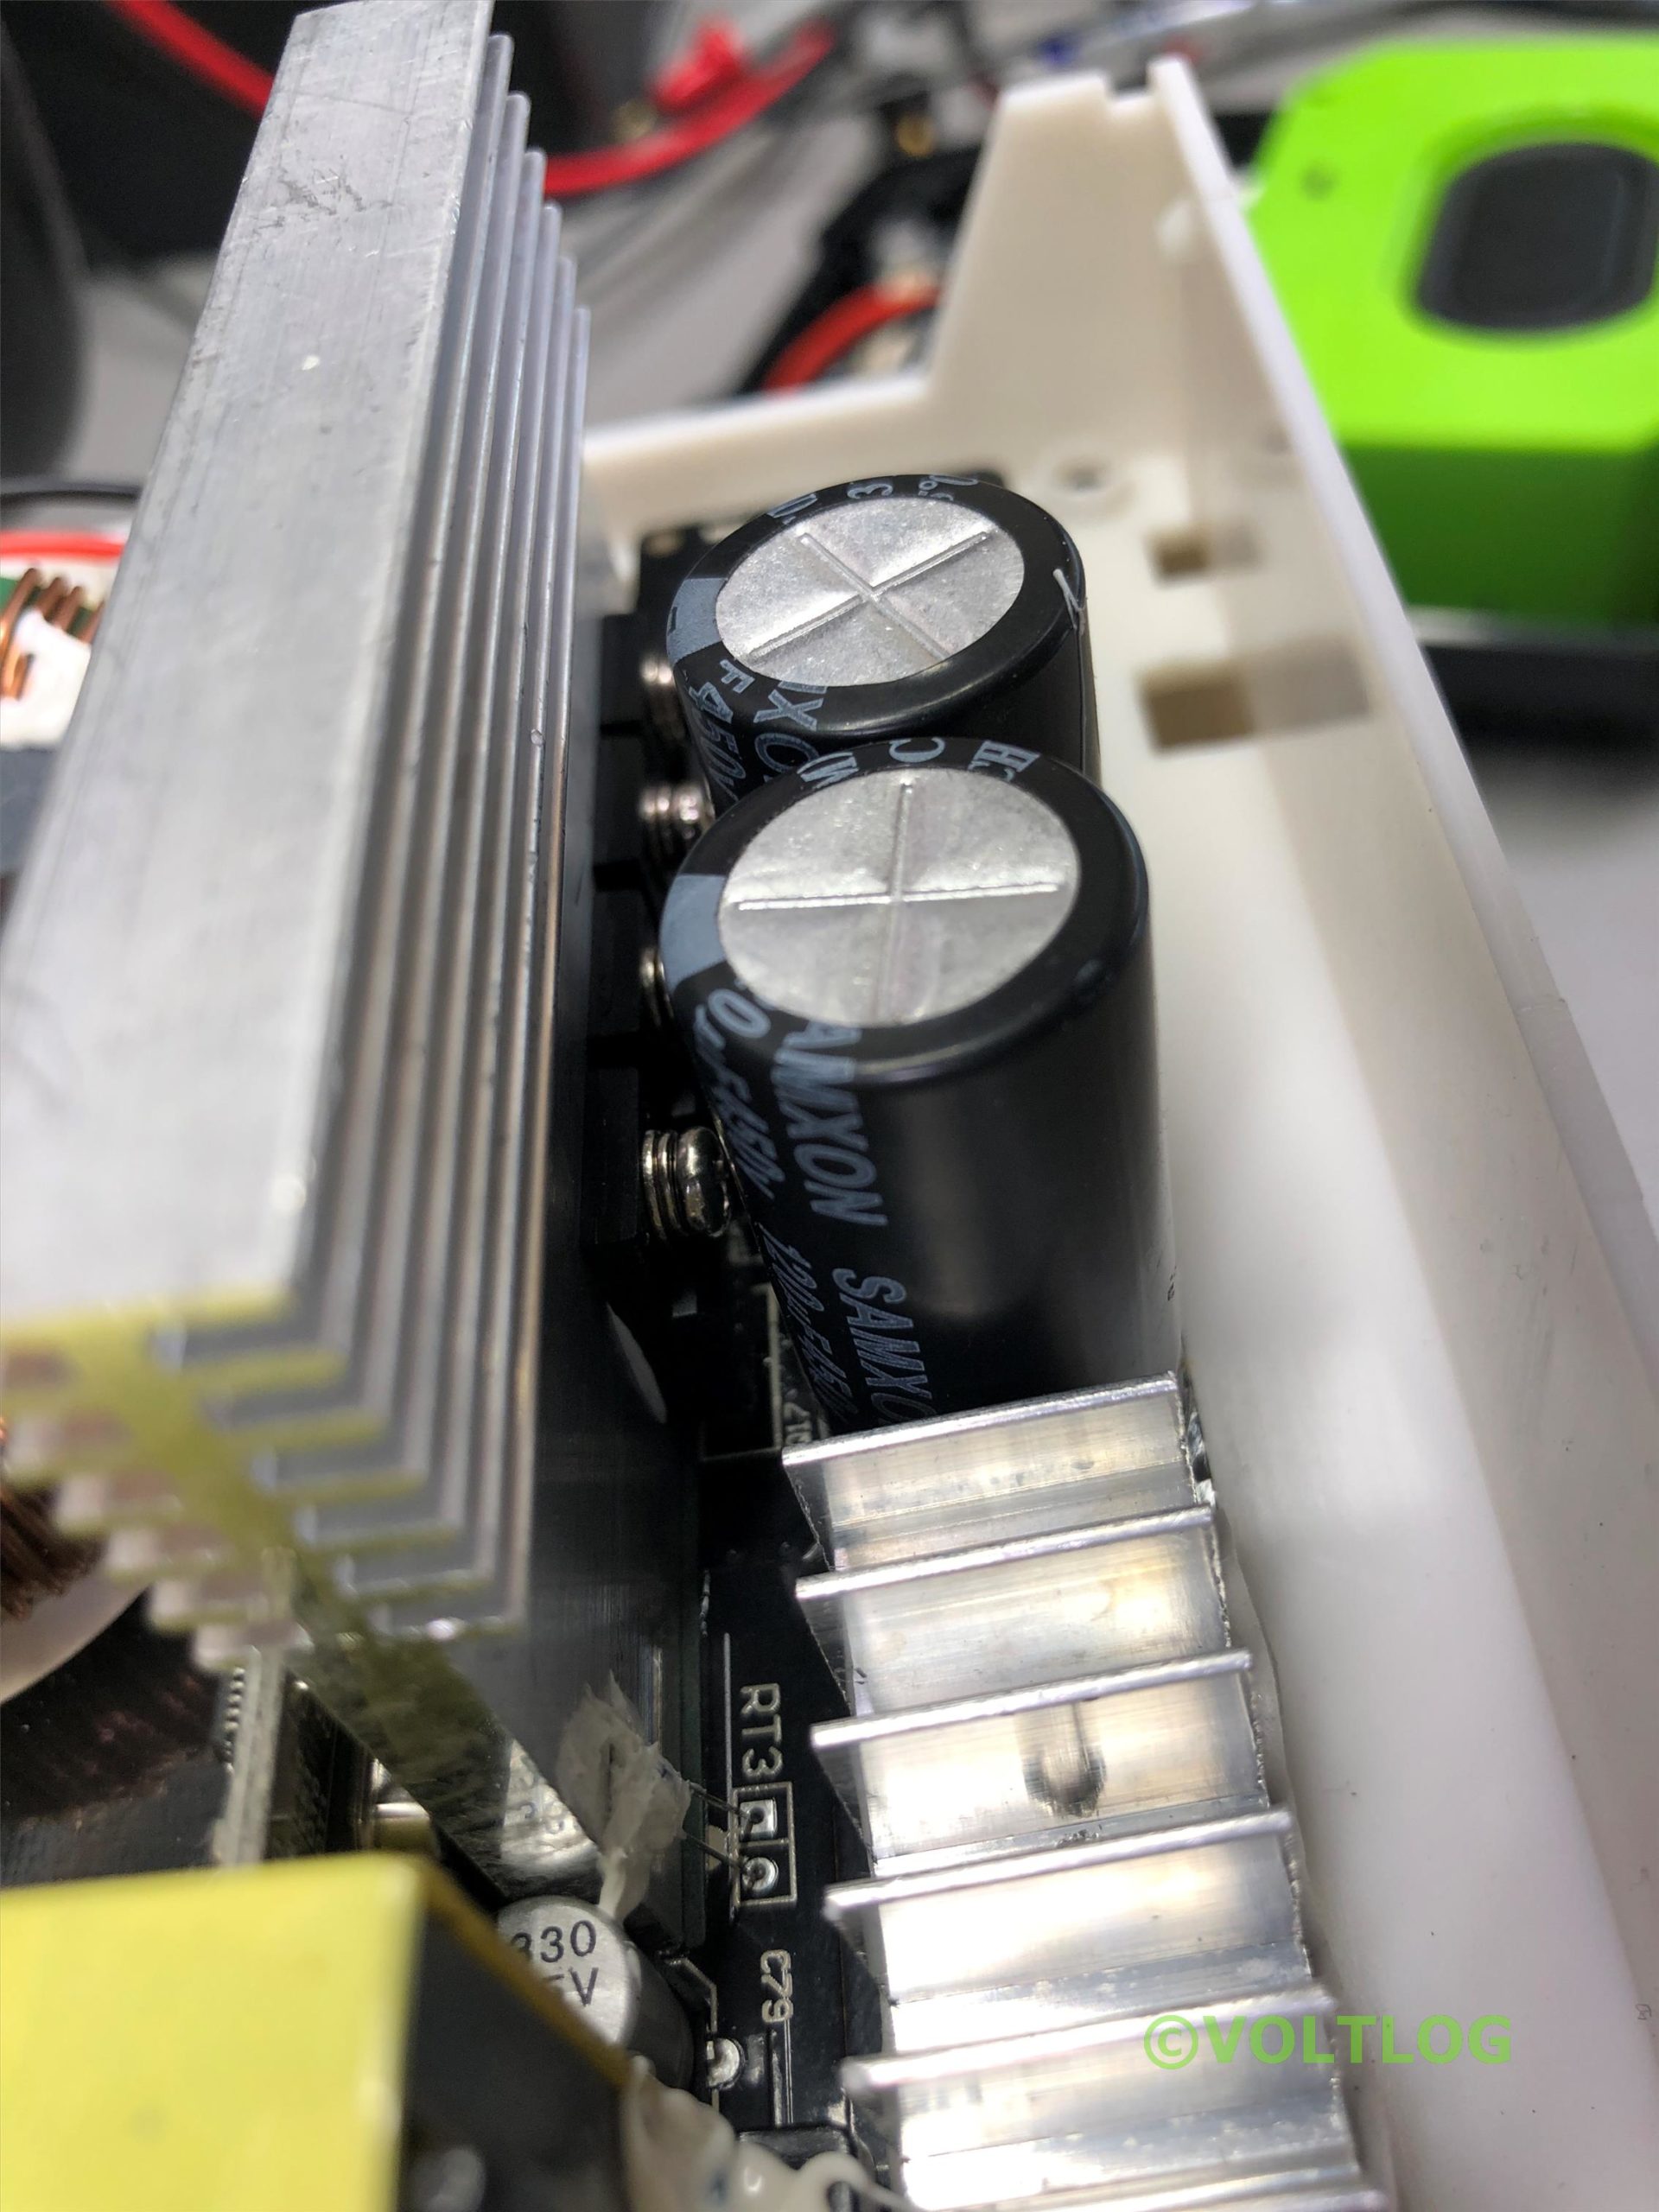
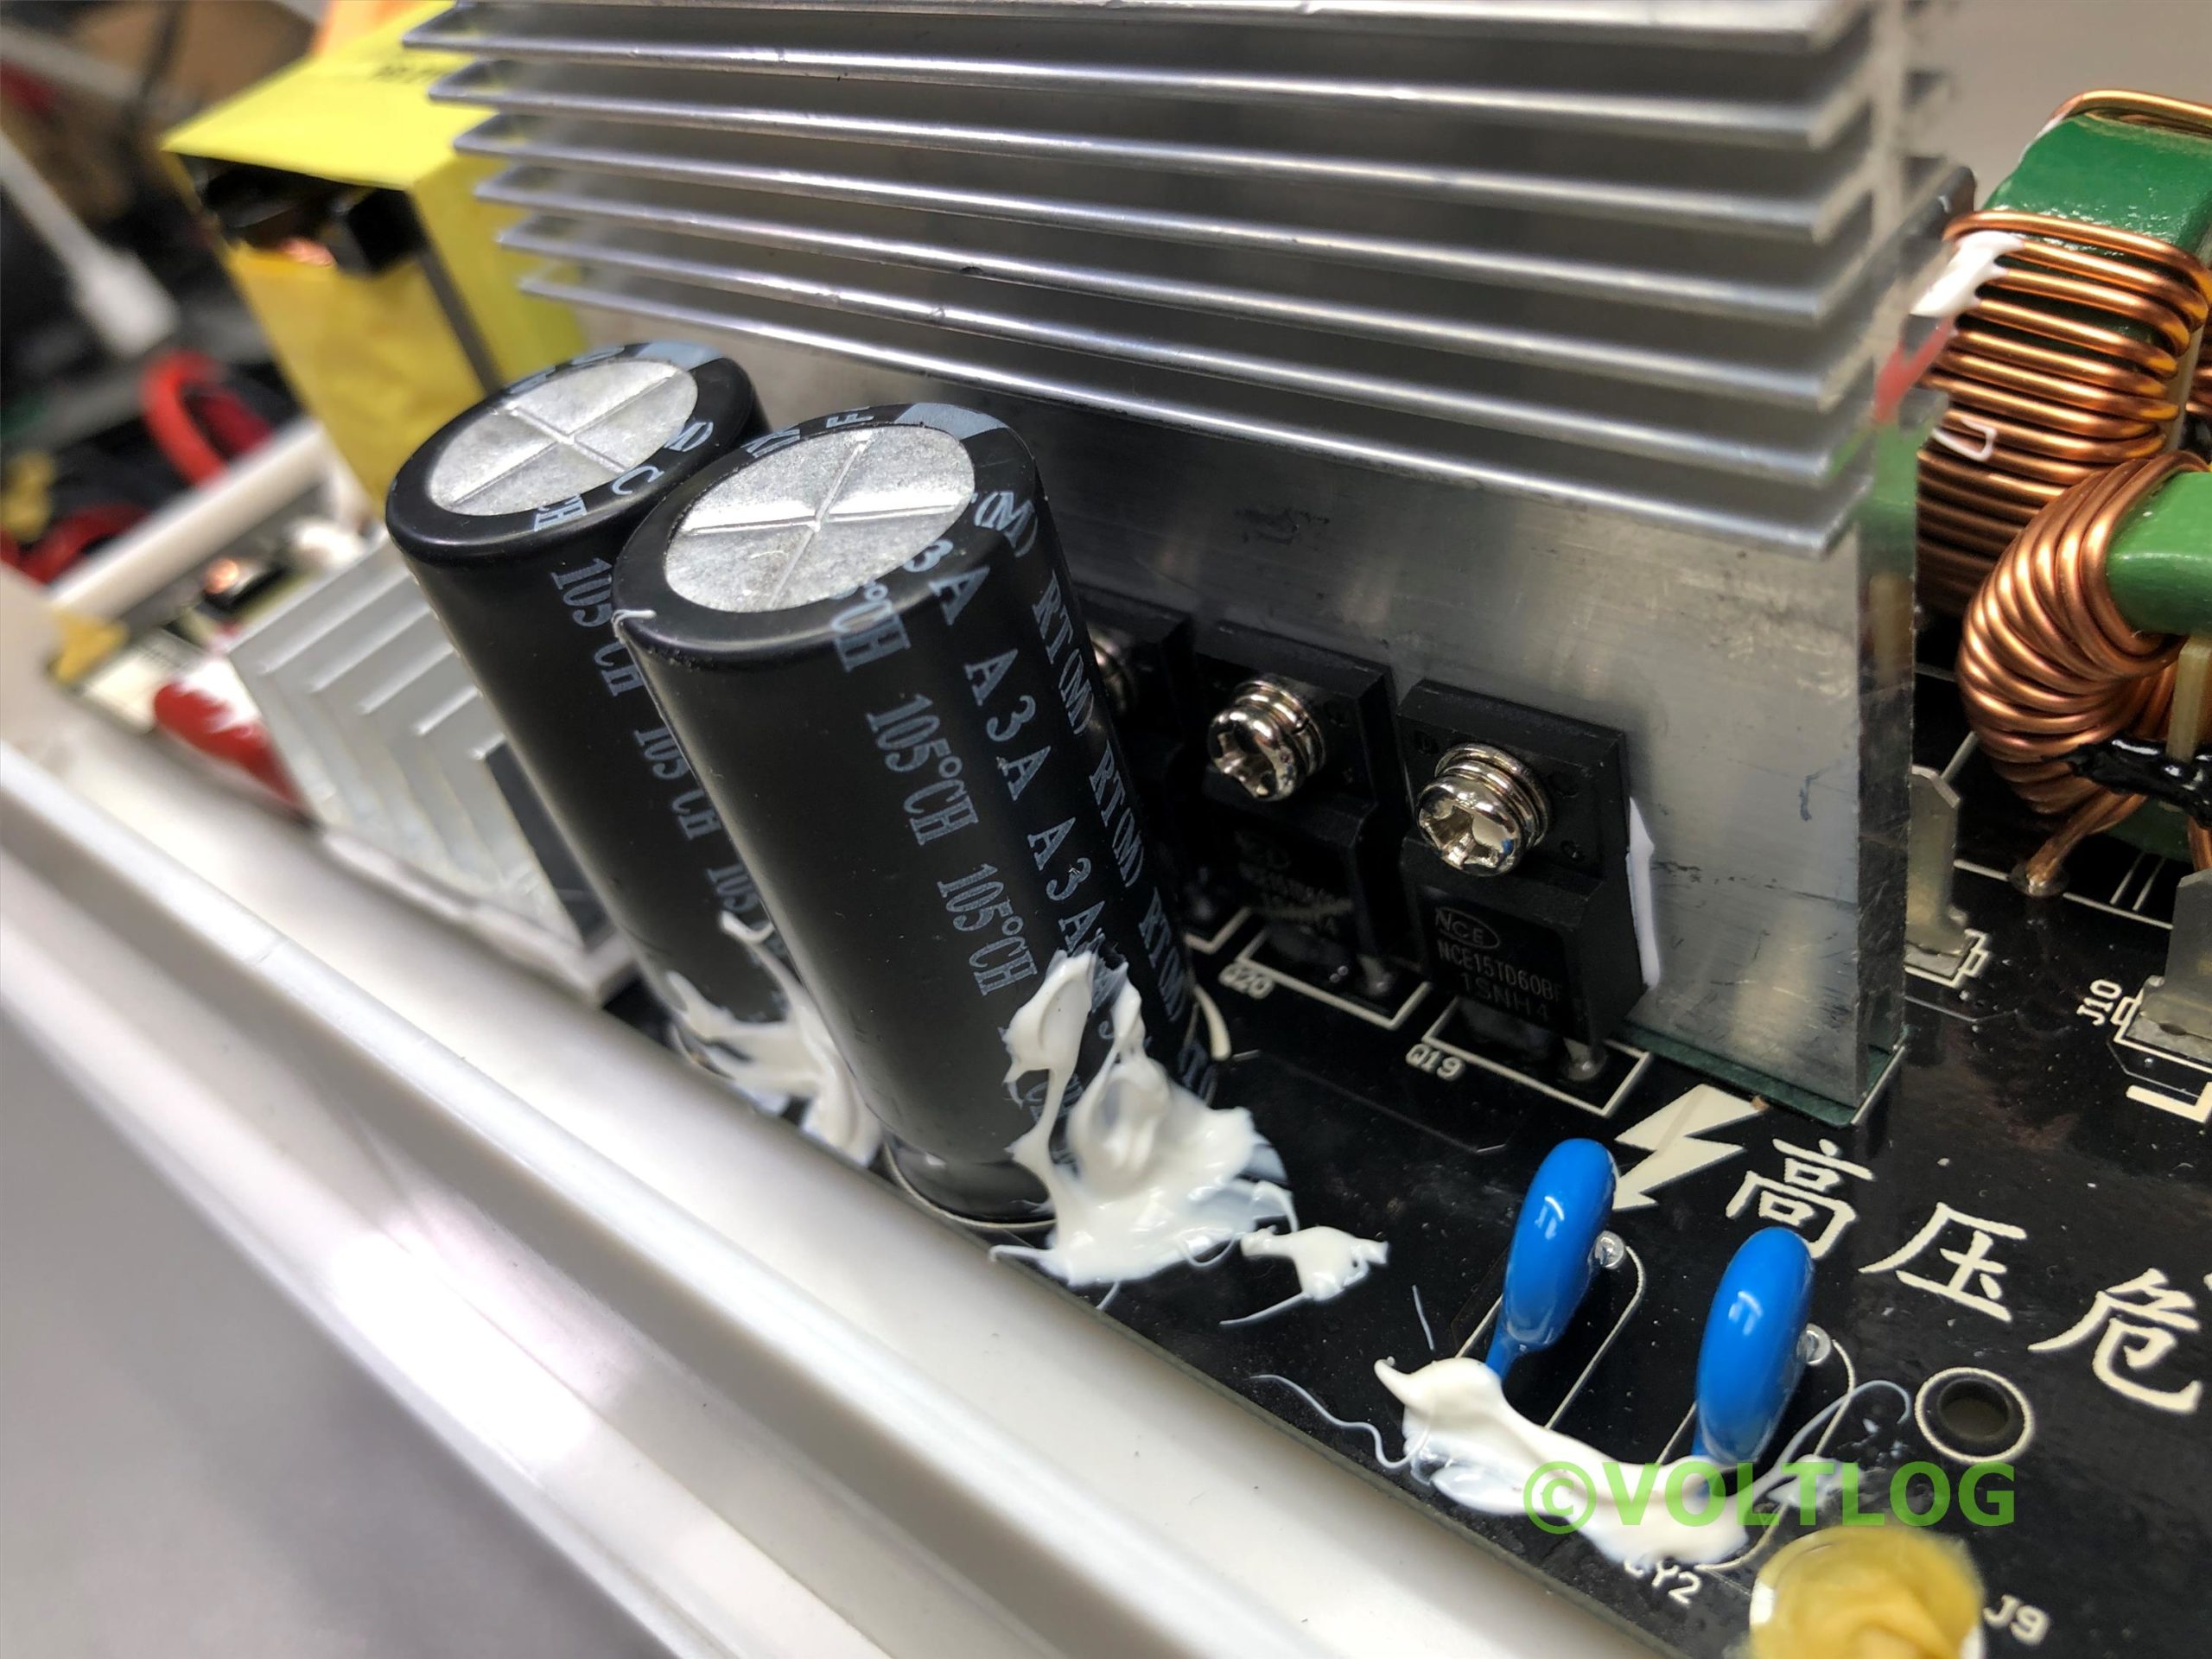
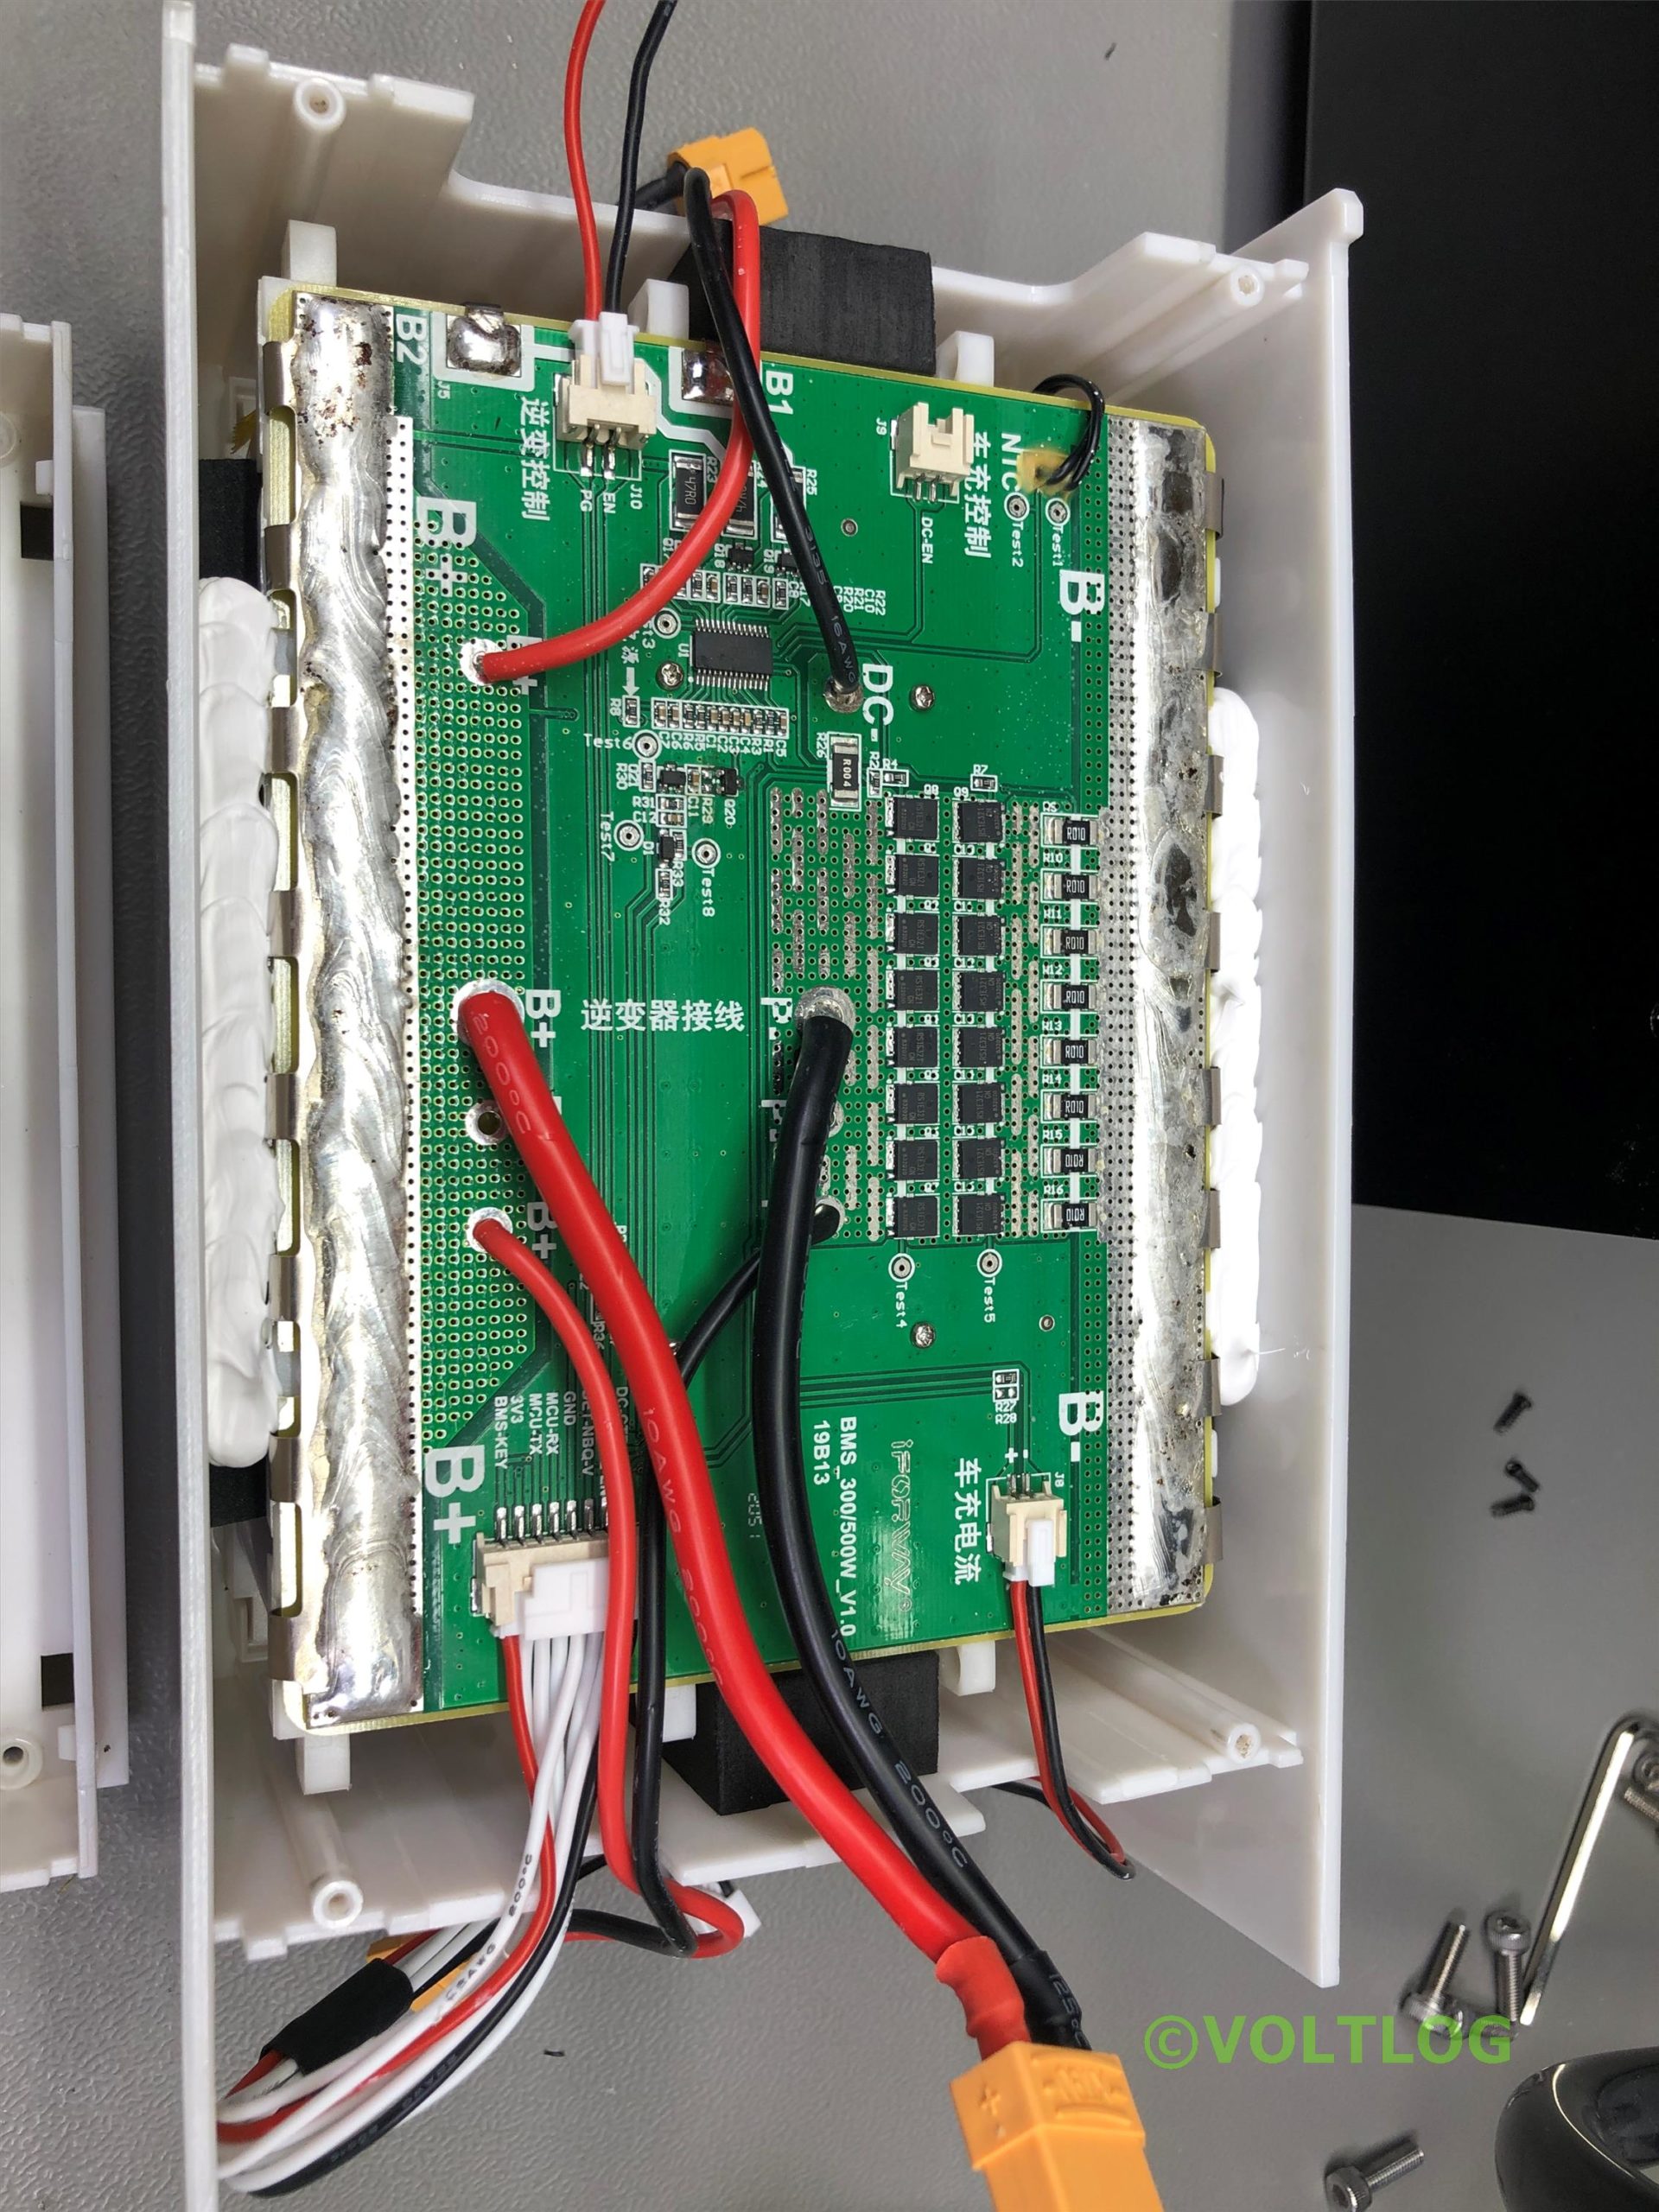
Blitzwolf PG1 Teardown Pictures
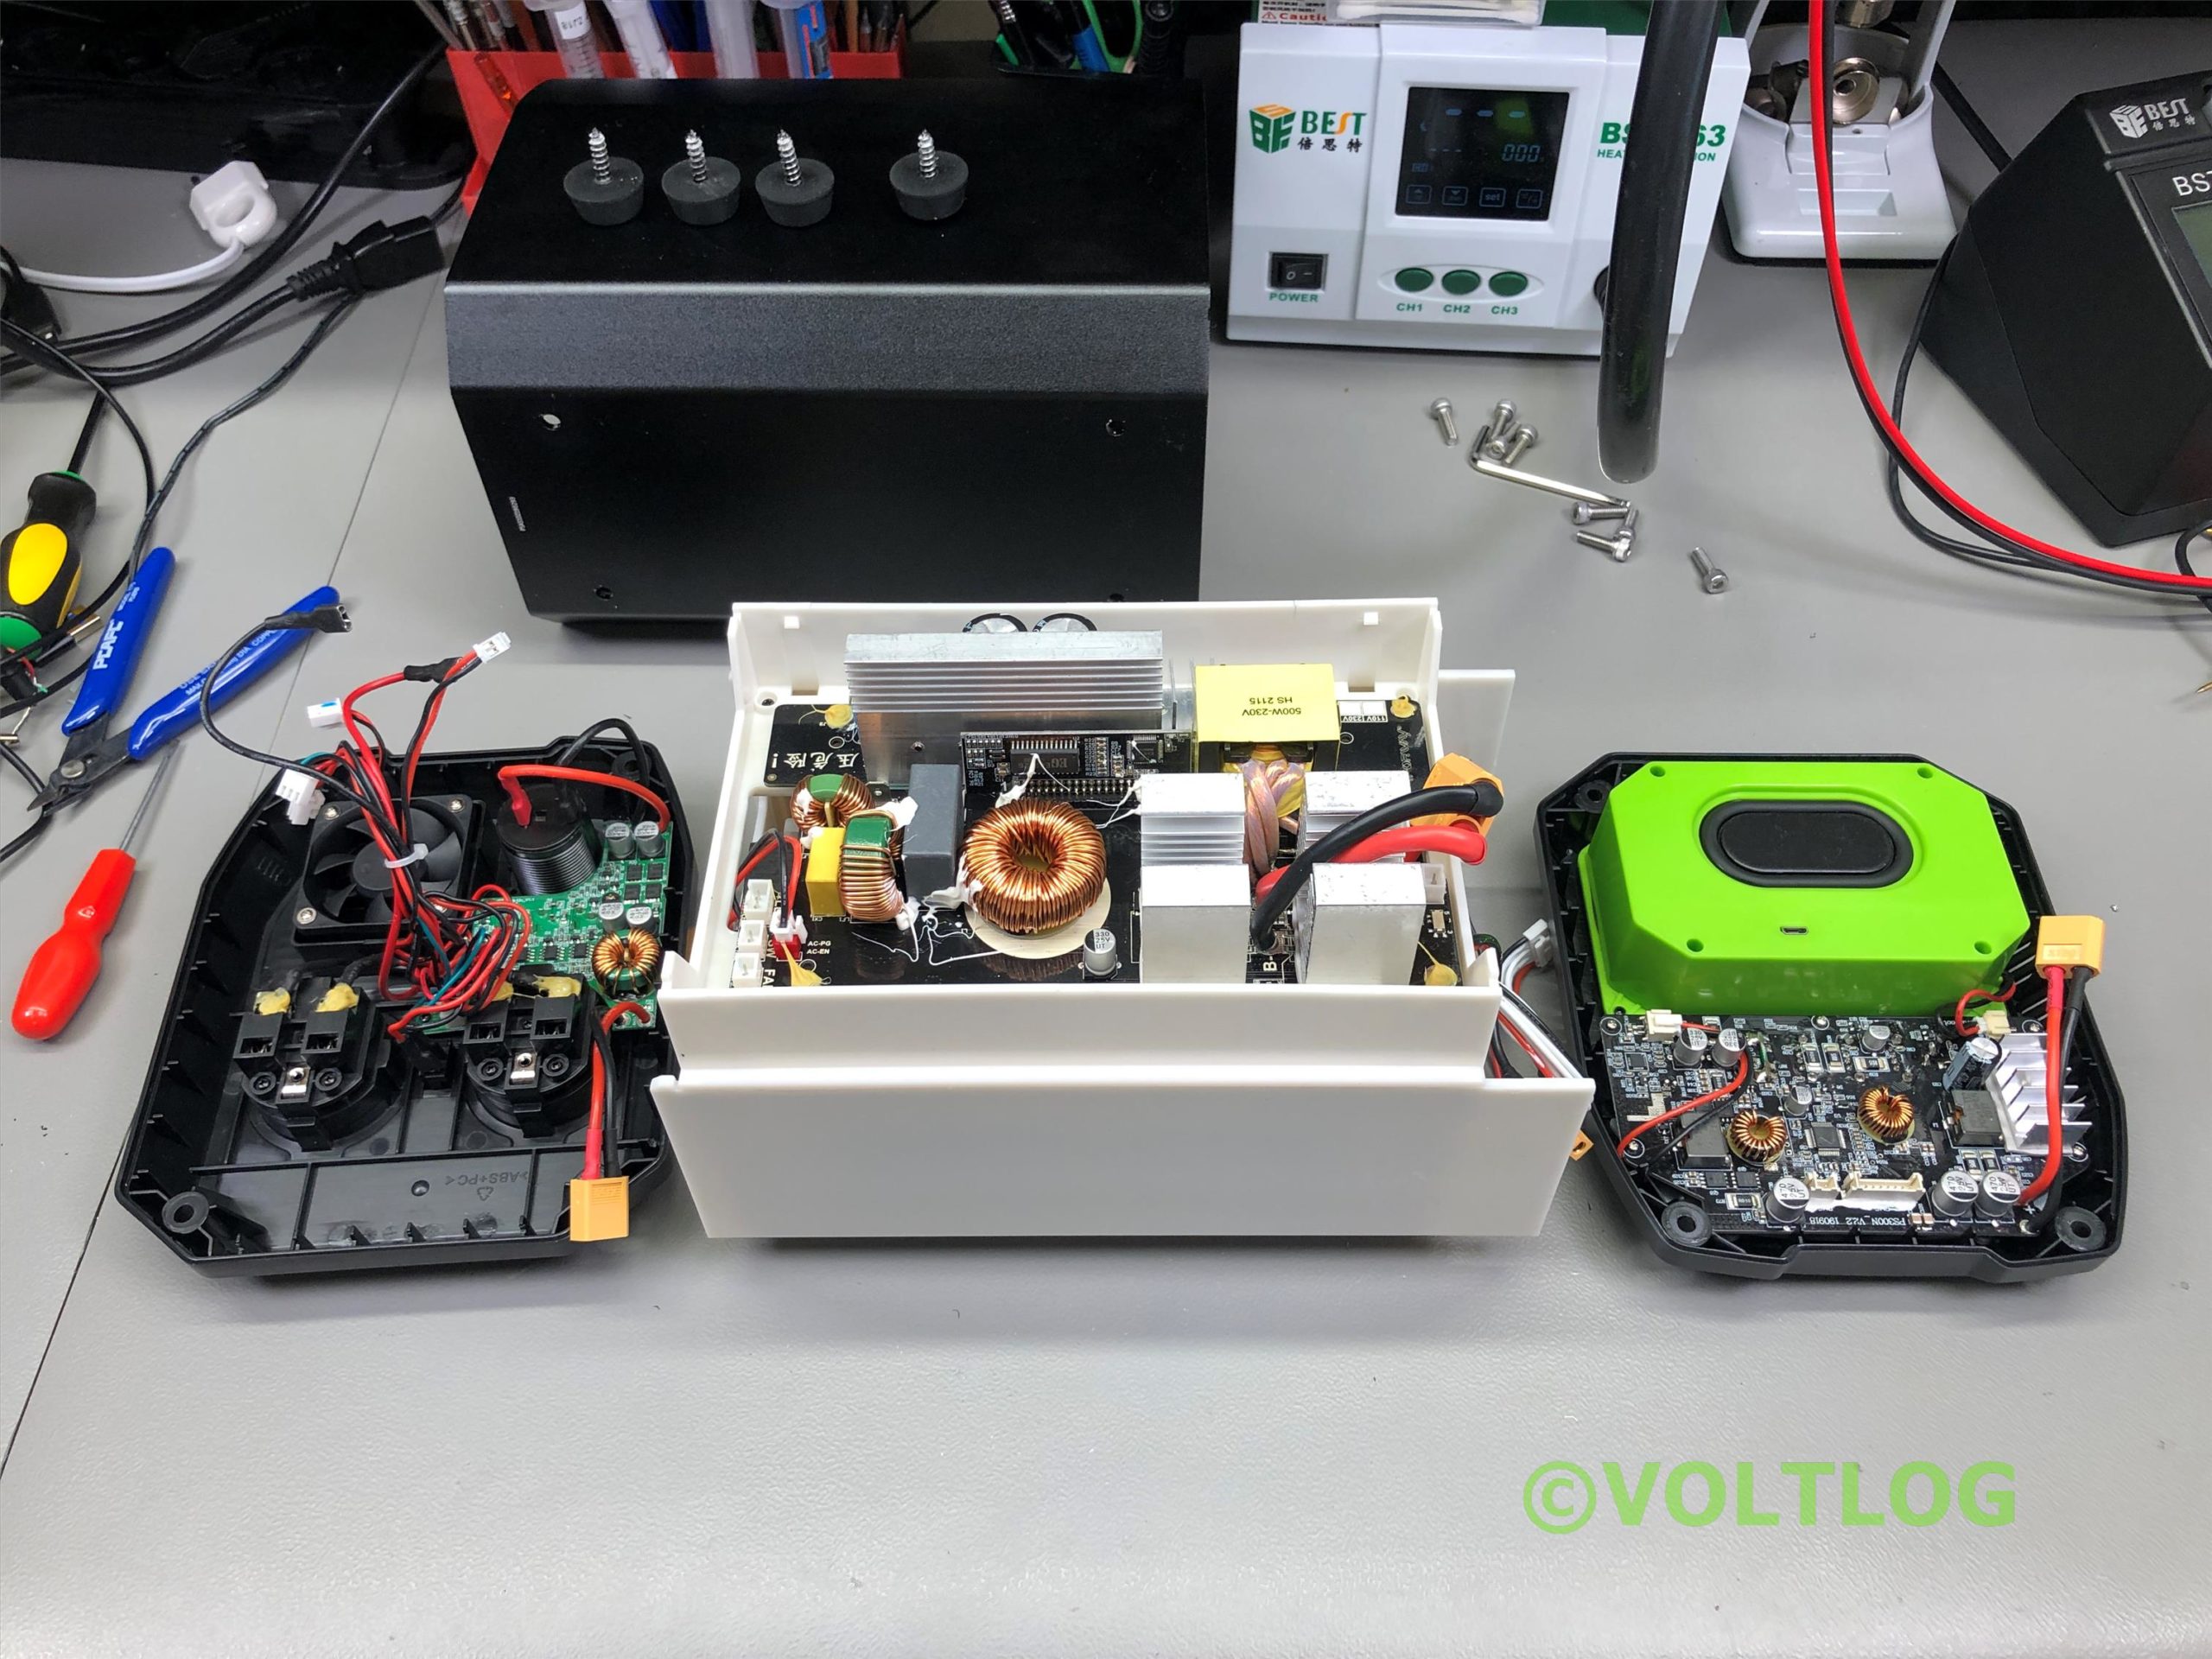

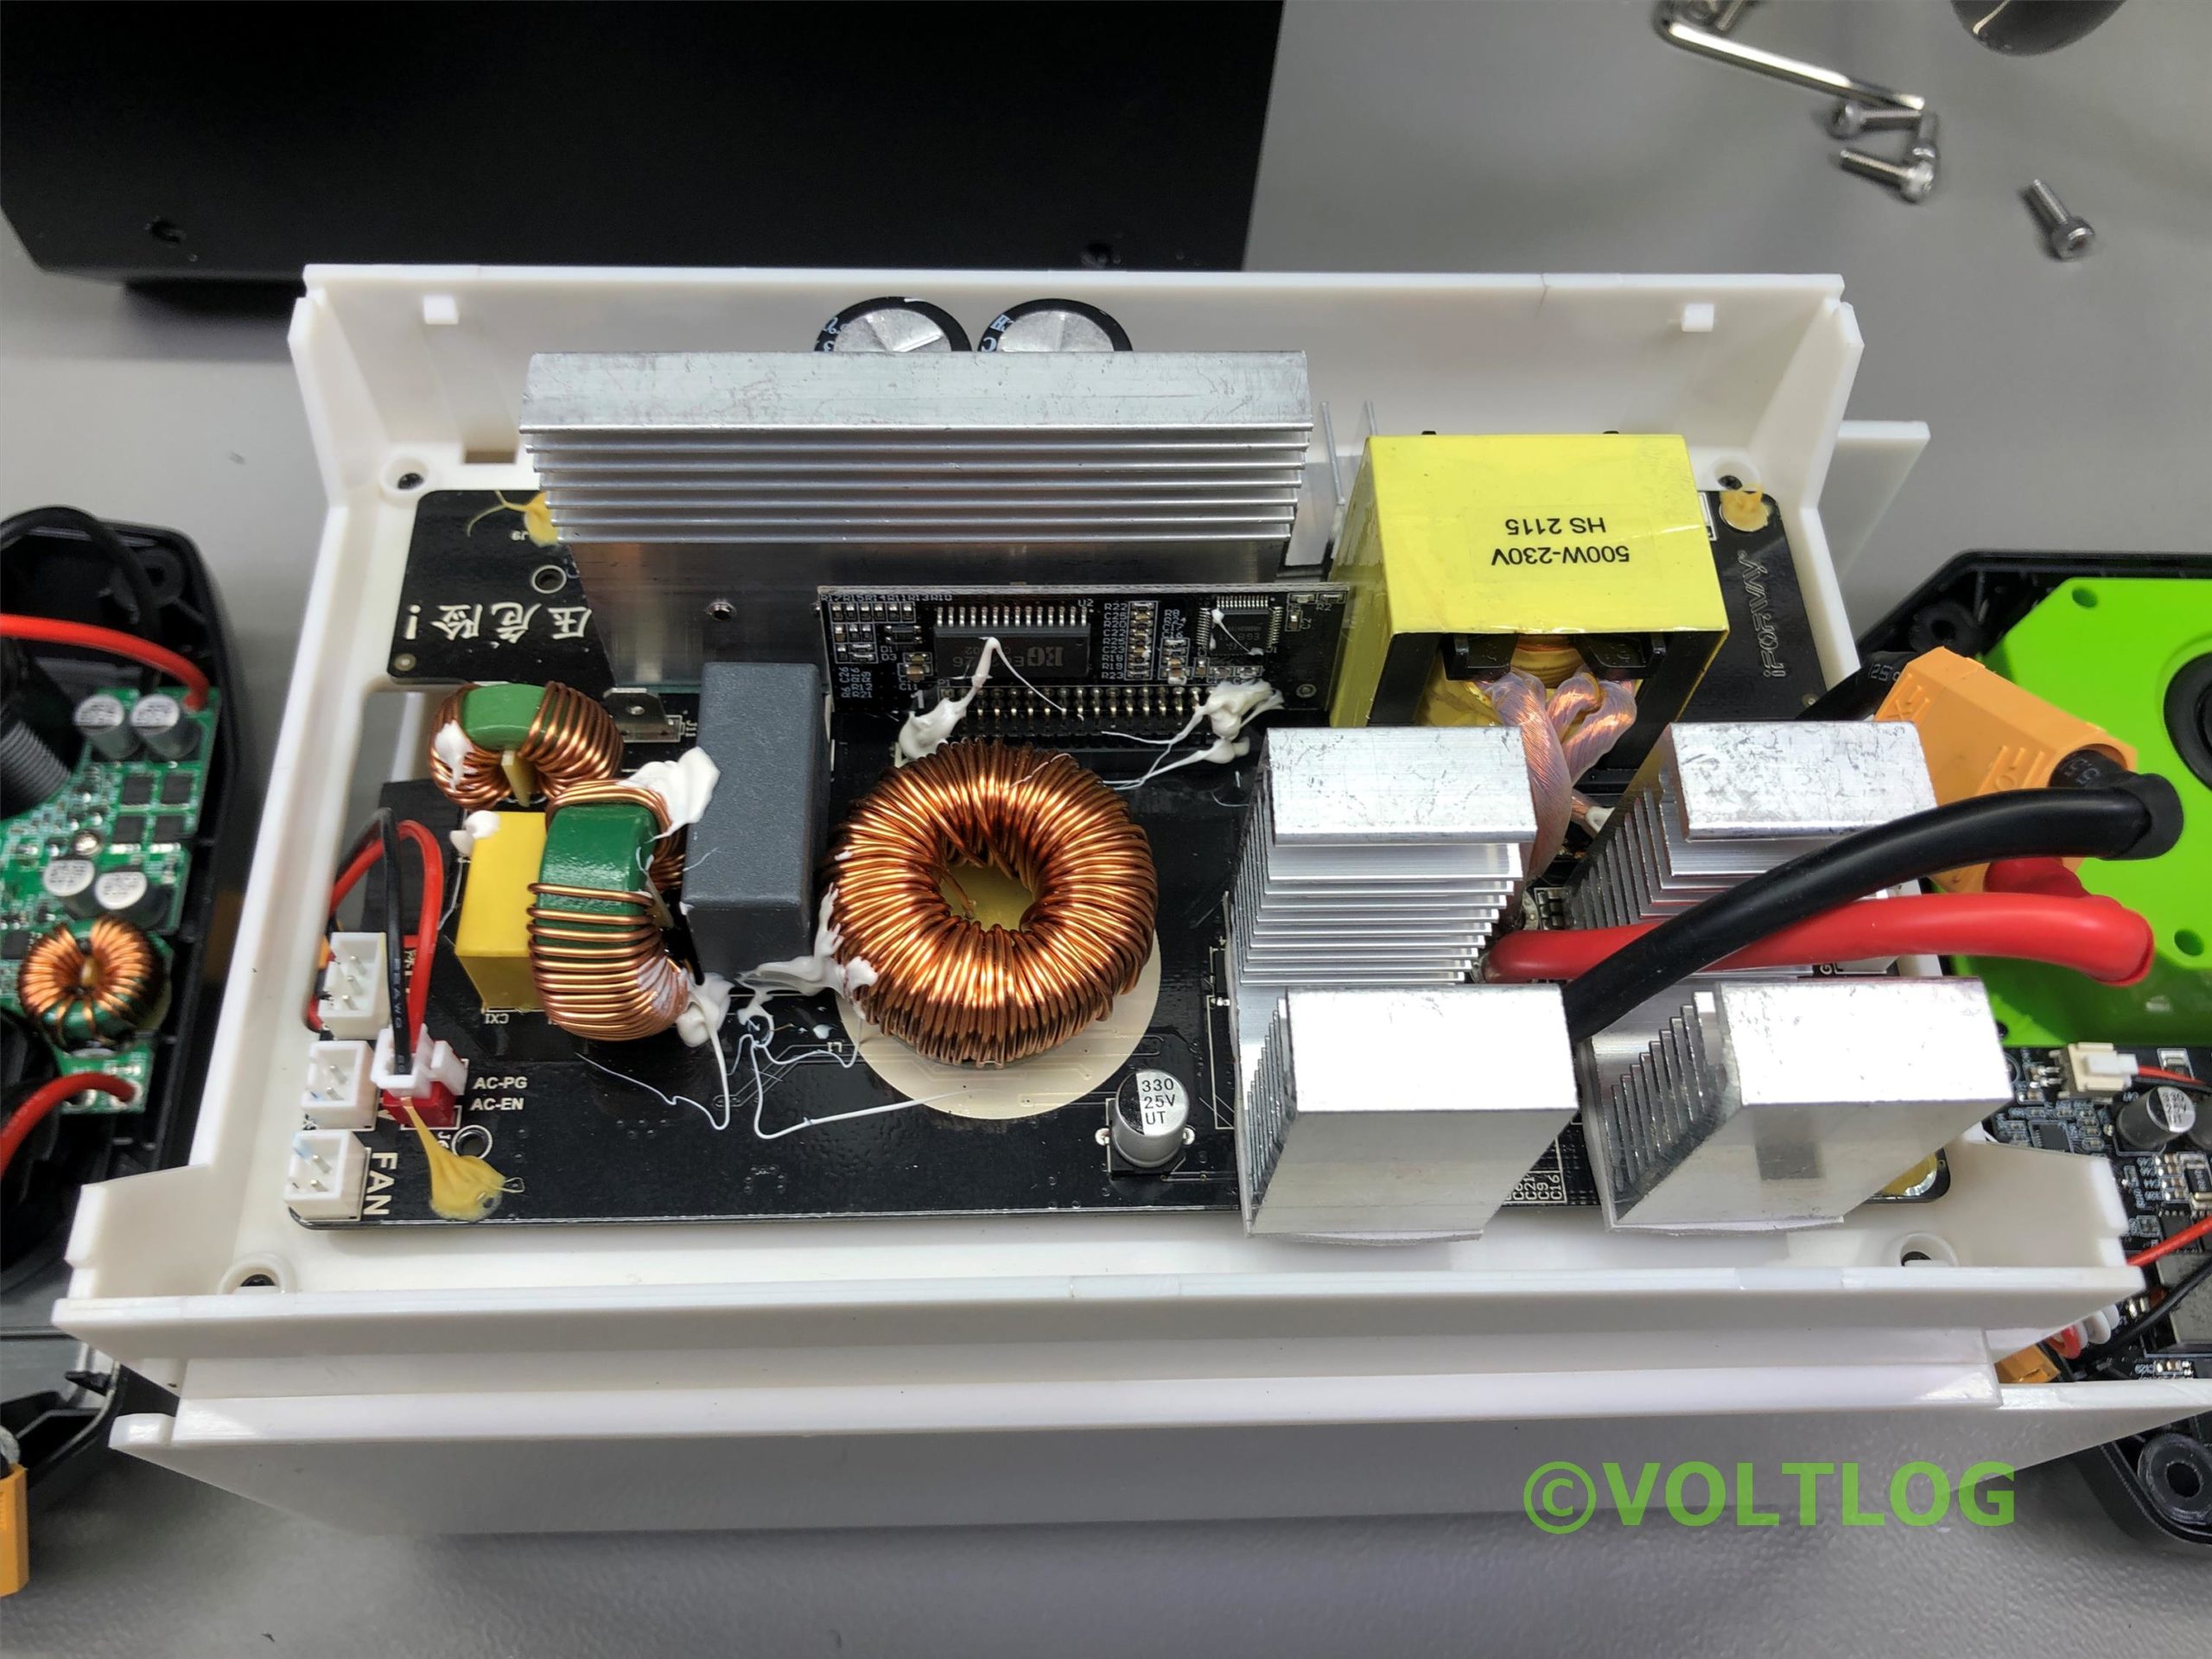
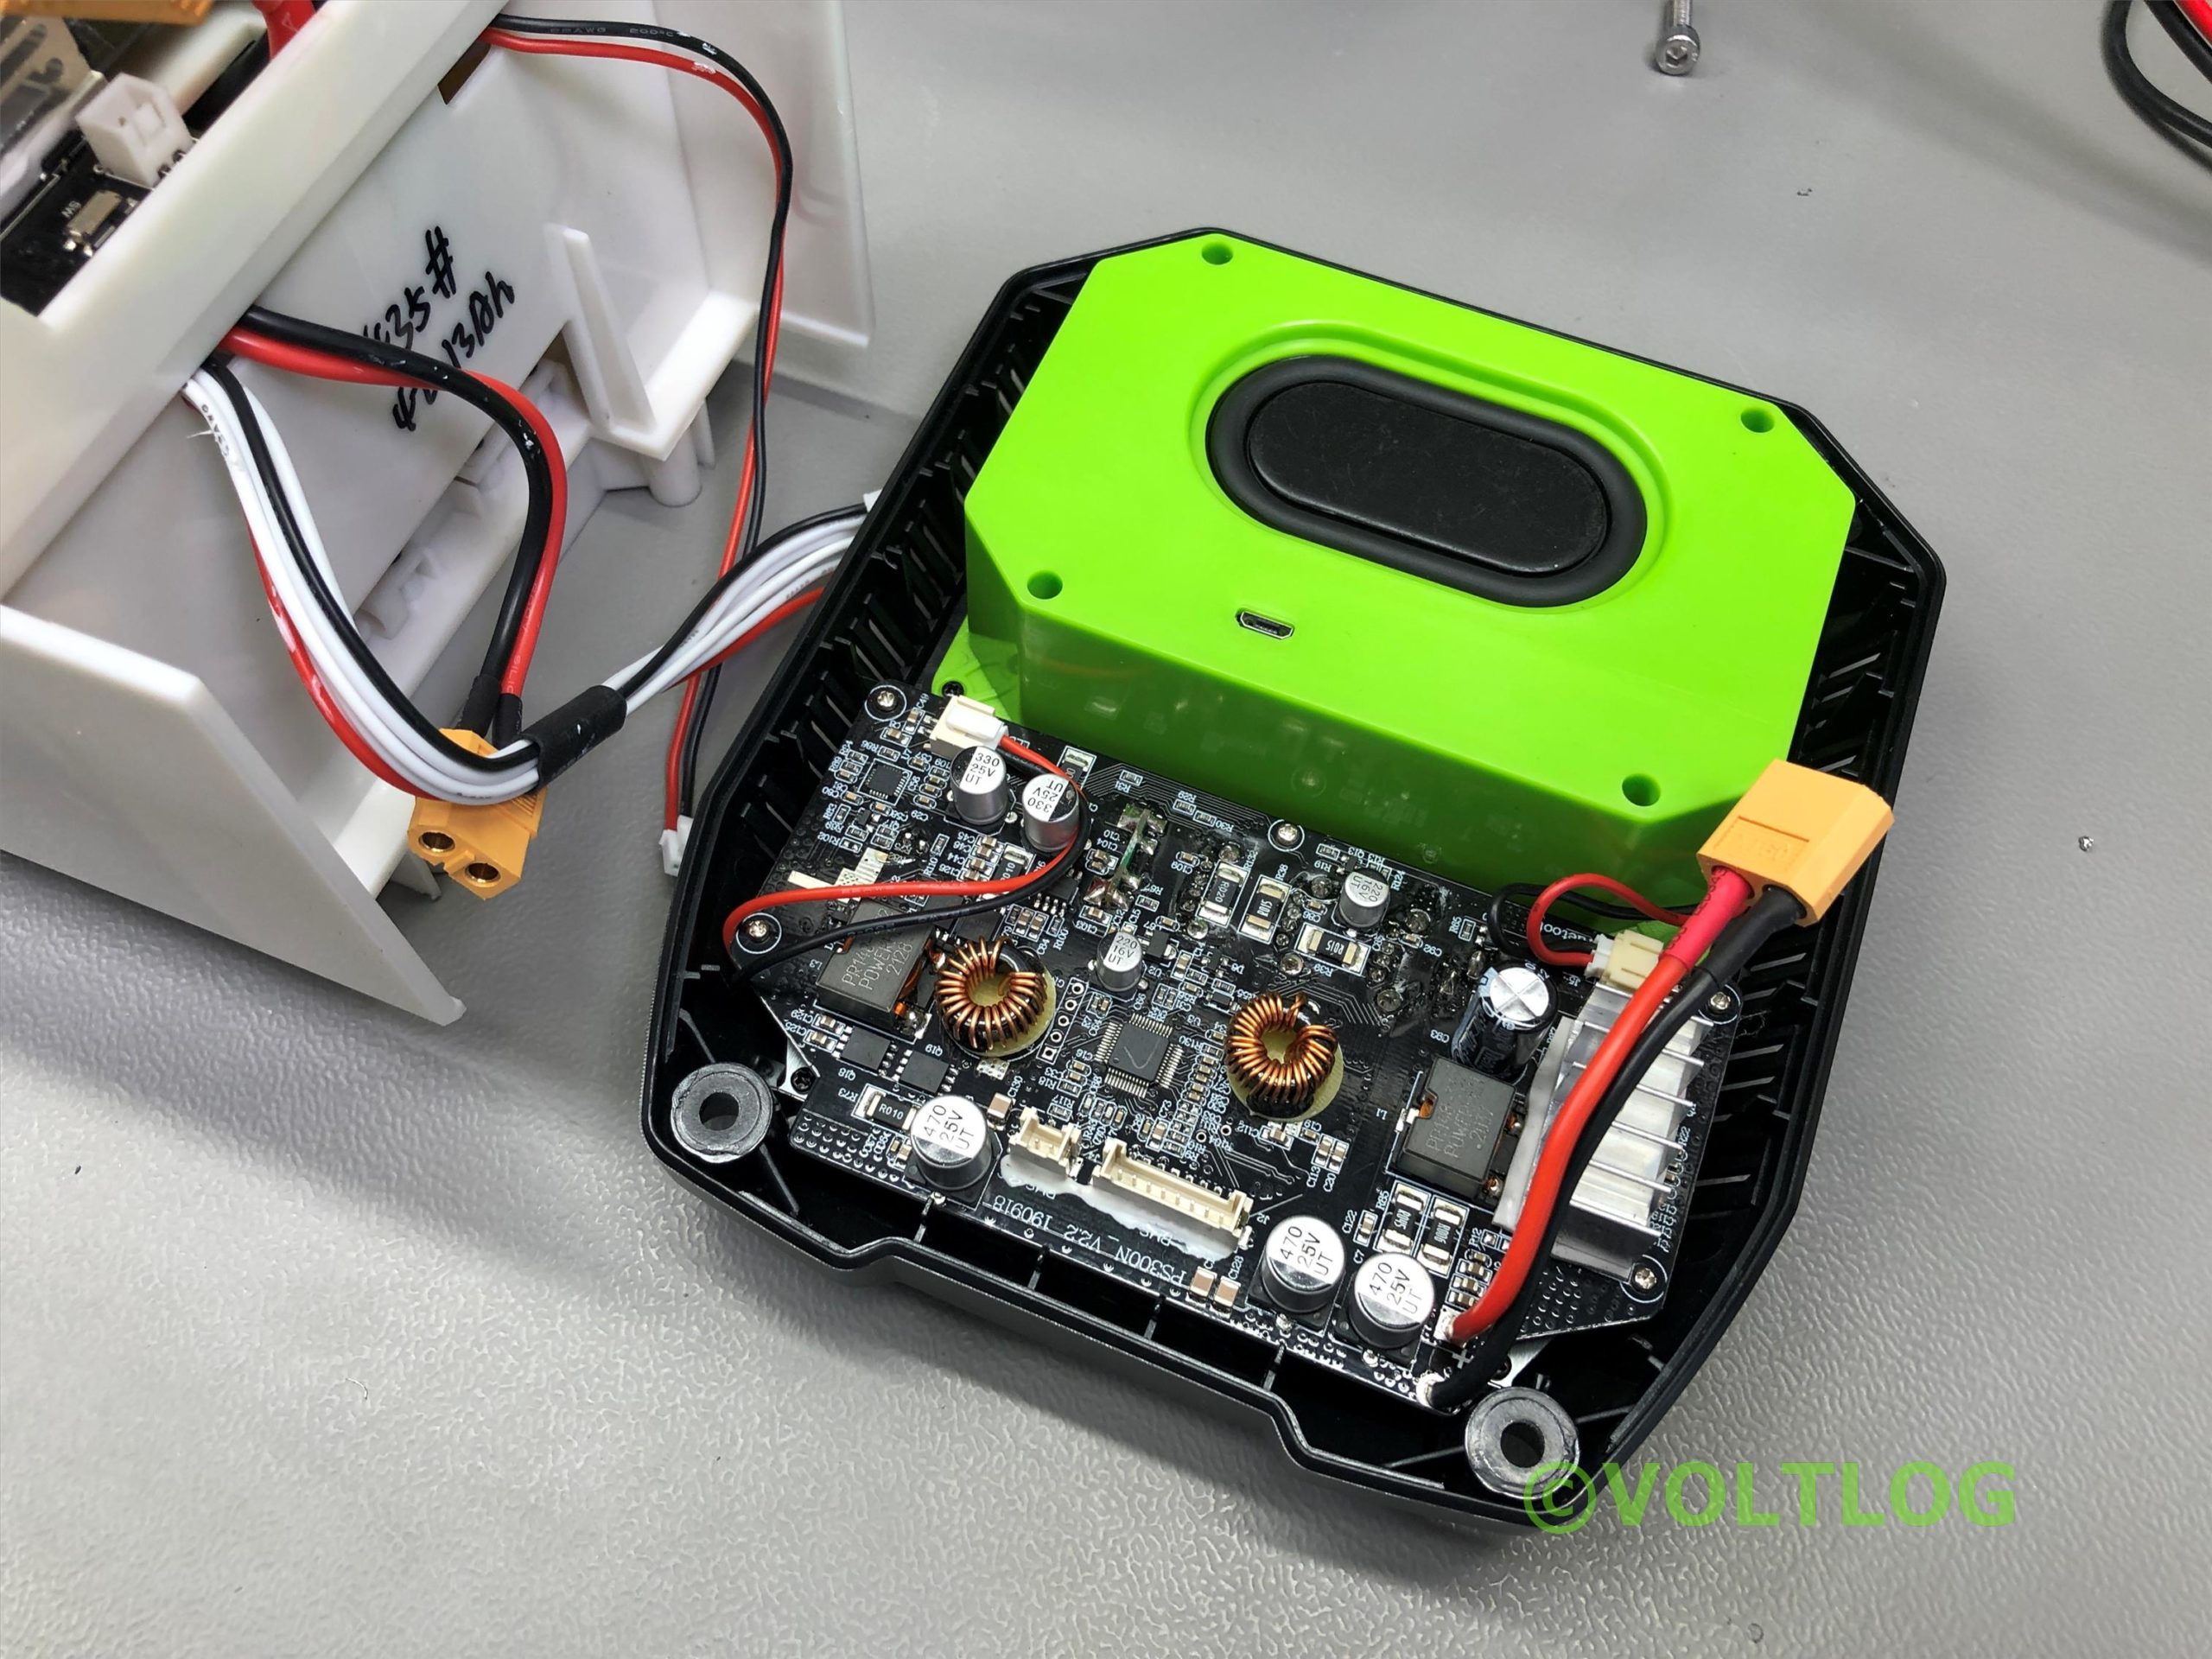
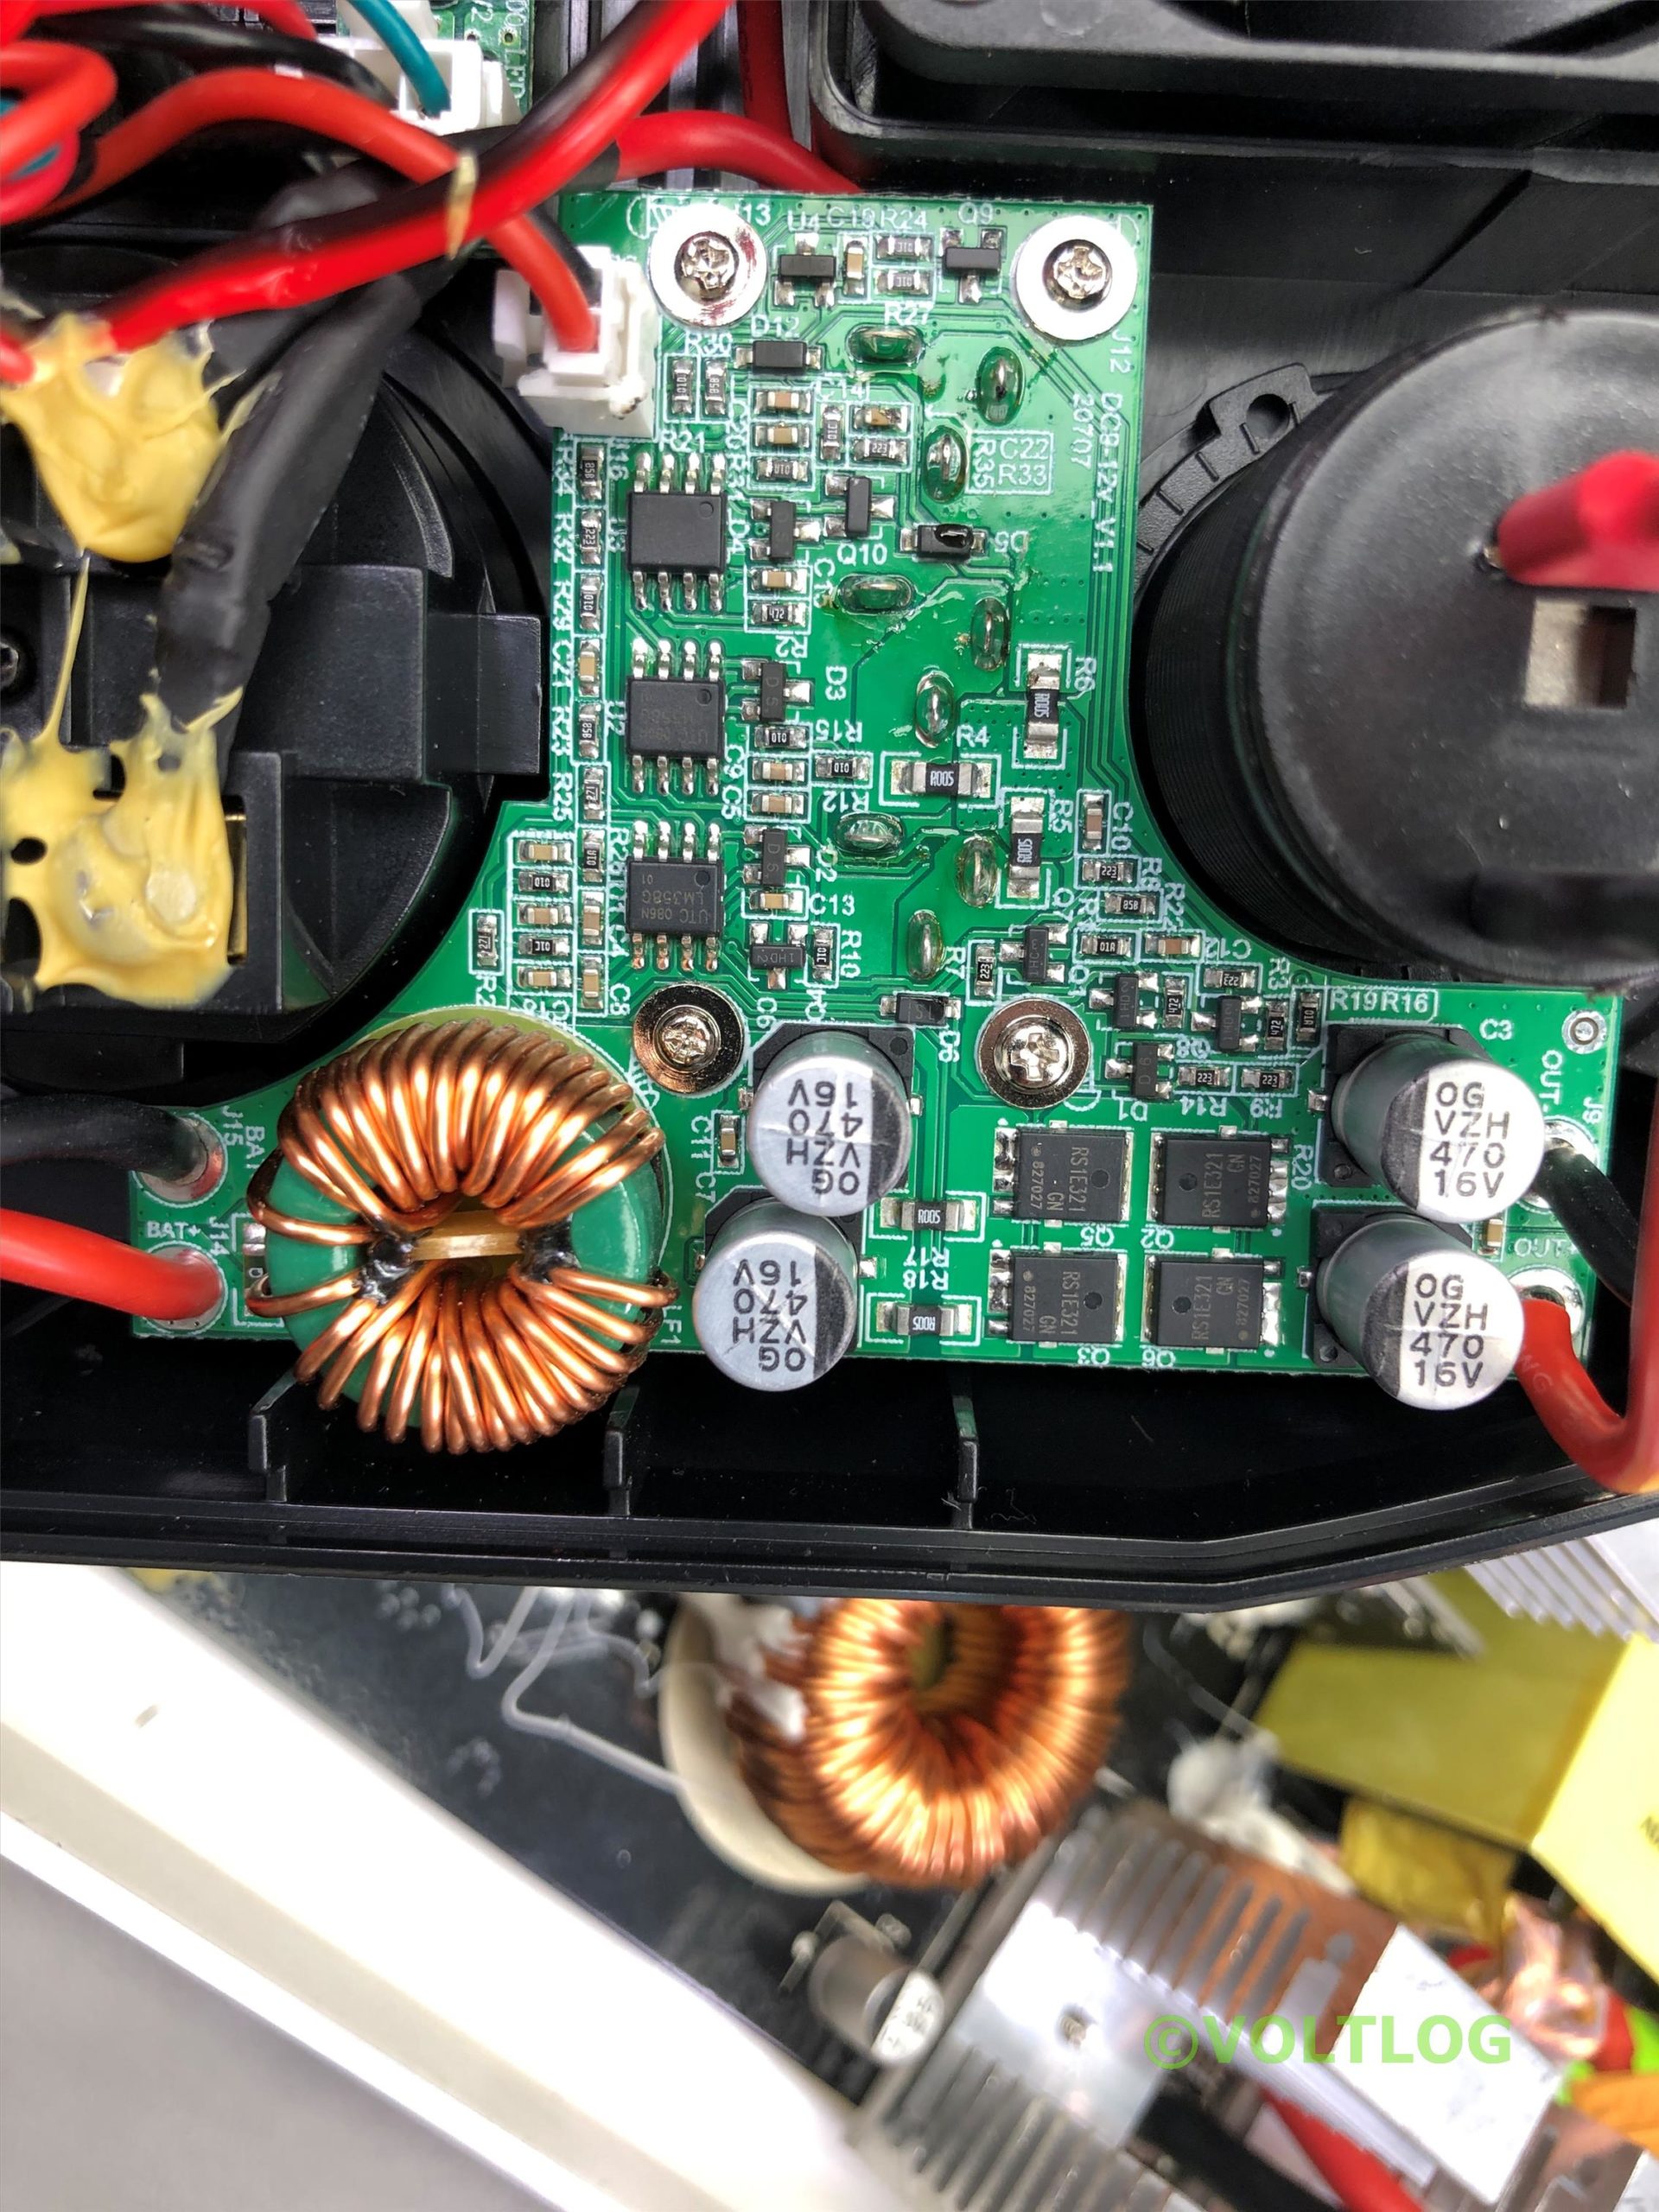
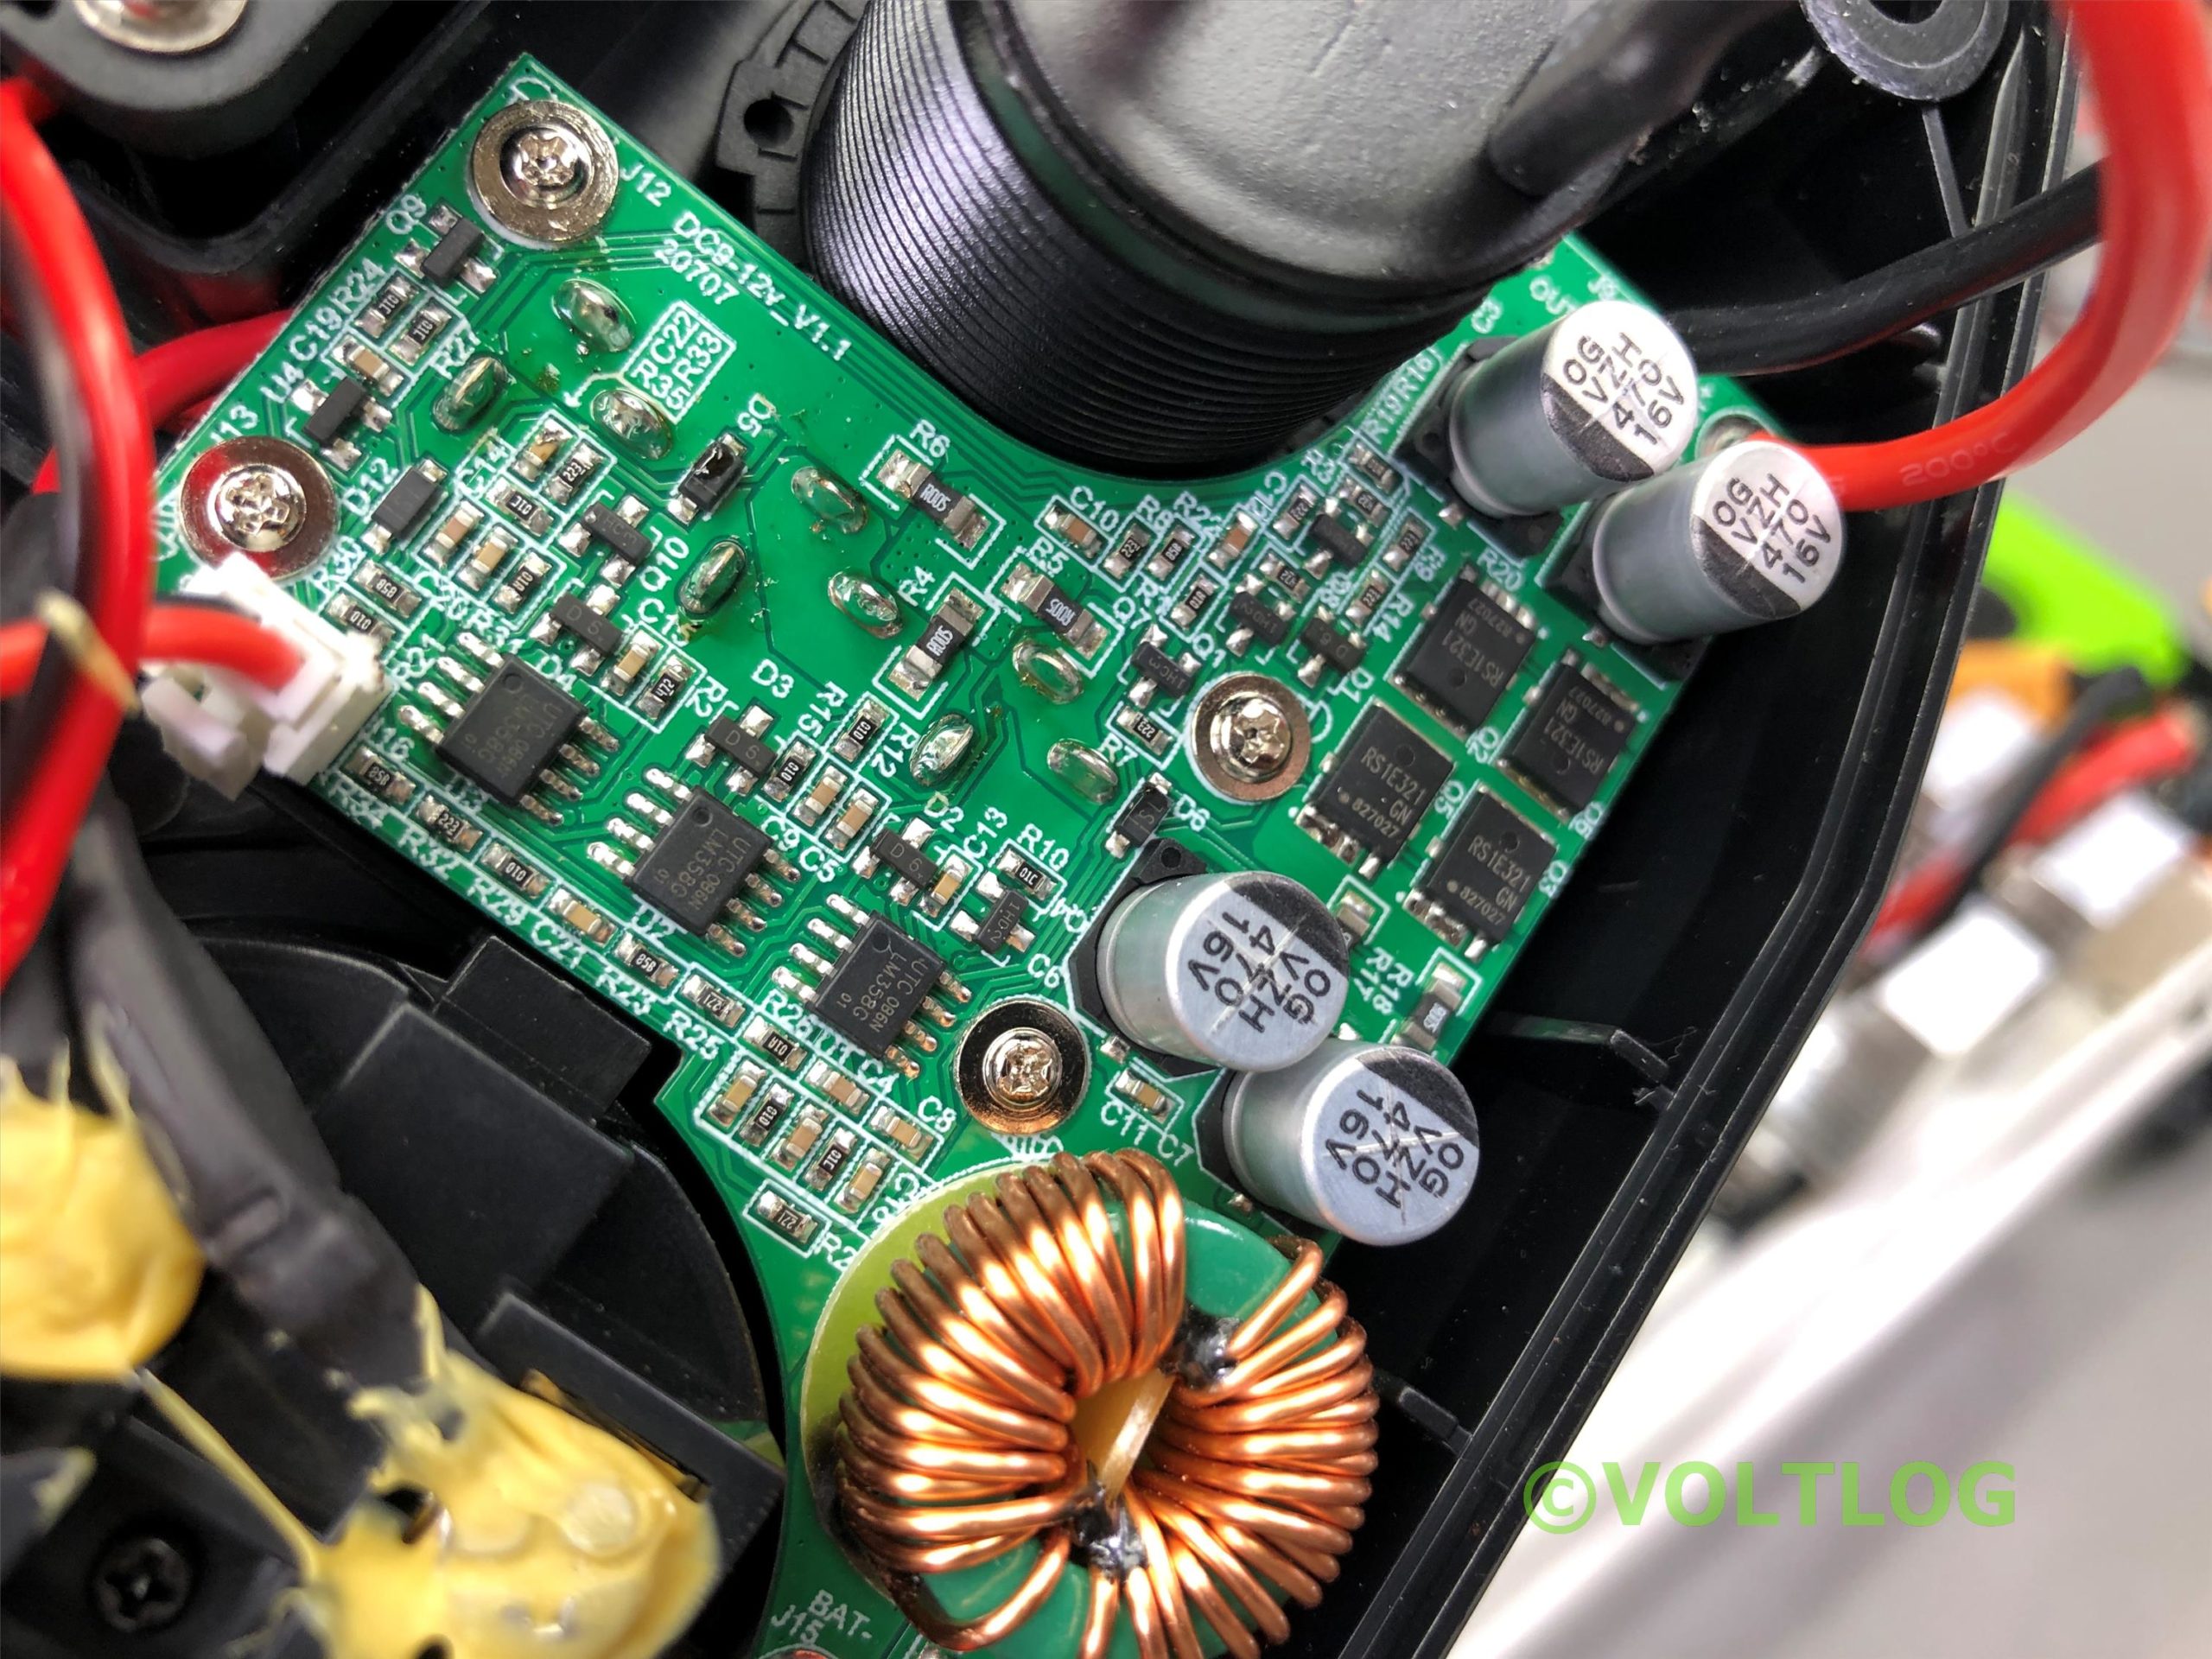
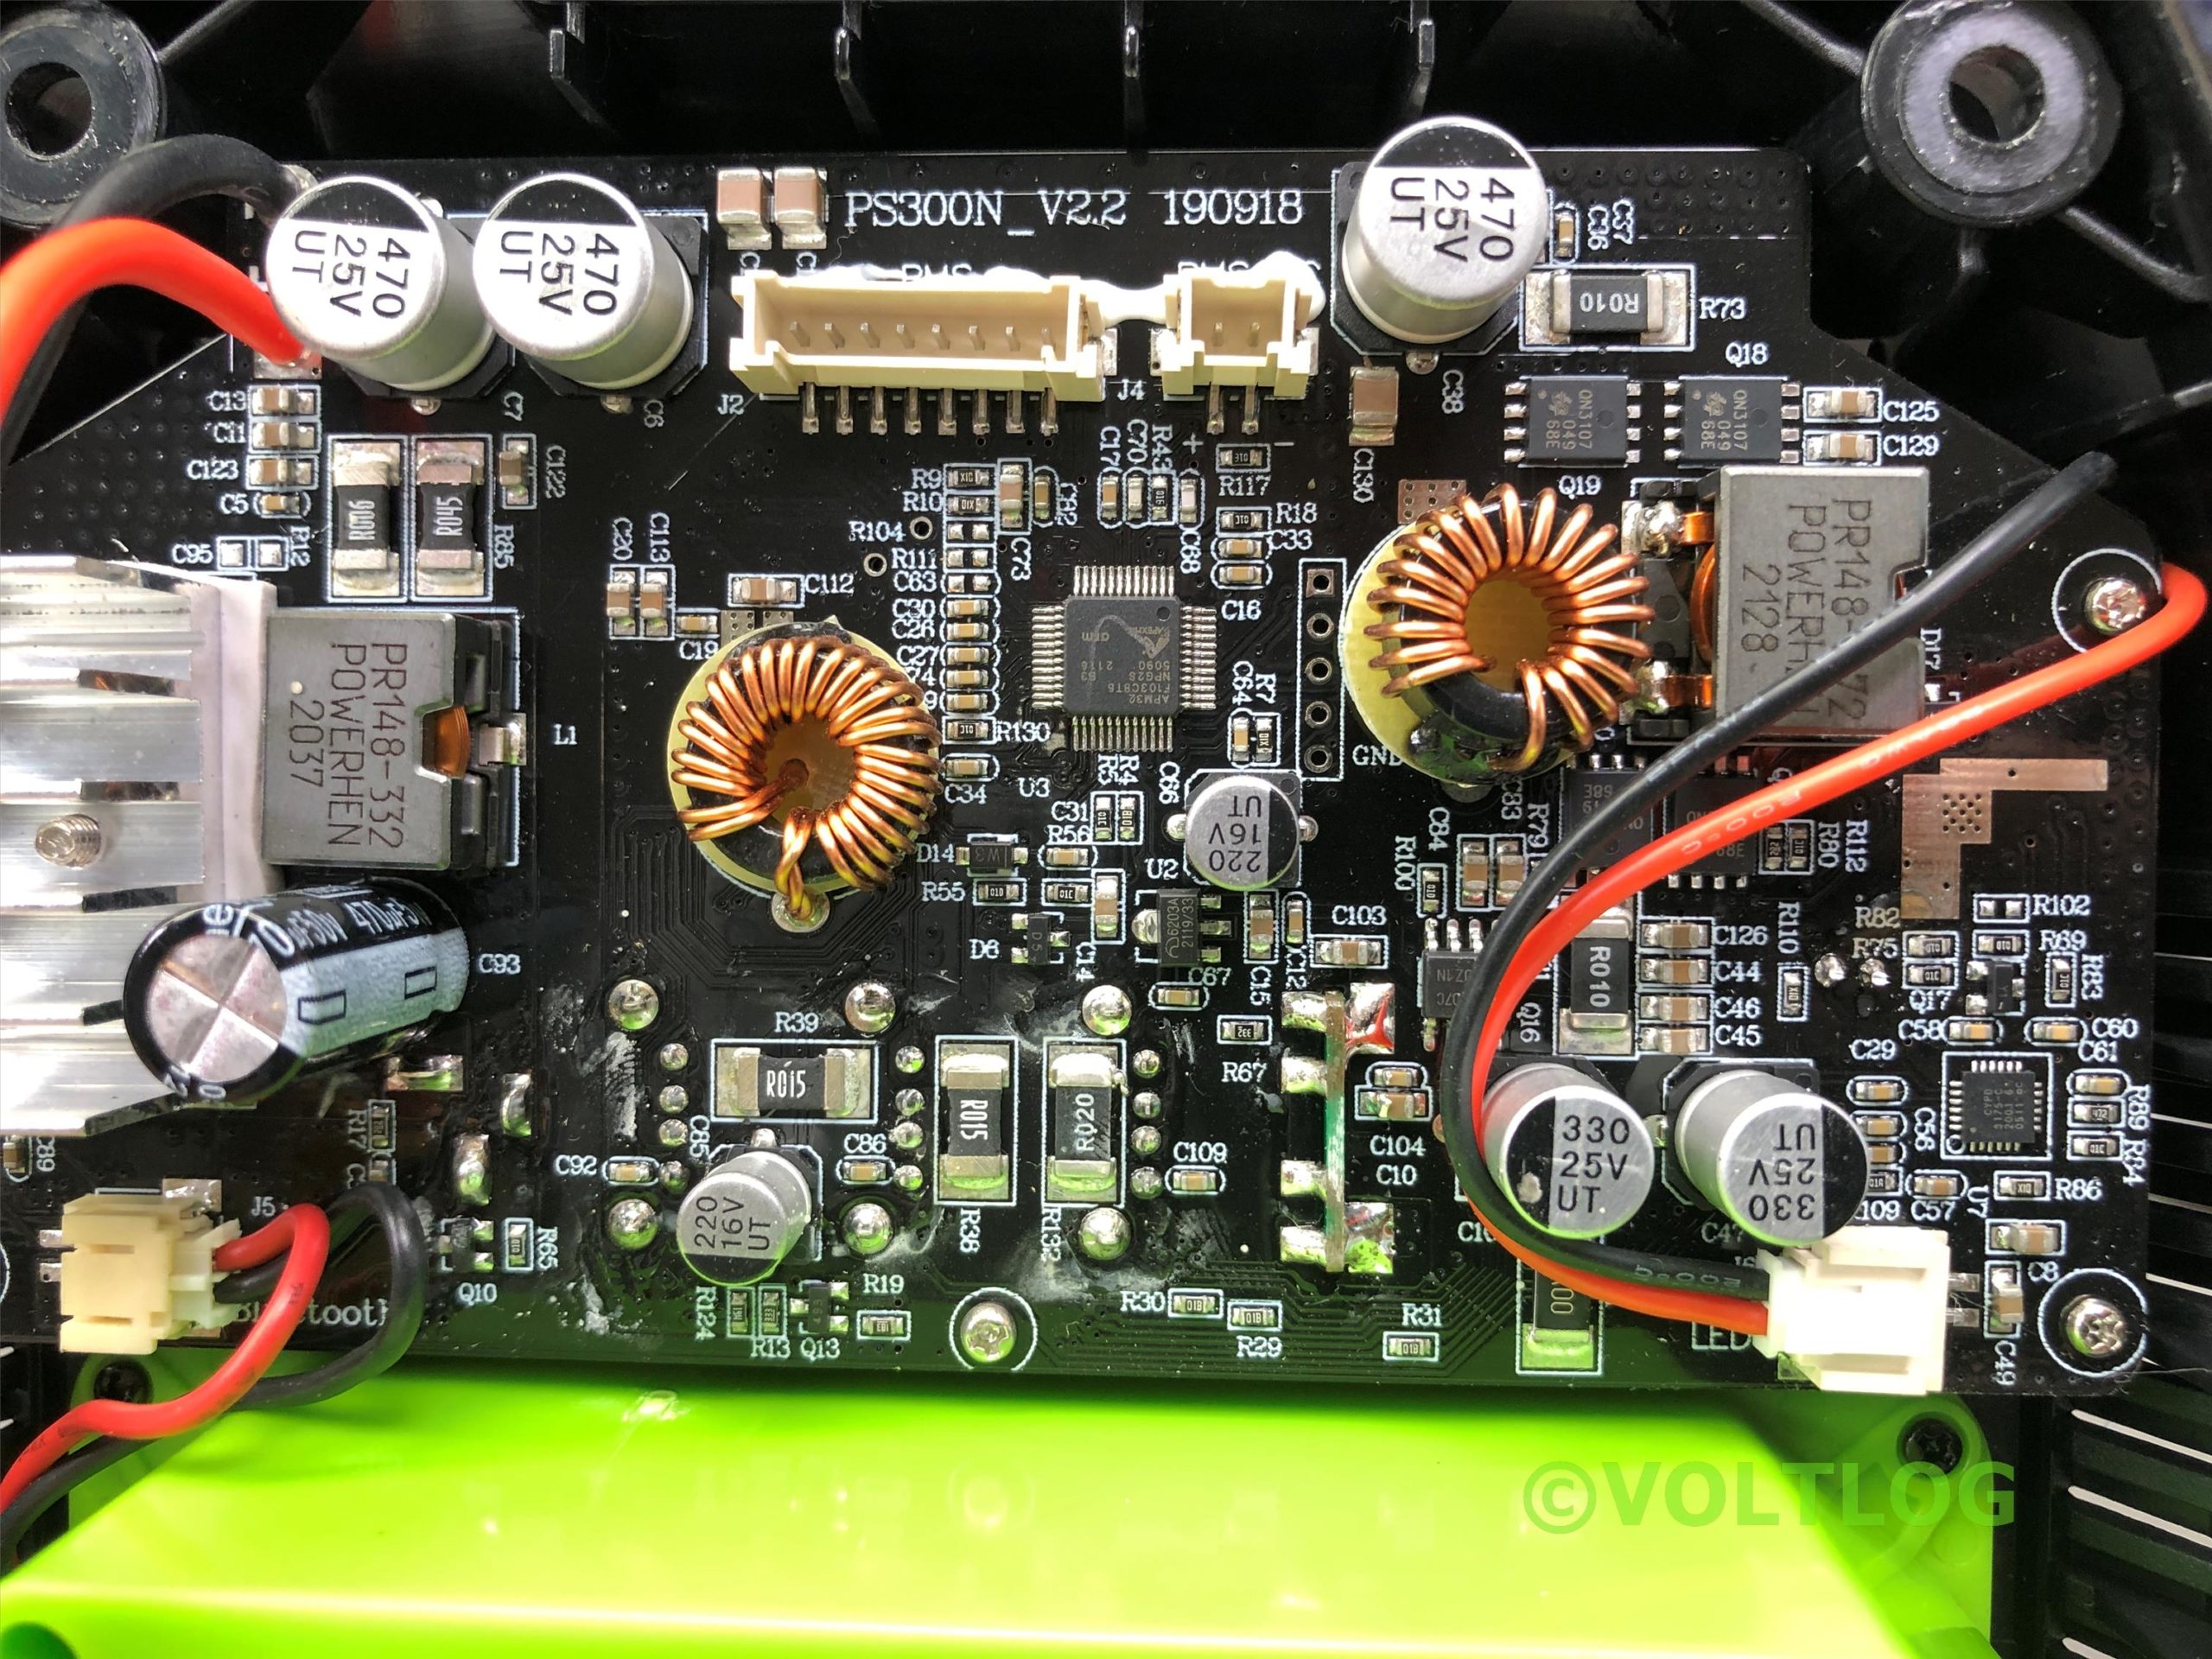
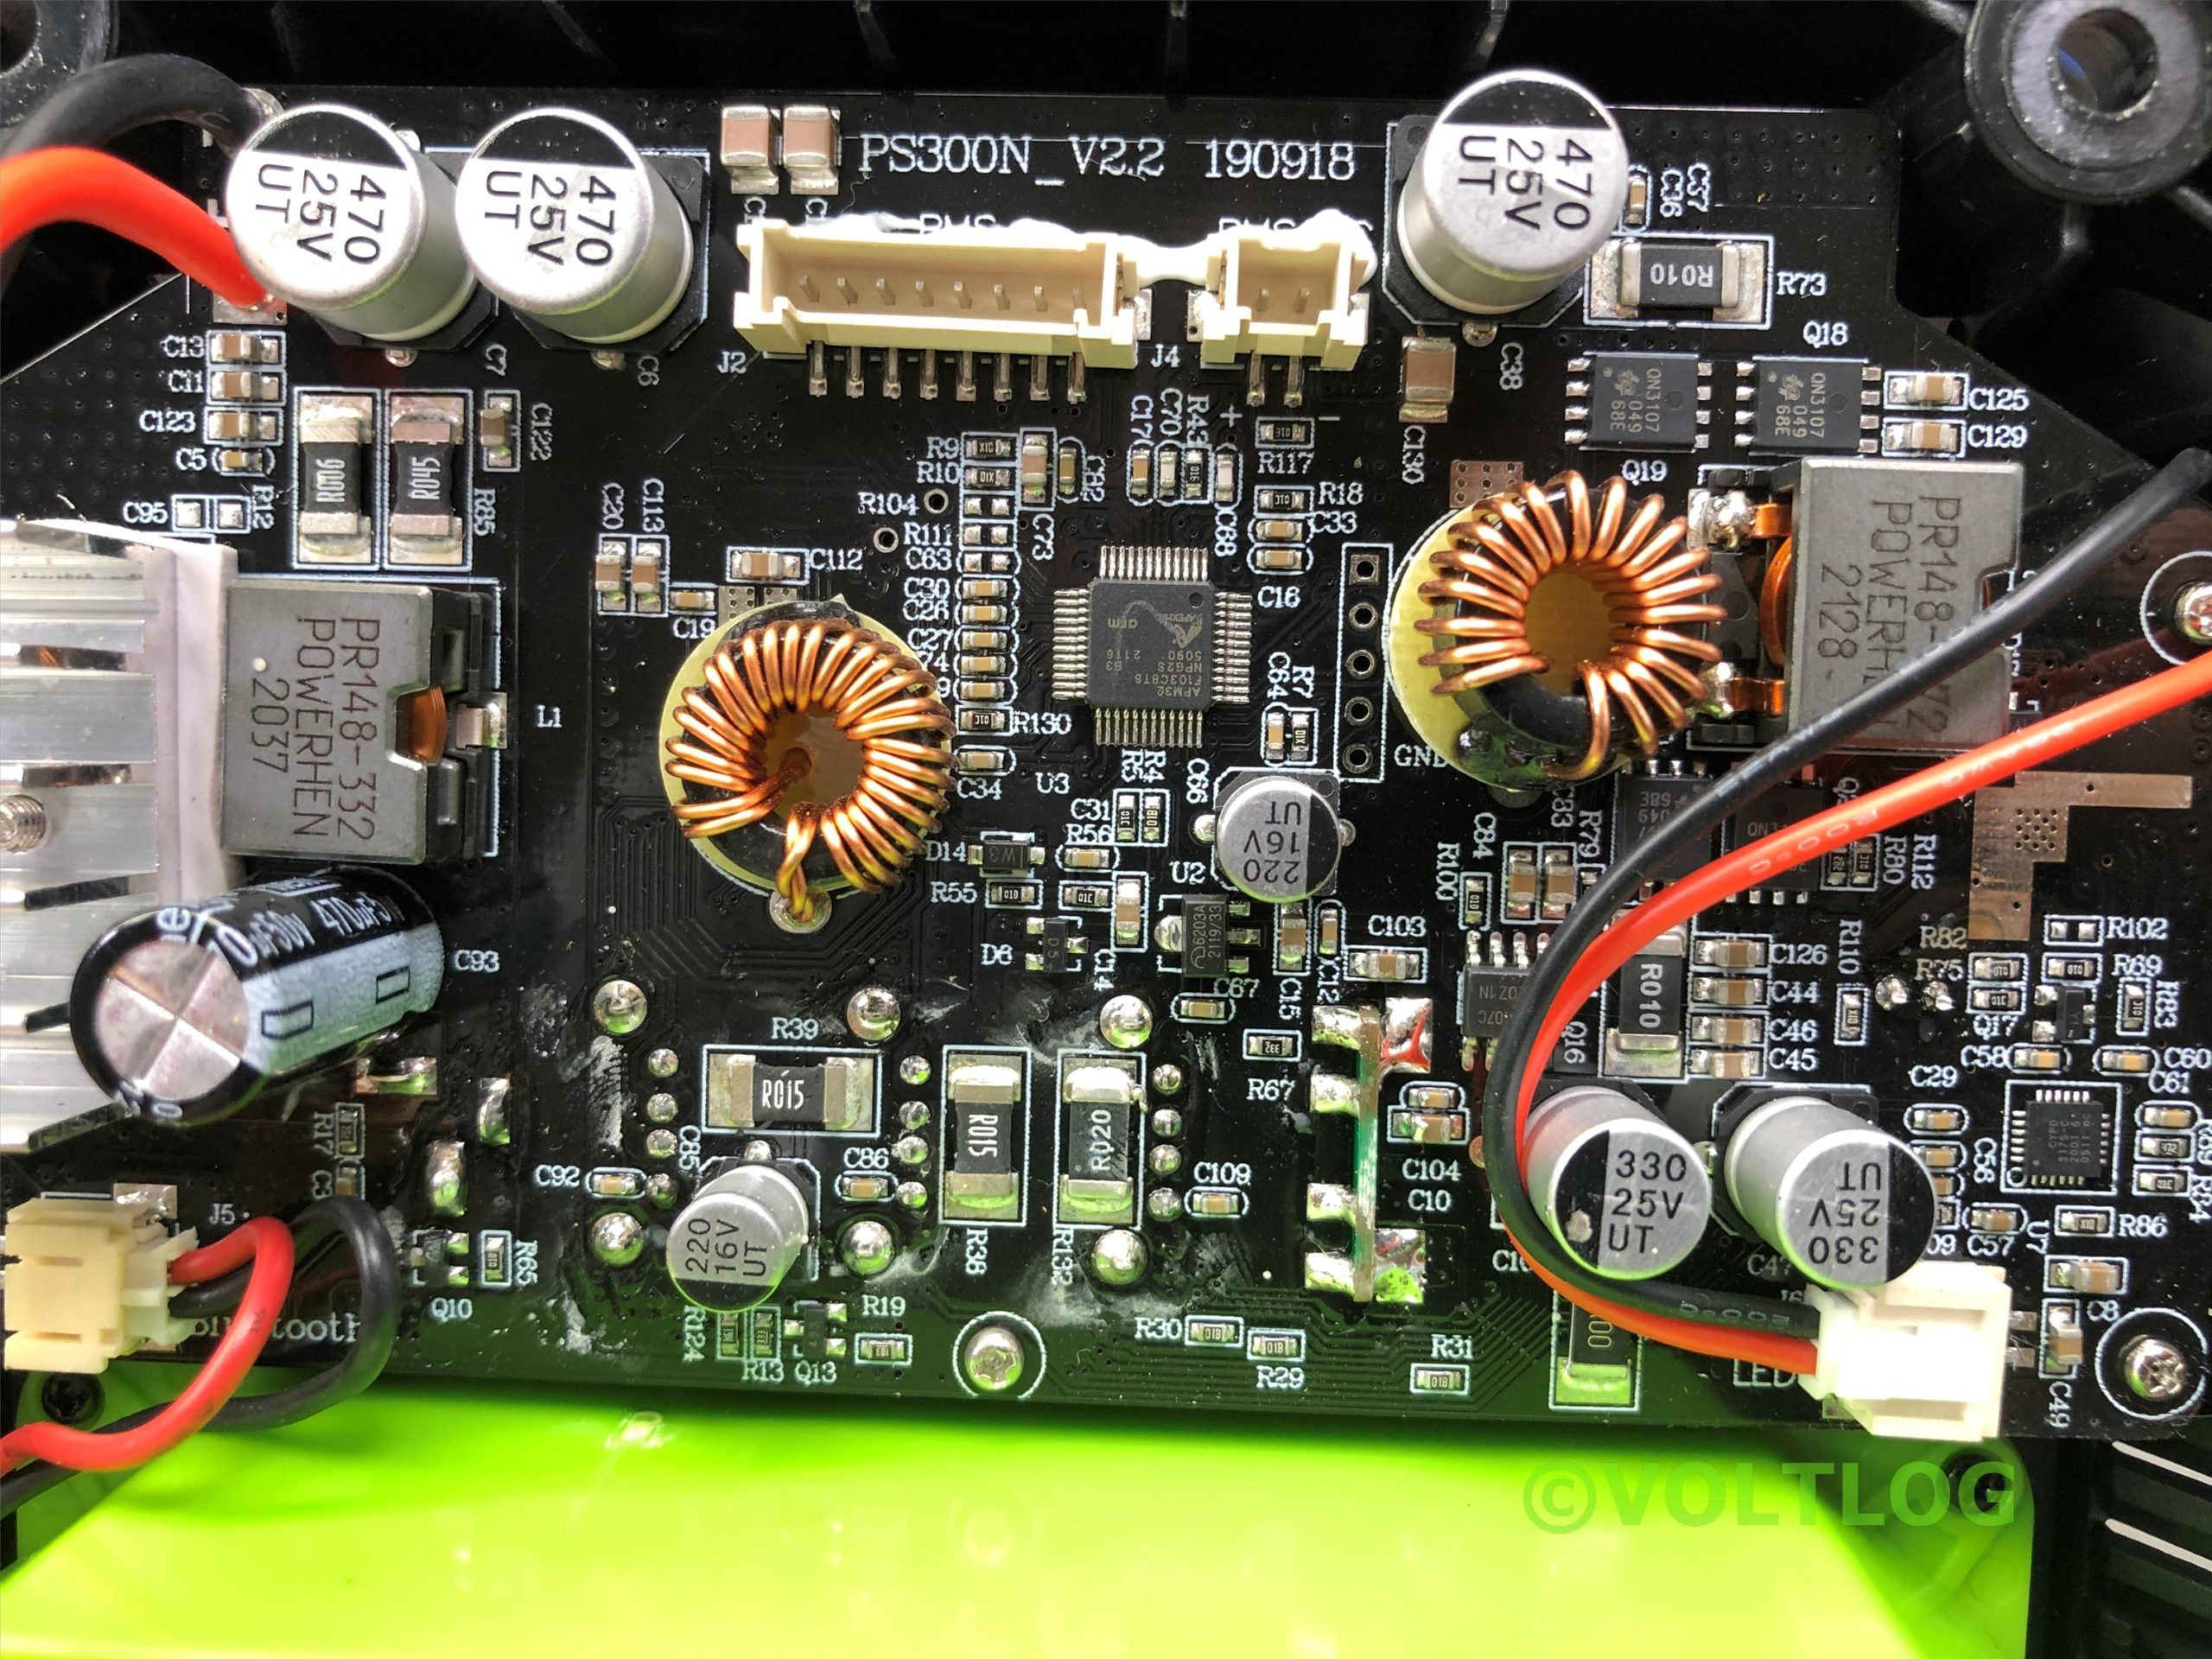
![]()