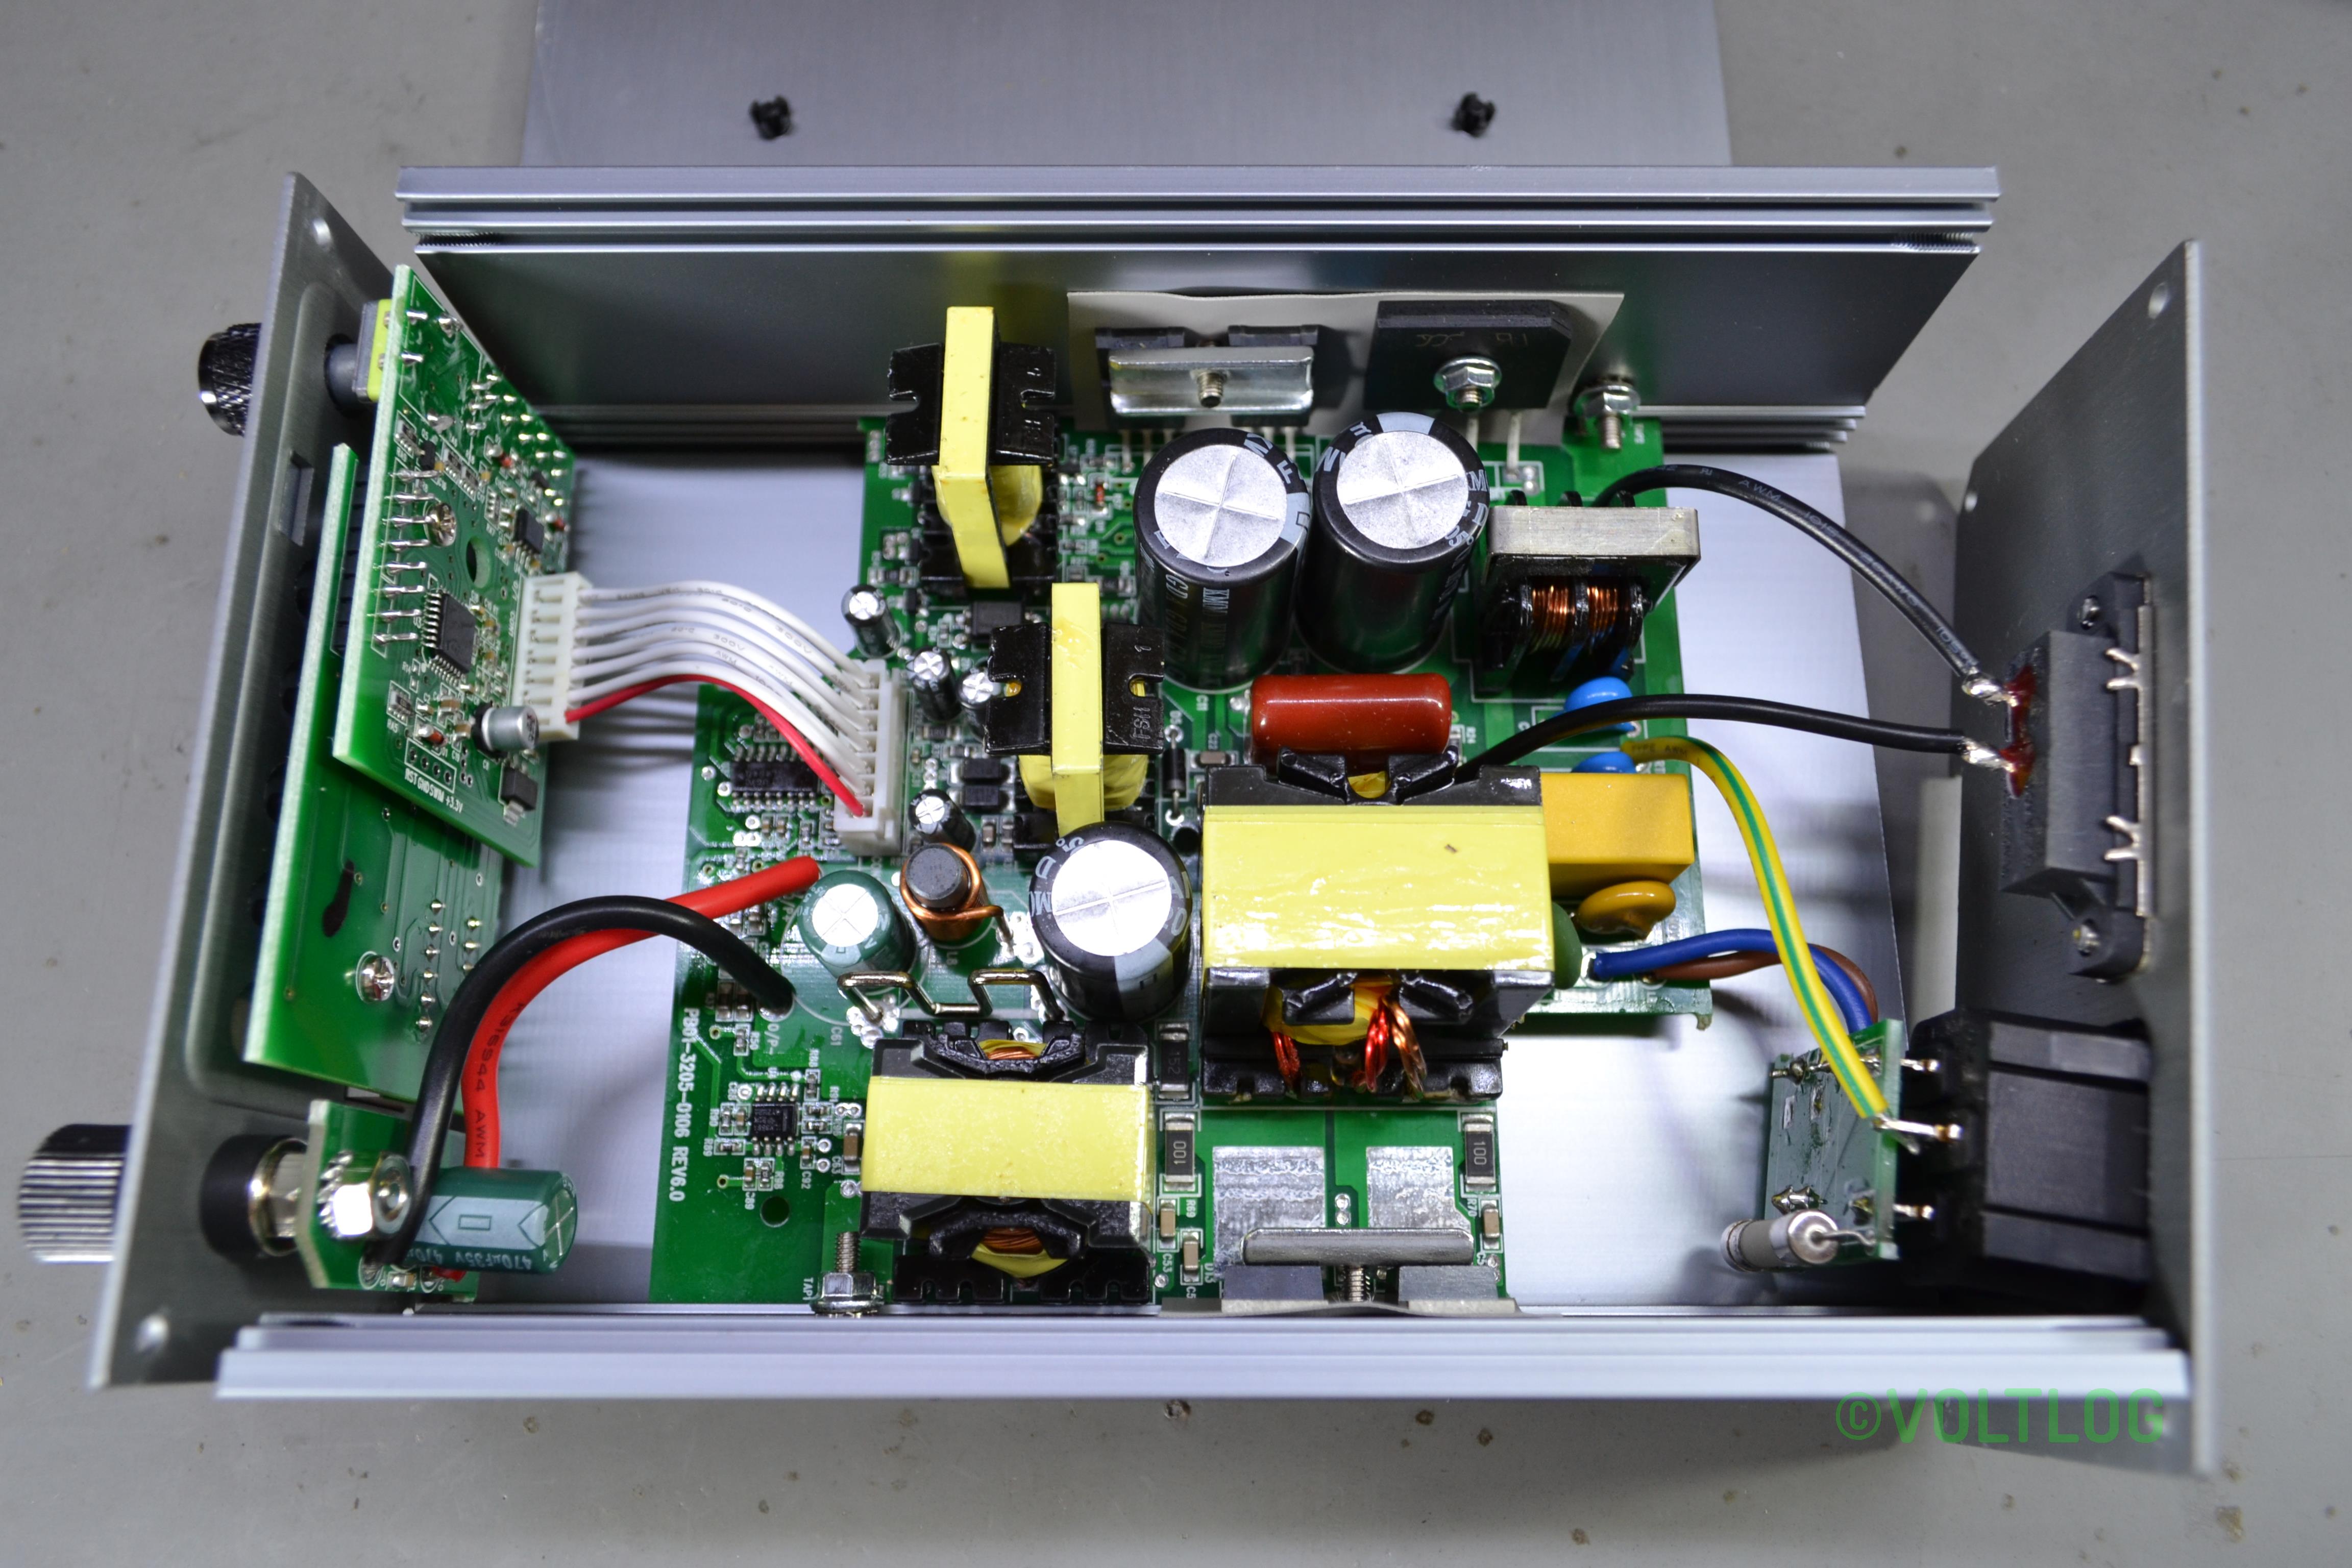
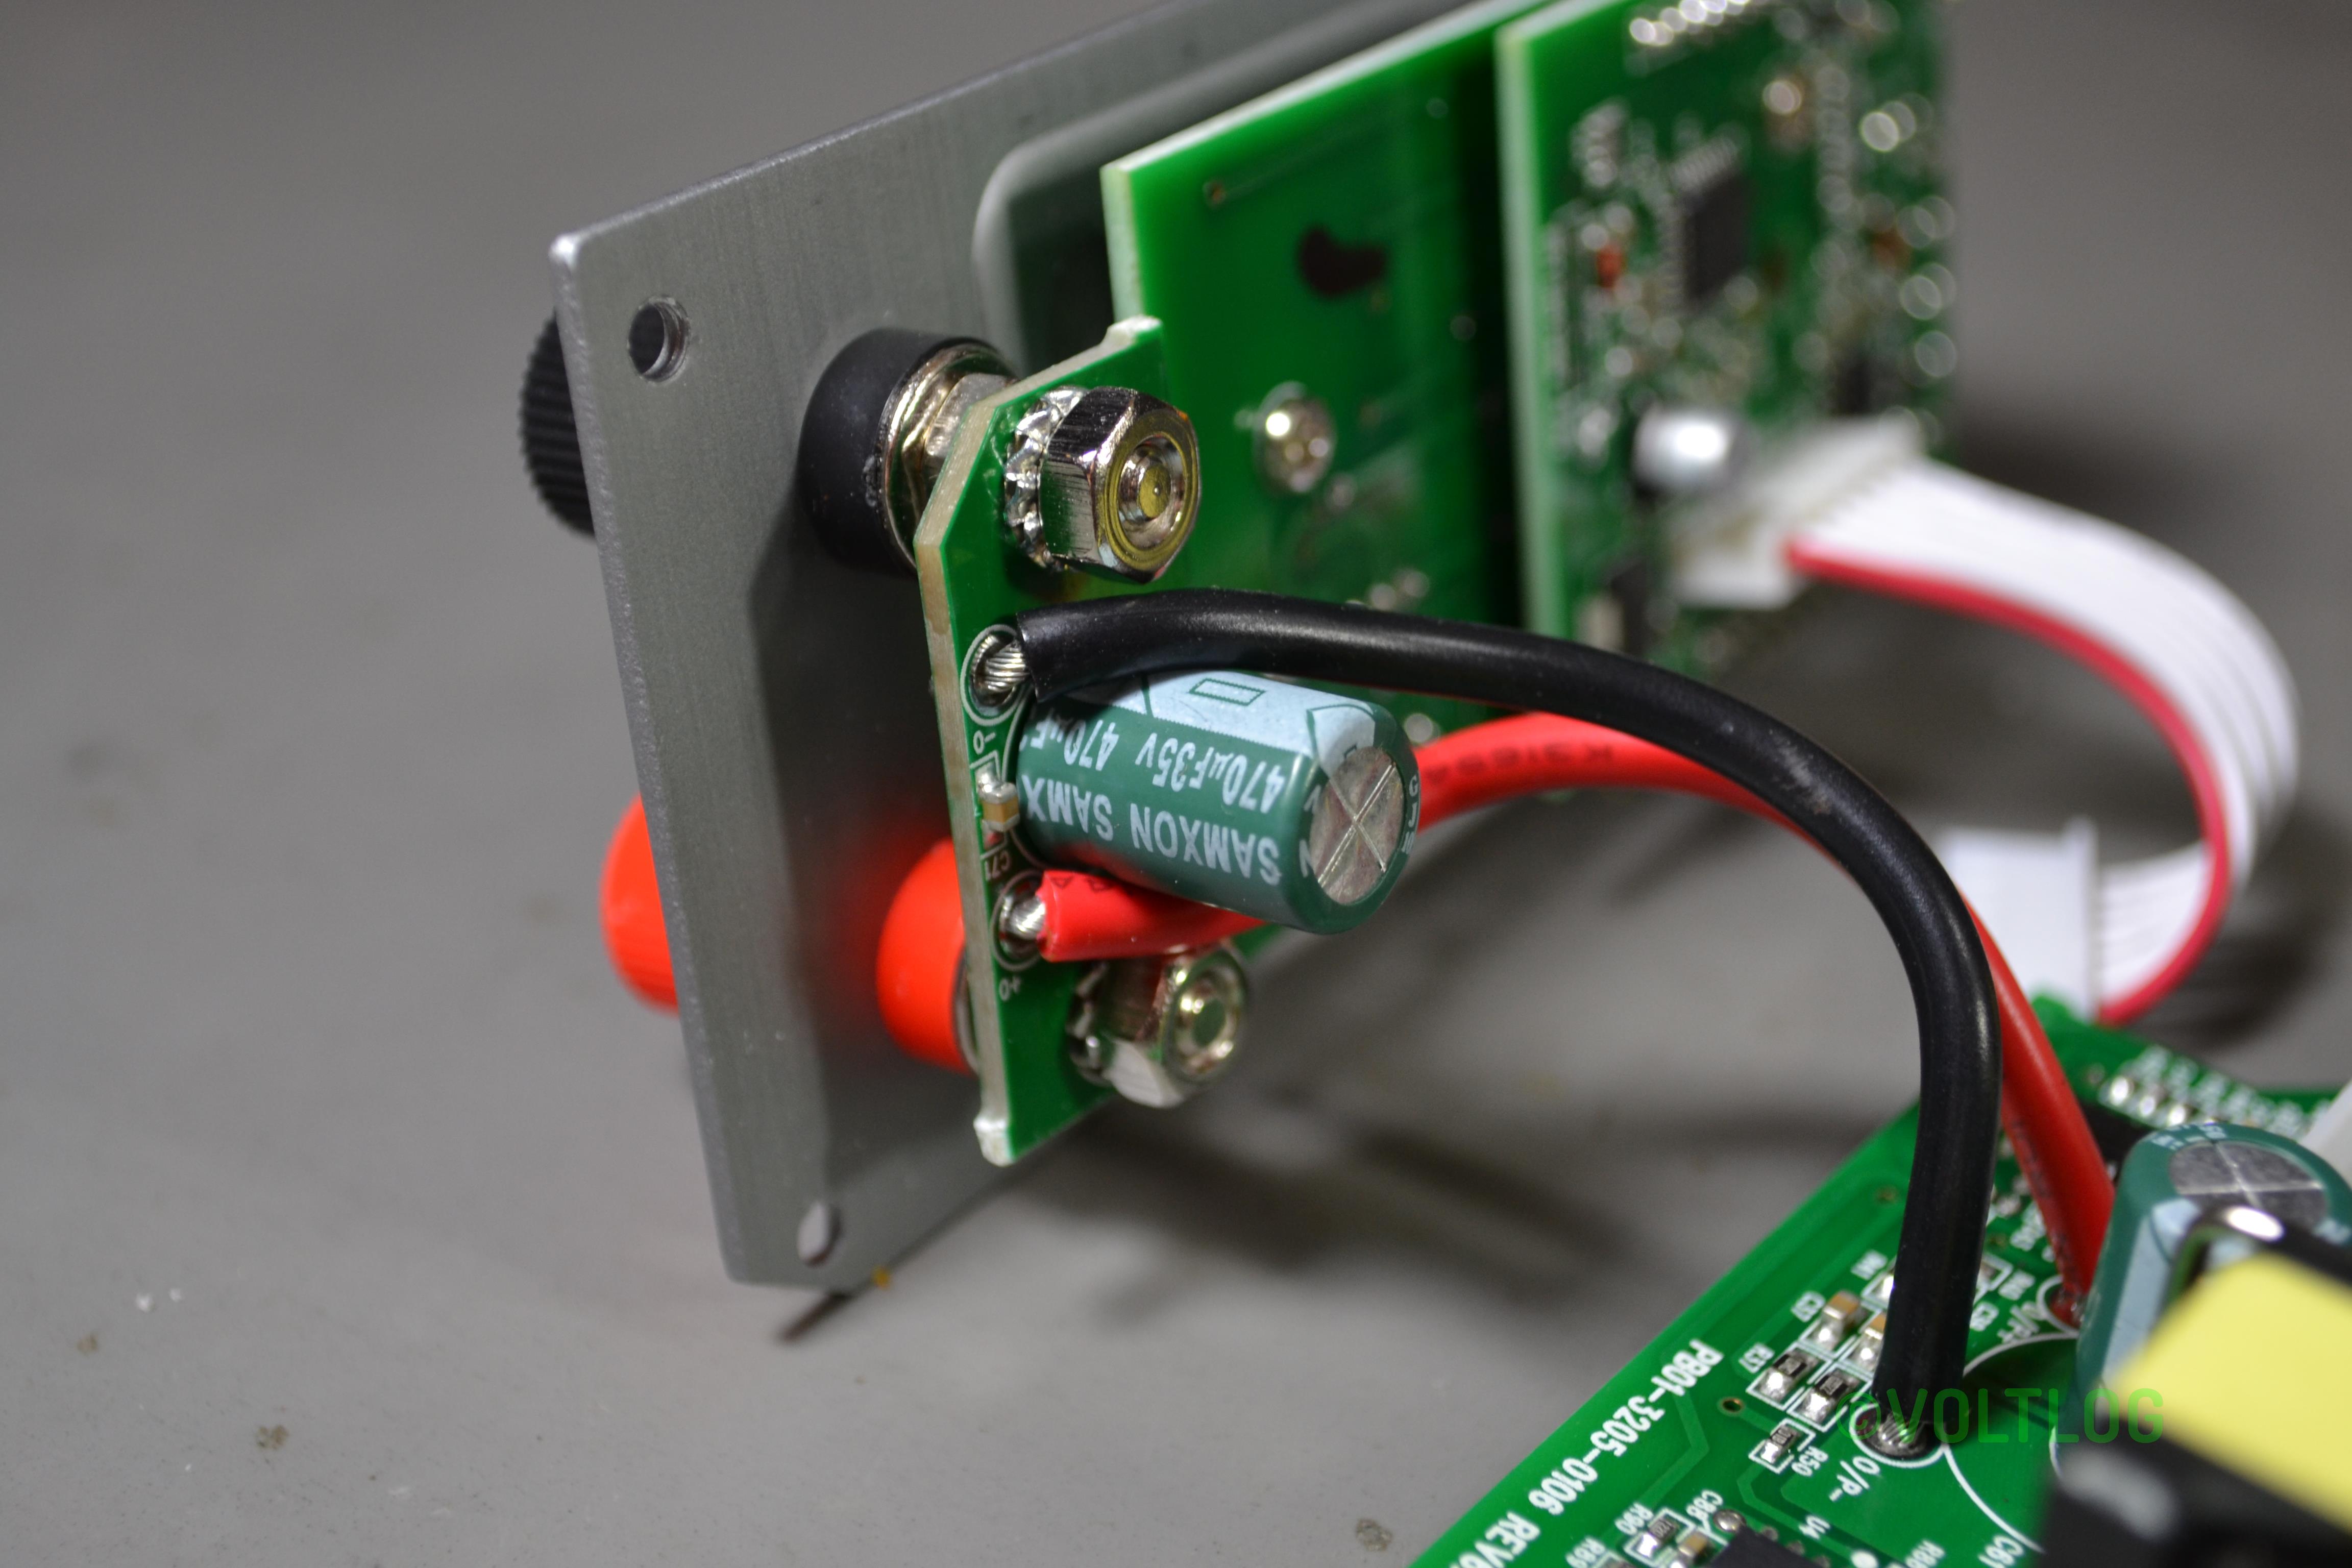
Are you tired of juggling multiple power supplies on your workbench? The UNI-T UDP3305S could be the solution you’ve been waiting for. This programmable DC power supply unit combines four independent channels into one sleek and powerful package, making your life easier and more productive. With three independently programmable outputs (two at 0-30V 5A and one at 0-6V 3A) and a fixed 5V 2A USB output, the UDP3305S offers a total combined power output of 348W.
Its 1mV/1mA resolution and low ripple voltage of less than 350uV (measured at 1MHz bandwidth) make it suitable for powering even the most sensitive analog circuits. One of the standout features of this unit is its ability to internally switch channels 1 and 2 to series or parallel mode, eliminating the need for external wiring and separate adjustments.
Need more than 30V? Switch to series mode for up to 60V at 5A. Need more current? Parallel mode delivers 30V at 10A. The 4.3-inch TFT display provides a clear and intuitive graphical user interface, allowing you to monitor and adjust settings with ease. The unit also offers advanced features like waveform viewing, programmable sequences, monitoring, triggering, and data logging.
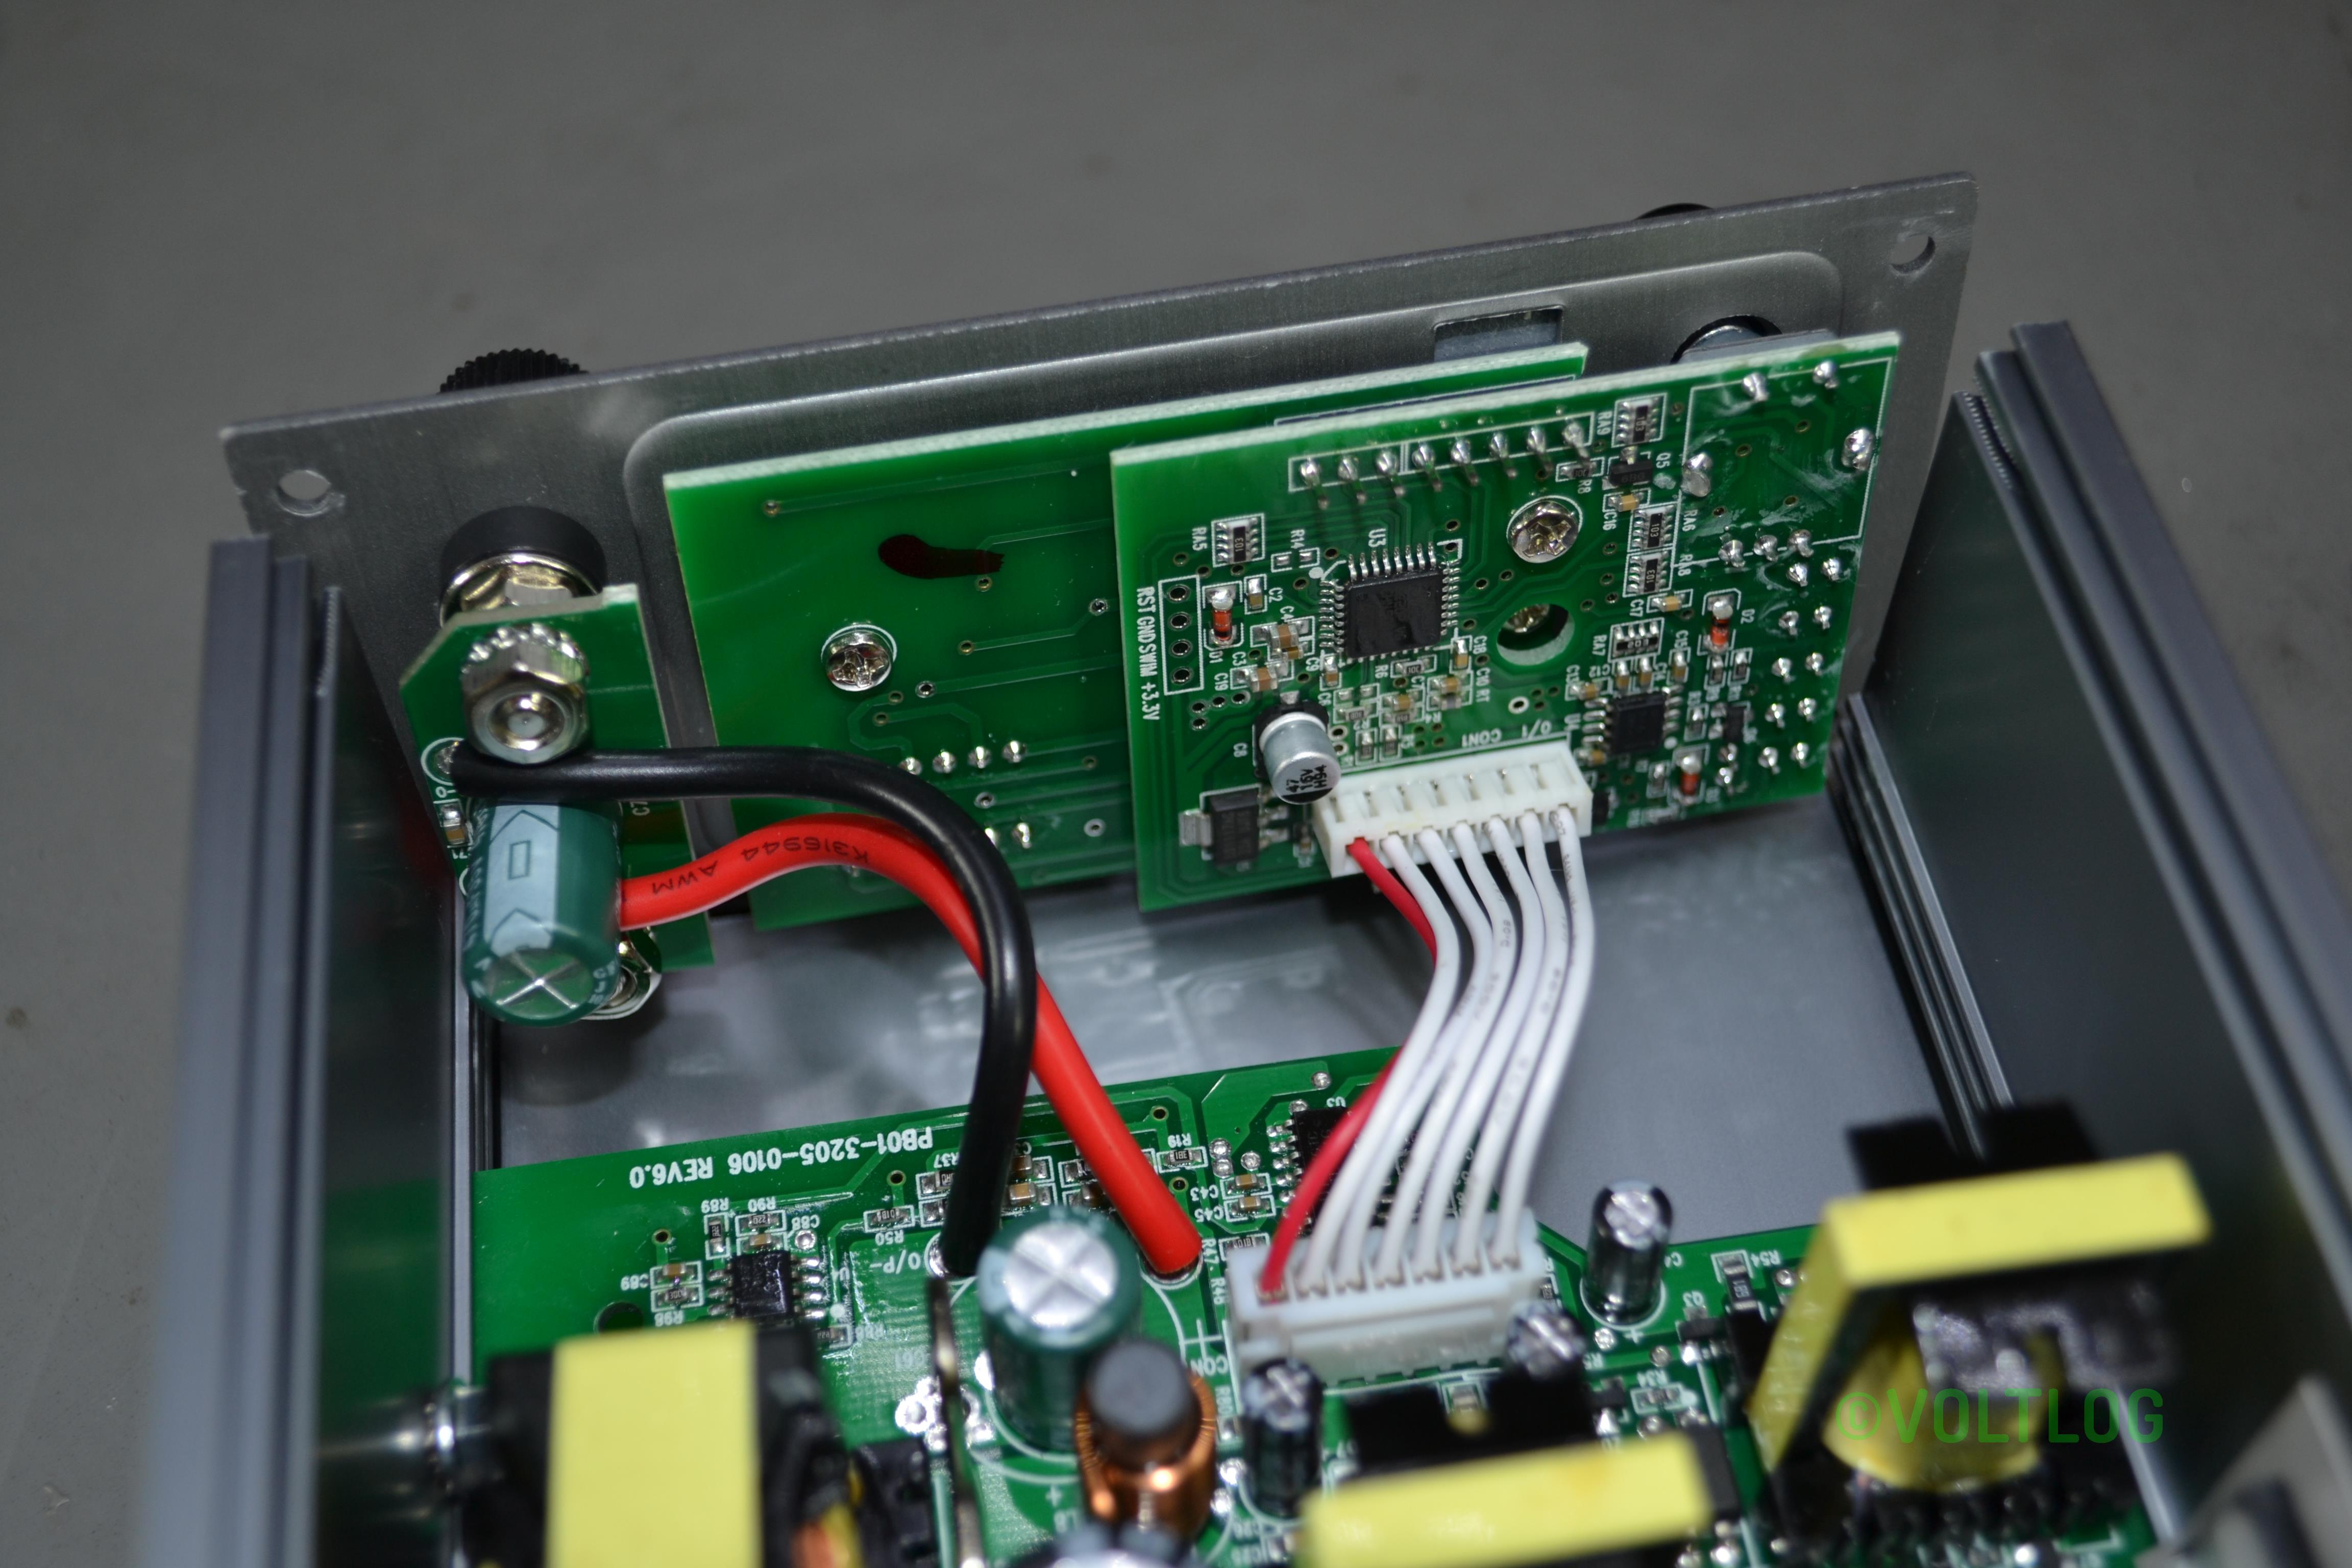
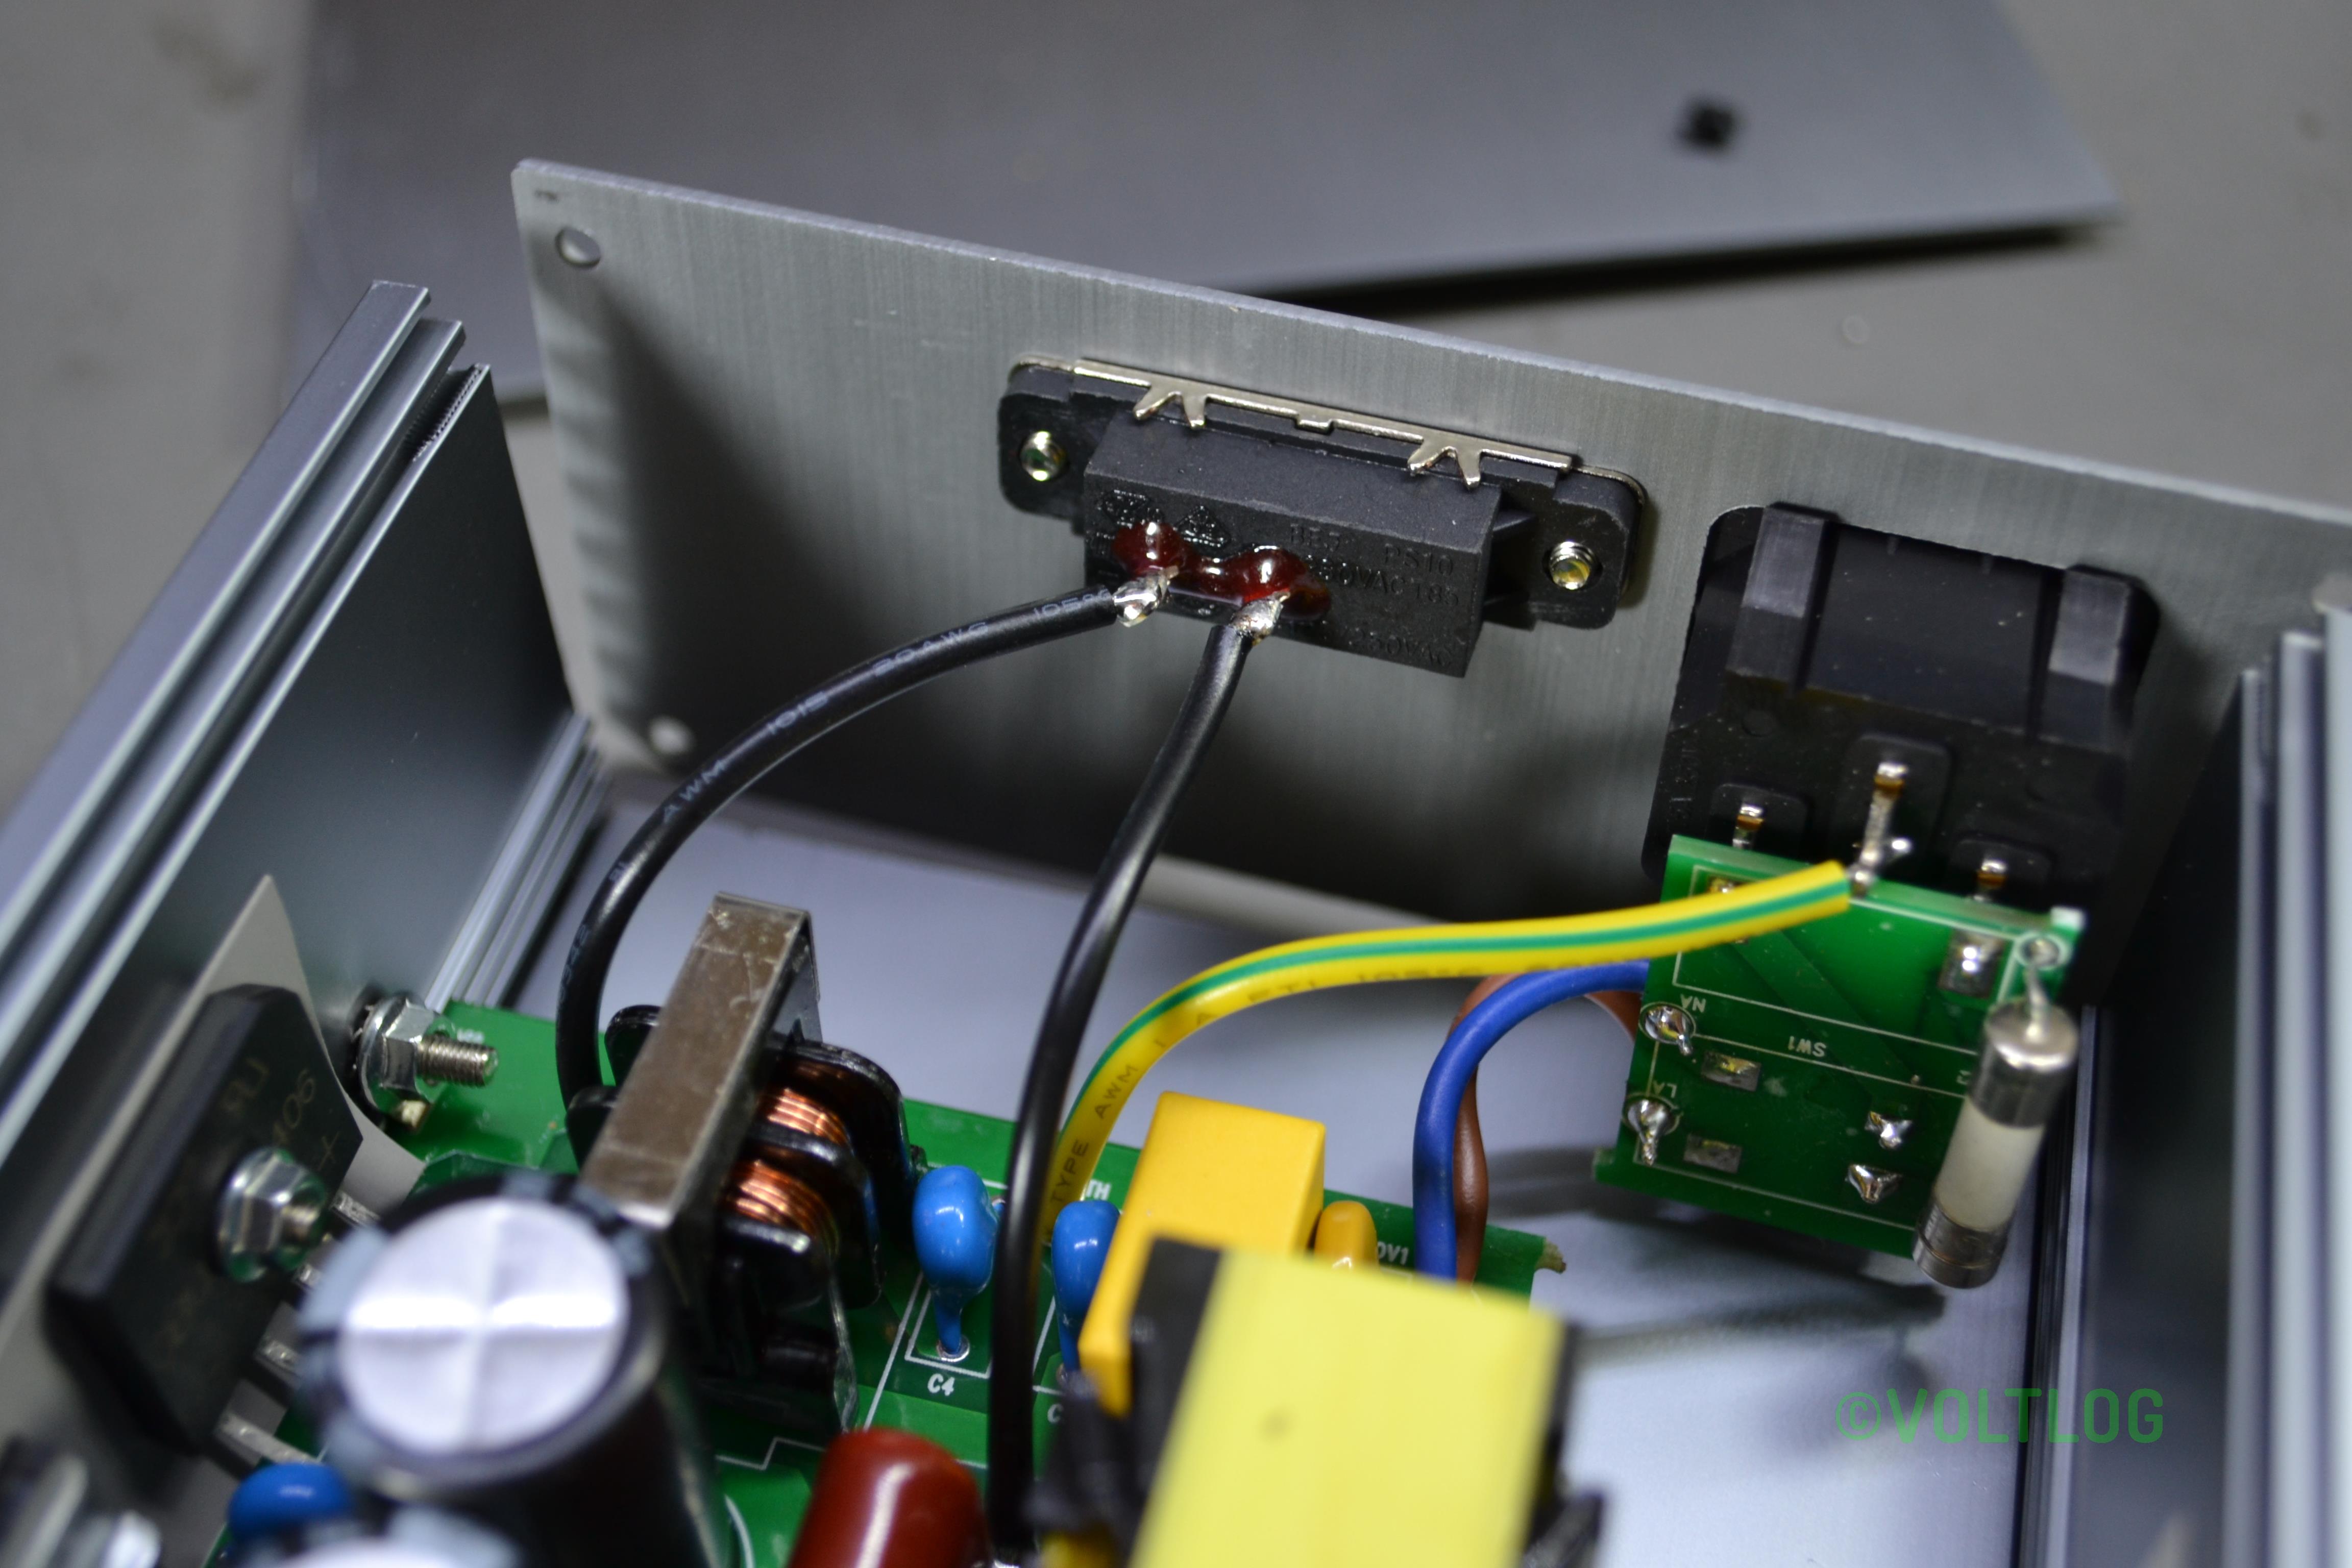
With a robust build quality, rubber corner protection, and a carry handle, the UDP3305S is designed for the demanding workbench environment. Connectivity options include USB, Ethernet, RS232, and digital I/O, enabling remote control and integration into automated test setups. While the included Windows software could be more polished, the instrument itself excels in usability and performance.
Compared to alternatives from Rigol, Siglent, and others, the UNI-T UDP3305S offers more features at a lower cost, making it an attractive choice for professionals and hobbyists alike.