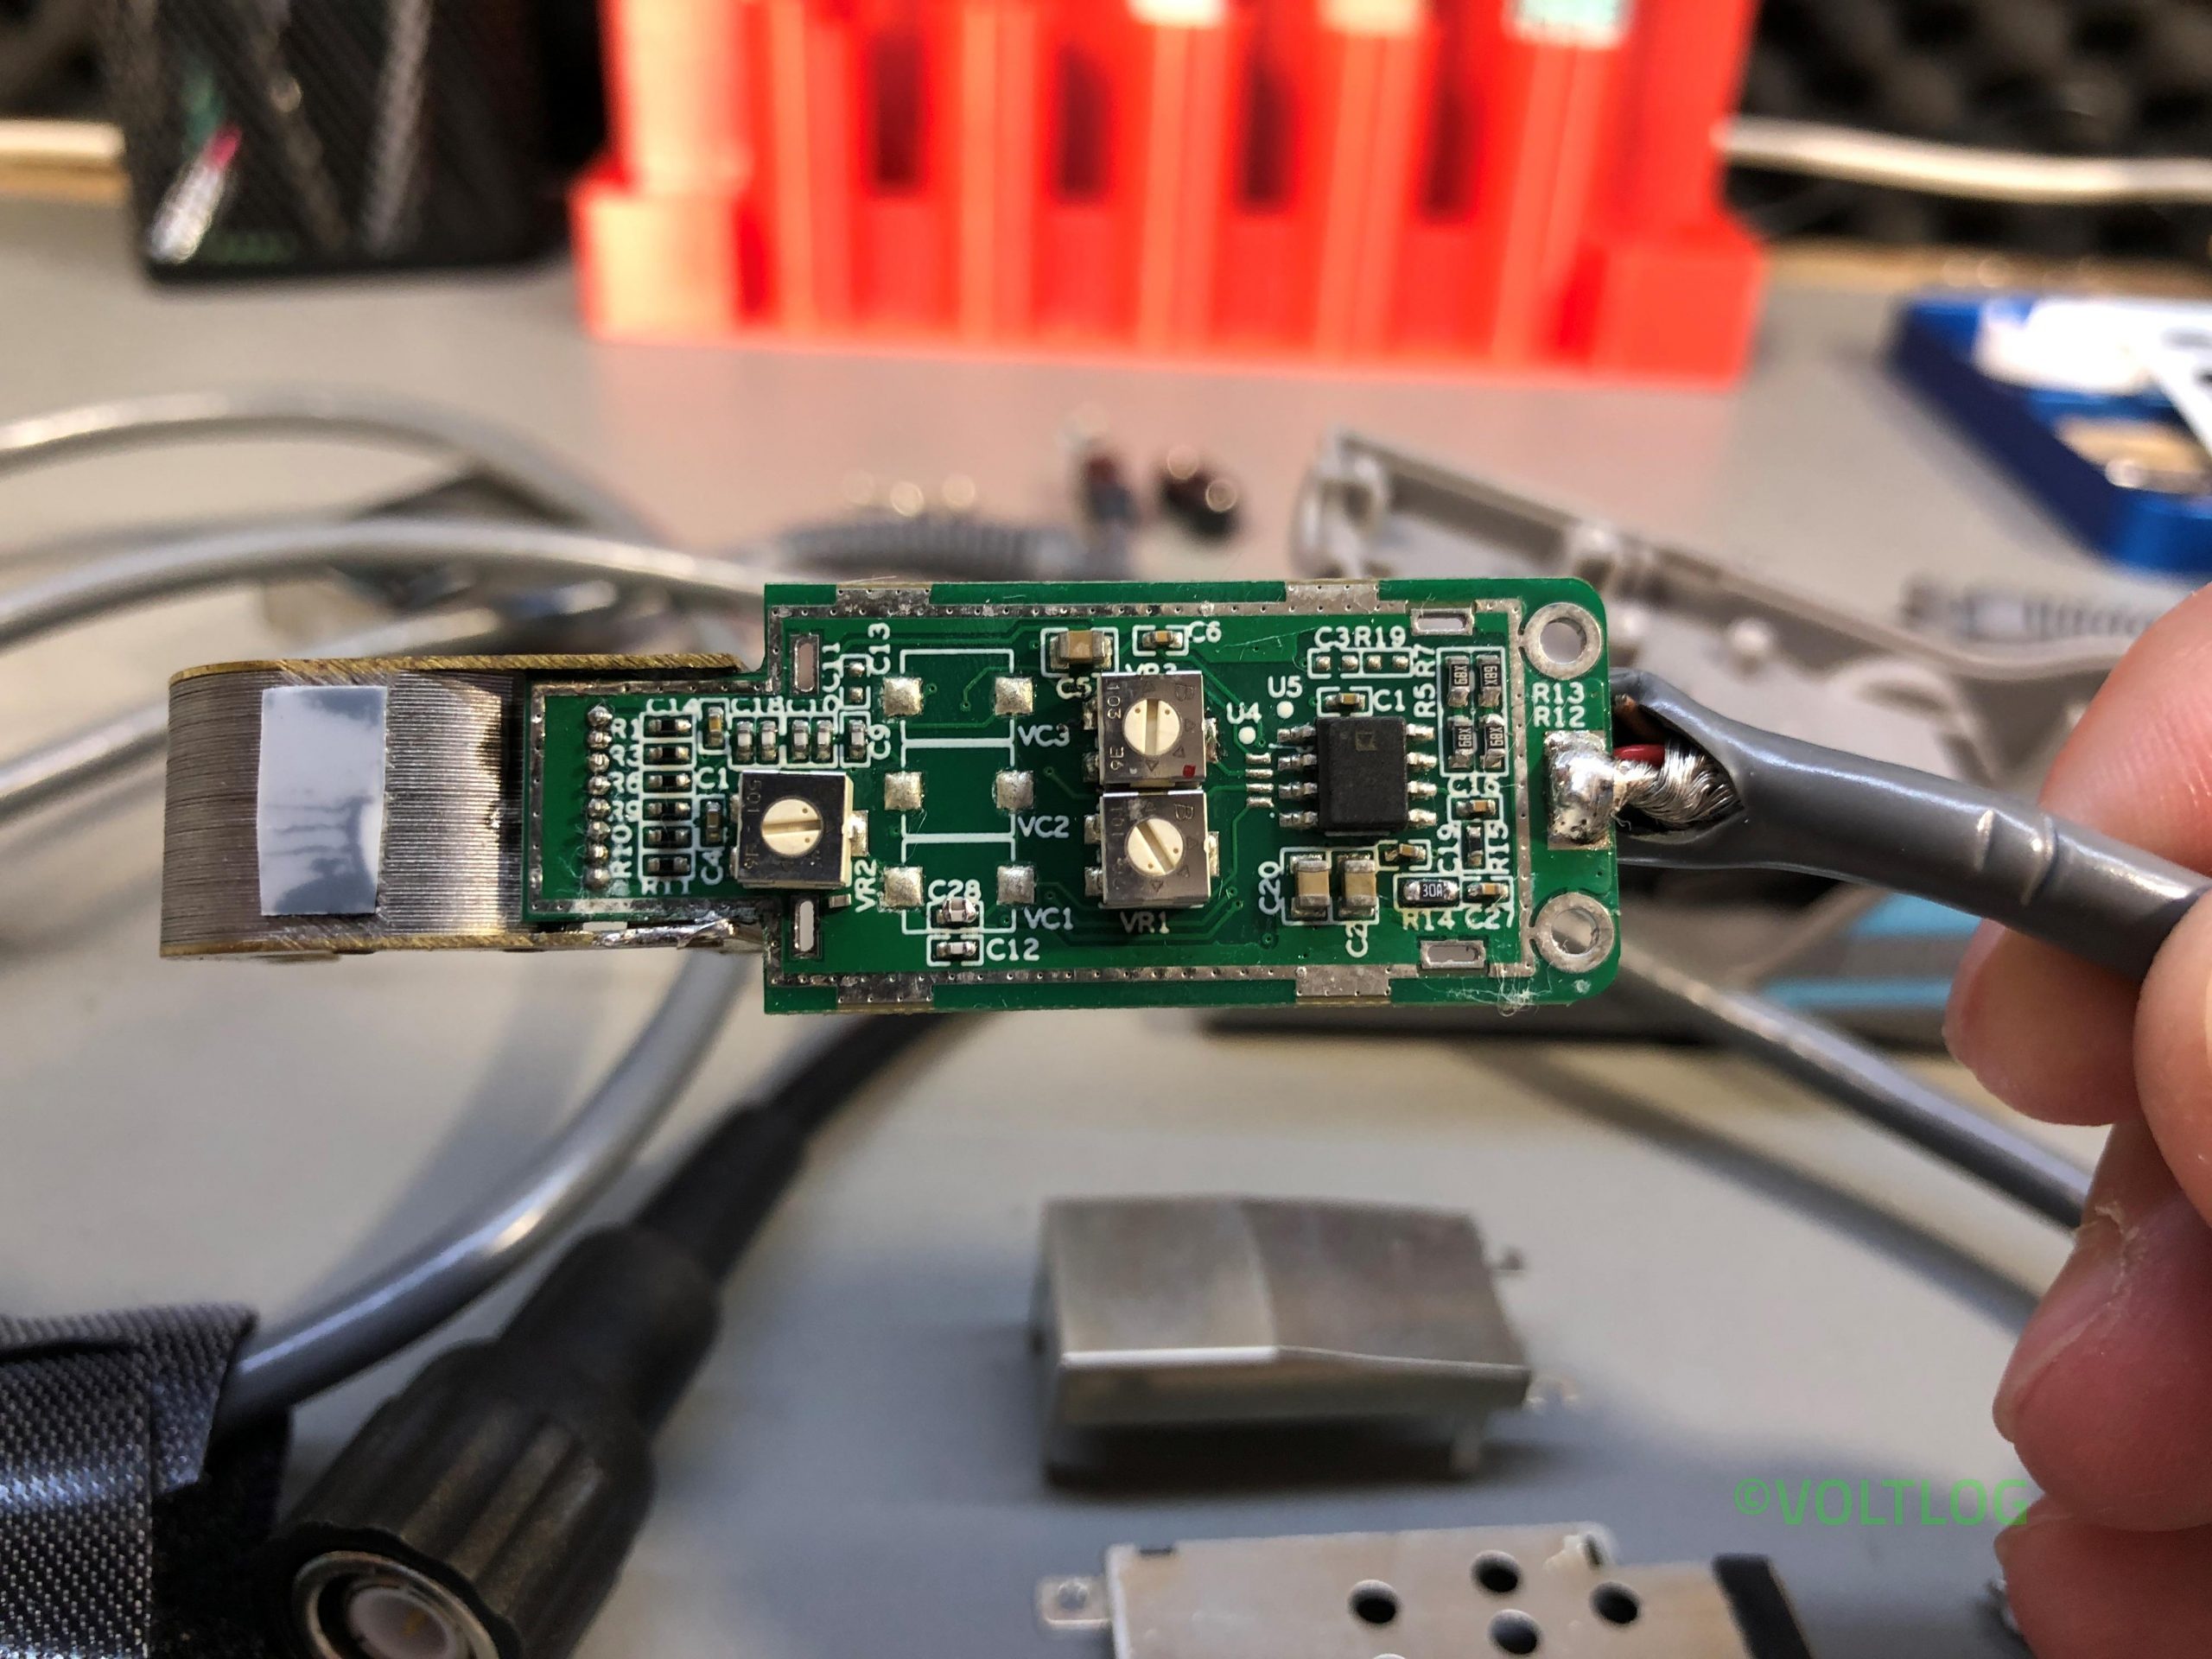
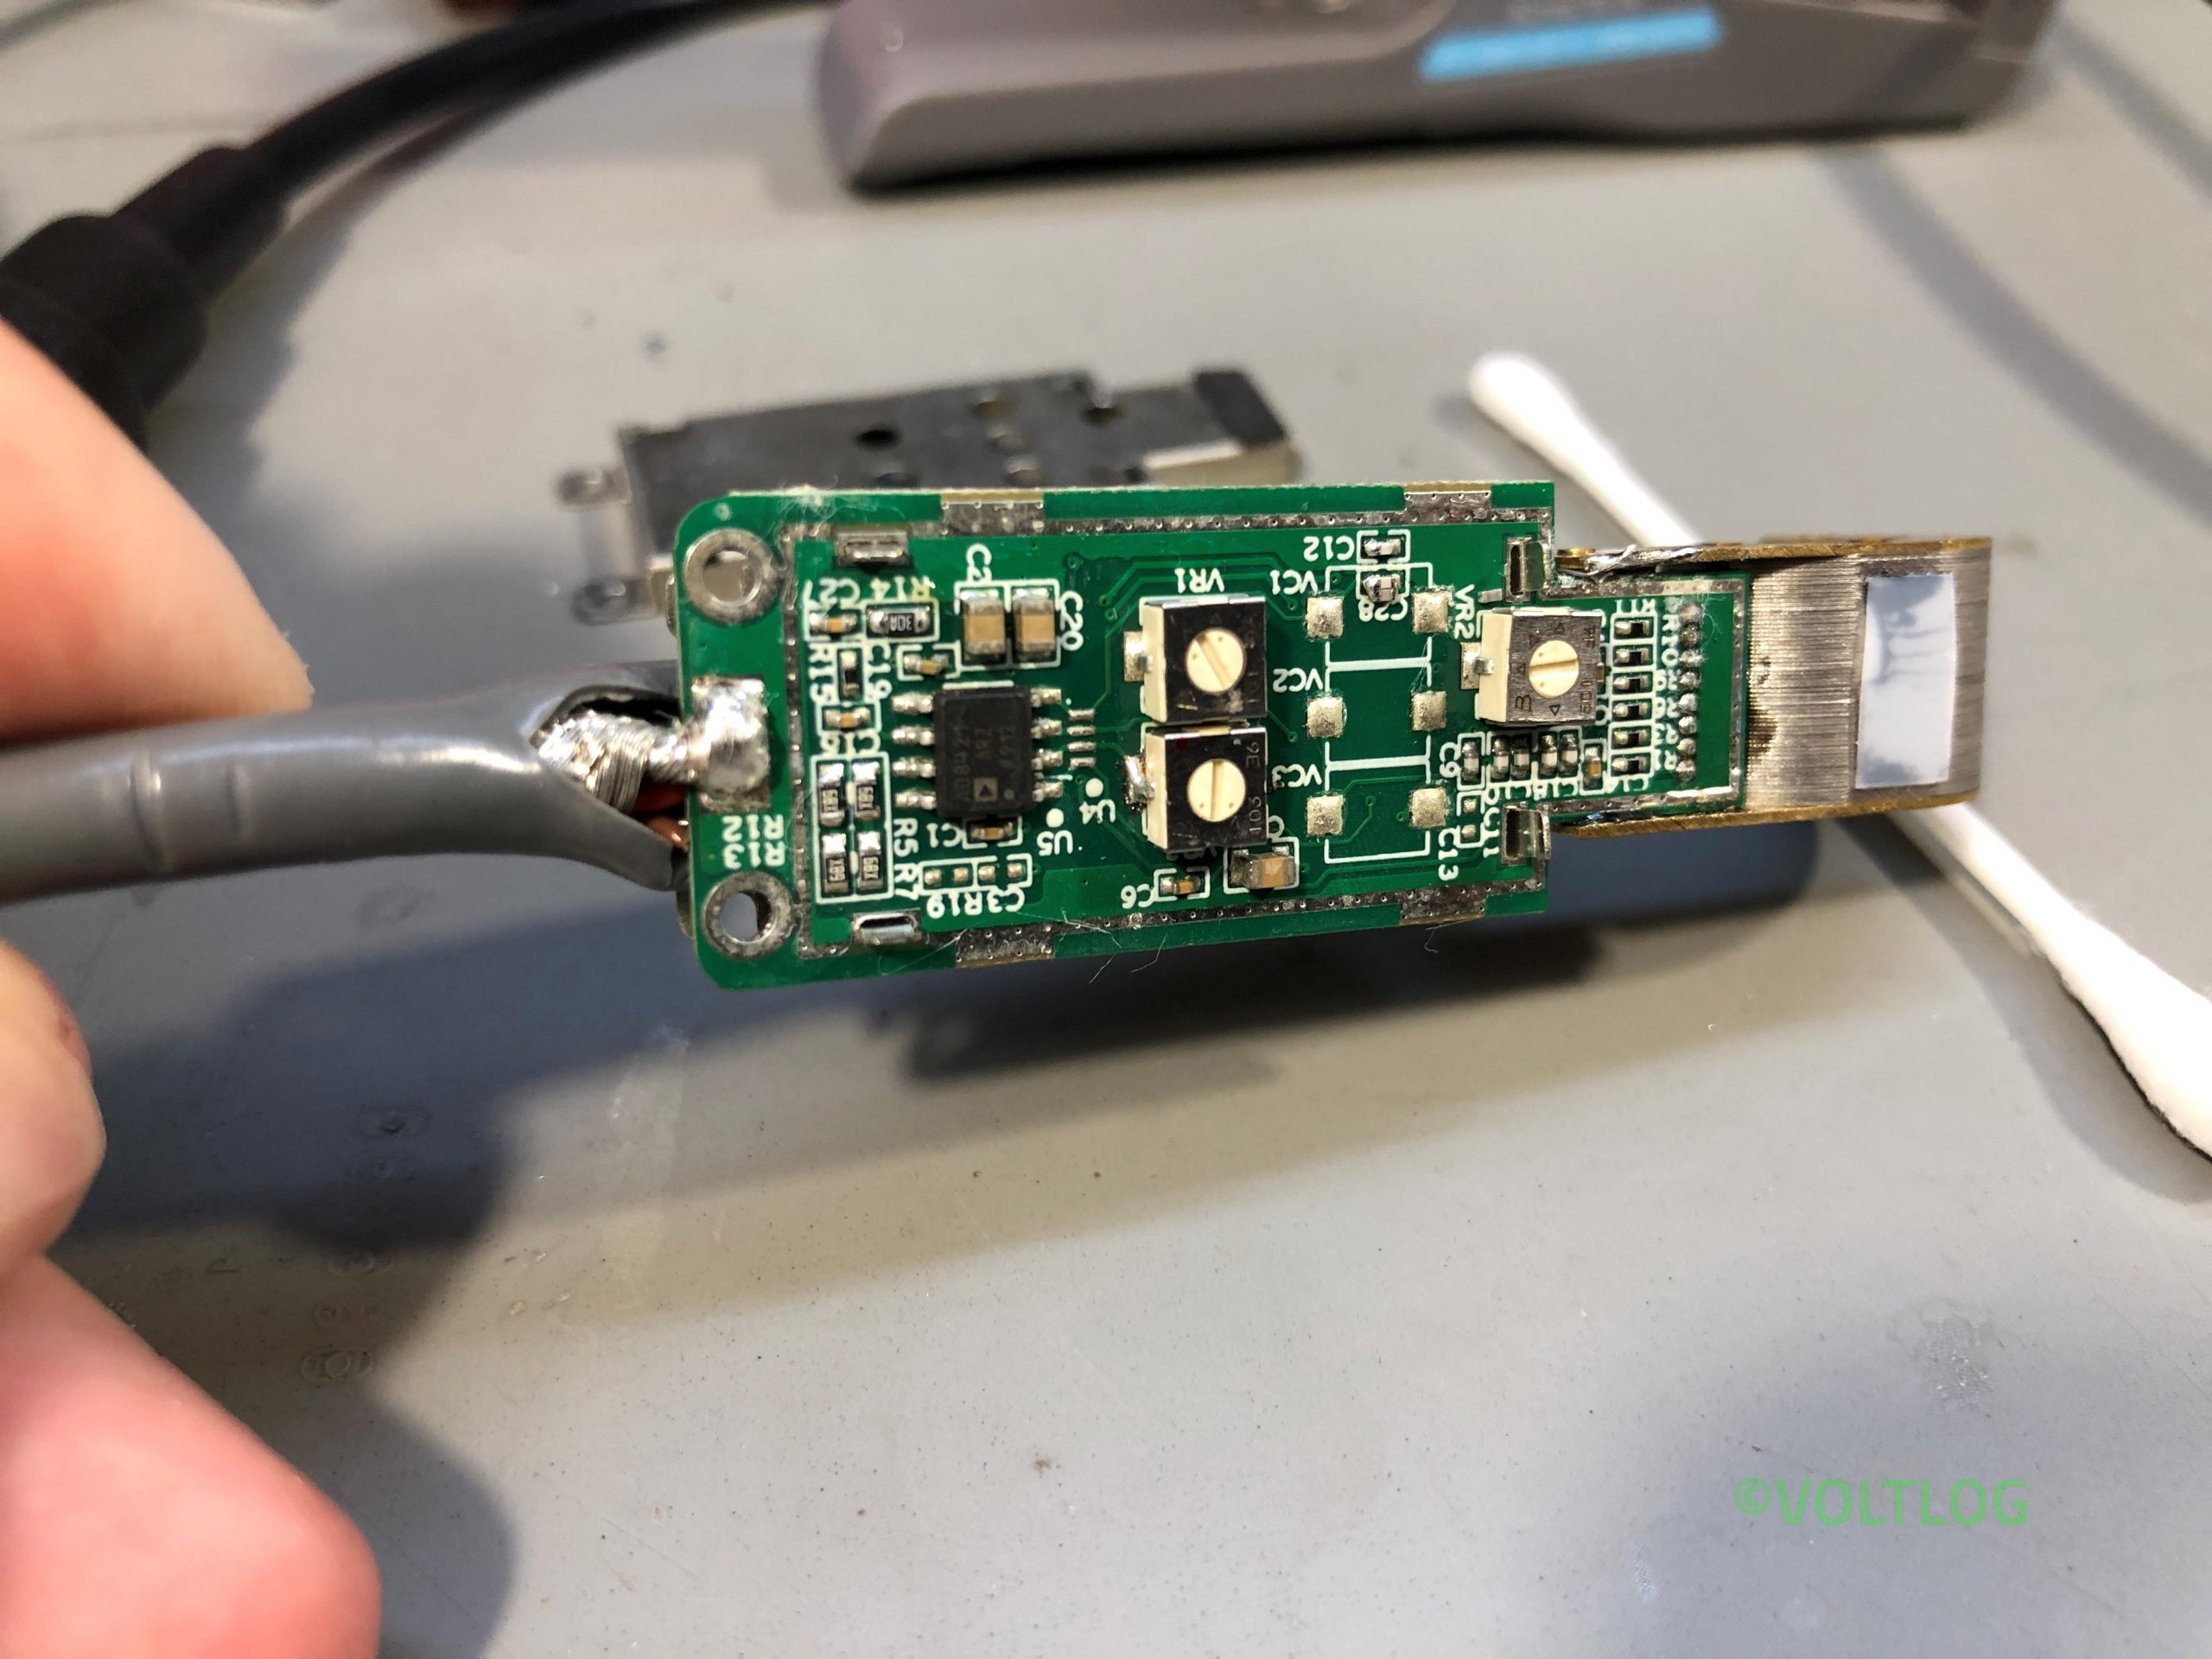
In this video I’m gonna walk you through the process that I use for hacking a VW cluster CAN bus(PQ35 platform). The tools that I’m going to be using today are very accessible price wise and open source on top of that. As hardware I’m going to be using the Cantact usb to can bus adapter, this is going to allow a computer and operating system to access and communicate on the CAN BUS. As software I’m going to be using Savvycan which is once again an open source GUI tool for hacking and reverse engineering CAN BUS data.
Tag: voltlog
InTheMail | Voltlog #341
Welcome to a new InTheMail, the series that will touch both your passion for electronics and your bank account at the same time. Checkout the items I received in this mailbag which include: Some Sonoff S20 & S26 smart plugs, Mechanic syringe aluminium plunger, Vetus eye candy tweezers, Xiaomi Fizz aluminium utility knife, a couple of short and flexible HDMI cables, some Kafuter adhesives, 18650 battery spacers, EVA hard carry cases, plastic organizers, Scotch Brite wheels for the dremel tool, diamond sharpening stones, and some o-ring assortment kits.
Best BST-933B JBC Clone Soldering Station Review & Teardown | Voltlog #340
Soldering tools is a big subject as there is no electronics bench or hobby without a soldering iron hence why I have several videos on the subject and why I will continue to do such videos when new tools are presented. Everyone knows and probably wishes for a JCB or Metcal station since they are very well known in the industry, they are reliable and most importantly very capable soldering stations but their price tag keeps them out of reach for the average hobbyist.
That’s why clones of the big names appear on the market and they can be bought for half the price of the original one, sometimes even less. That’s why the KSGER T12 soldering stations are so popular and why I use them. They support the original Hakko tips and so they provide identical performance to a Hakko station as long as you install a good quality T12 tip.
Which brings us to the subject of this video, this is the Best 933B, which is a clone of the JBC CD-B series compact soldering station. This has been on the market for a while but I recently got a chance to review this station when banggood offered to send me one for free. I would appreciate it if you would check out the links I place in the description, this will ensure I can get more gear to review in the future. Price wise, if you were to order one of these it would cost you about half the price of the original JBC station. Depending on where you order the original one is around 400EUR while the Best station is about 200EUR on banggood.
InTheMail | Voltlog #337
Welcome to a new InTheMail, the series that will touch both your passion for electronics and your bank account at the same time. We have a selection of different items received in this mailbag, I’m gonna start with this USB to RS232 serial adapter cable, inside this uses the famous Prolific PL2303 chipset and there is nothing wrong with that chipset but many people have had problems with that, including myself. Those problems are mostly related to fake chips, because going on Aliexpress and purchasing the cheapest usb to serial port cable adapter you can find will most certainly ensure you get a fake chip. Better cables that use genuine chips from prolific like this Ugreen branded one are more expensive but it should pay for itself in the long run by providing reliable connections when you need them.
I like this particular model also because it comes in a 2m length because sometimes you would use a cable like this to connect some large piece of gear and it might be helpful to have this 2m length of cable up to your computer.
InTheMail | Voltlog #336
Welcome to a new InTheMail, the series that will touch both your passion for electronics and your bank account at the same time. We have a selection of different items received in this mailbag, I’m gonna start with this little guy, it’s a pulse oximeter. The model number, at least on the packaging, is YK-82C with a pretty recent date code as well, September 2020. So I got this pulse oximeter to keep around cause during these times, I think it’s a good idea to have such a device to monitor the level of oxygen in your blood, you know just in case you have an unfortunate event with well you know what, let’s not name it. I think this particular model is pretty nice, they also include an EVA carry case. It doesn’t come loaded with batteries but it uses 2 x AAA batteries which is nice. Single press to turn it on, it will auto power-off if there is no finger present for taking measurements, that’s pretty nice. Short press of the switch will cycle through a few different display modes in a couple of orientations, as we can see it uses one of those popular two color OLED displays.
Designing PCBs With Castellated Holes | Voltlog #335
Welcome to a new Voltlog, in today’s video we’re going to be talking about castellated holes and how you can create them in your CAD tool. If this term is new to you, it’s pretty simple, you’ve certainly come across them if you’ve ever played with a bluetooth or wifi module because those 99% of the time will use castellated holes, which are these semi-plated holes on the edges of a PCB. Having these connection points allows these modules to be soldered on top of a main PCB which contains our main circuit.
You might ask yourself why do we use castellated holes, why not use a simple through hole header as a board interconnect or just some simple SMD pads. Well in my opinion the most important reason is the relatively low difficulty for soldering castellated holes. If you think about it, having some SMD pads that go on the bottom of the PCB makes it pretty hard to solder, at least without proper equipment, you need to deposit solder paste on those pads, you need to get it in the right amount and then you need to have perfect alignment of the module on top of the pads which reside on the main PCB. Having these connection points underneath our module makes it very hard to align because you can’t see them. Also debugging such a module is going to be a pain because you won’t have access to all of those connection points.
So this where castellated holes improve, by having the plated half-holes at the side you can solder them even with a simple soldering iron, alignment is pretty easy because you can clearly see the connection points and debugging these is much easier because once again you can access them, you can do measurements with your scope probes or whatever instrument you are using.
Another advantage of having castellated holes on a design is to think of it like a building block, you might improve this building block externally or switch to a new building block that uses the same pinout and you just drop it into your system as a simple upgrade.
And believe it or not but having a module with castellated holes can lower your BOM cost in some cases because let’s say you need to use an RF module which might be 4 layers or a complicated system on module that may be 6 or 8 layer PCB with a powerful processor. Instead of building your entire system on an 8 layer PCB and assembling that complicated BGA chip yourself, you can buy the module ready made, it has castellated holes and you just drop that module into your system which may be a 2 layer mainboard or 4 layer mainboard that costs less.
InTheMail | Voltlog #334
Welcome to a new InTheMail, the series that will touch both your passion for electronics and your bank account at the same time. We have a selection of different items received in this mailbag, I’m gonna start with this rather big development board based on an STM32F407 microcontroller. This particular microcontroller has 512K of flash memory and 192K of ram which should be enough to cover most needs. What I liked about this development board is that it comes loaded with peripheral interfaces like CAN bus, RS232, RS485, Ethernet, USB, SD Card and a bunch of IO so you can pretty much build any project you can think of. I’m particularly interested in the CAN interfaces so I’m planning to have a play with those.
While the product might be available from different sellers at different prices, there might even be different variations of this board I will place a link in the description to the seller where I got mine because it was the only one that offered a support pack for the board which contains schematics, documentation, example code, it even contains like a bundle of keil compiler with a keygen which ofcourse I’m not going to use, that would be illegal but you get the point, the seller will offer you a download link for this pack which is like 1.7Gb worth of documentation so I highly recommend it. It also ships the boards in these cheap plastic carry cases which are great for protection during transport as well as storage afterwards.
Designing A C5W Cree LED Bulb With Constant Current Driver | Voltlog #333
In a previous video I showed how I designed and assembled my own T10 style LED bulbs for the purpose of installing them in my car for the interior lighting. I was sick of these cheap bulbs I was getting from Aliexpress which didn’t last very long due to poor thermal performance and also they had this nasty blue tint color for the LEDs. The video I’m talking about is Voltlog #319, those bulbs have been installed in my car for the past couple of months, they are great. I love them and I’m pretty sure I will never have to replace those again.
Unfortunately T10 is not the only style of bulb that my VW uses on the interior lights, it also uses this style of bulb which is called C5W festoon for the lights on the sunvisor area. This comes in a few different lengths, I need mine to be 37.5 mm. So you can probably guess what I did next, I took the circuit I used previously and adapted the layout to fit the C5W outline.
Testing Kafuter Adhesives For Electronics | Voltlog #331
Welcome to a new Voltlog, in this video we’ll take a closer look at the various adhesive products that I could find and order on Aliexpress from this brand which has a hard to pronounce name, I would call this Kafuter but I don’t know, doesn’t sound right.
Since we deal with electronics on this channel, I’m particularly interested in how these adhesives would cope with use on electronics. As you may know in a typical product you may find different types of adhesives used: you might have some for securing wires/connectors, you might have a different type of glue used for securing big capacitors to stop them from flapping in the breeze, a different type of product for creating a seal against moisture, a different glue for securing trim pots in their final position.
And all of these products need to do their specific job while at the same time ensuring that they do not break down or become corrosive or conductive over time. I’m not gonna be able to give you any guarantees to that as my testing methods are not exactly industry standard so I’ll mostly be giving you like an overview of these cheap products that we can find on aliexpress and I will mainly recommend them for hobby use but if you have any experience with this company or it’s products, please do share in the comments below.
Micsig CP2100A Best Affordable Current Probe | Voltlog #330
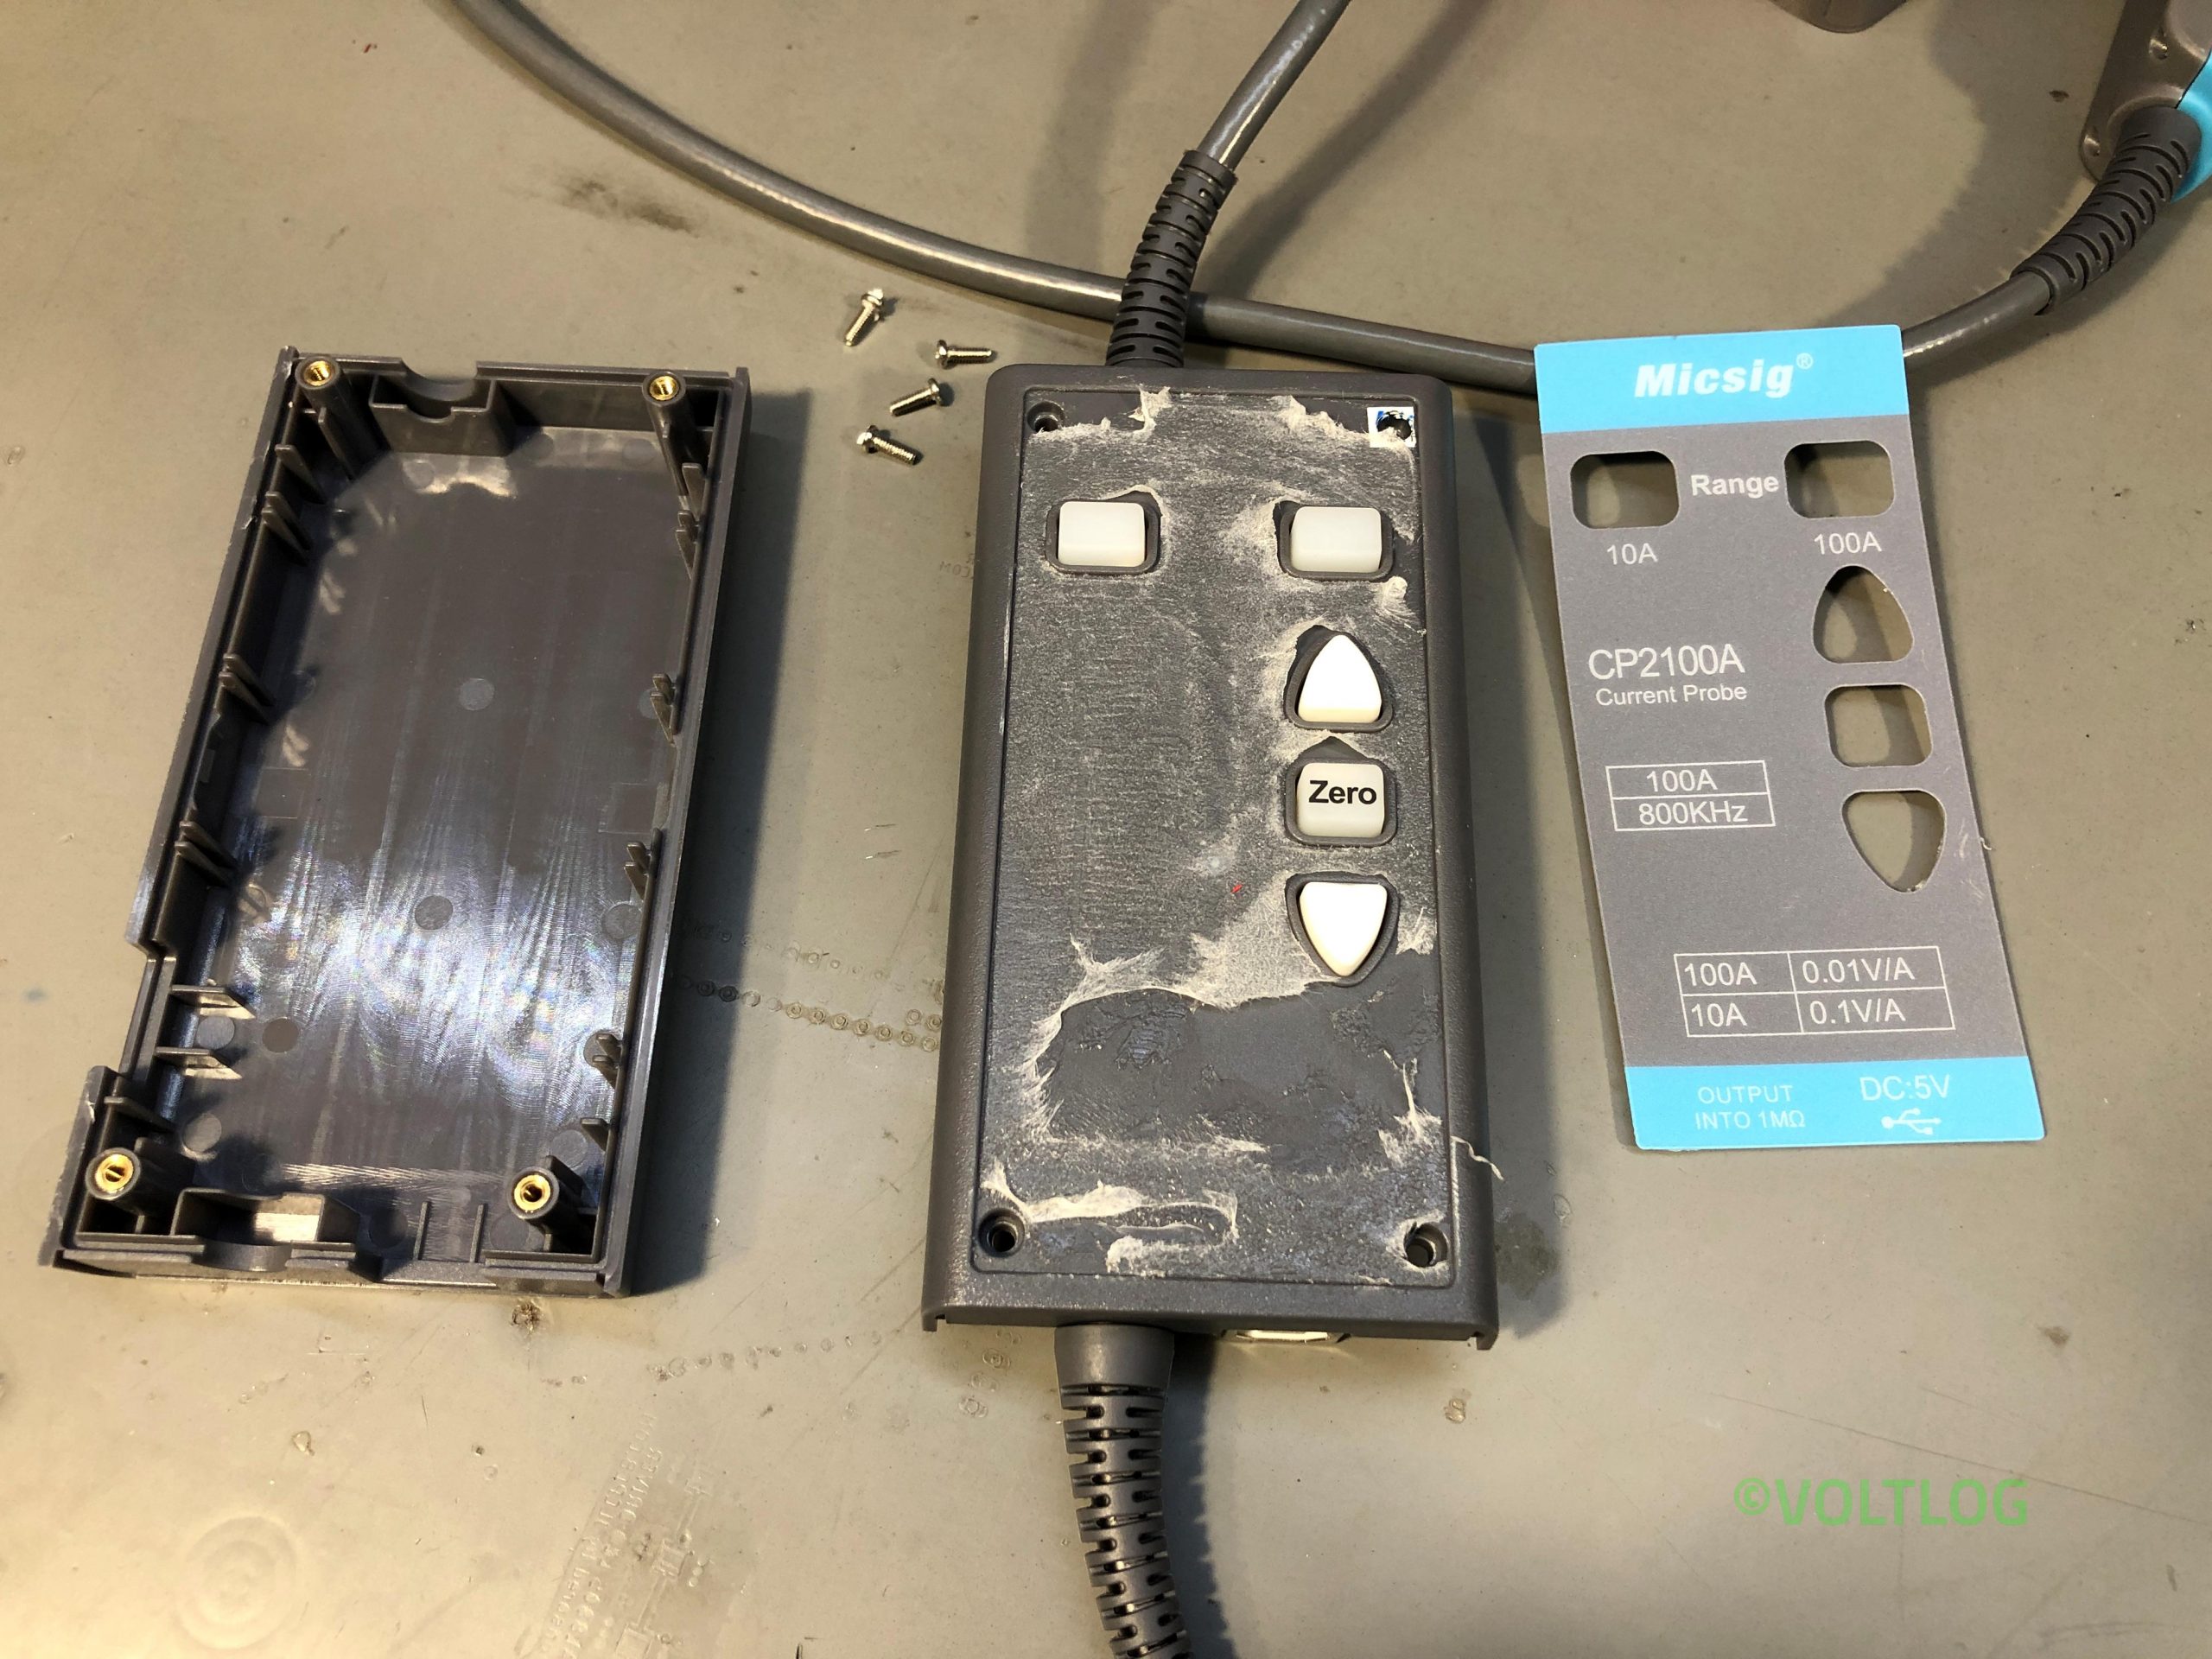
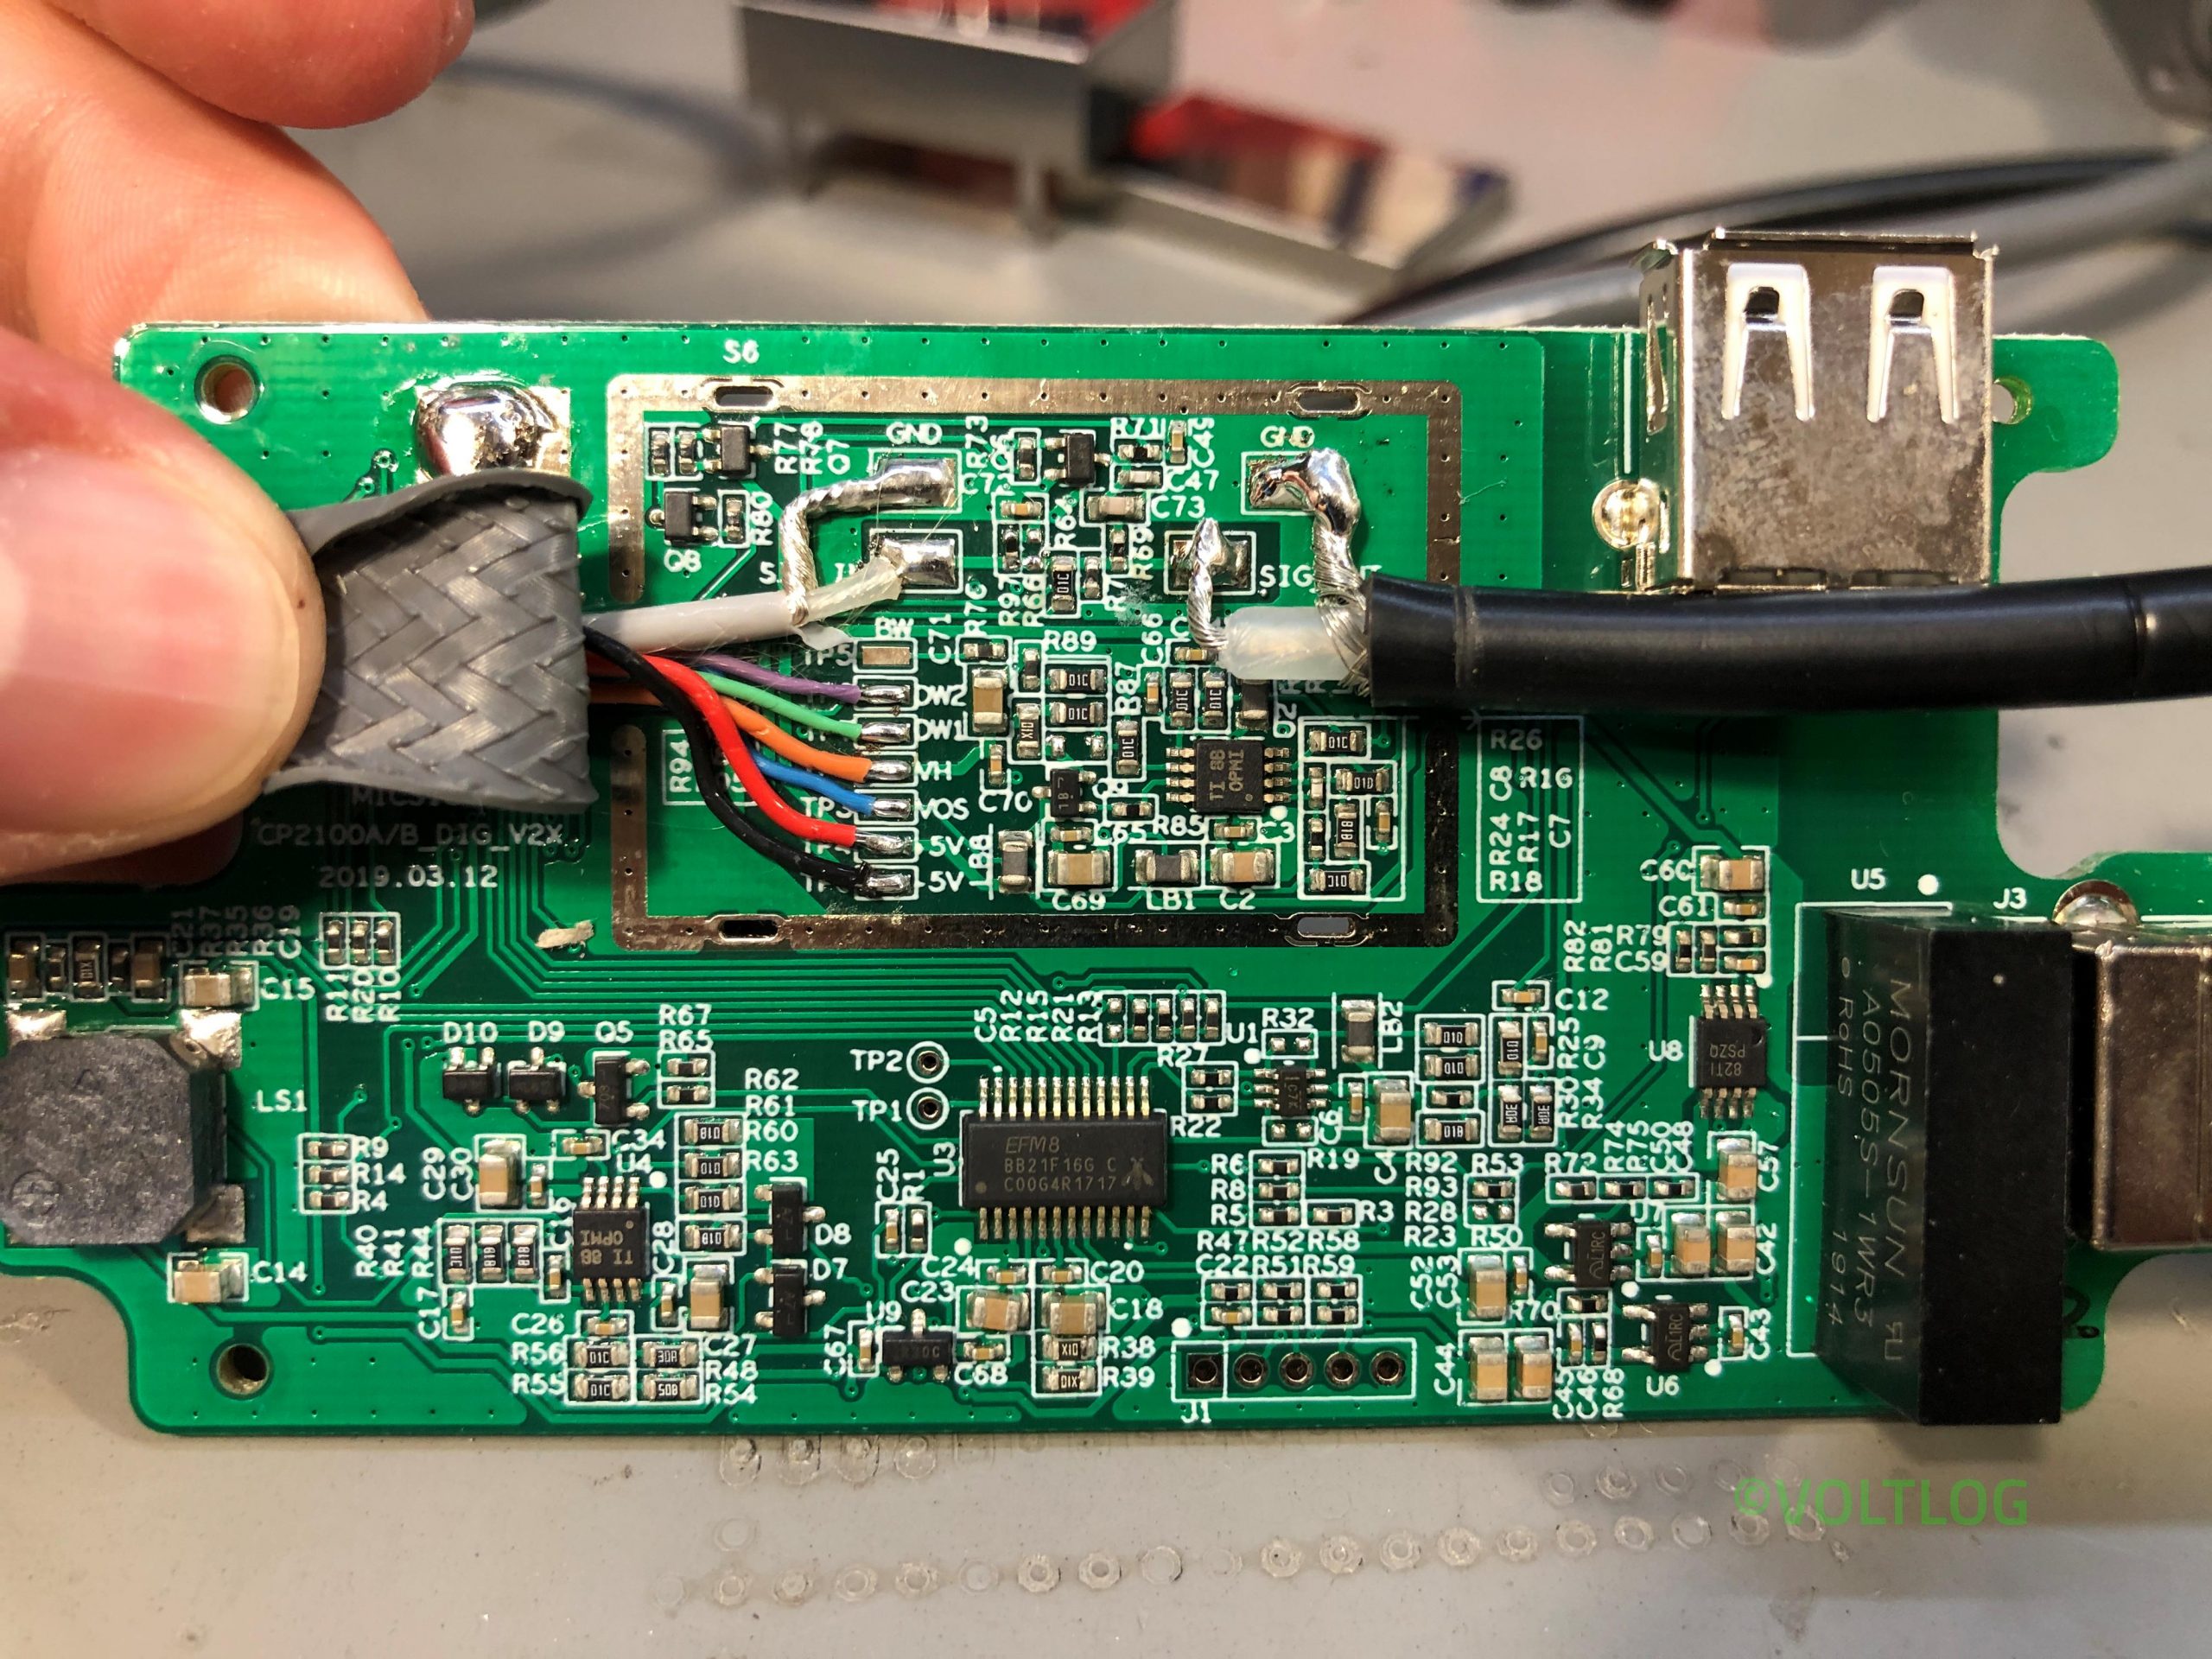
So this is the Micsig CP2100 series current probe, it’s my first piece of equipment from Micsig but I’ve been hearing good things about them so I kinda have high expectations for this product.
What I have here is the CP2100A variant which is rated for 800KHz bandwidth, there is also a B variant which is rated for up to 2MHz in the latest revision, that one is a bit more expensive and I would only recommend getting it if you really need that bandwidth, otherwise there shouldn’t be any other difference between the two models. I don’t know if I mentioned this already but obviously it can measure AC and DC, it has two ranges, 10A and 100A. There is a zero function on the module for automatic zero adjustment and you can also do manual offset adjustments with these arrow keys.
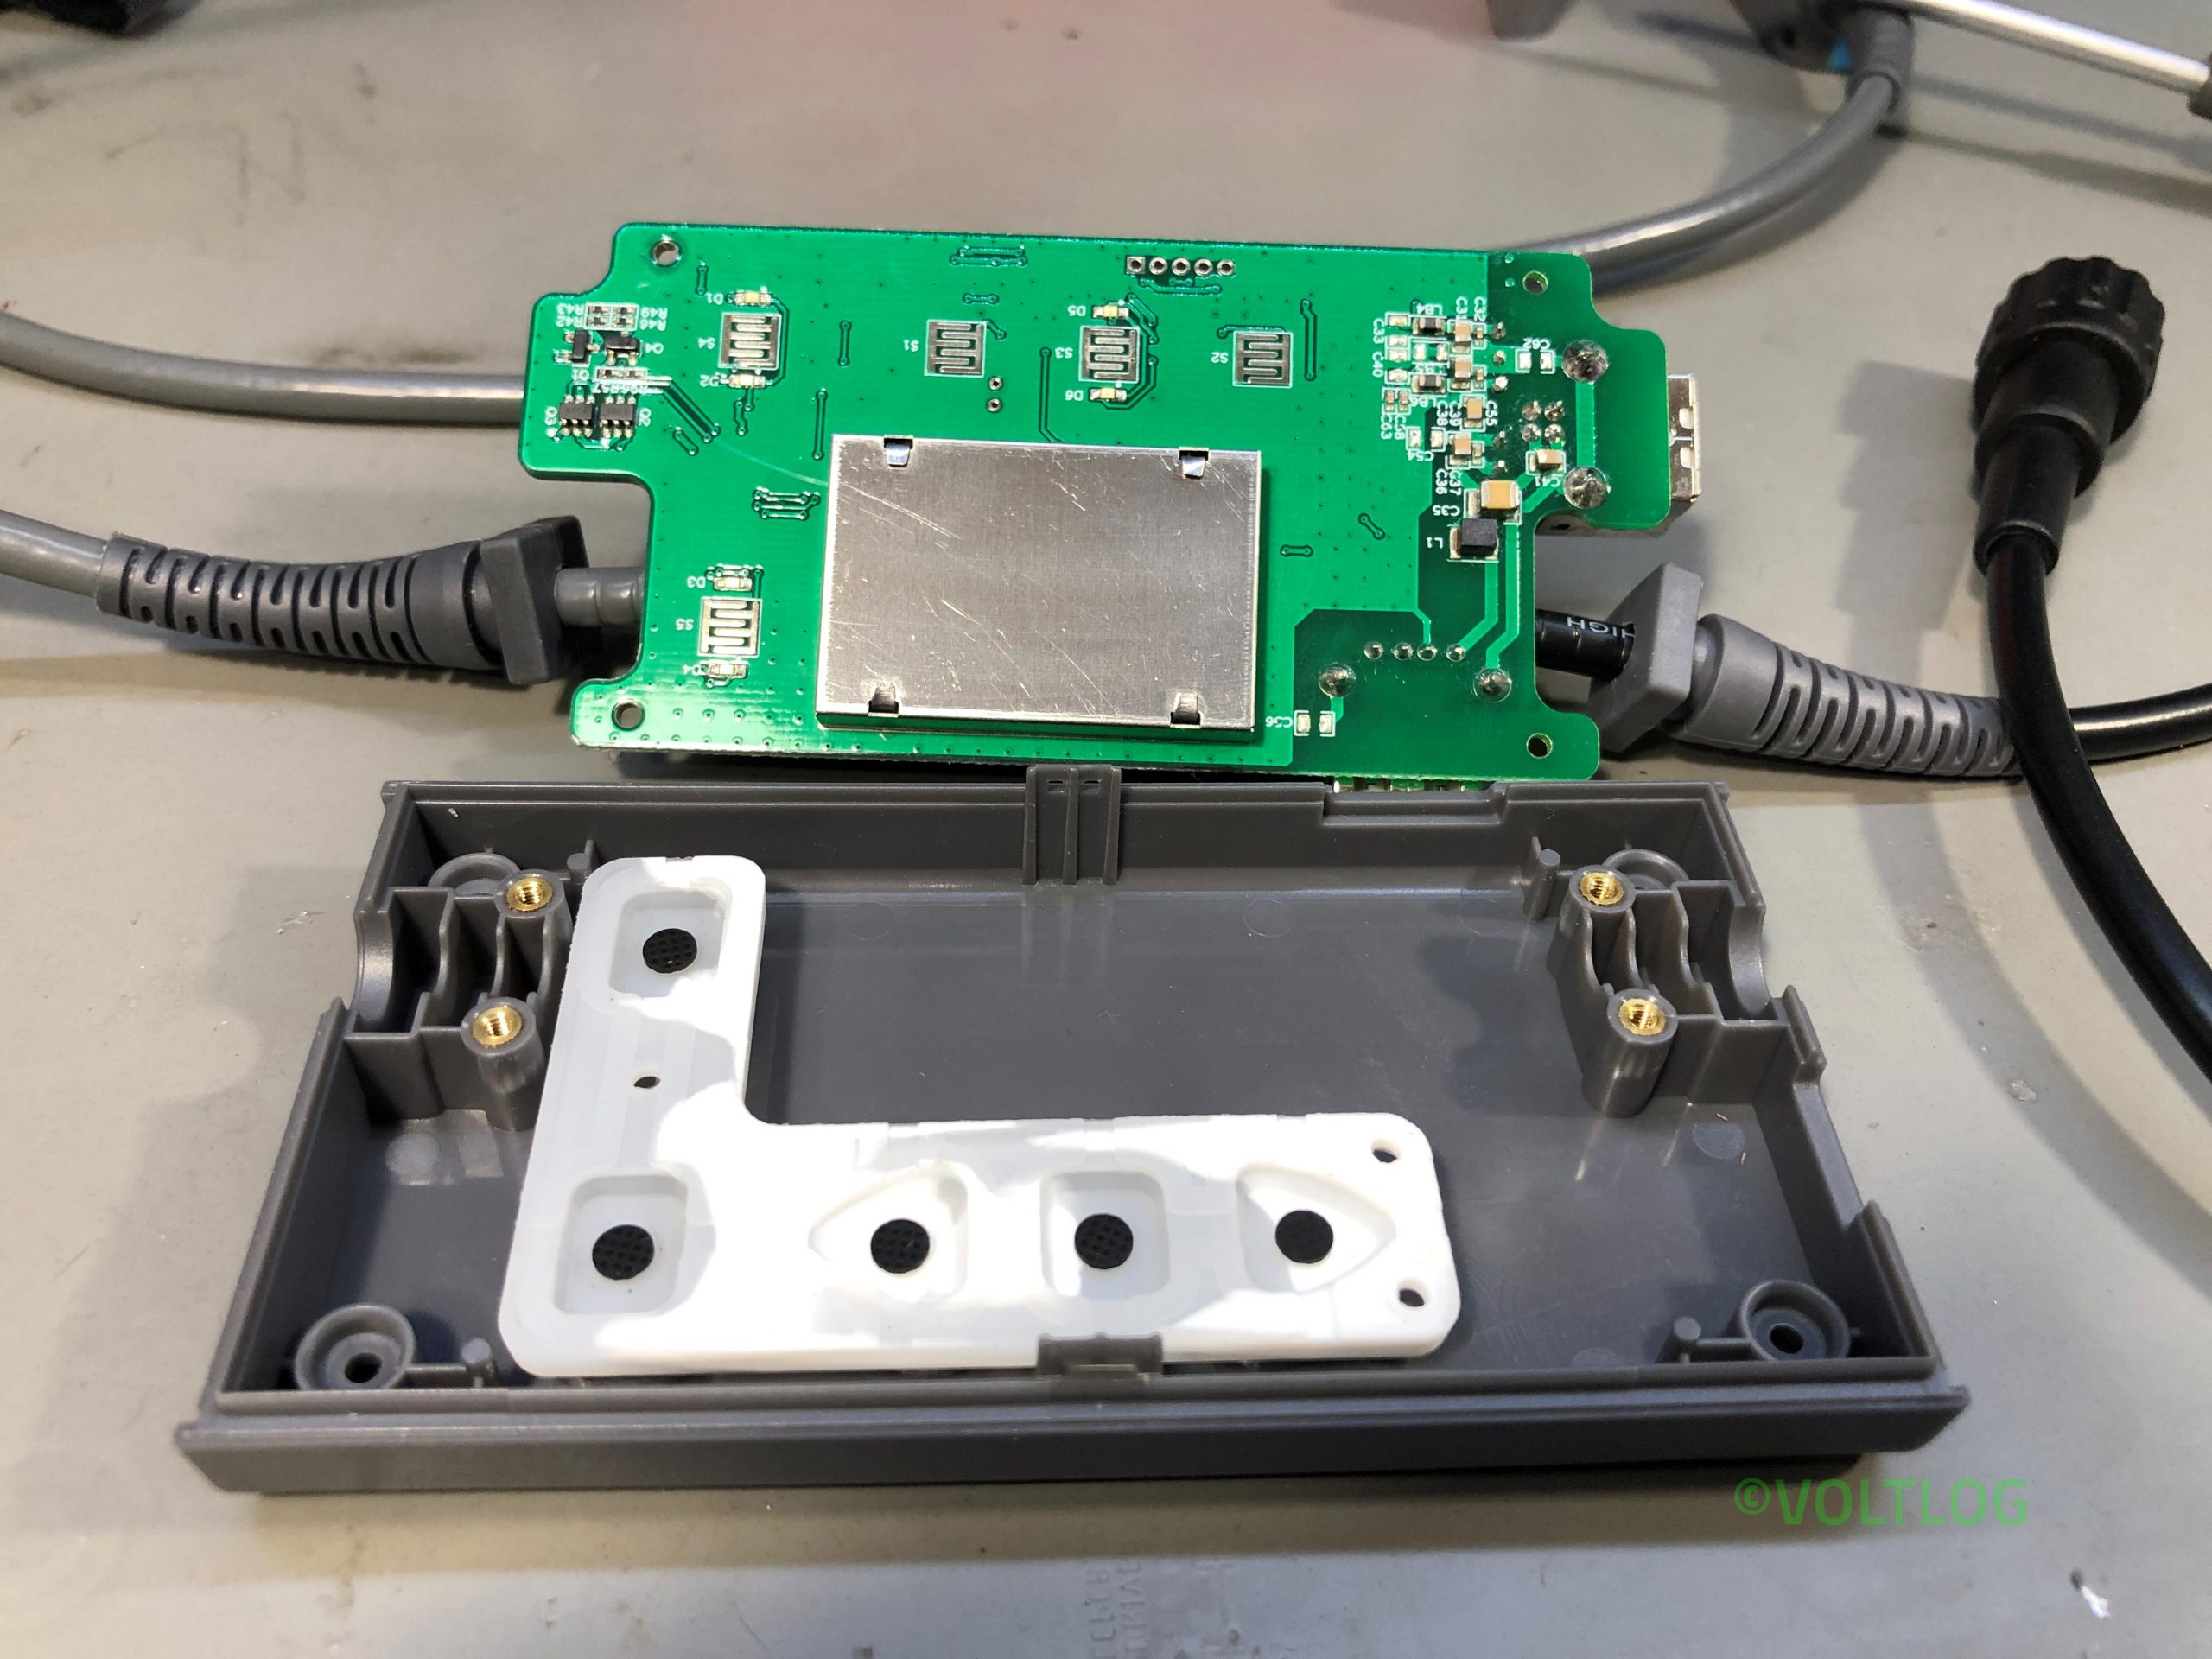
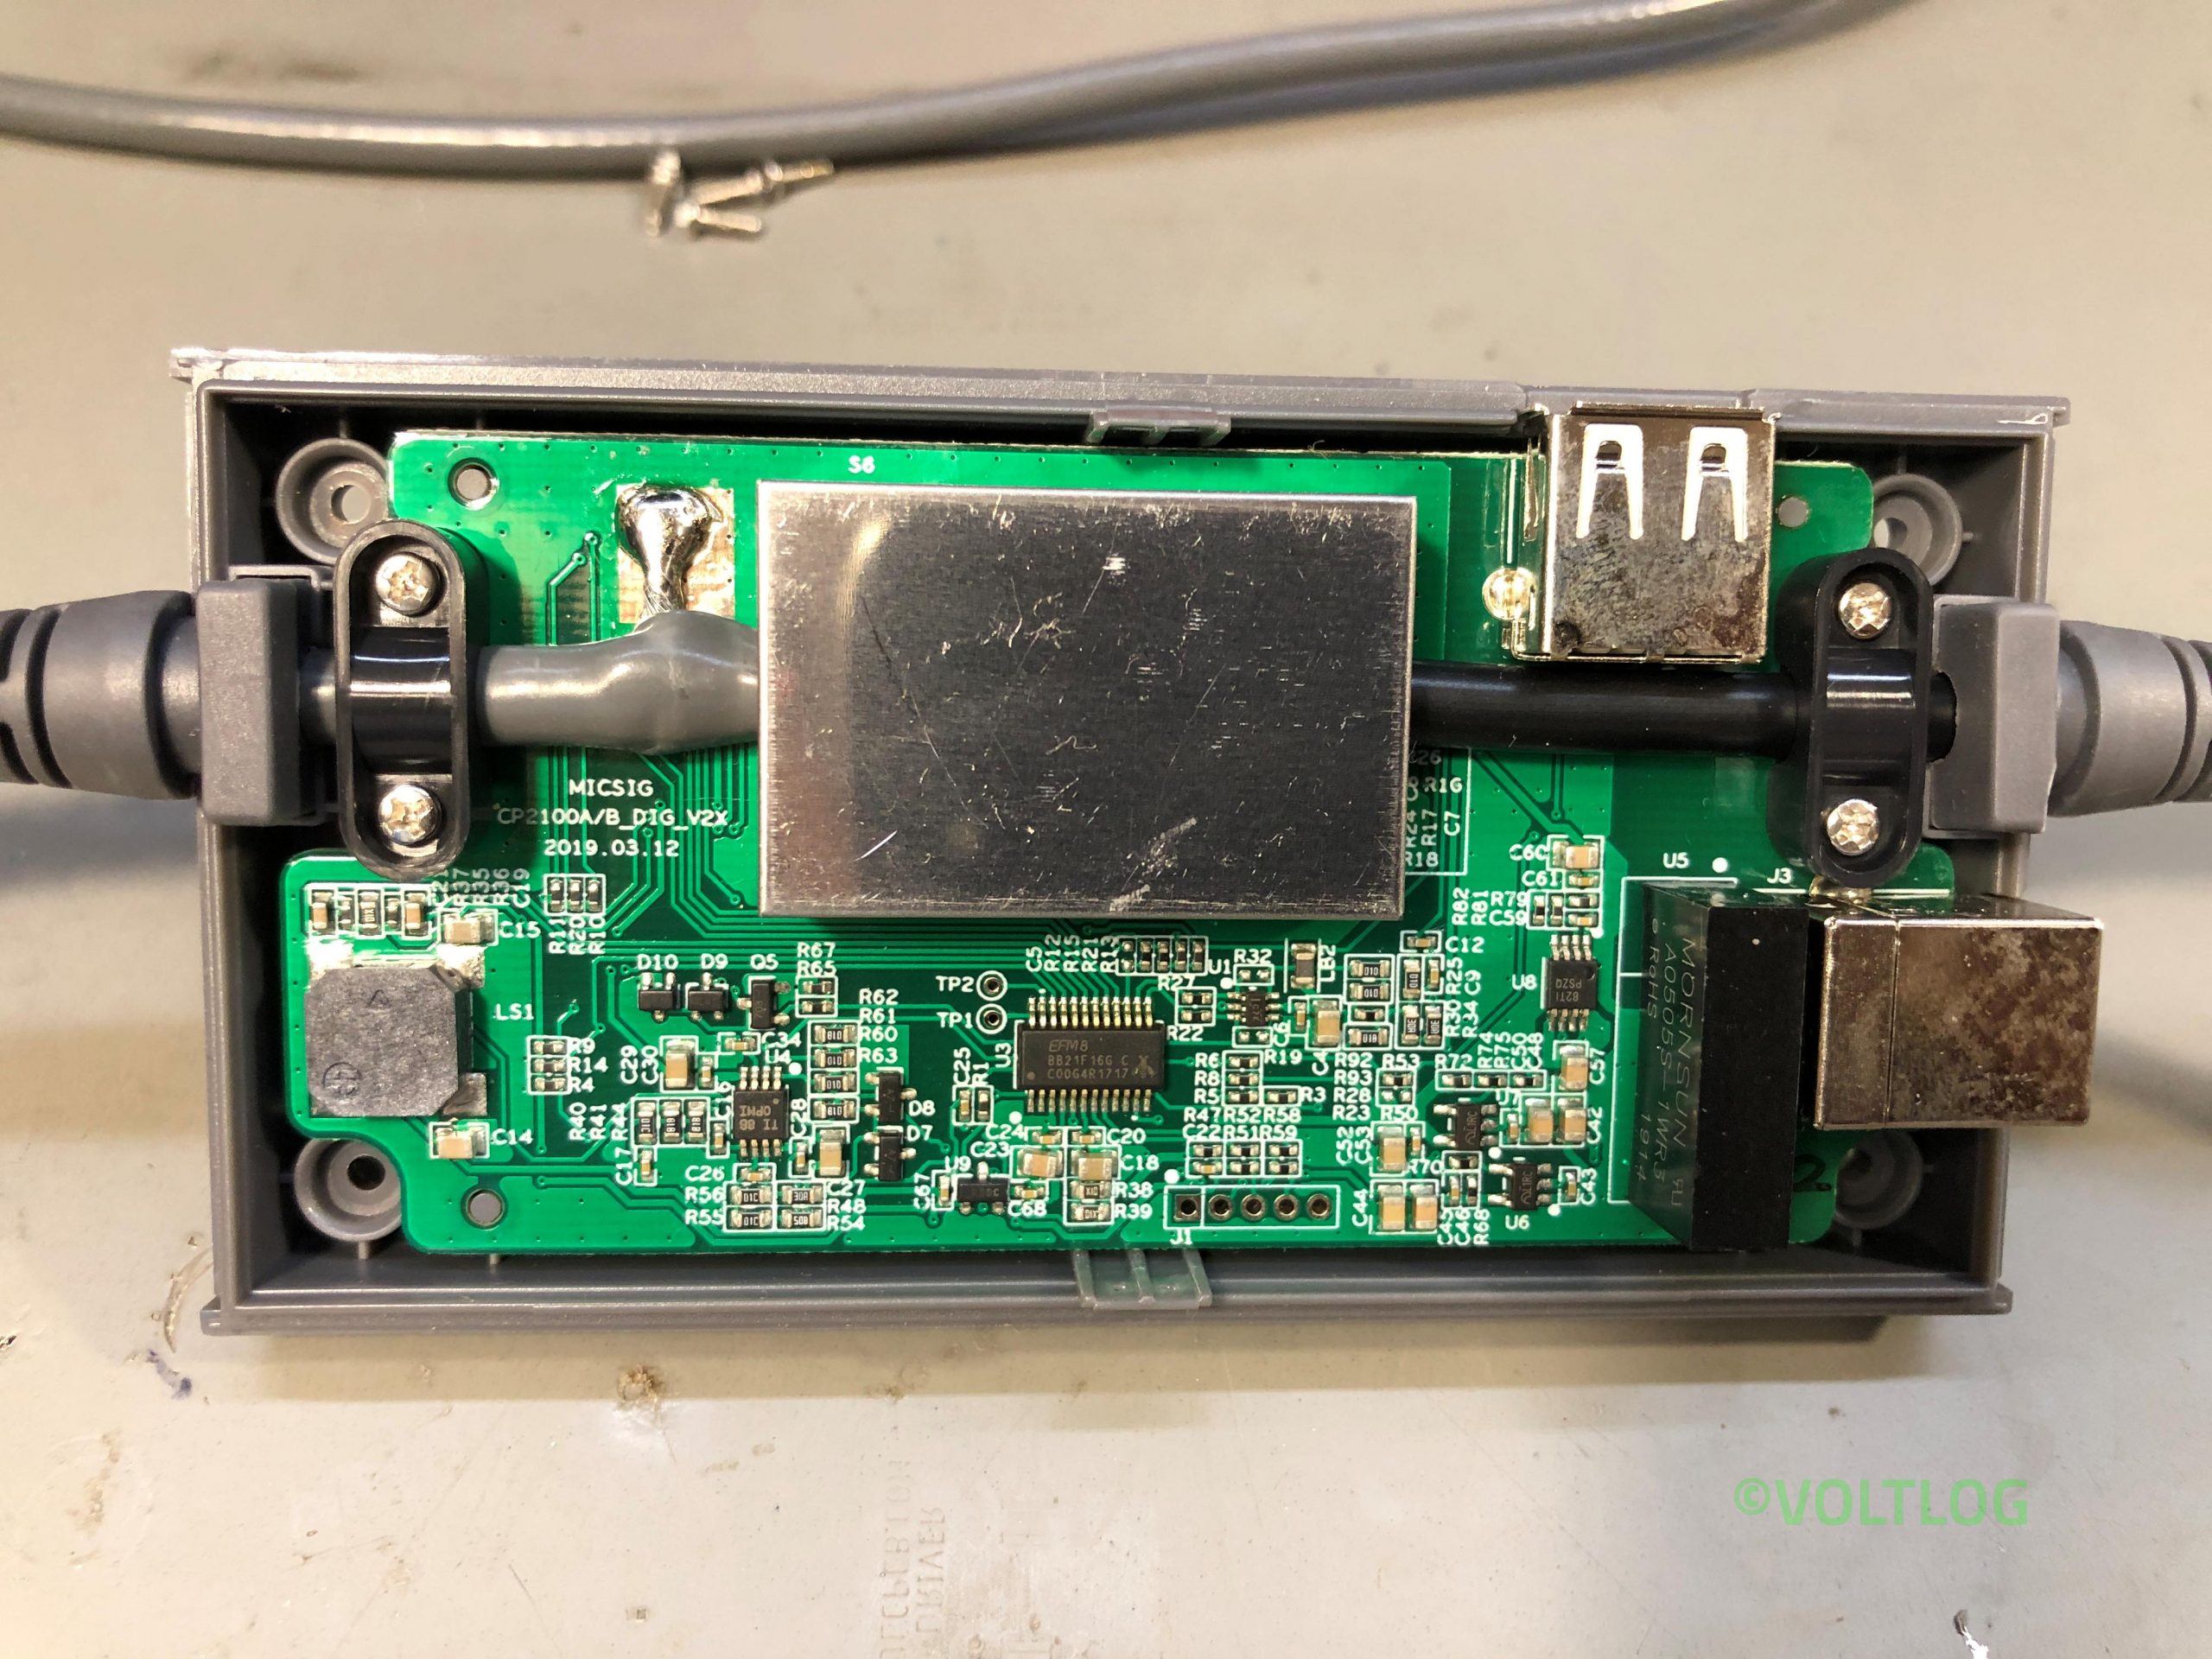
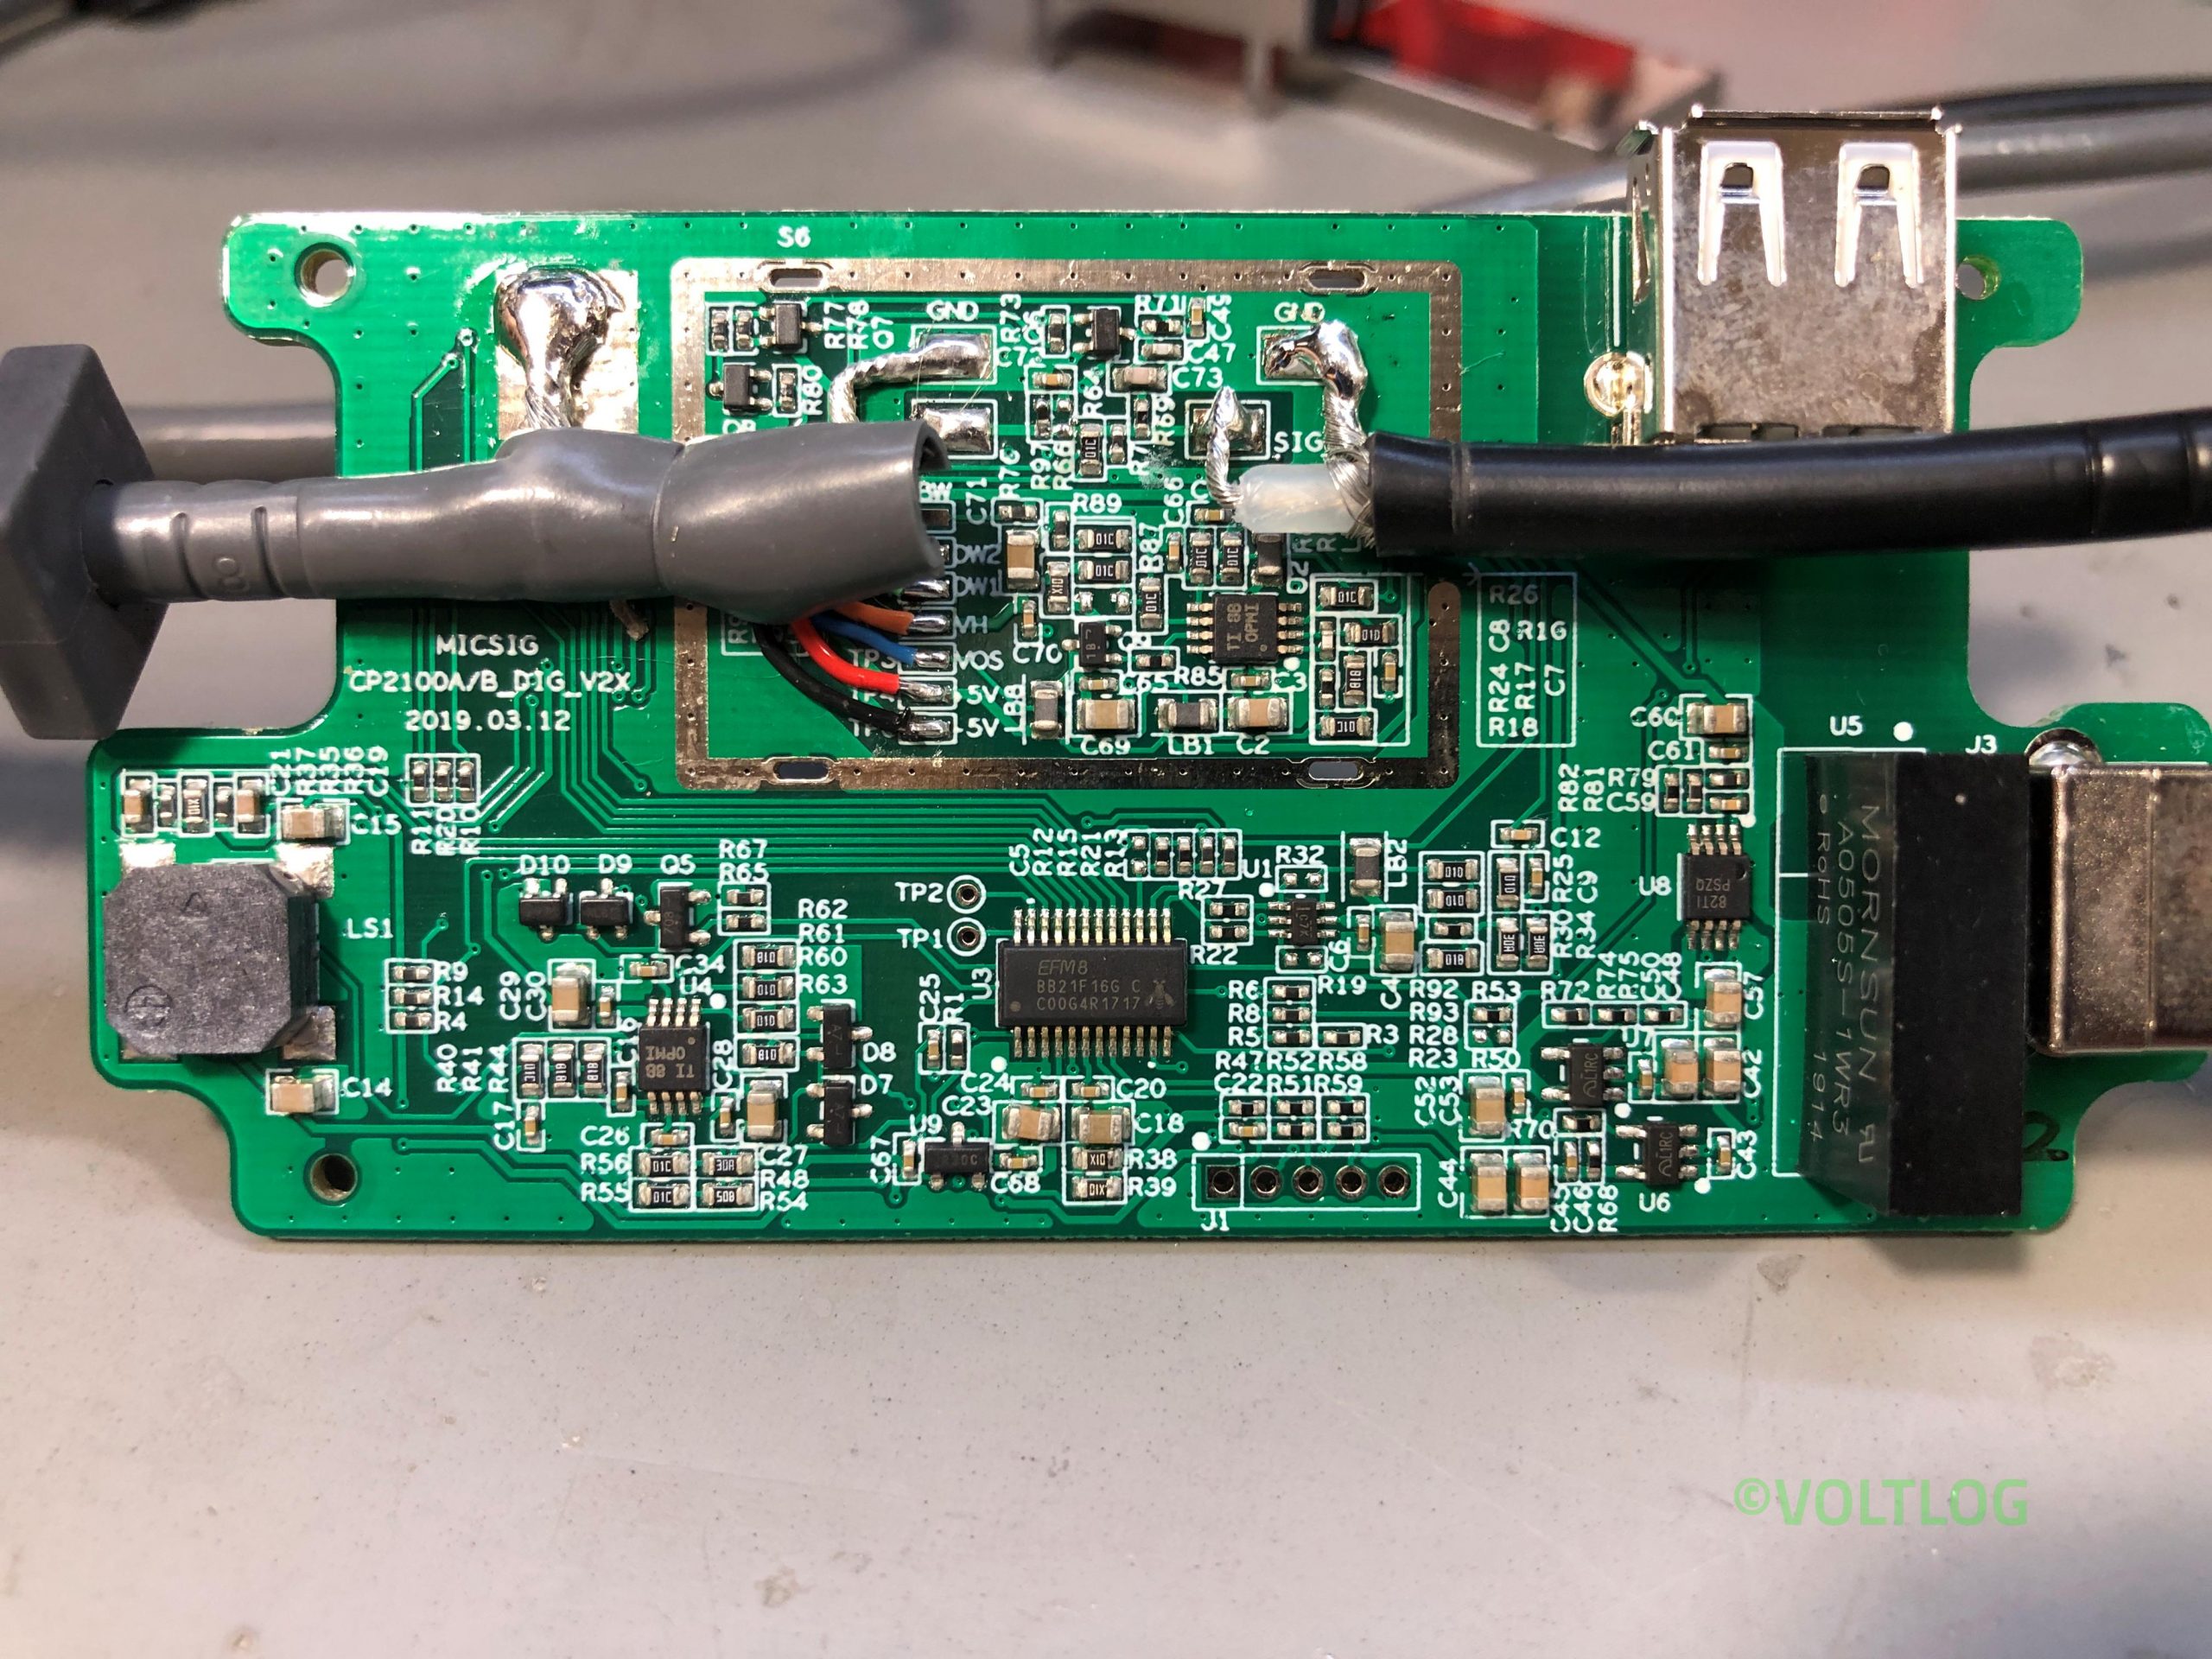
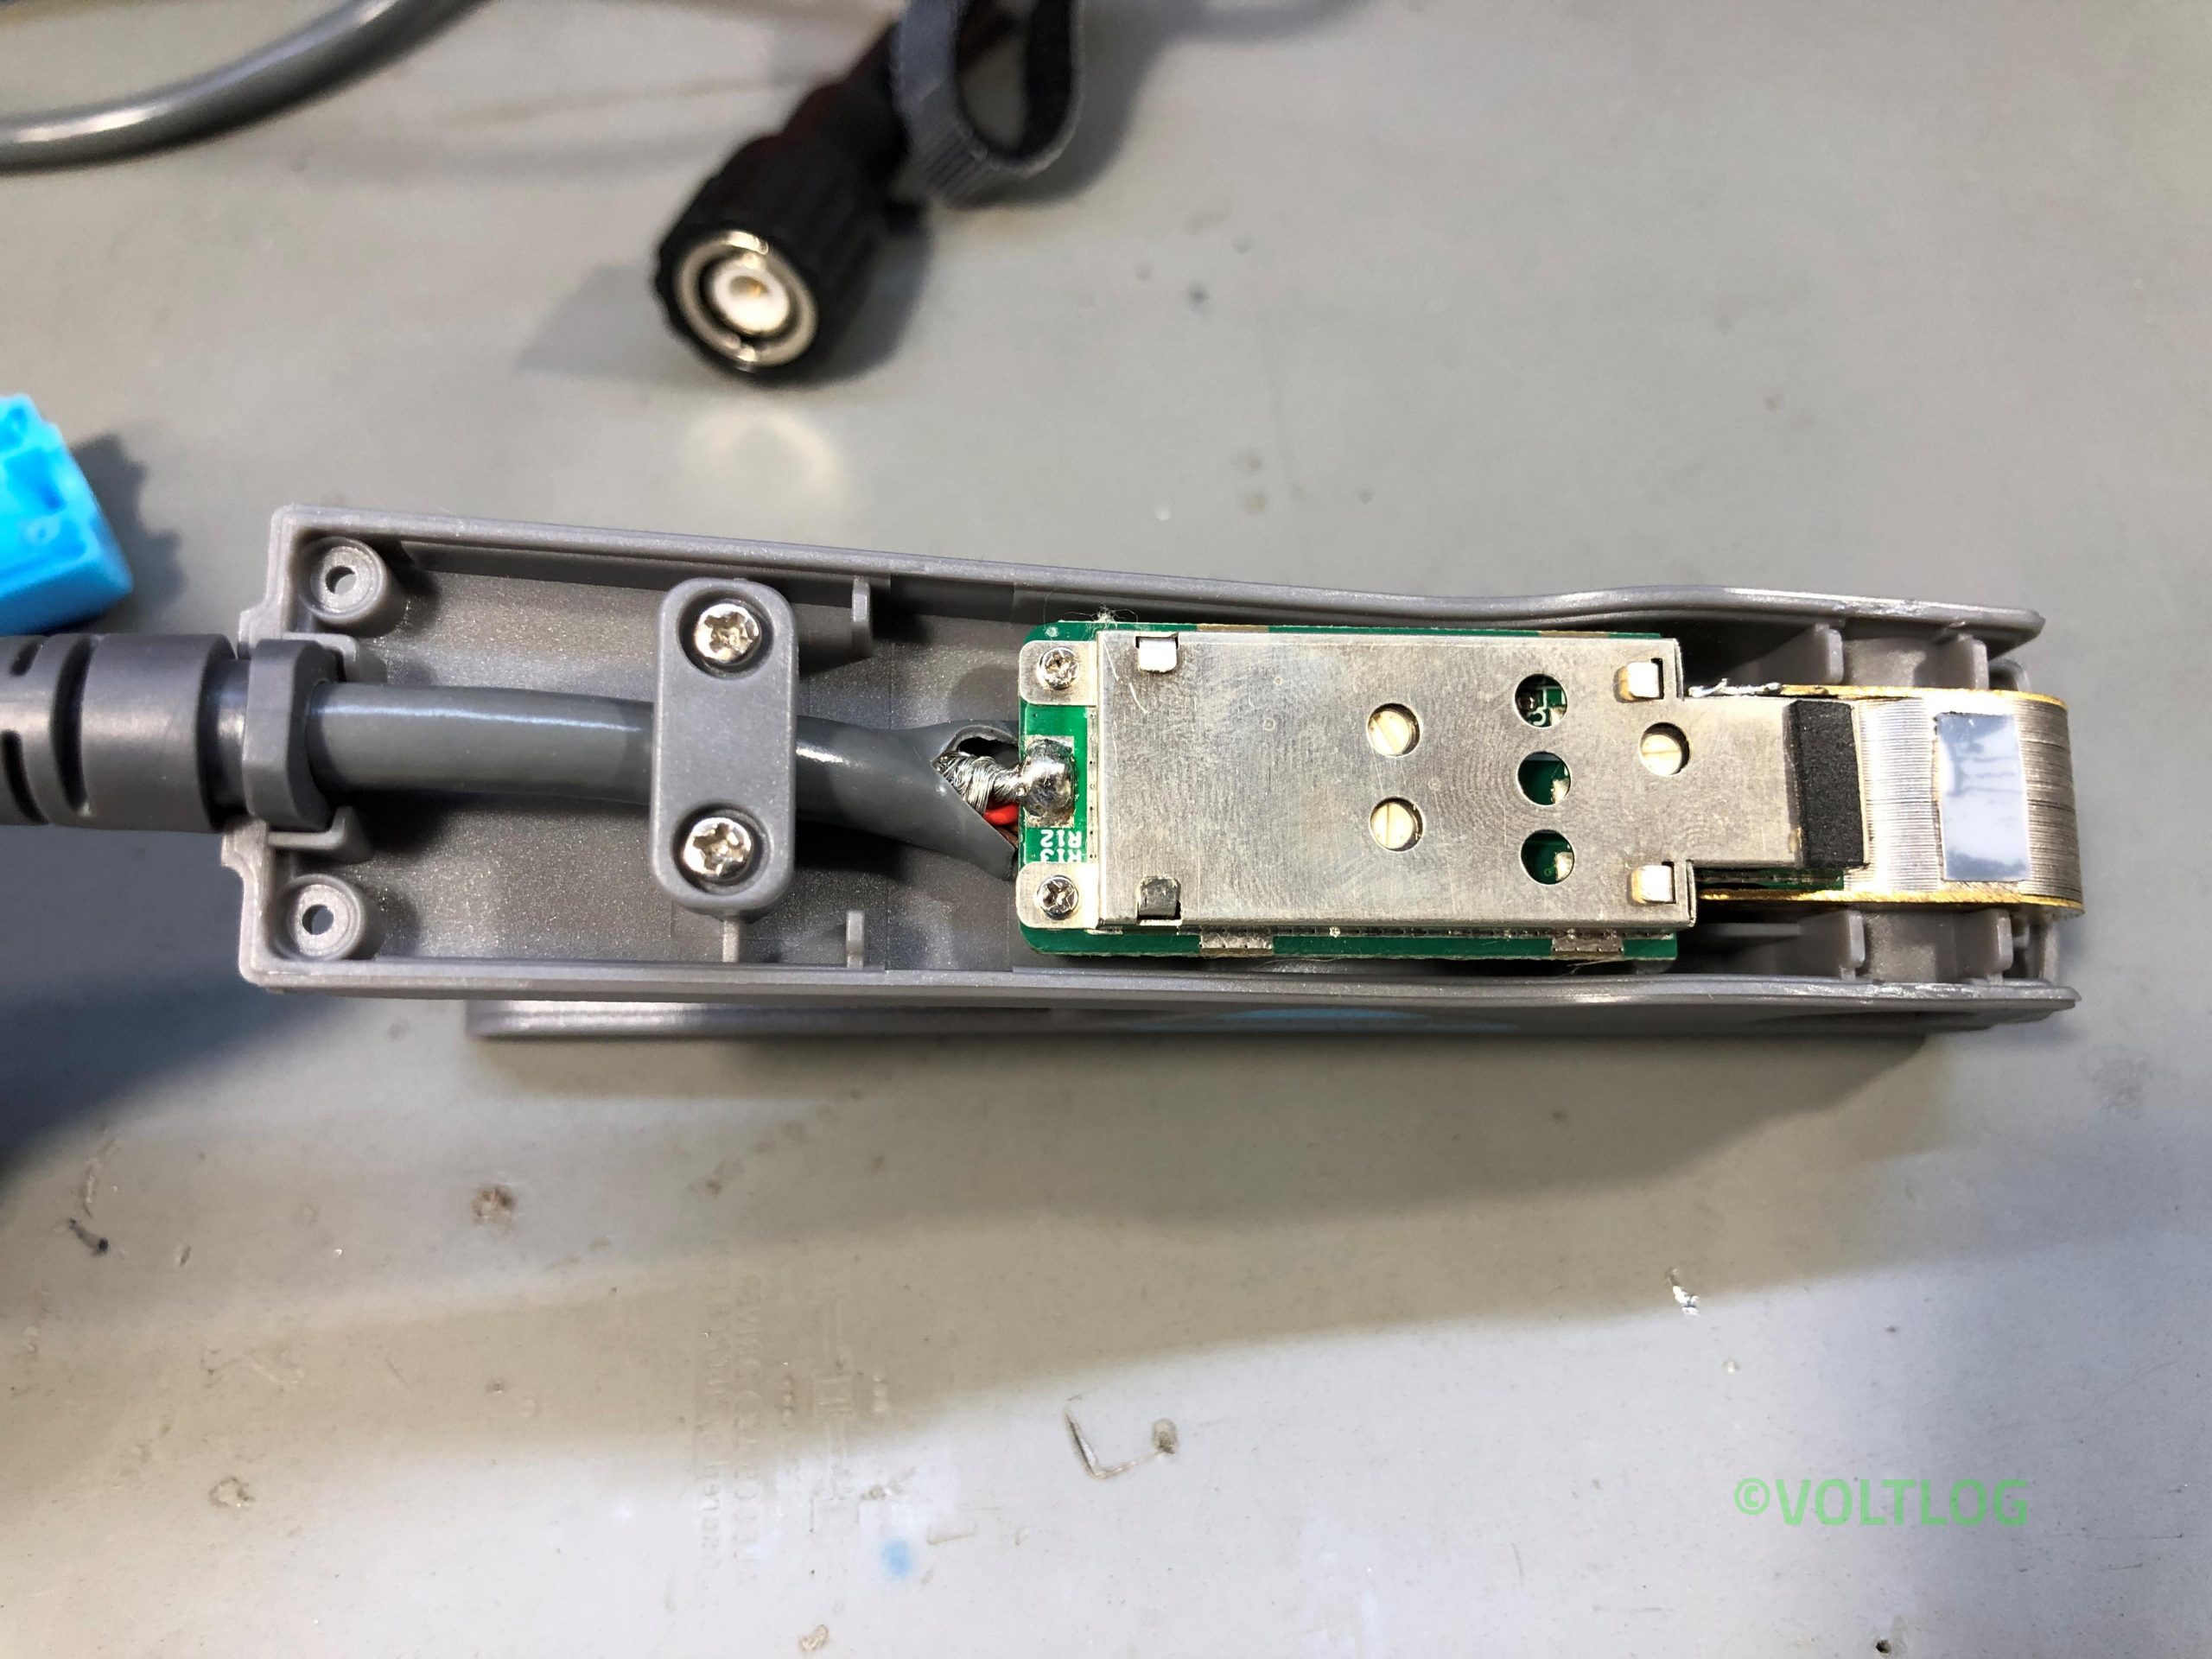
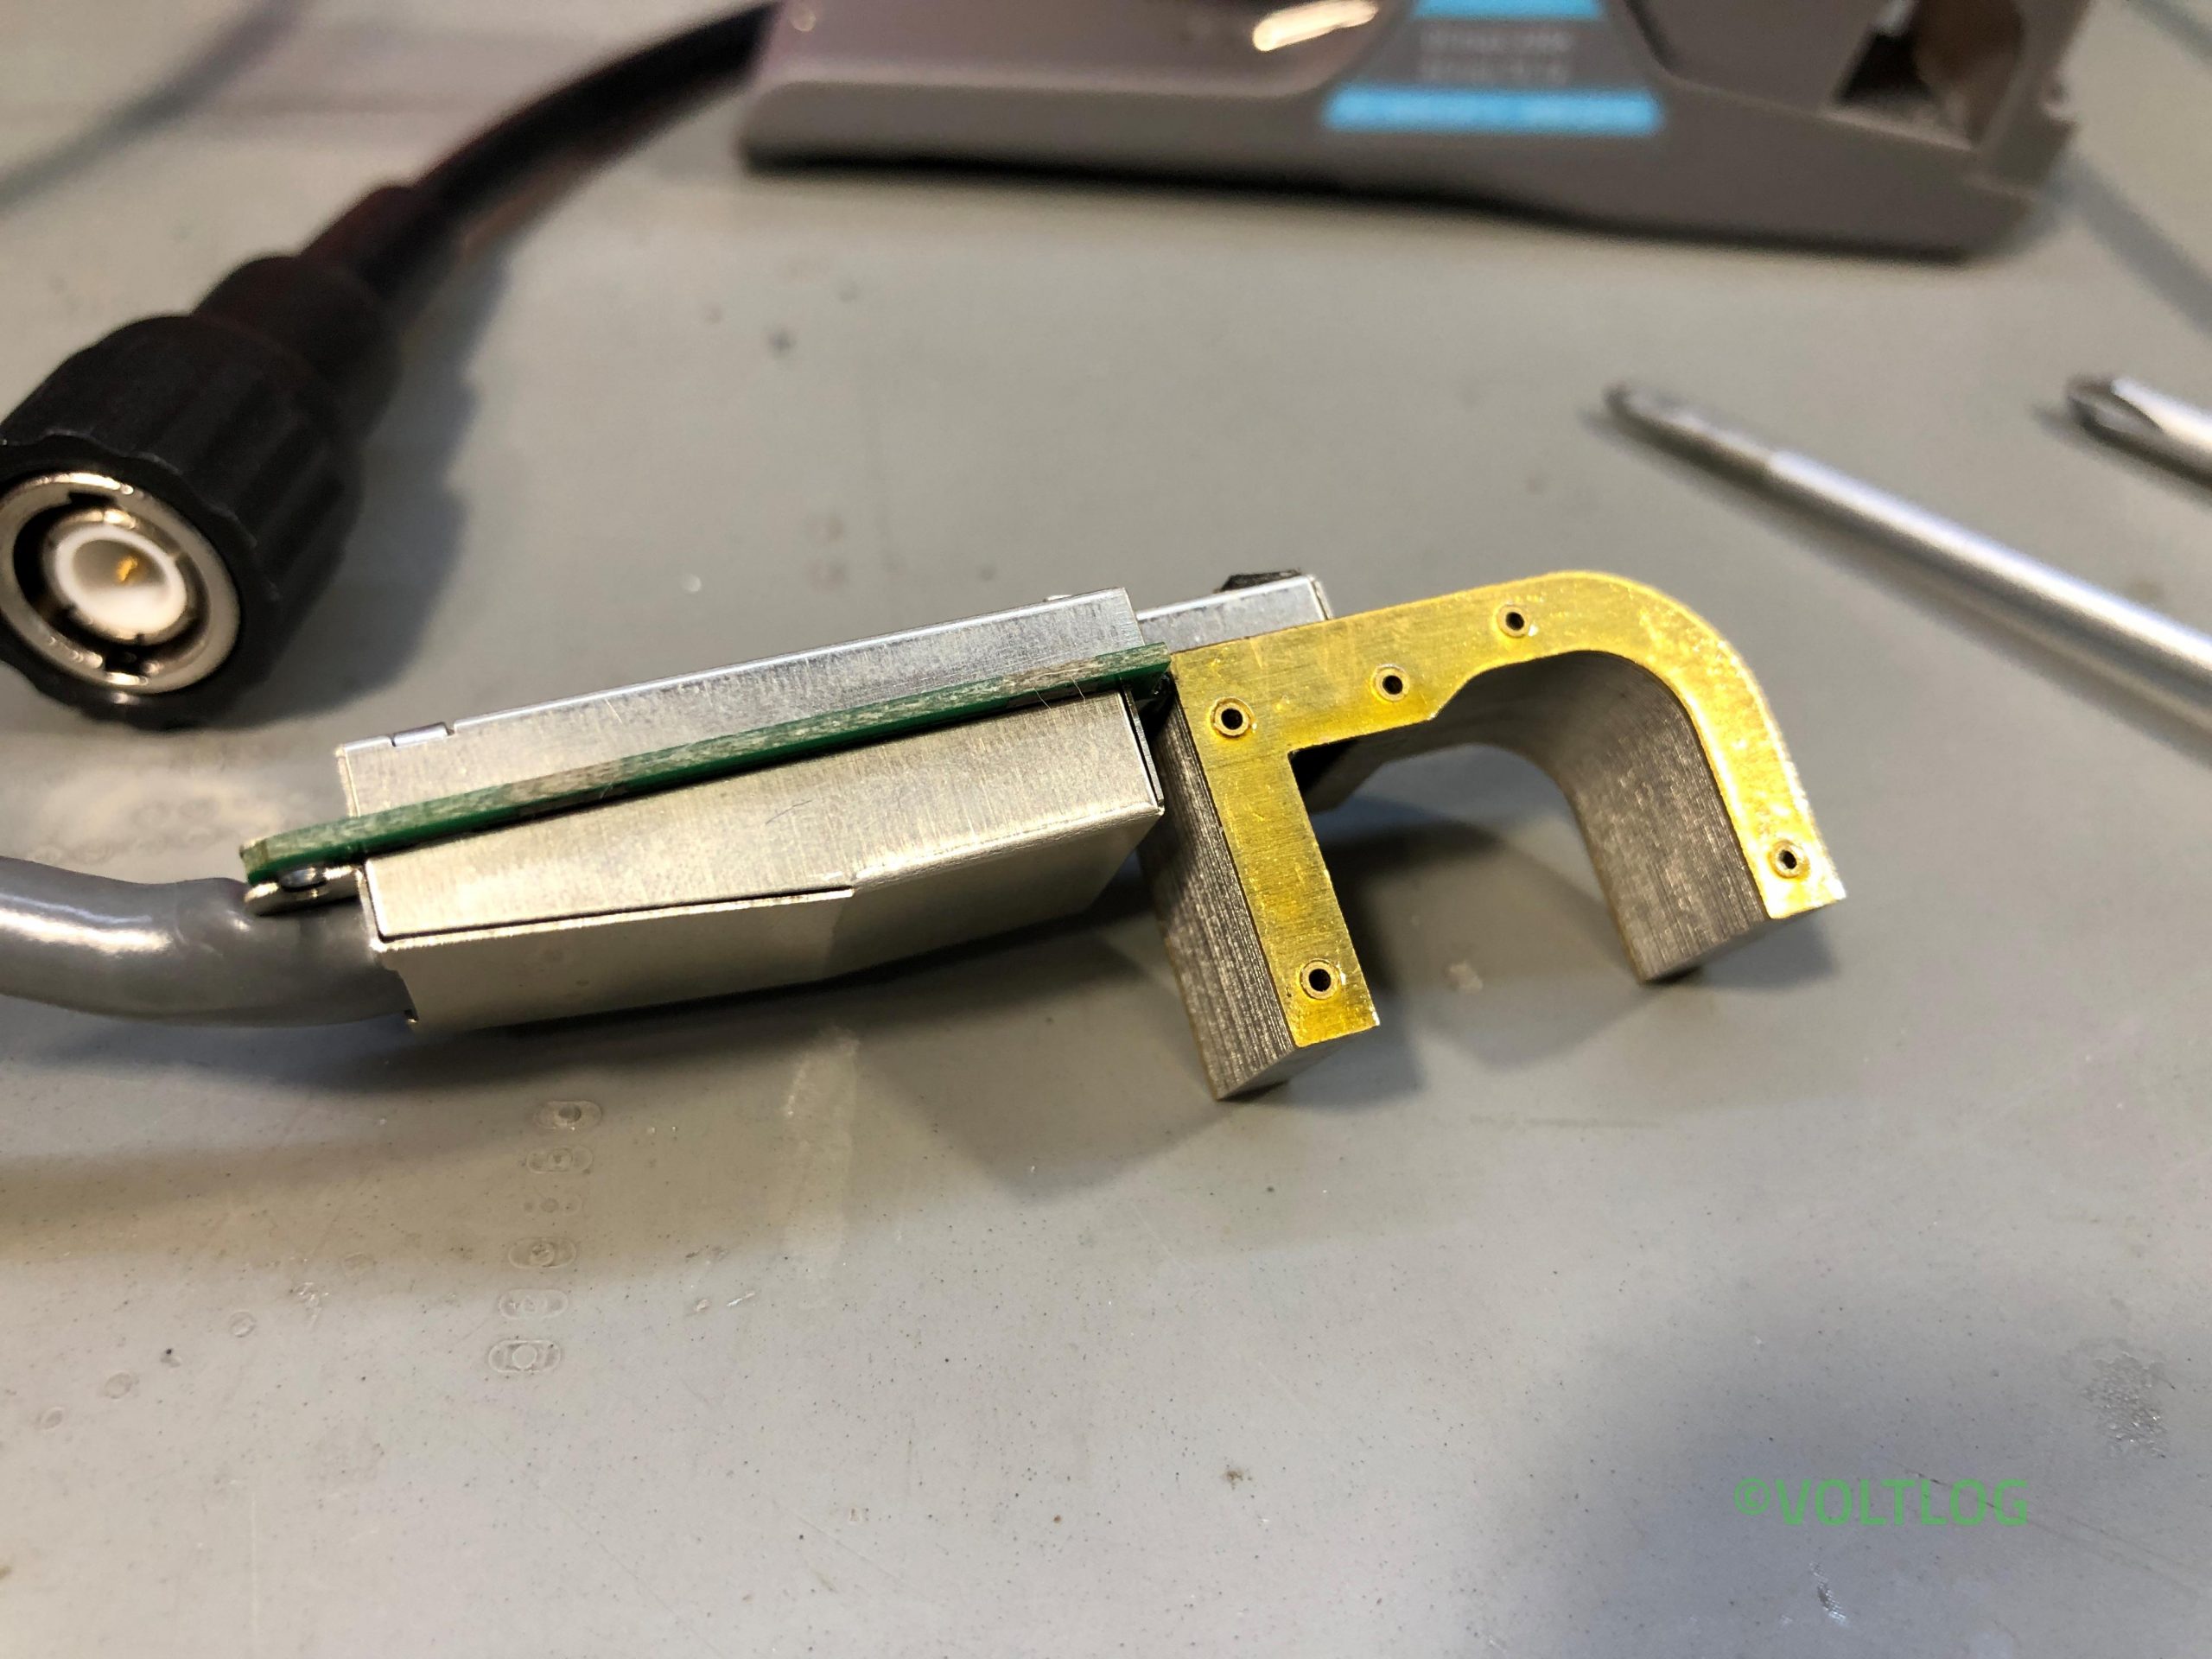
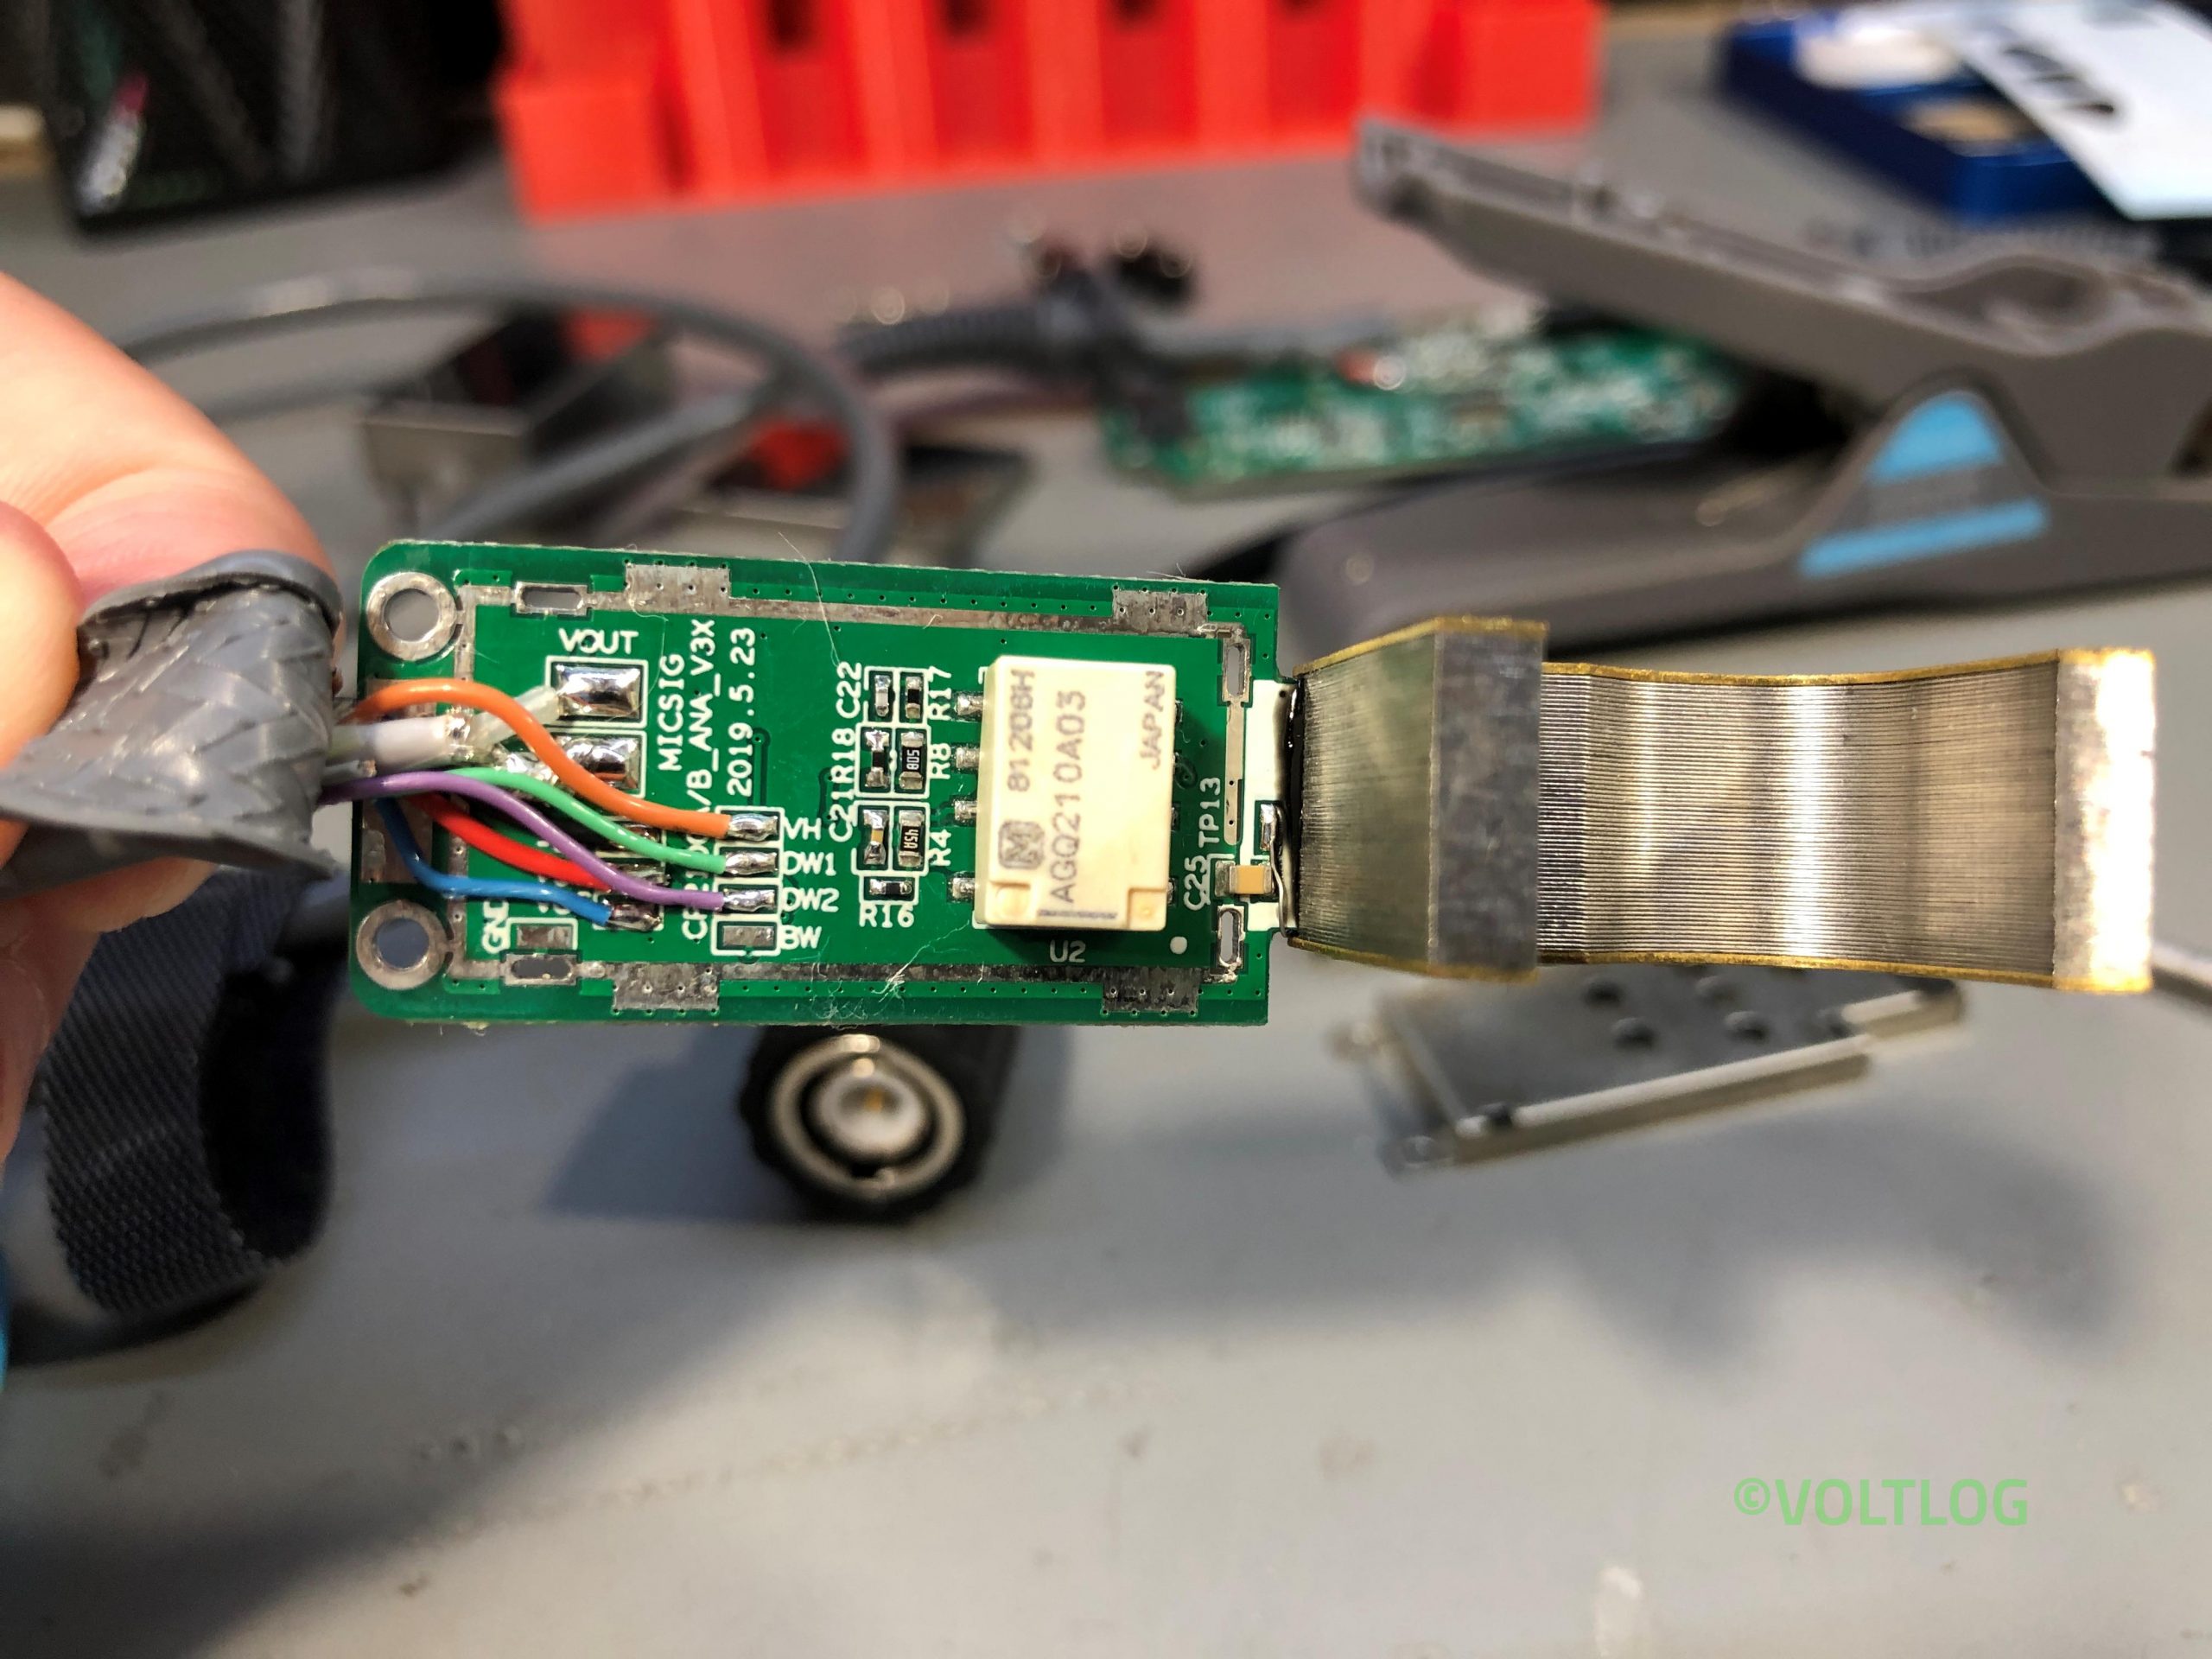
Micsig specs this as 3% ±50mA accuracy for the 10A range and 4% ±50mA for the 100A range but from what I’ve been reading on the forums, this is actually better than the spec, you can pretty much measure down to 50mA without having to worry about that ±50mA but we’ll put that to a test later. Included below you see a set of images from the teardown.