Hantek TO11 1832C LCR Meter Review & Teardown | Voltlog #303

I never really had any professional LCR meter in my lab so far, I’ve only done measurements using this transistor tester which also features a rudimentary LCR function but that’s about to change because today we’ll be taking a close look at the Hantek TO11 handheld LCR meter.

There are two models for this LCR meter TO11 and TO22 and as far as I can tell the only advantages the more expensive TO22 model has are the extended test frequency range up to 100KHz and a second option for test voltage at 0.3V.

Next let’s mention the naming confusion, there is something going on with the naming of this instrument and I can’t quite figure it out. On hantek’s website you can find this LCR meter listed as model number 1832C and 1833C while I suspect all newer units are marked TO11 and TO22 respectively. I’ve emailed Hantek and asked them to clarify this and confirm whether or not there are any differences and why the two names and they replied saying the two are basically the same, the TO11 being an ODM version.

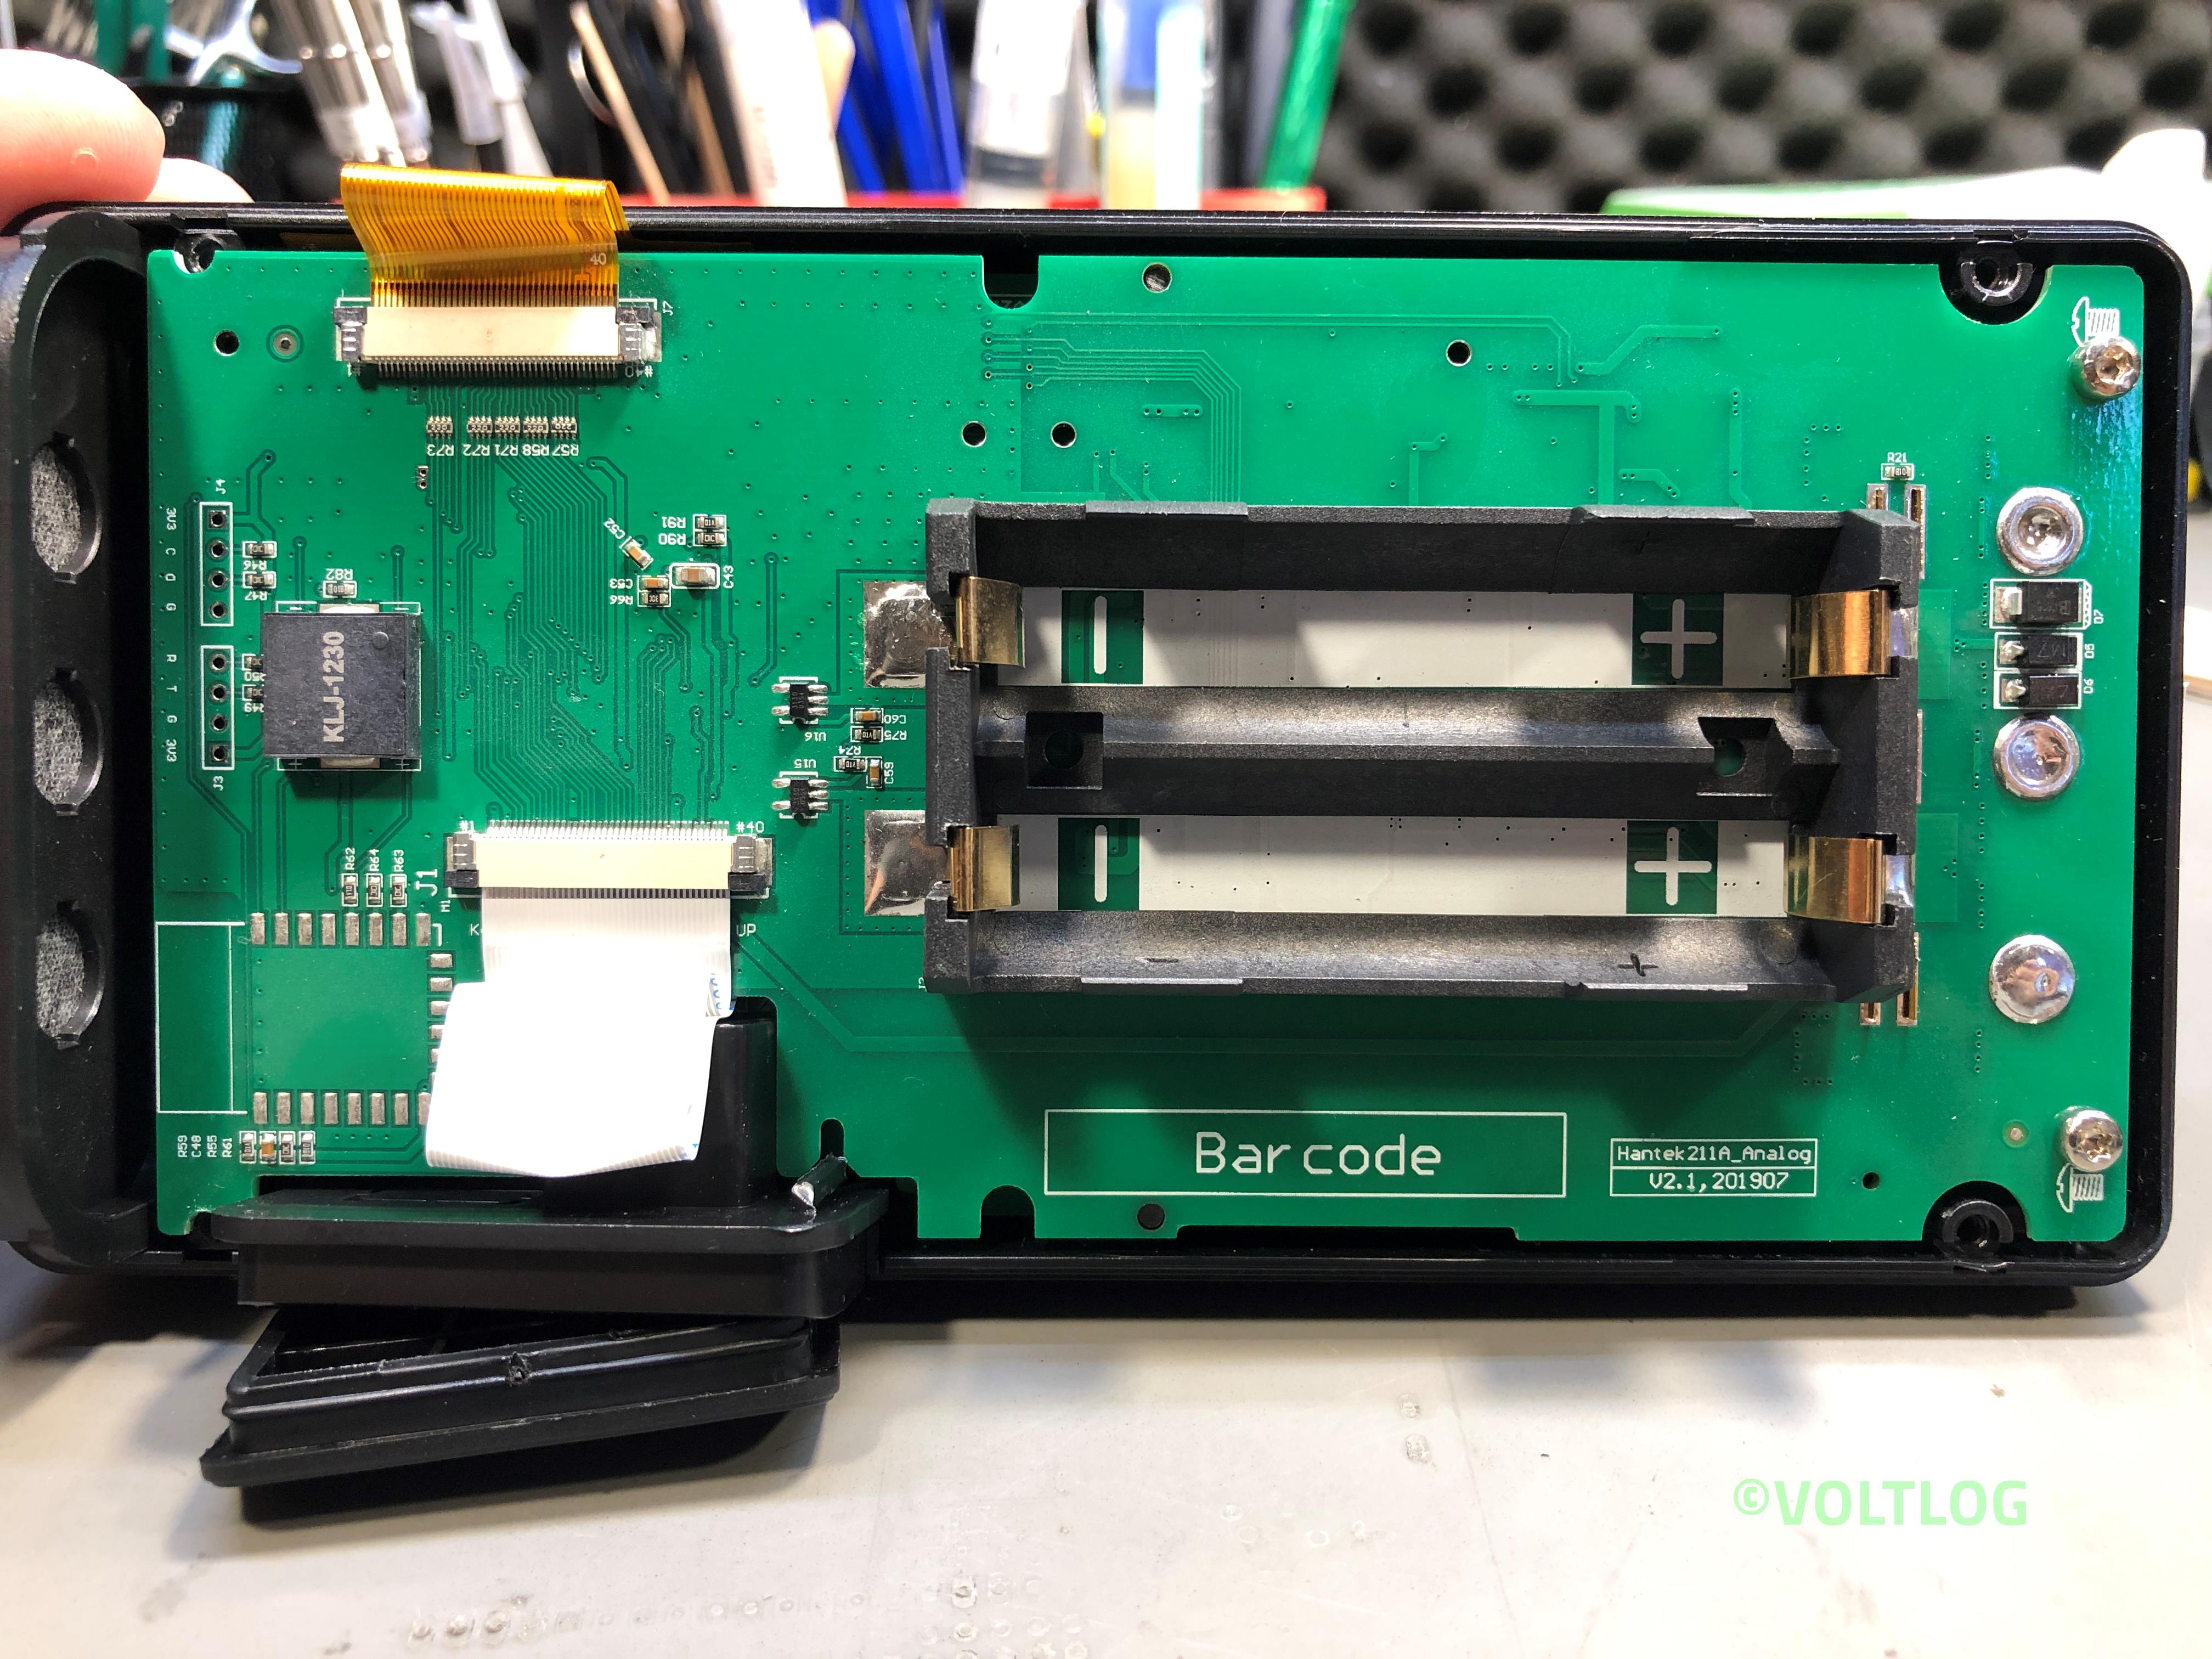
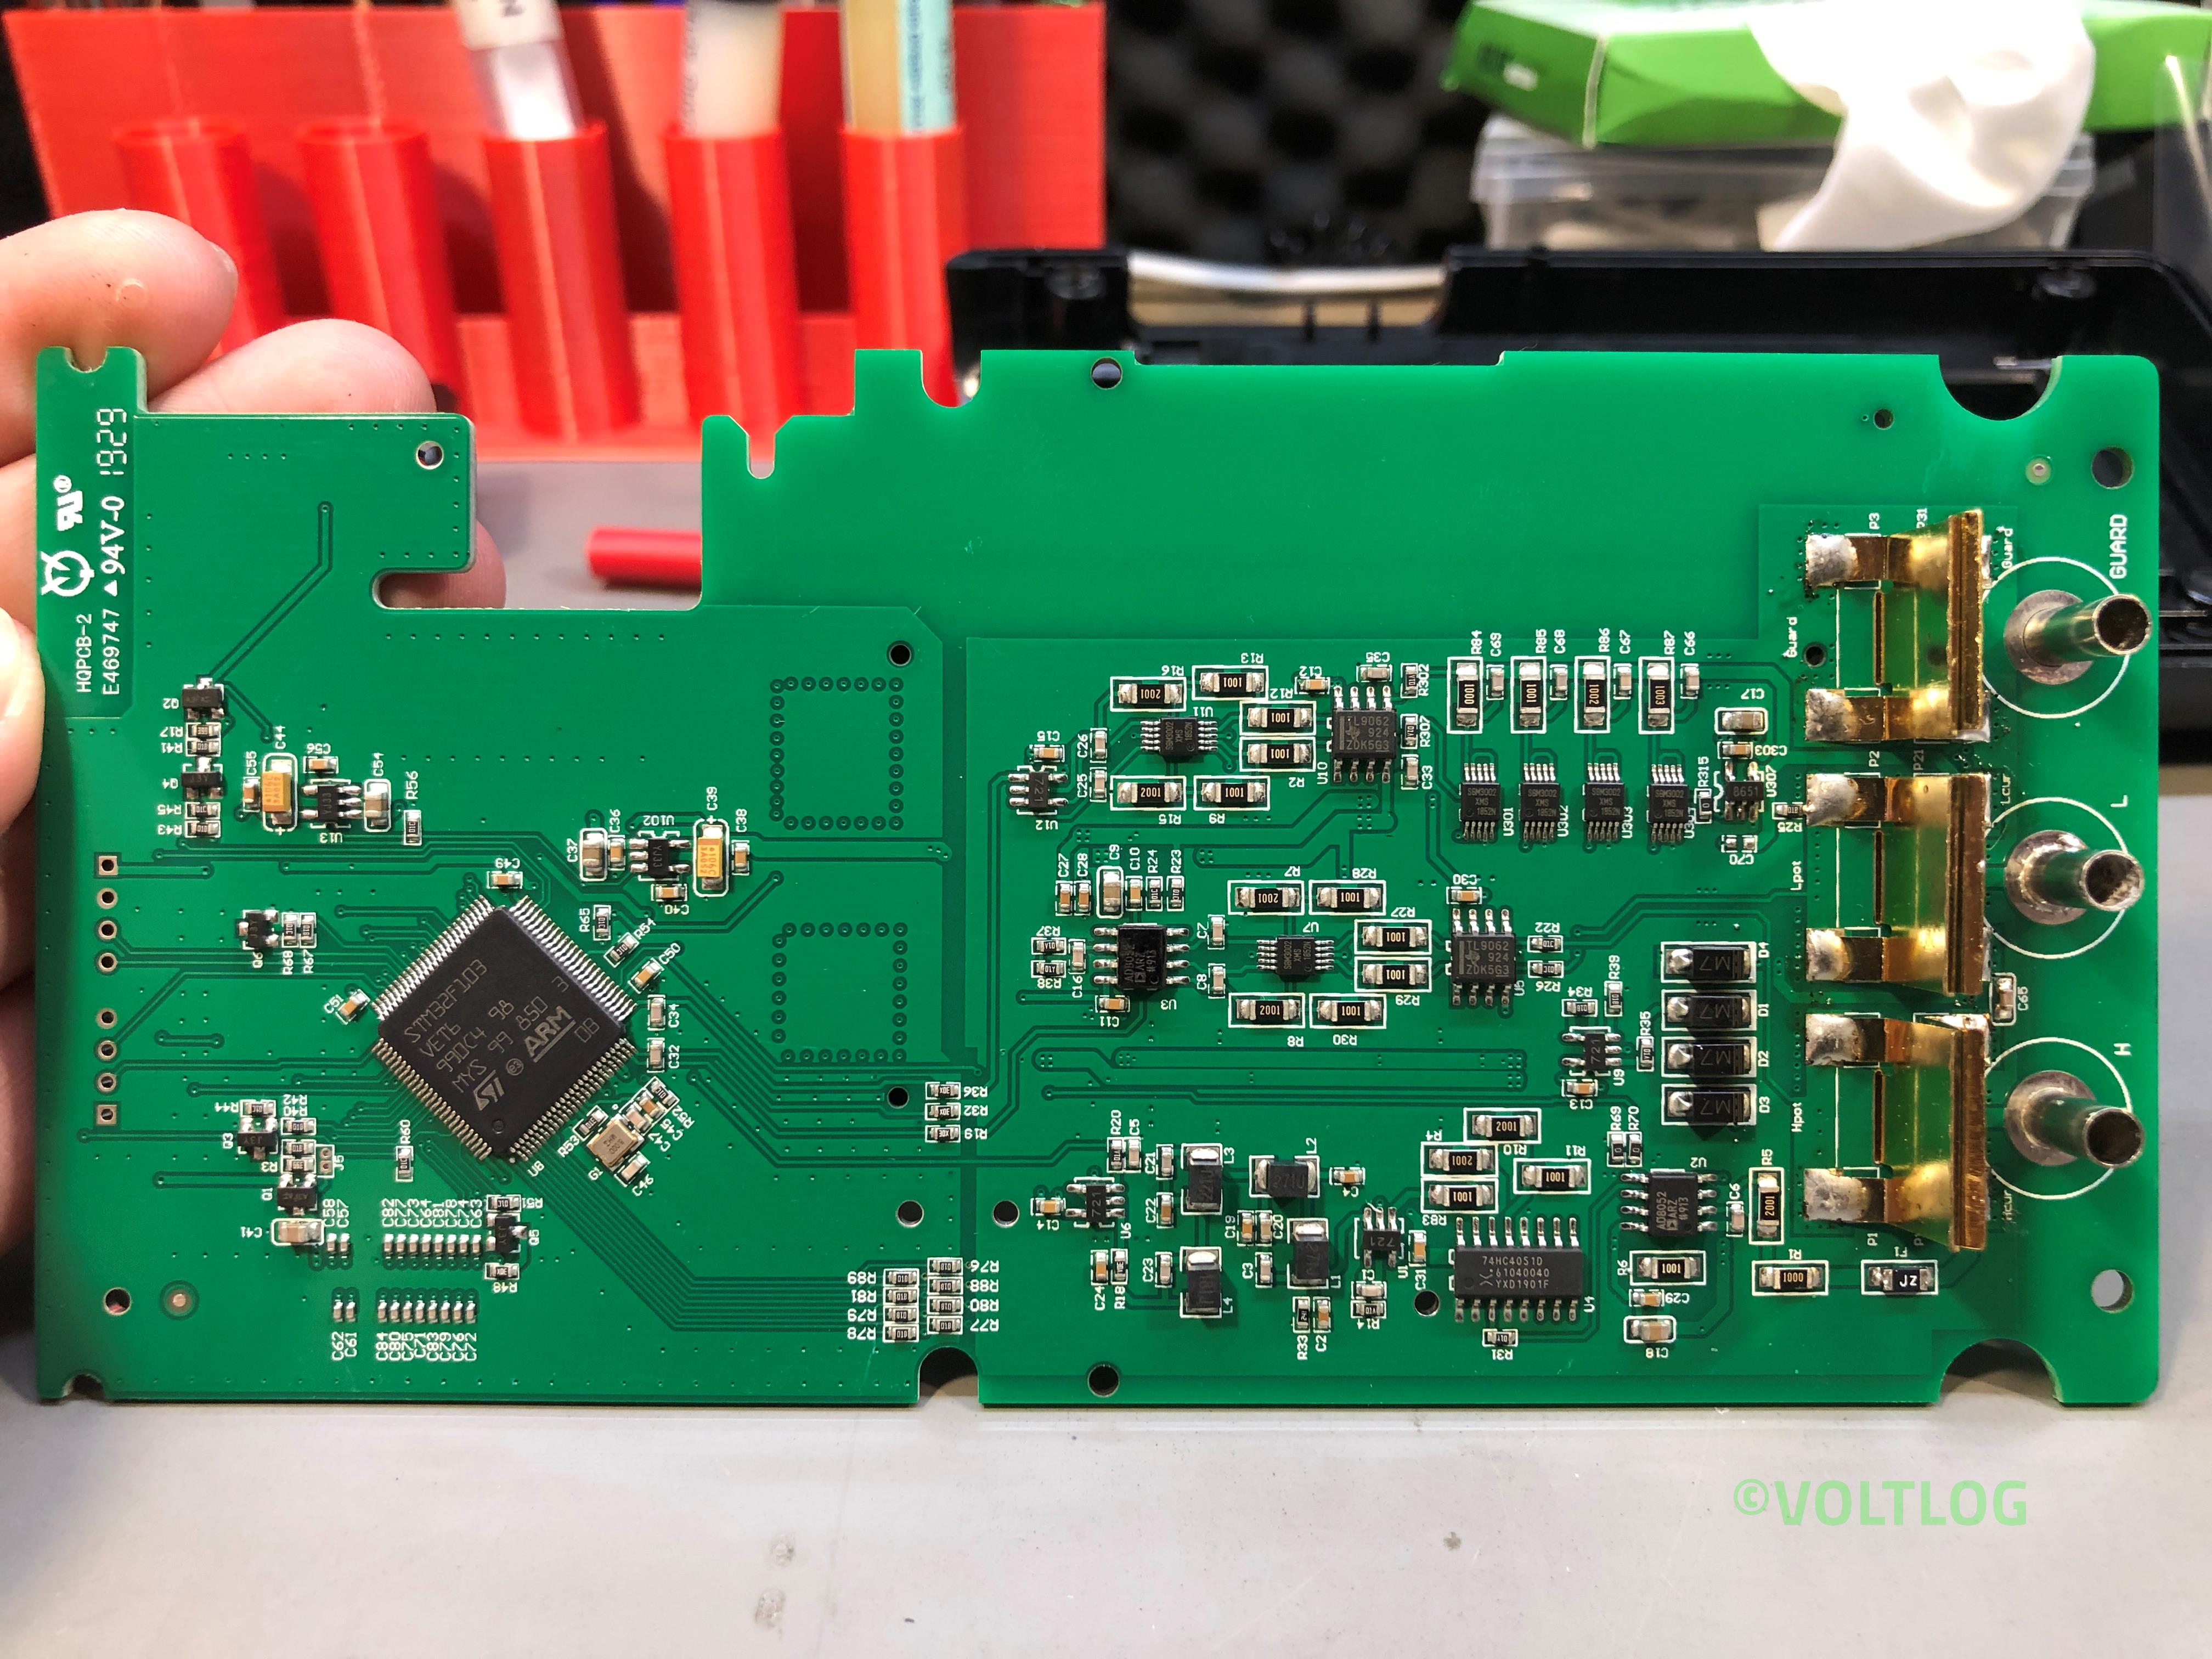
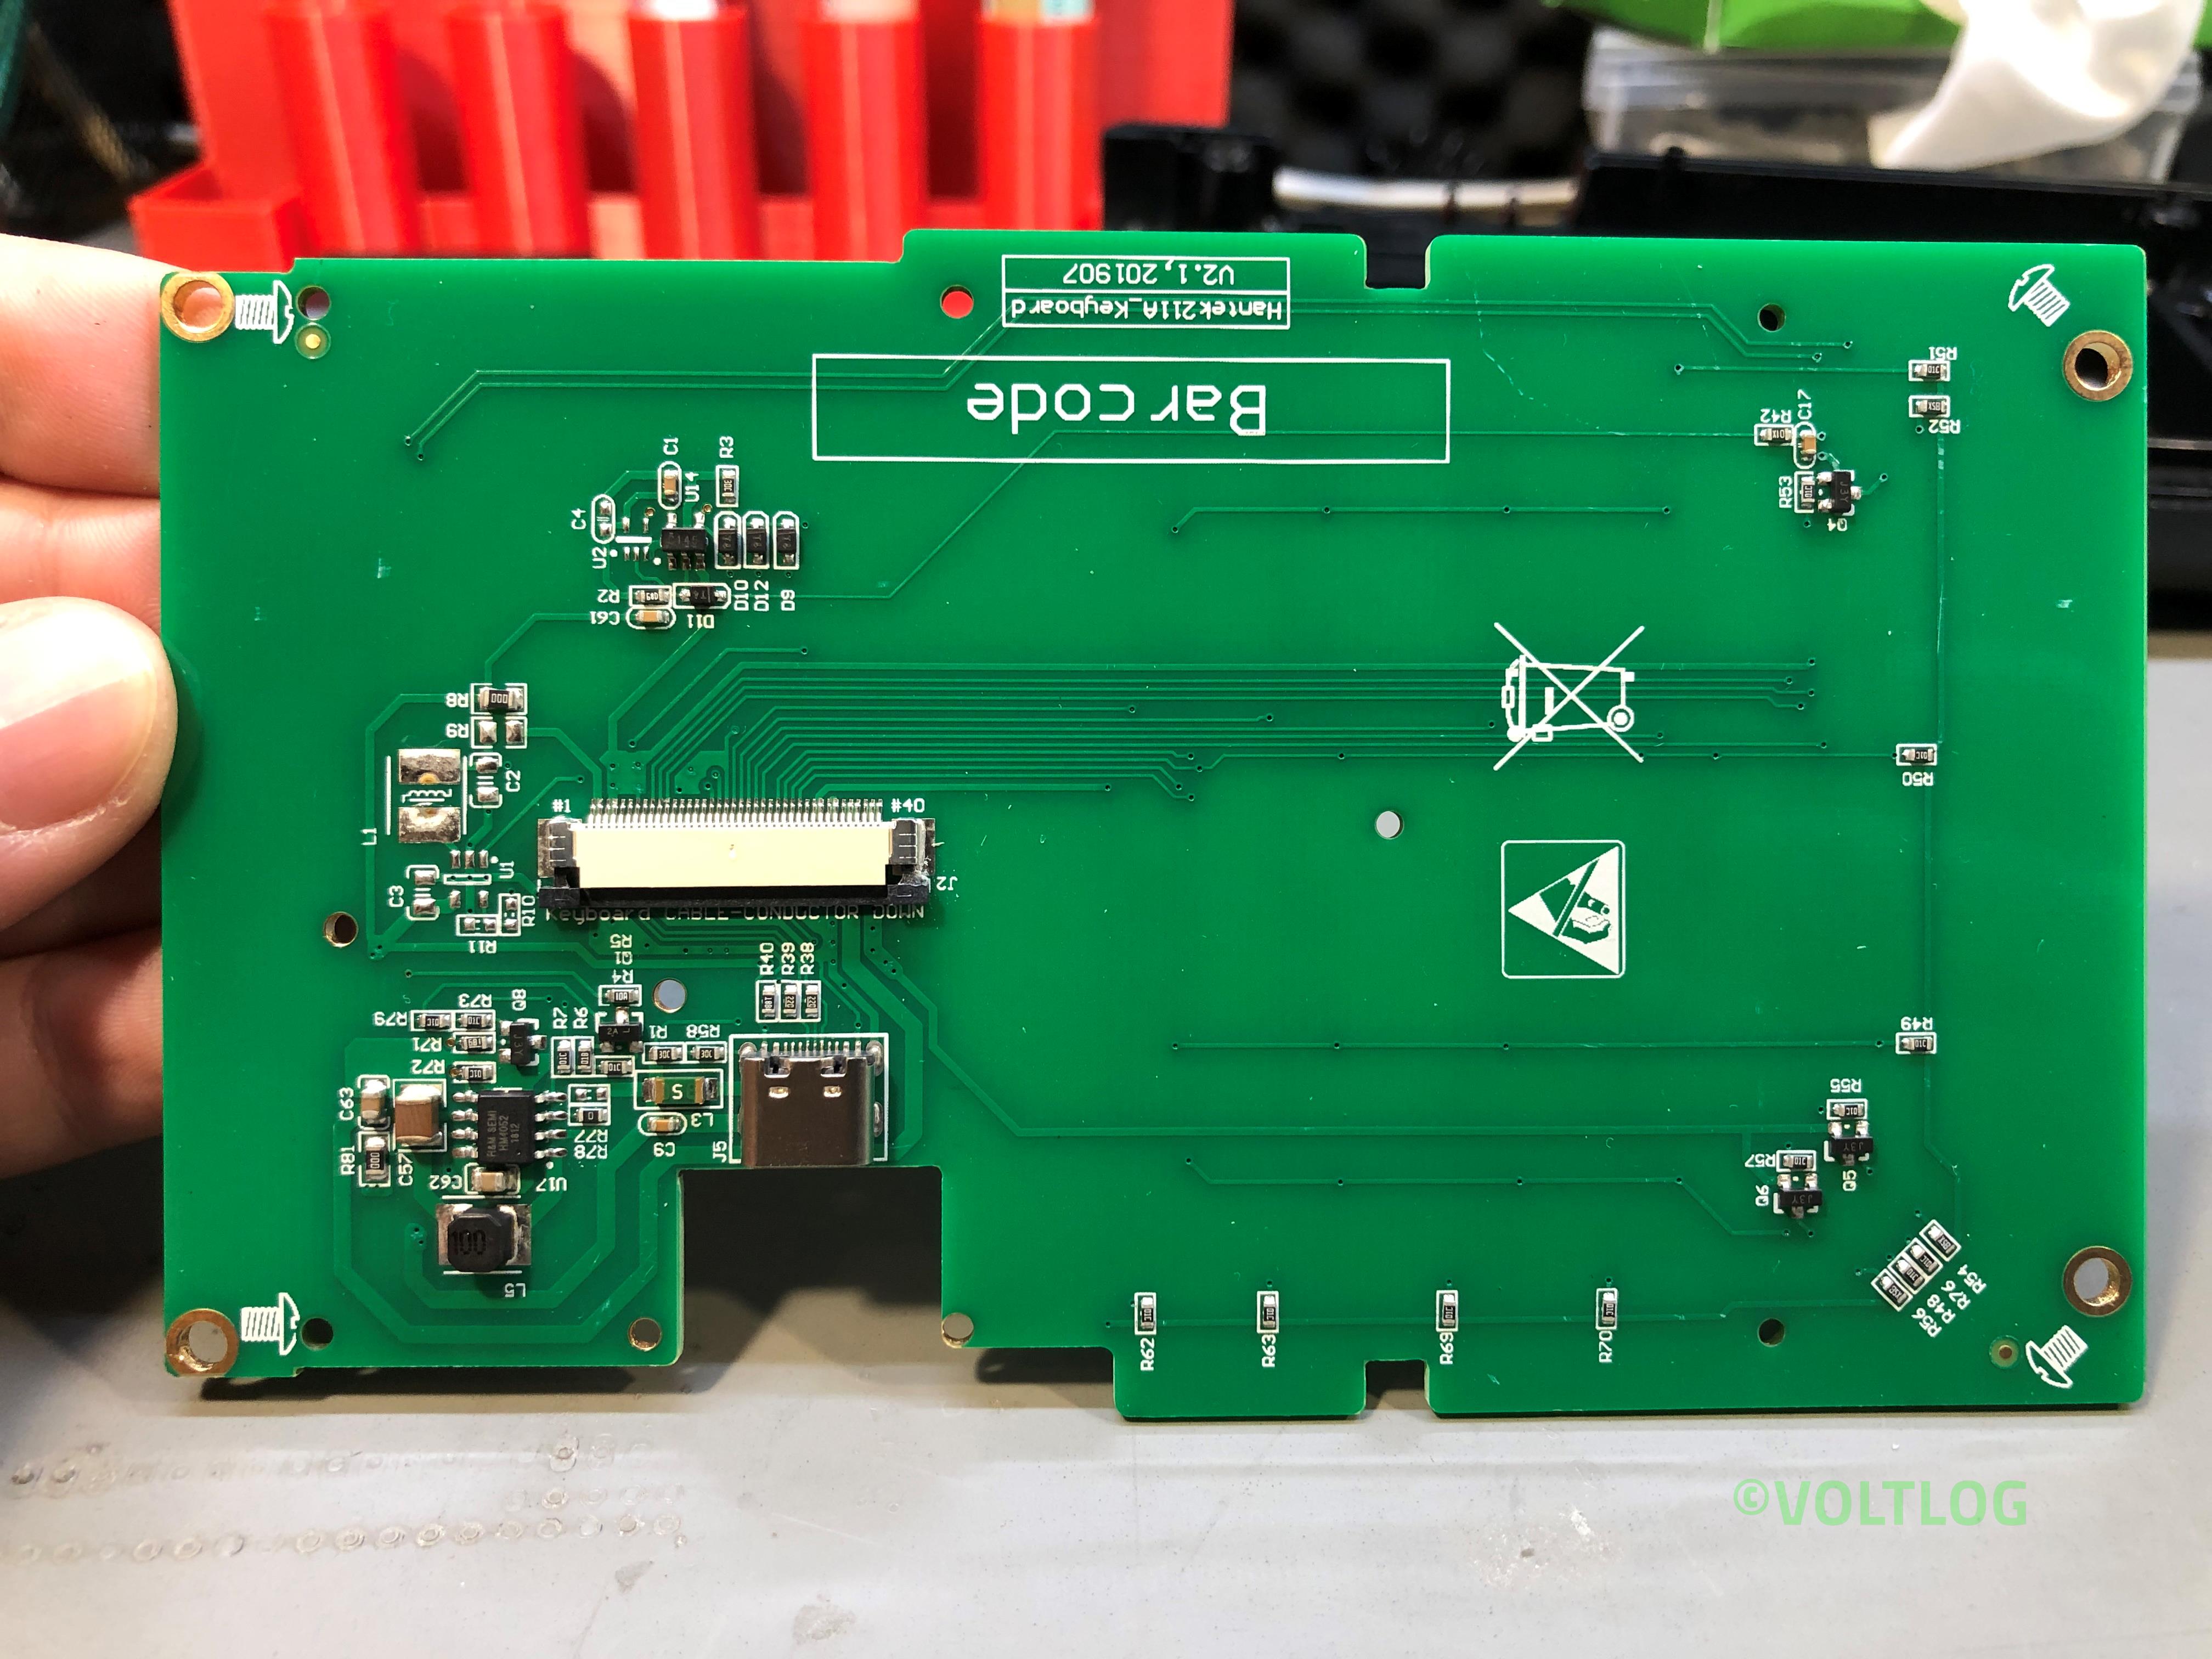
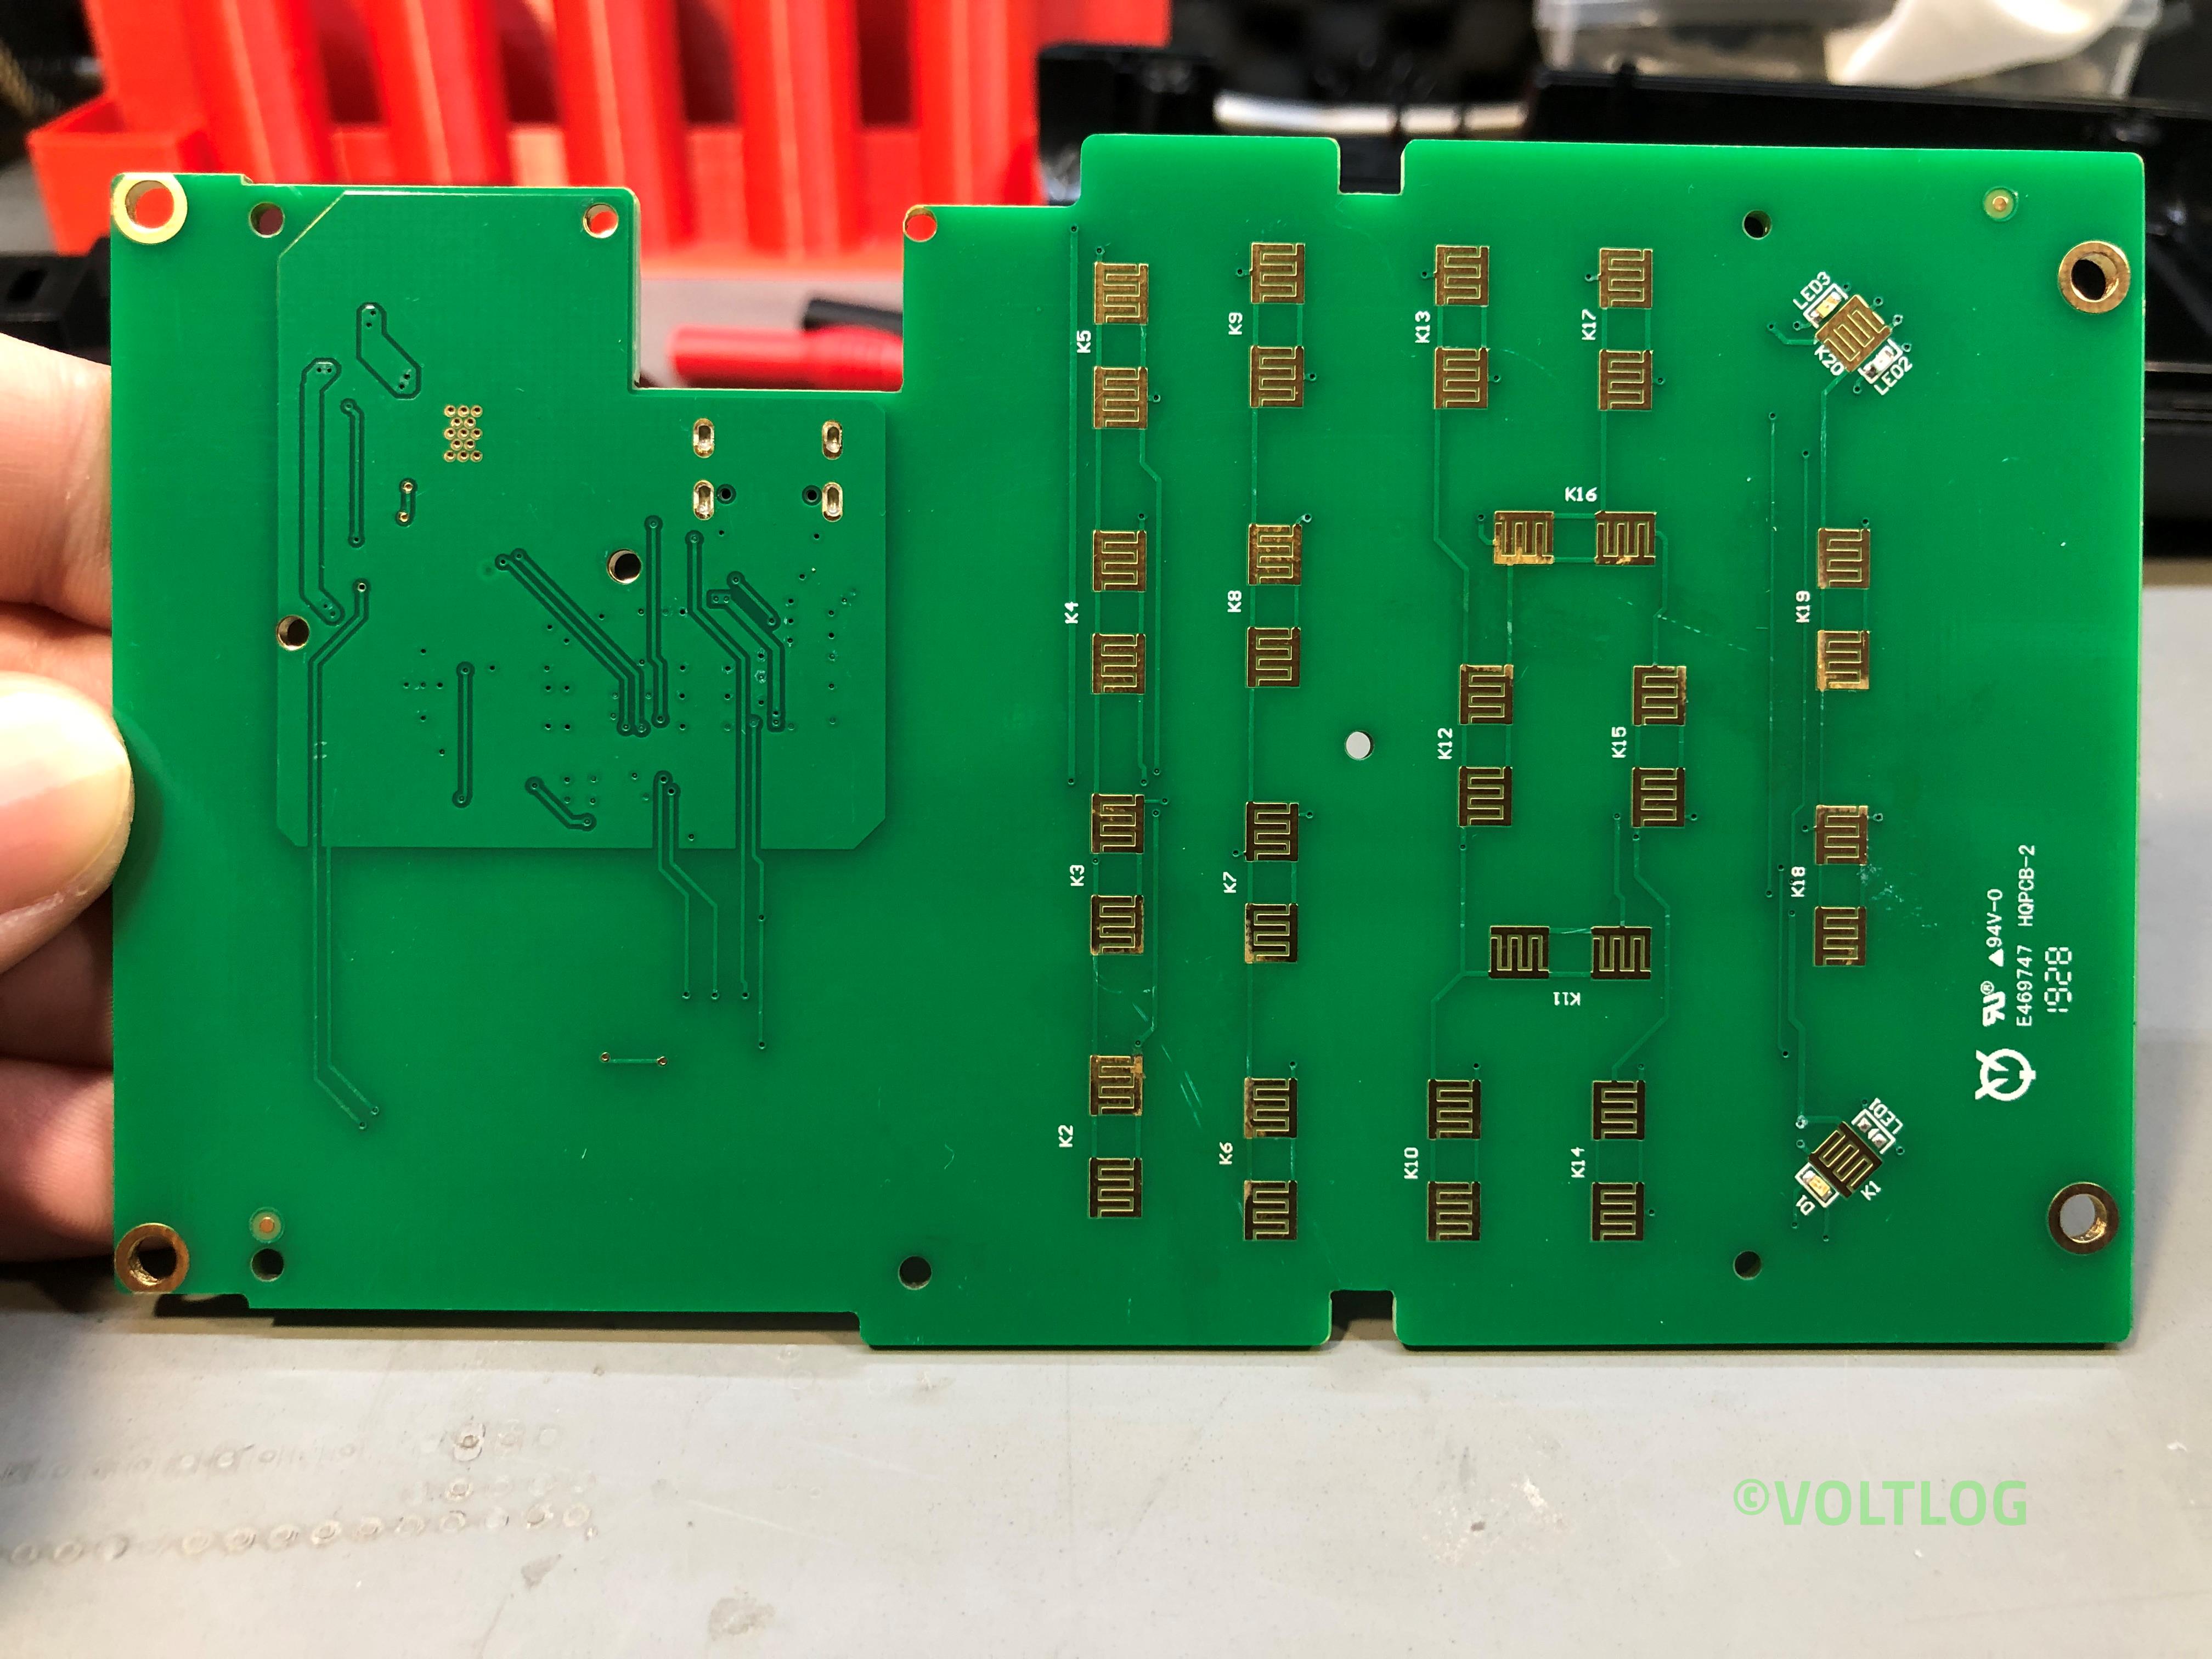
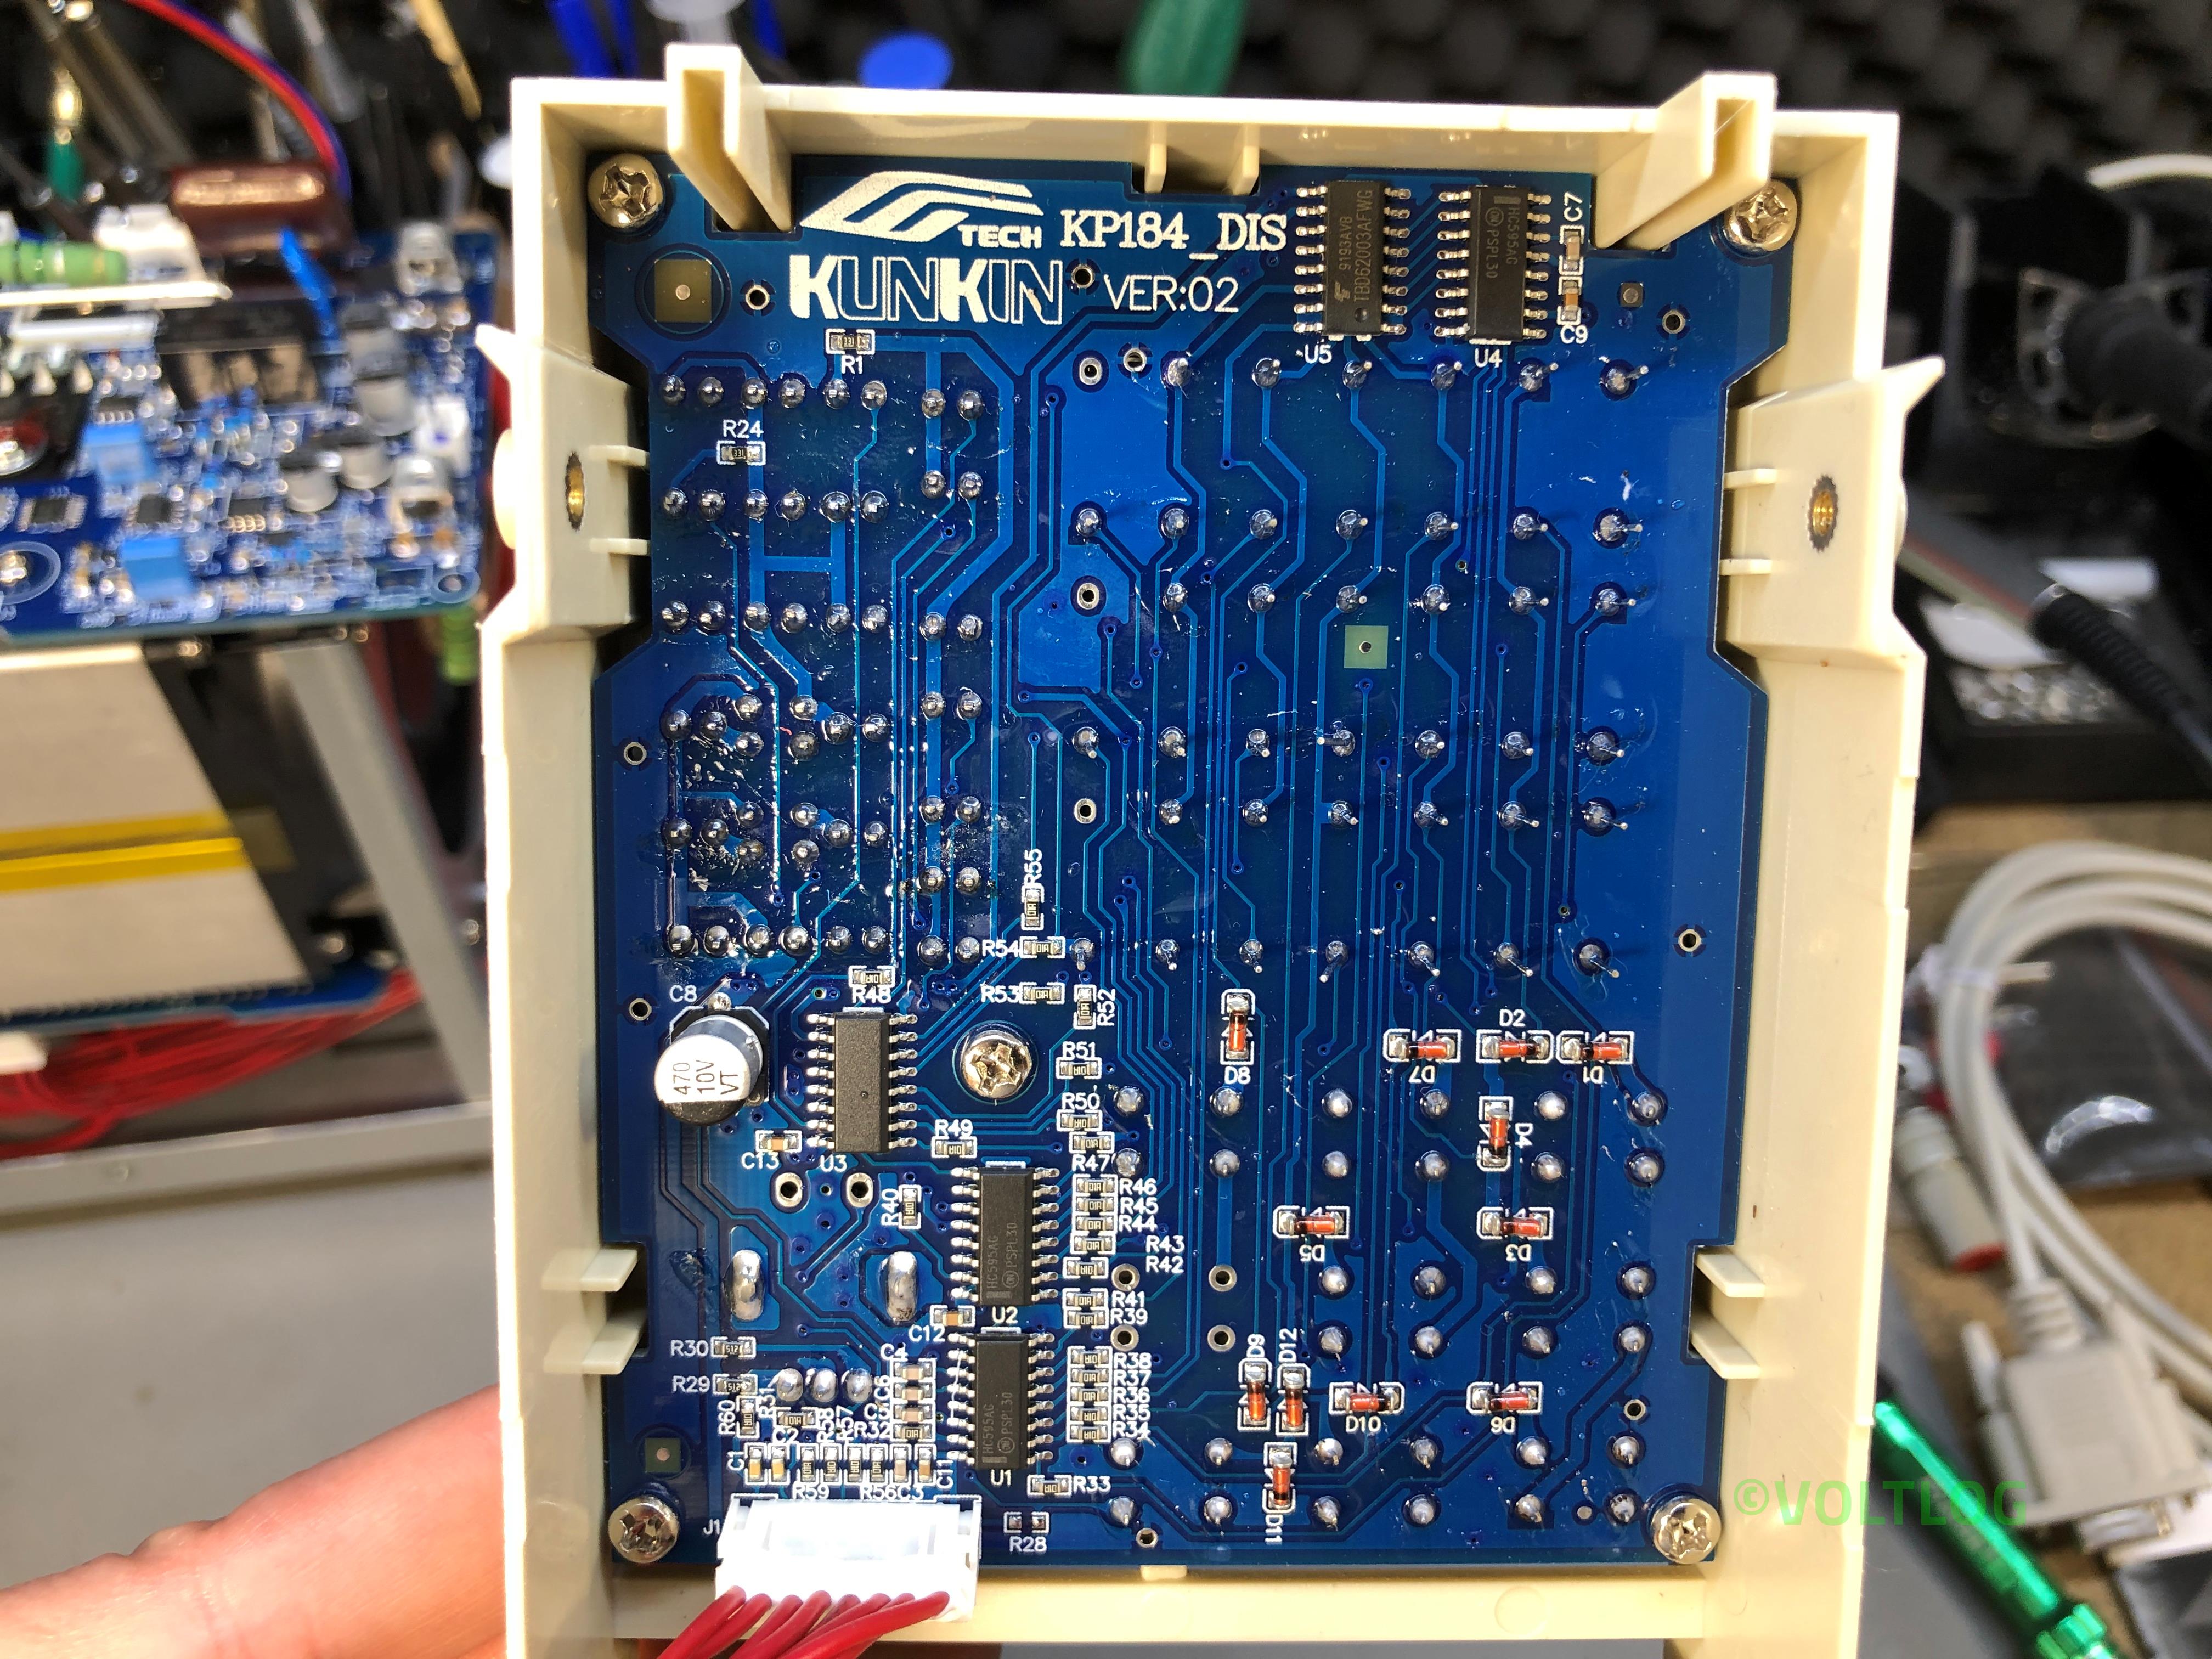
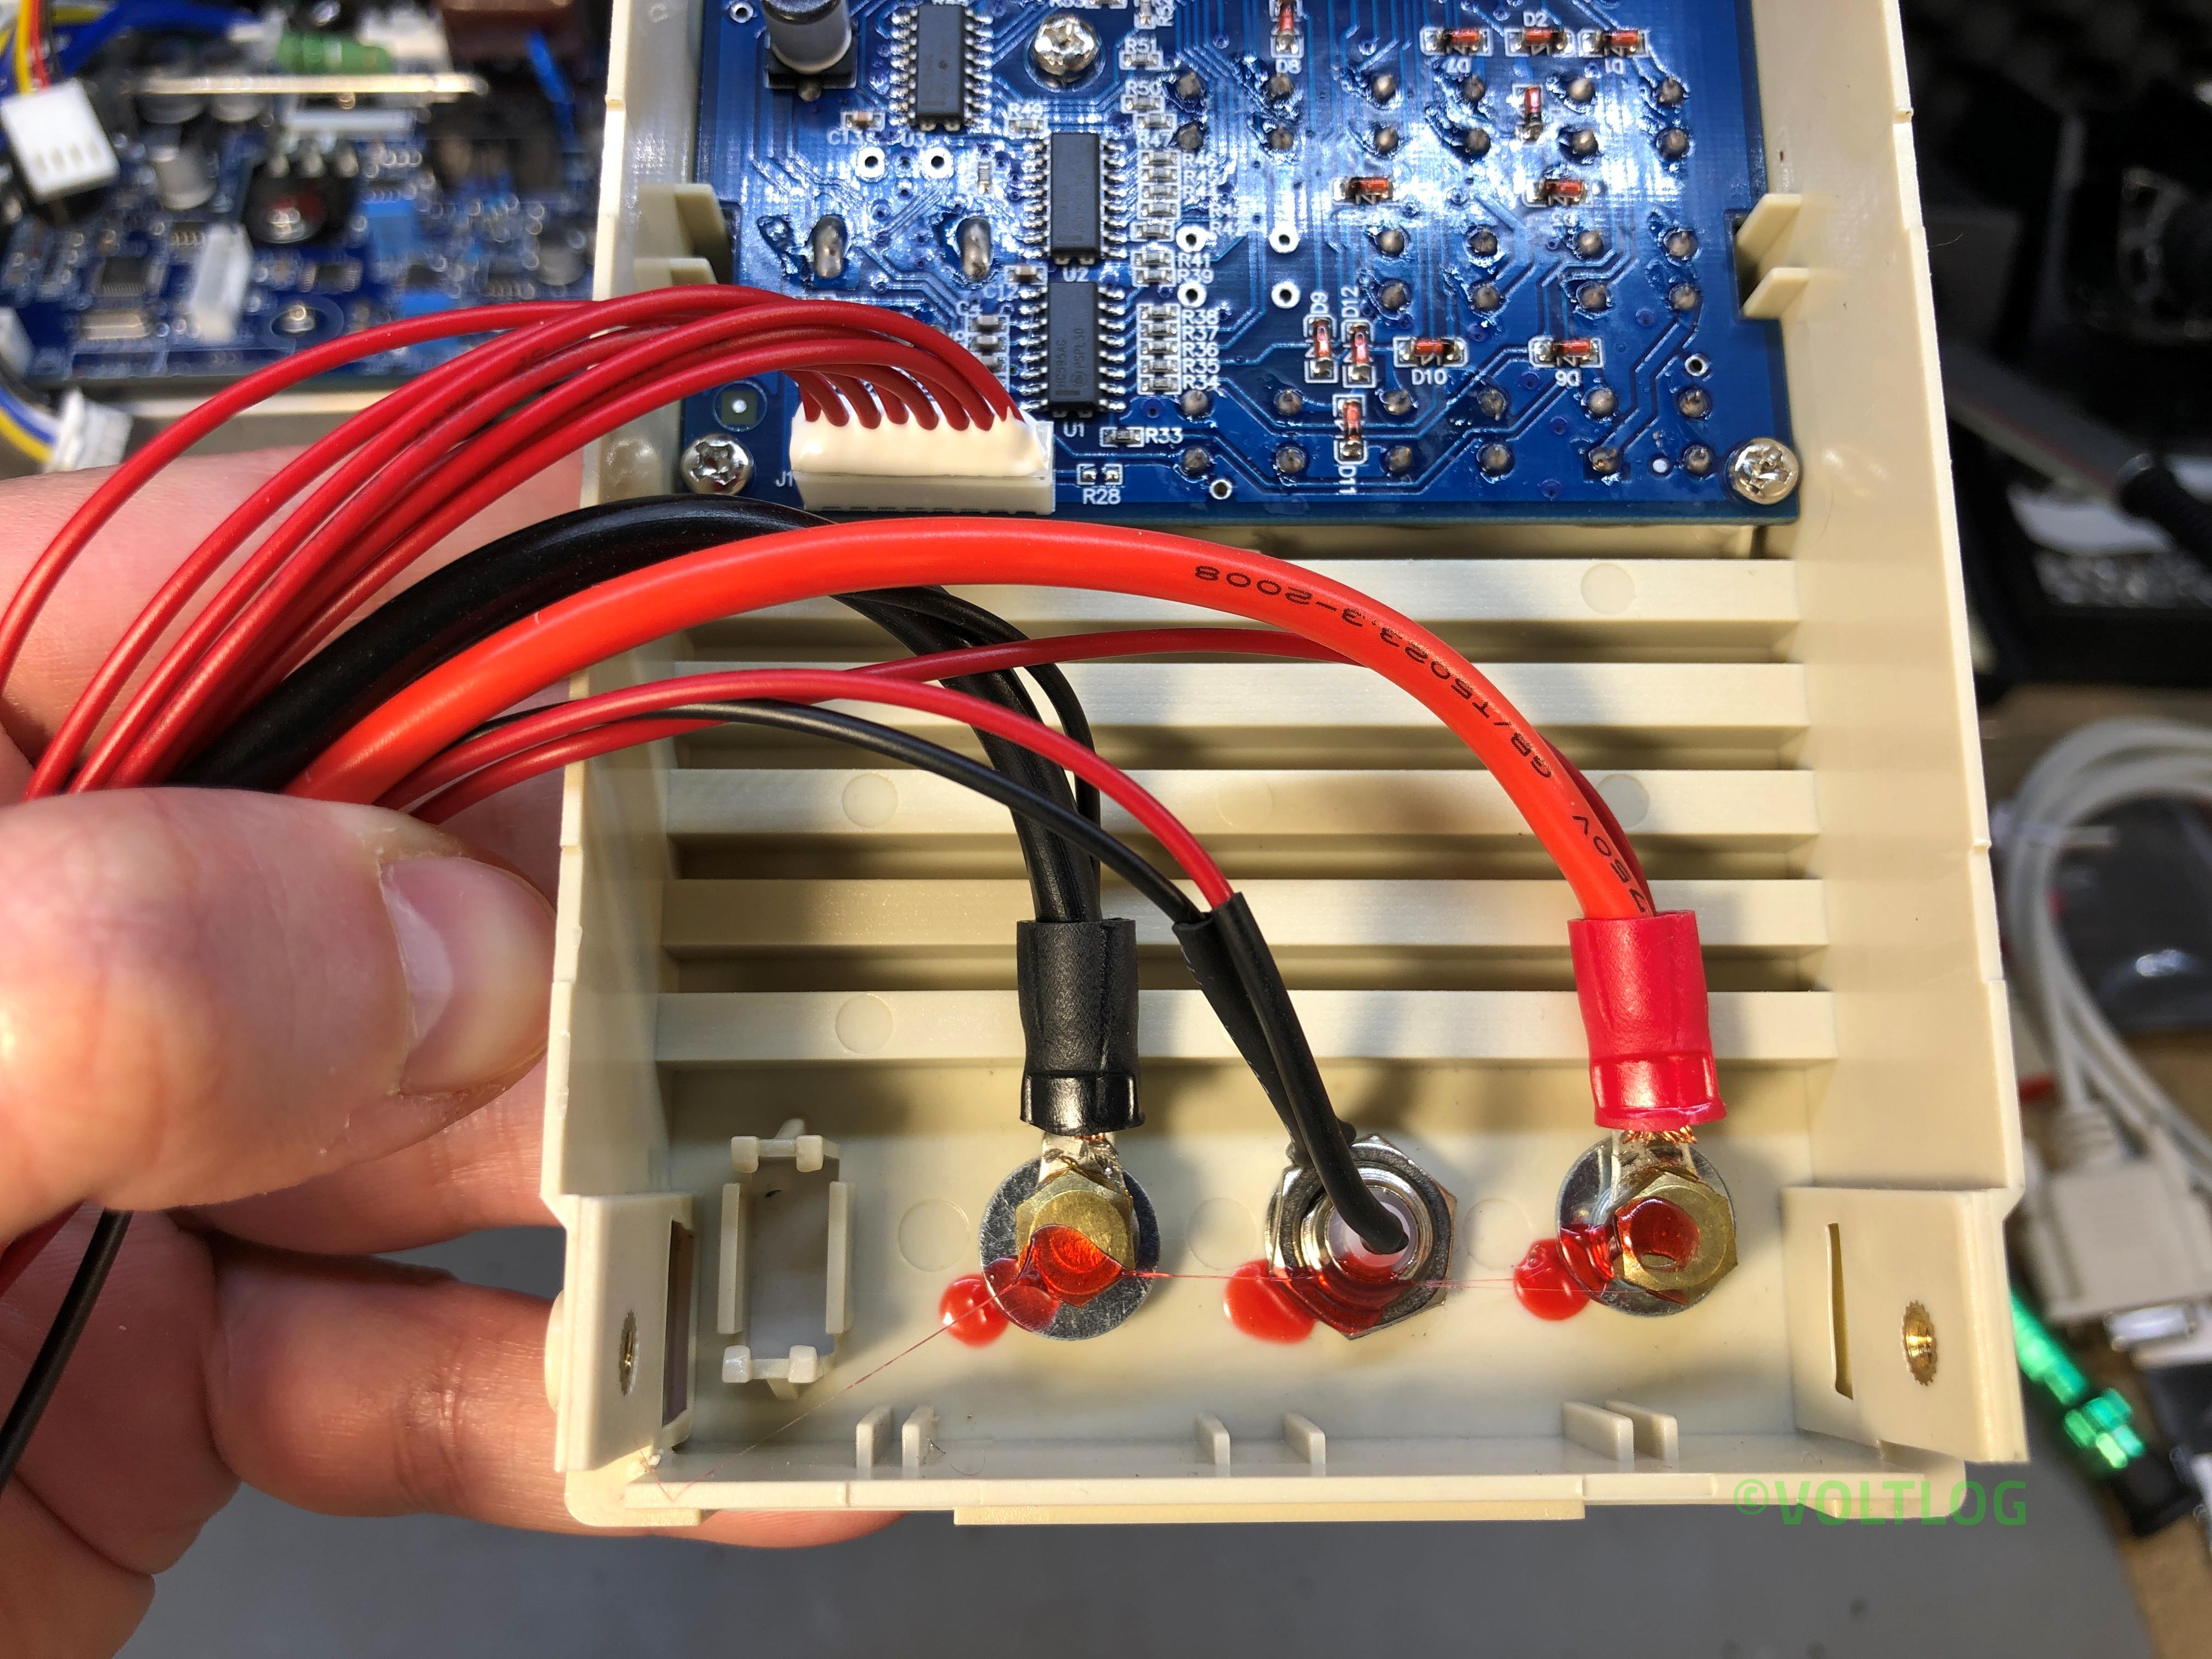
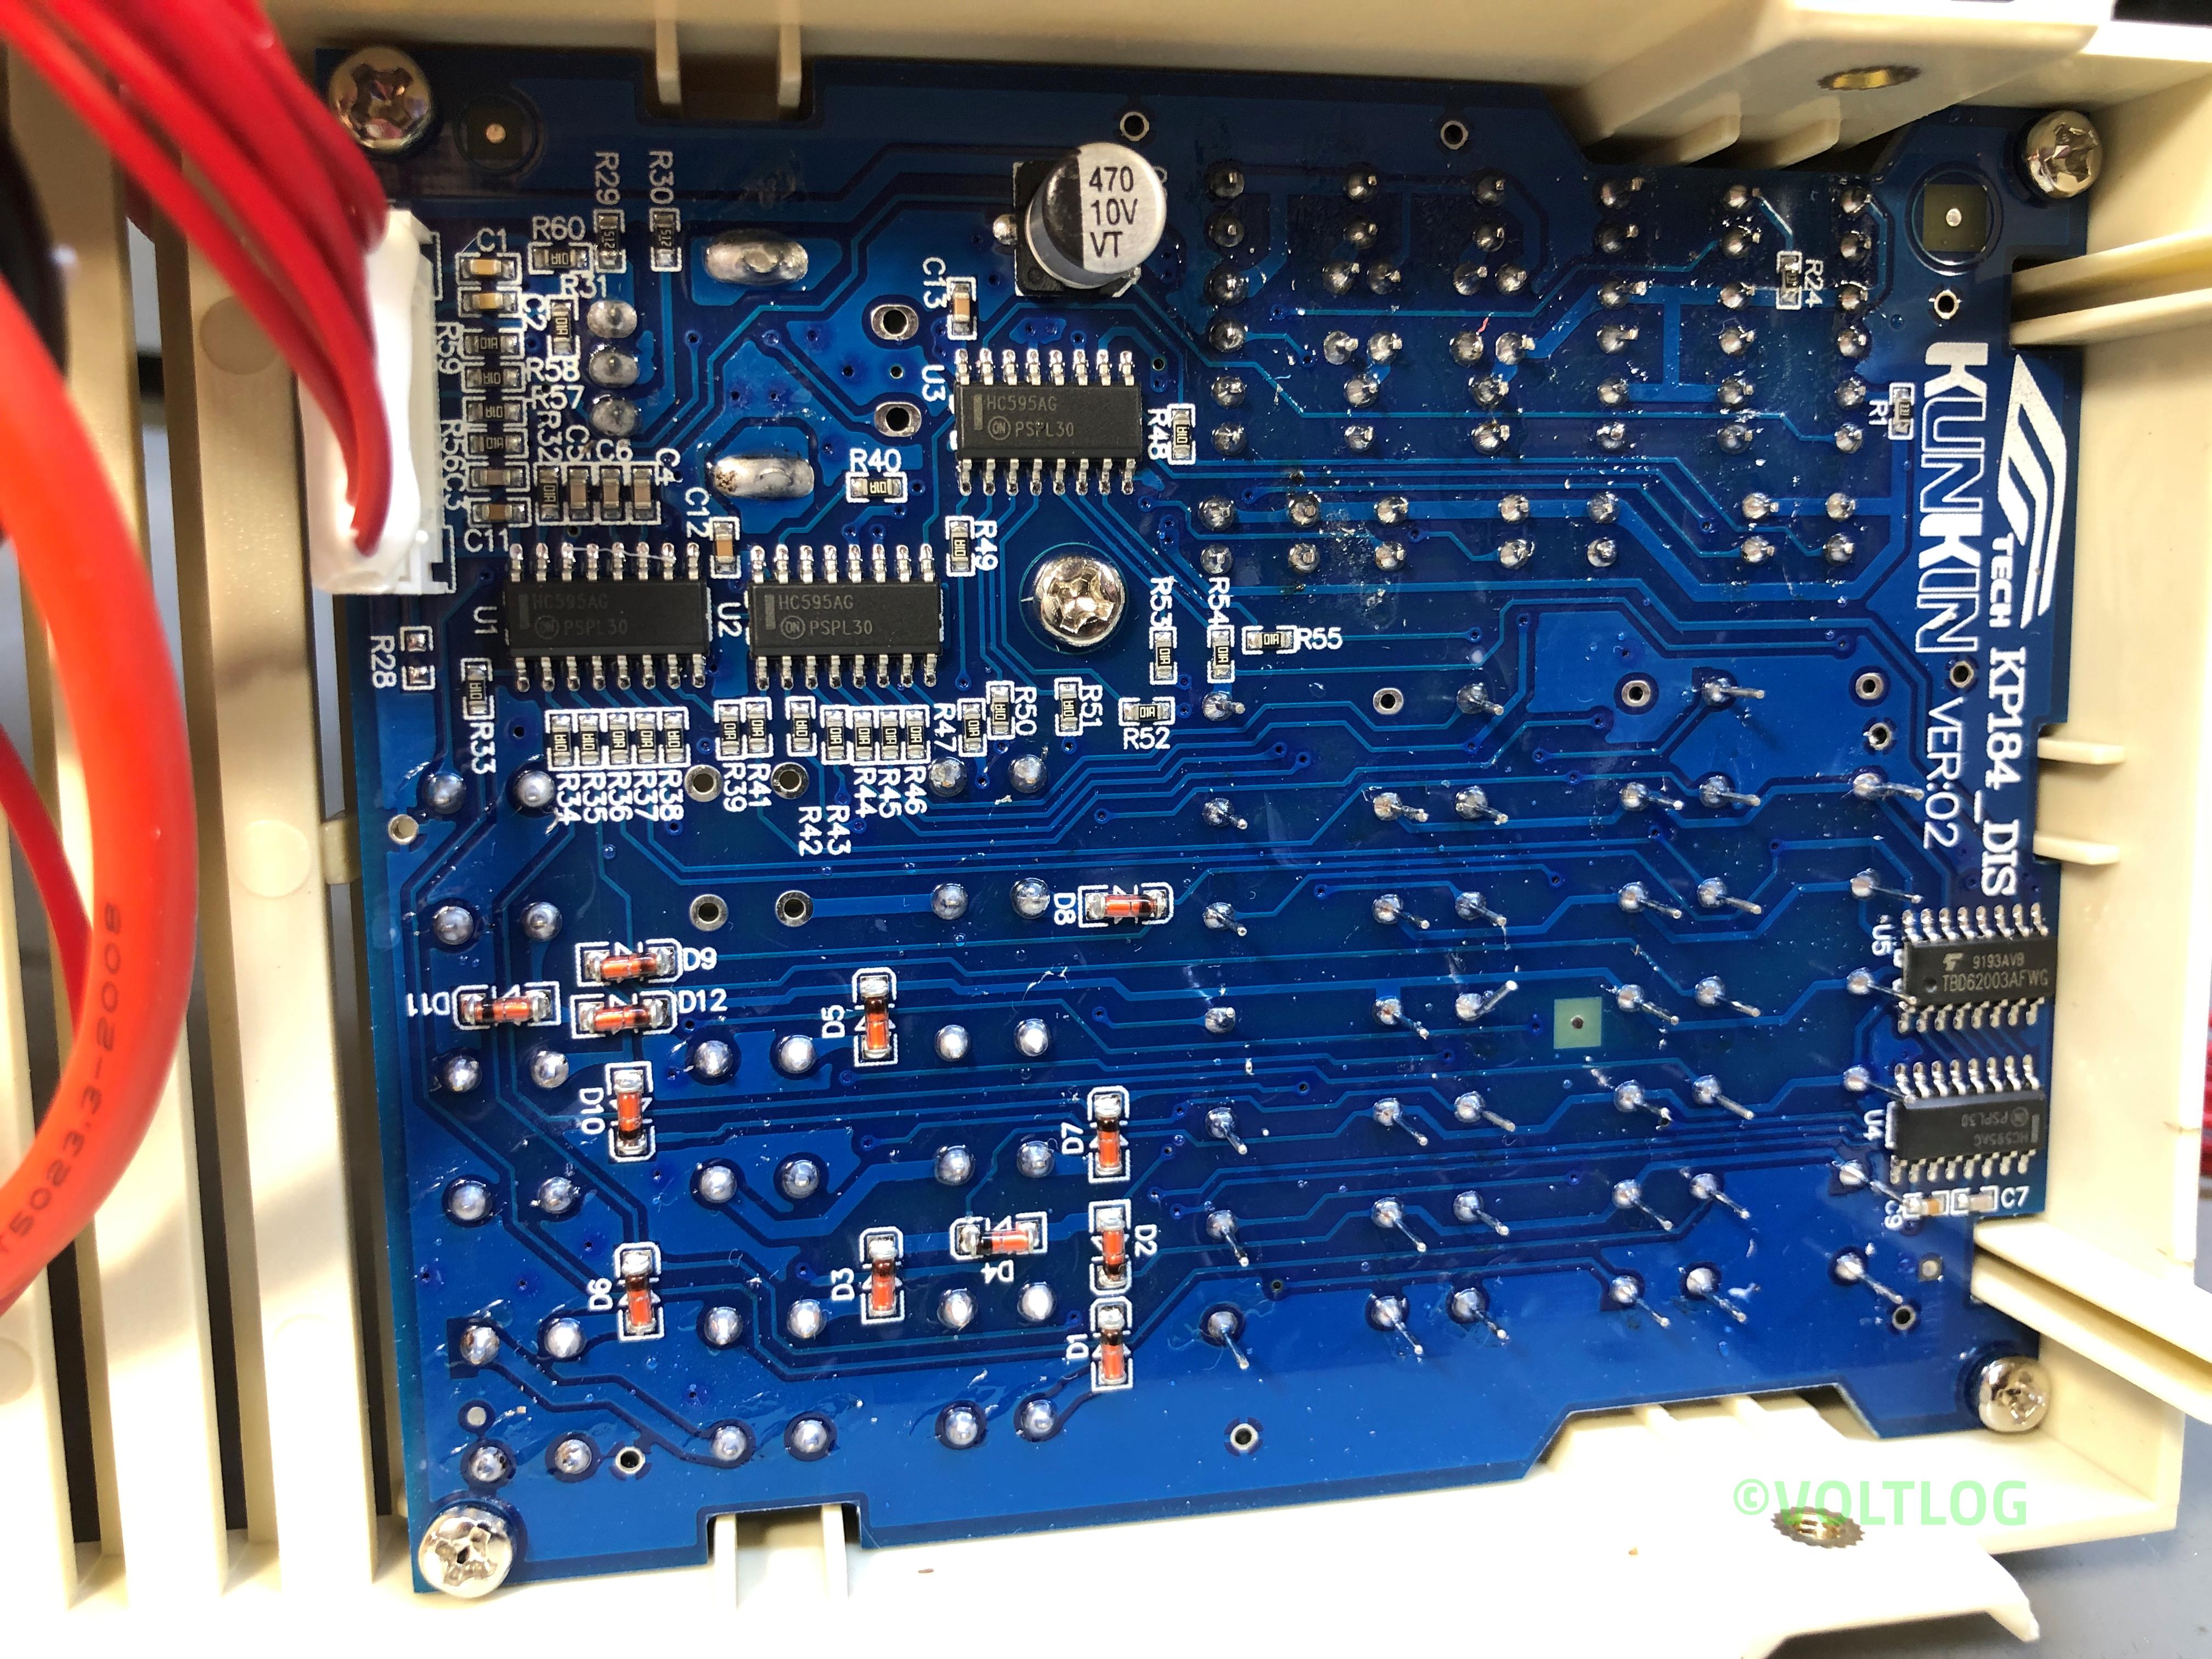
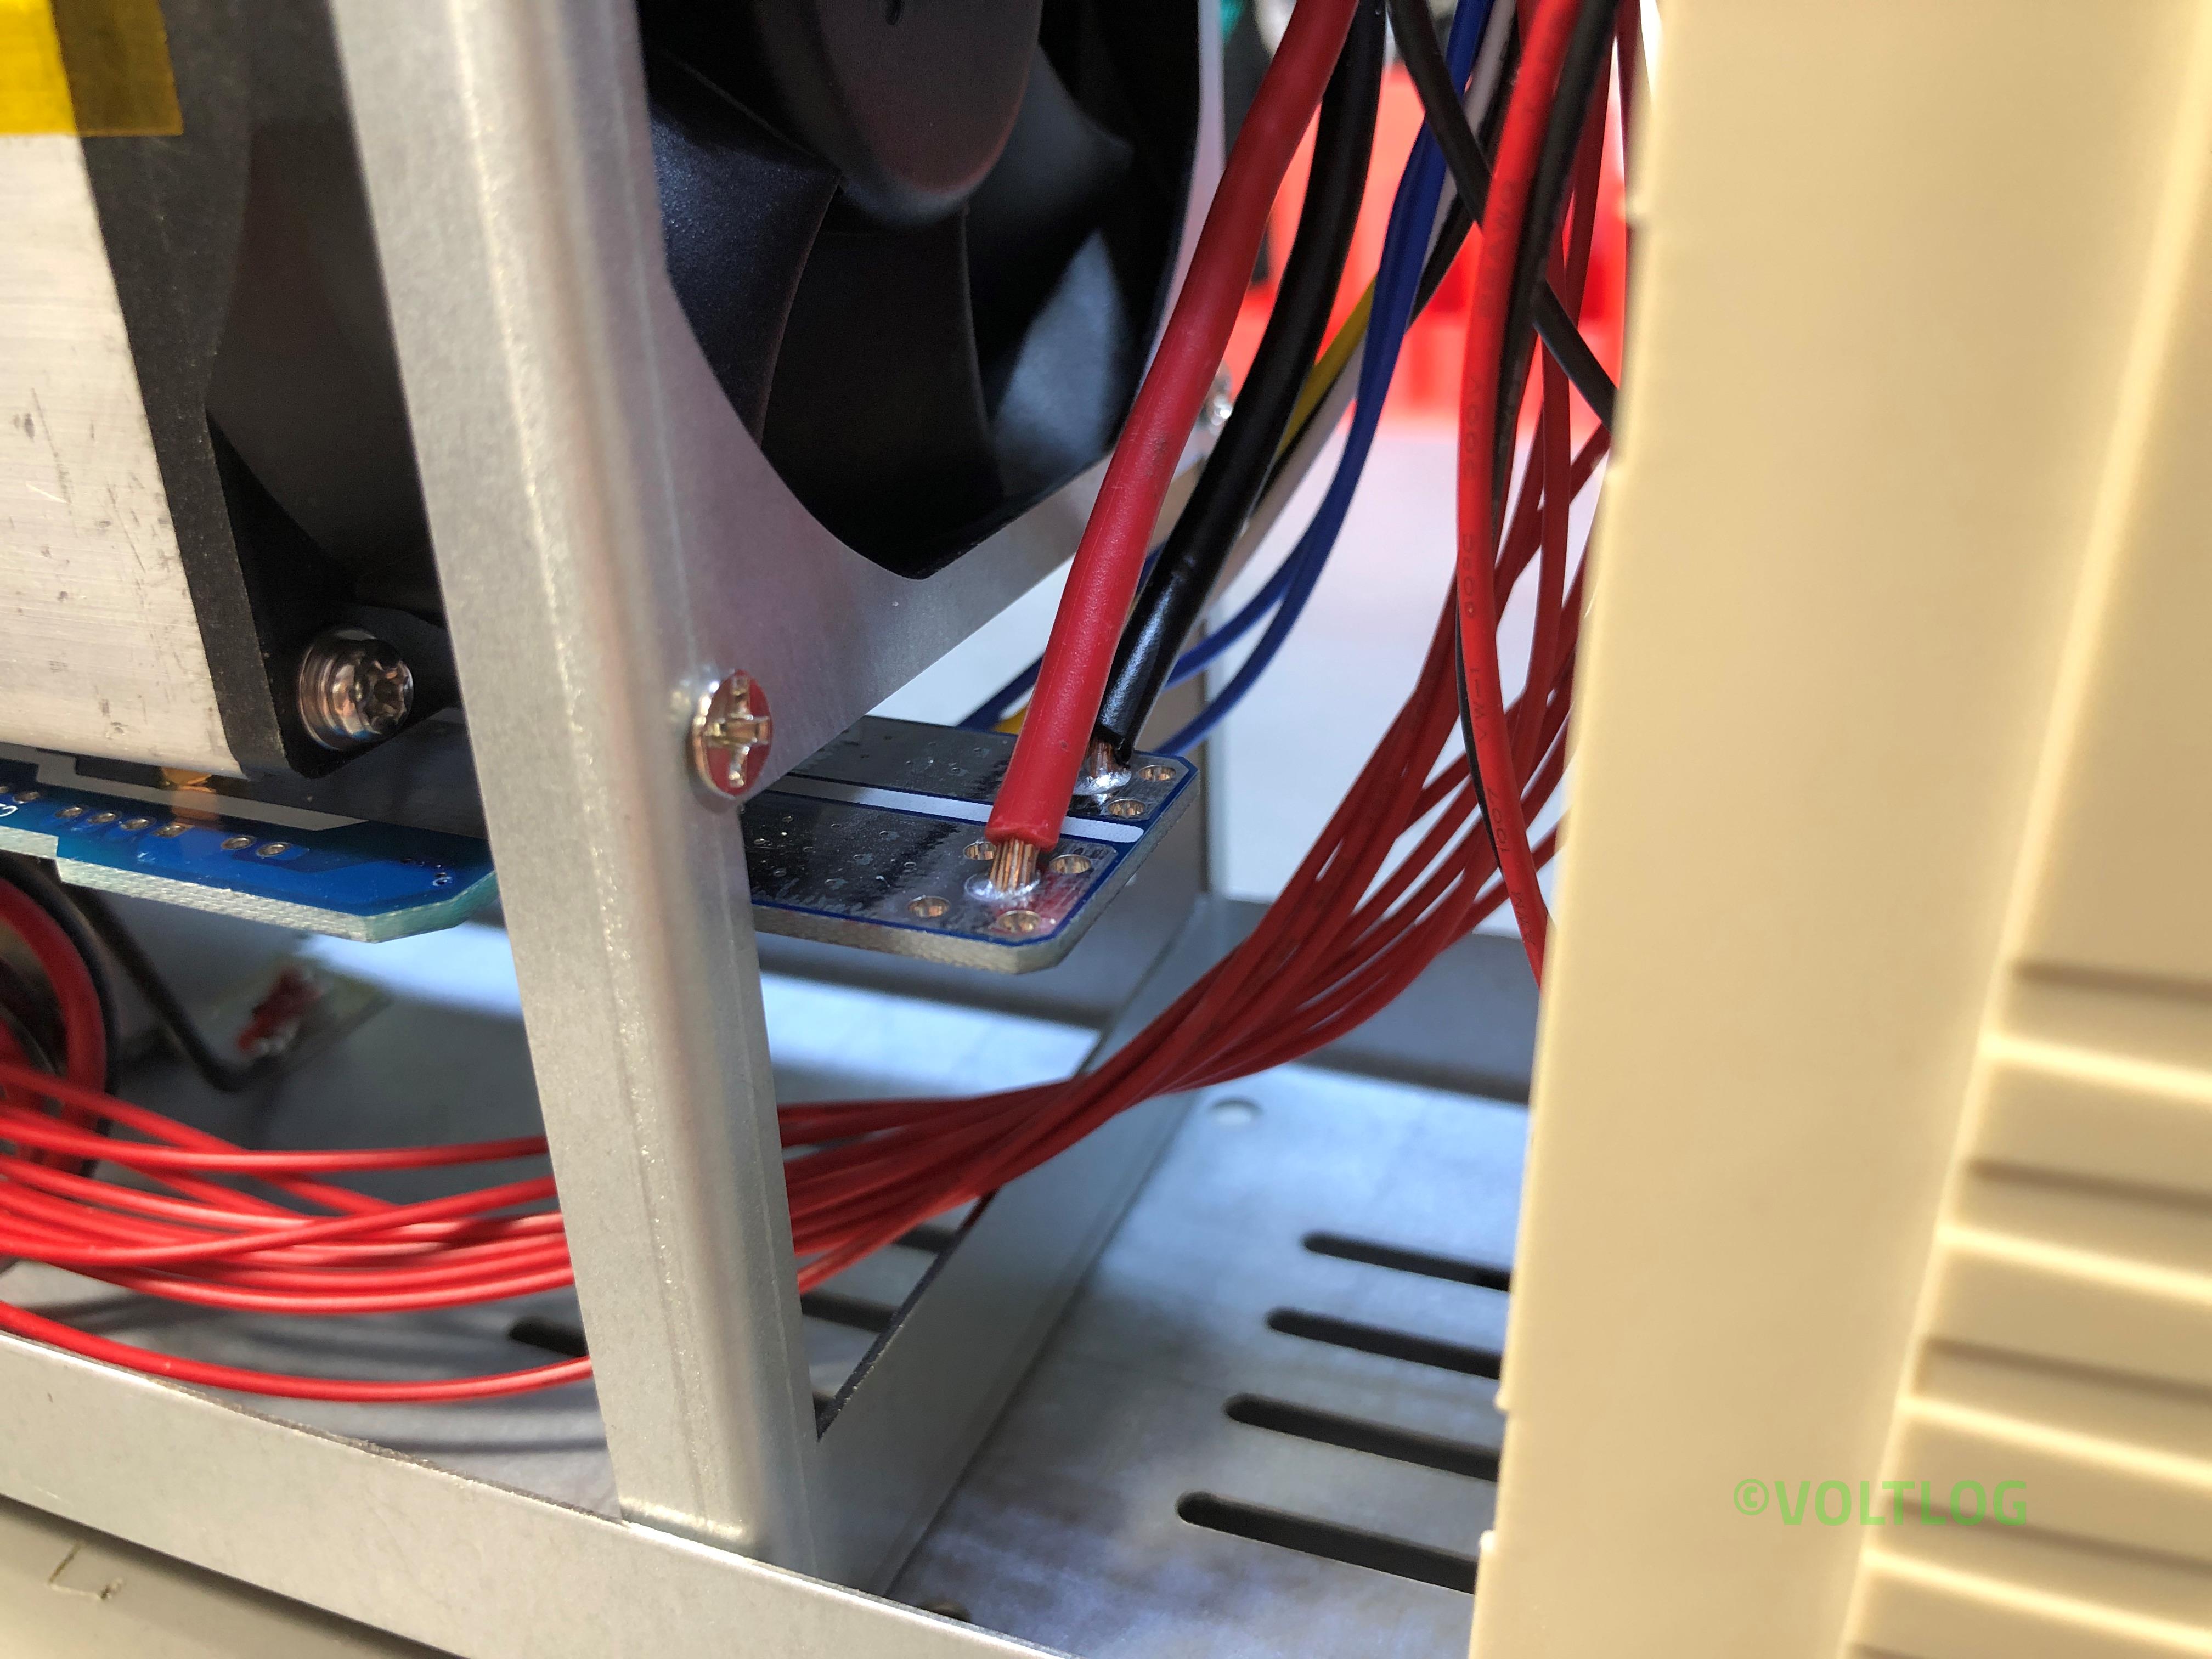
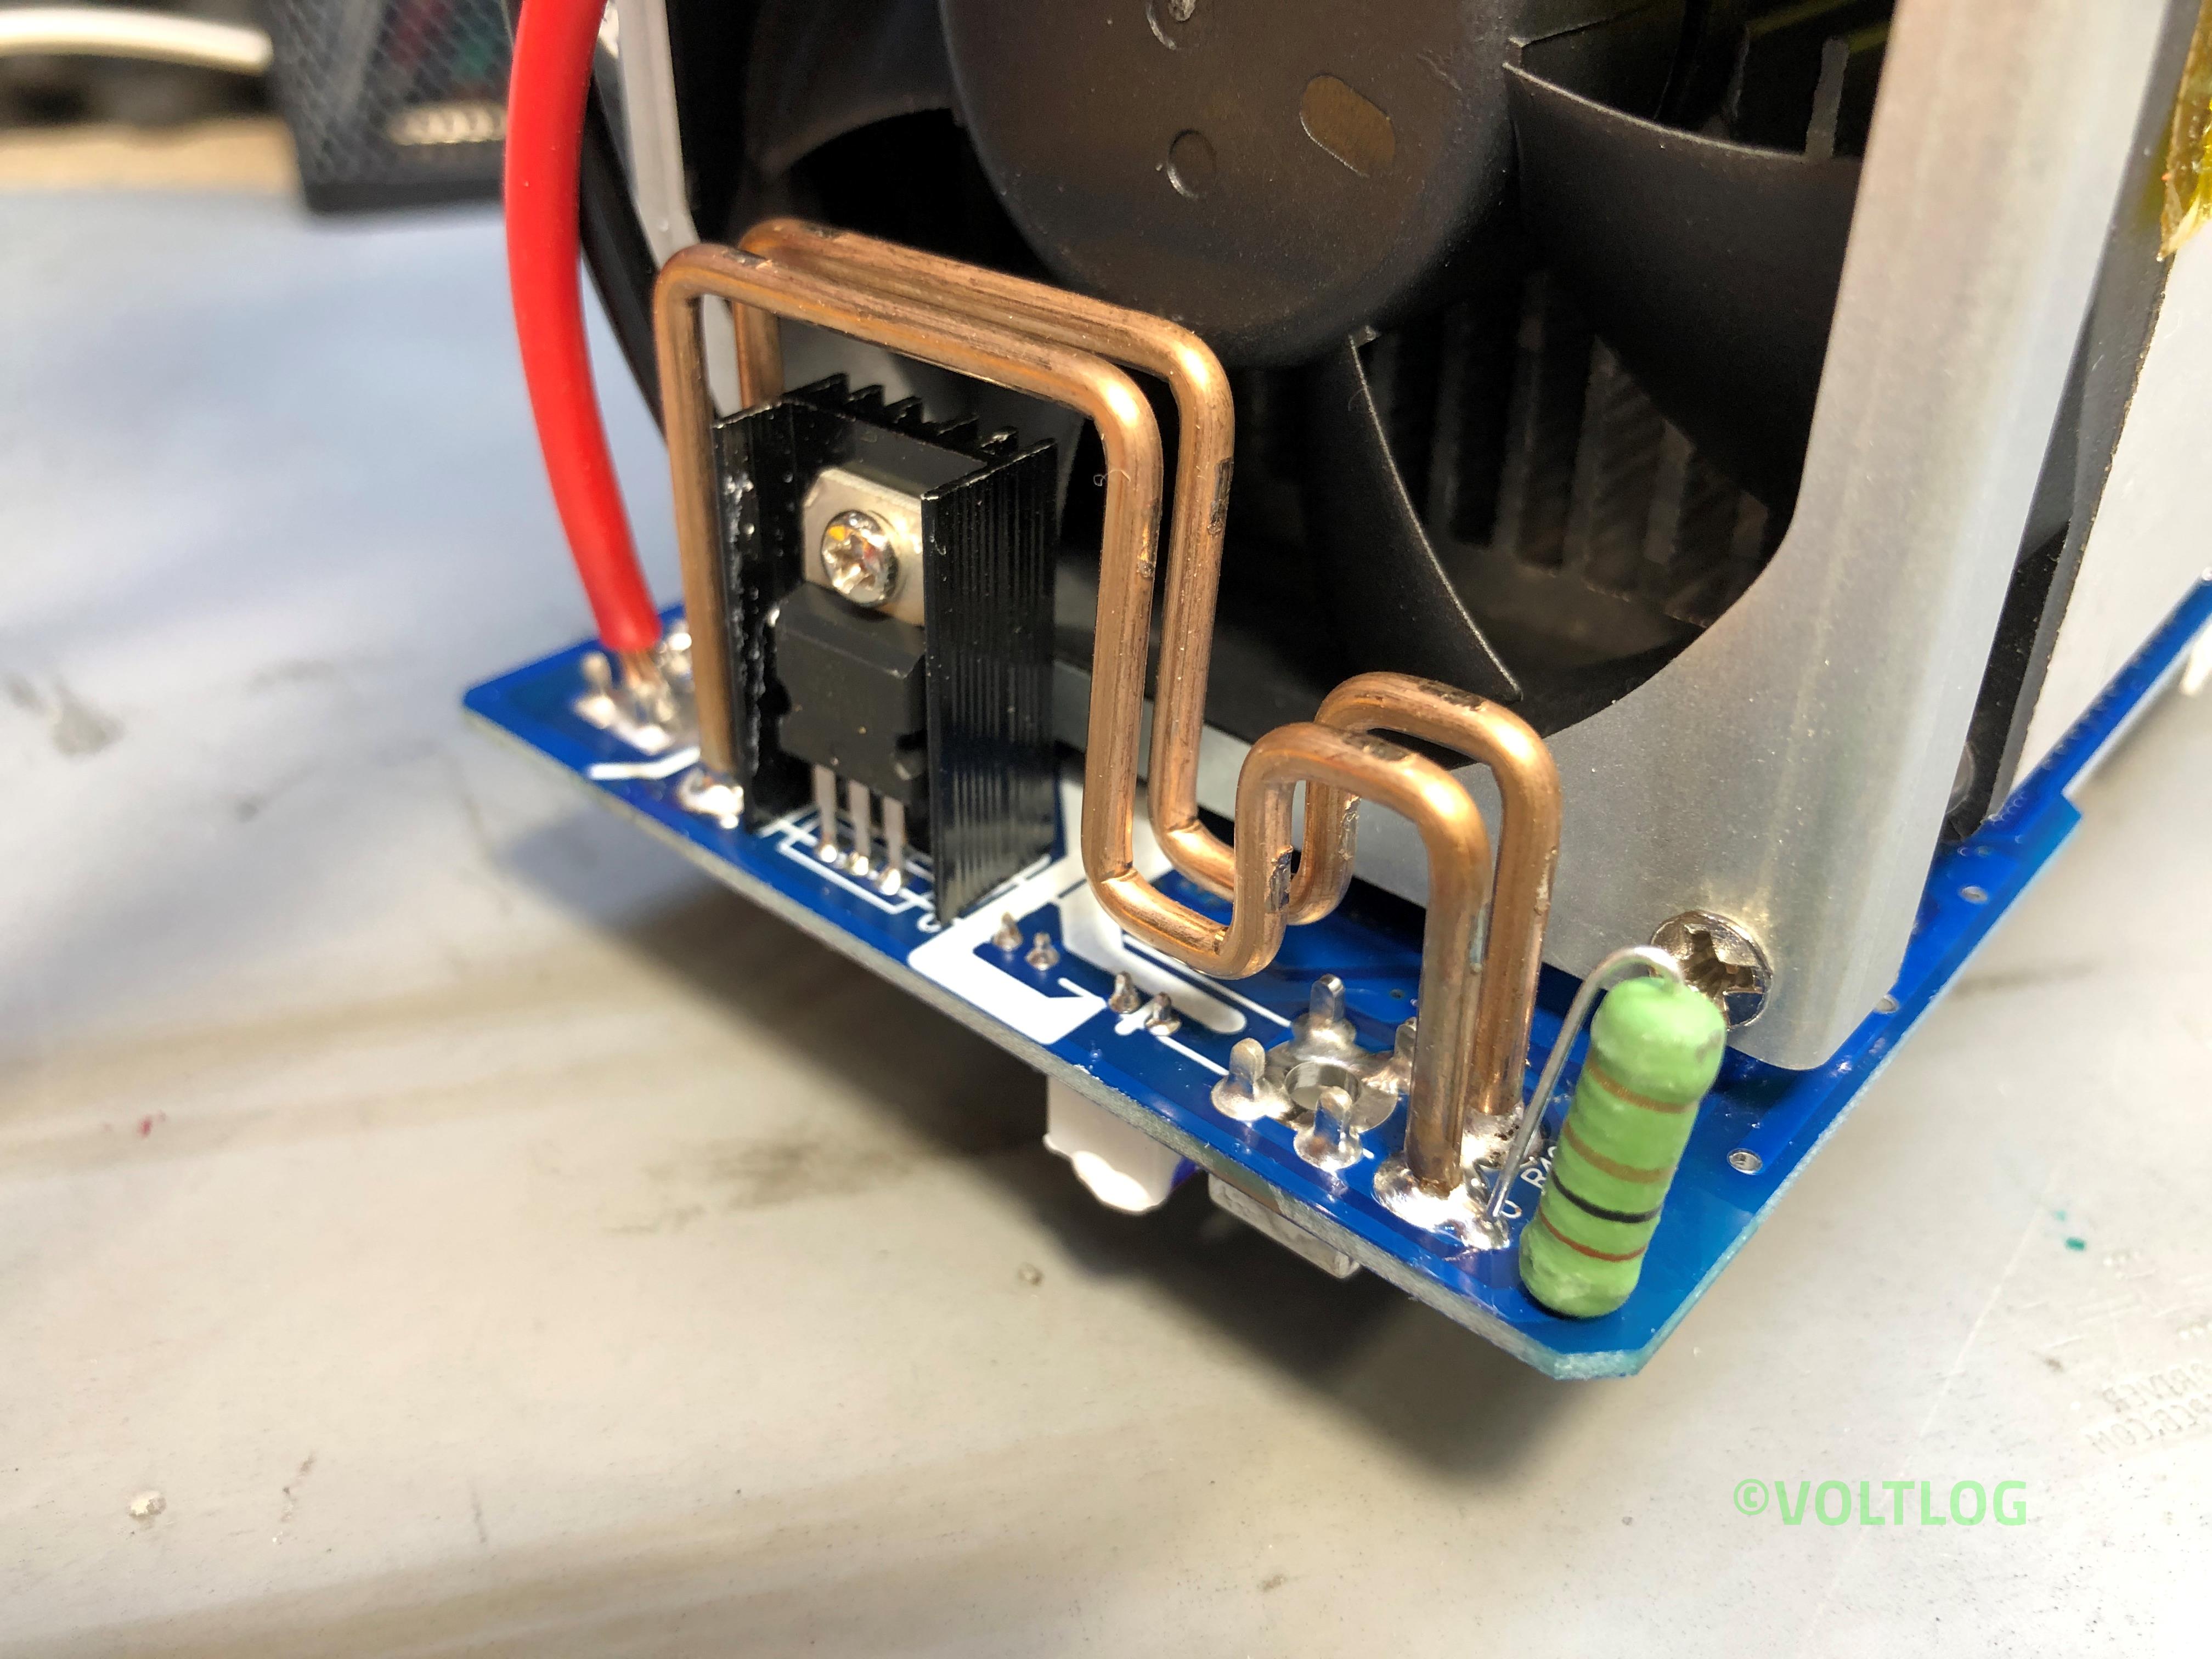
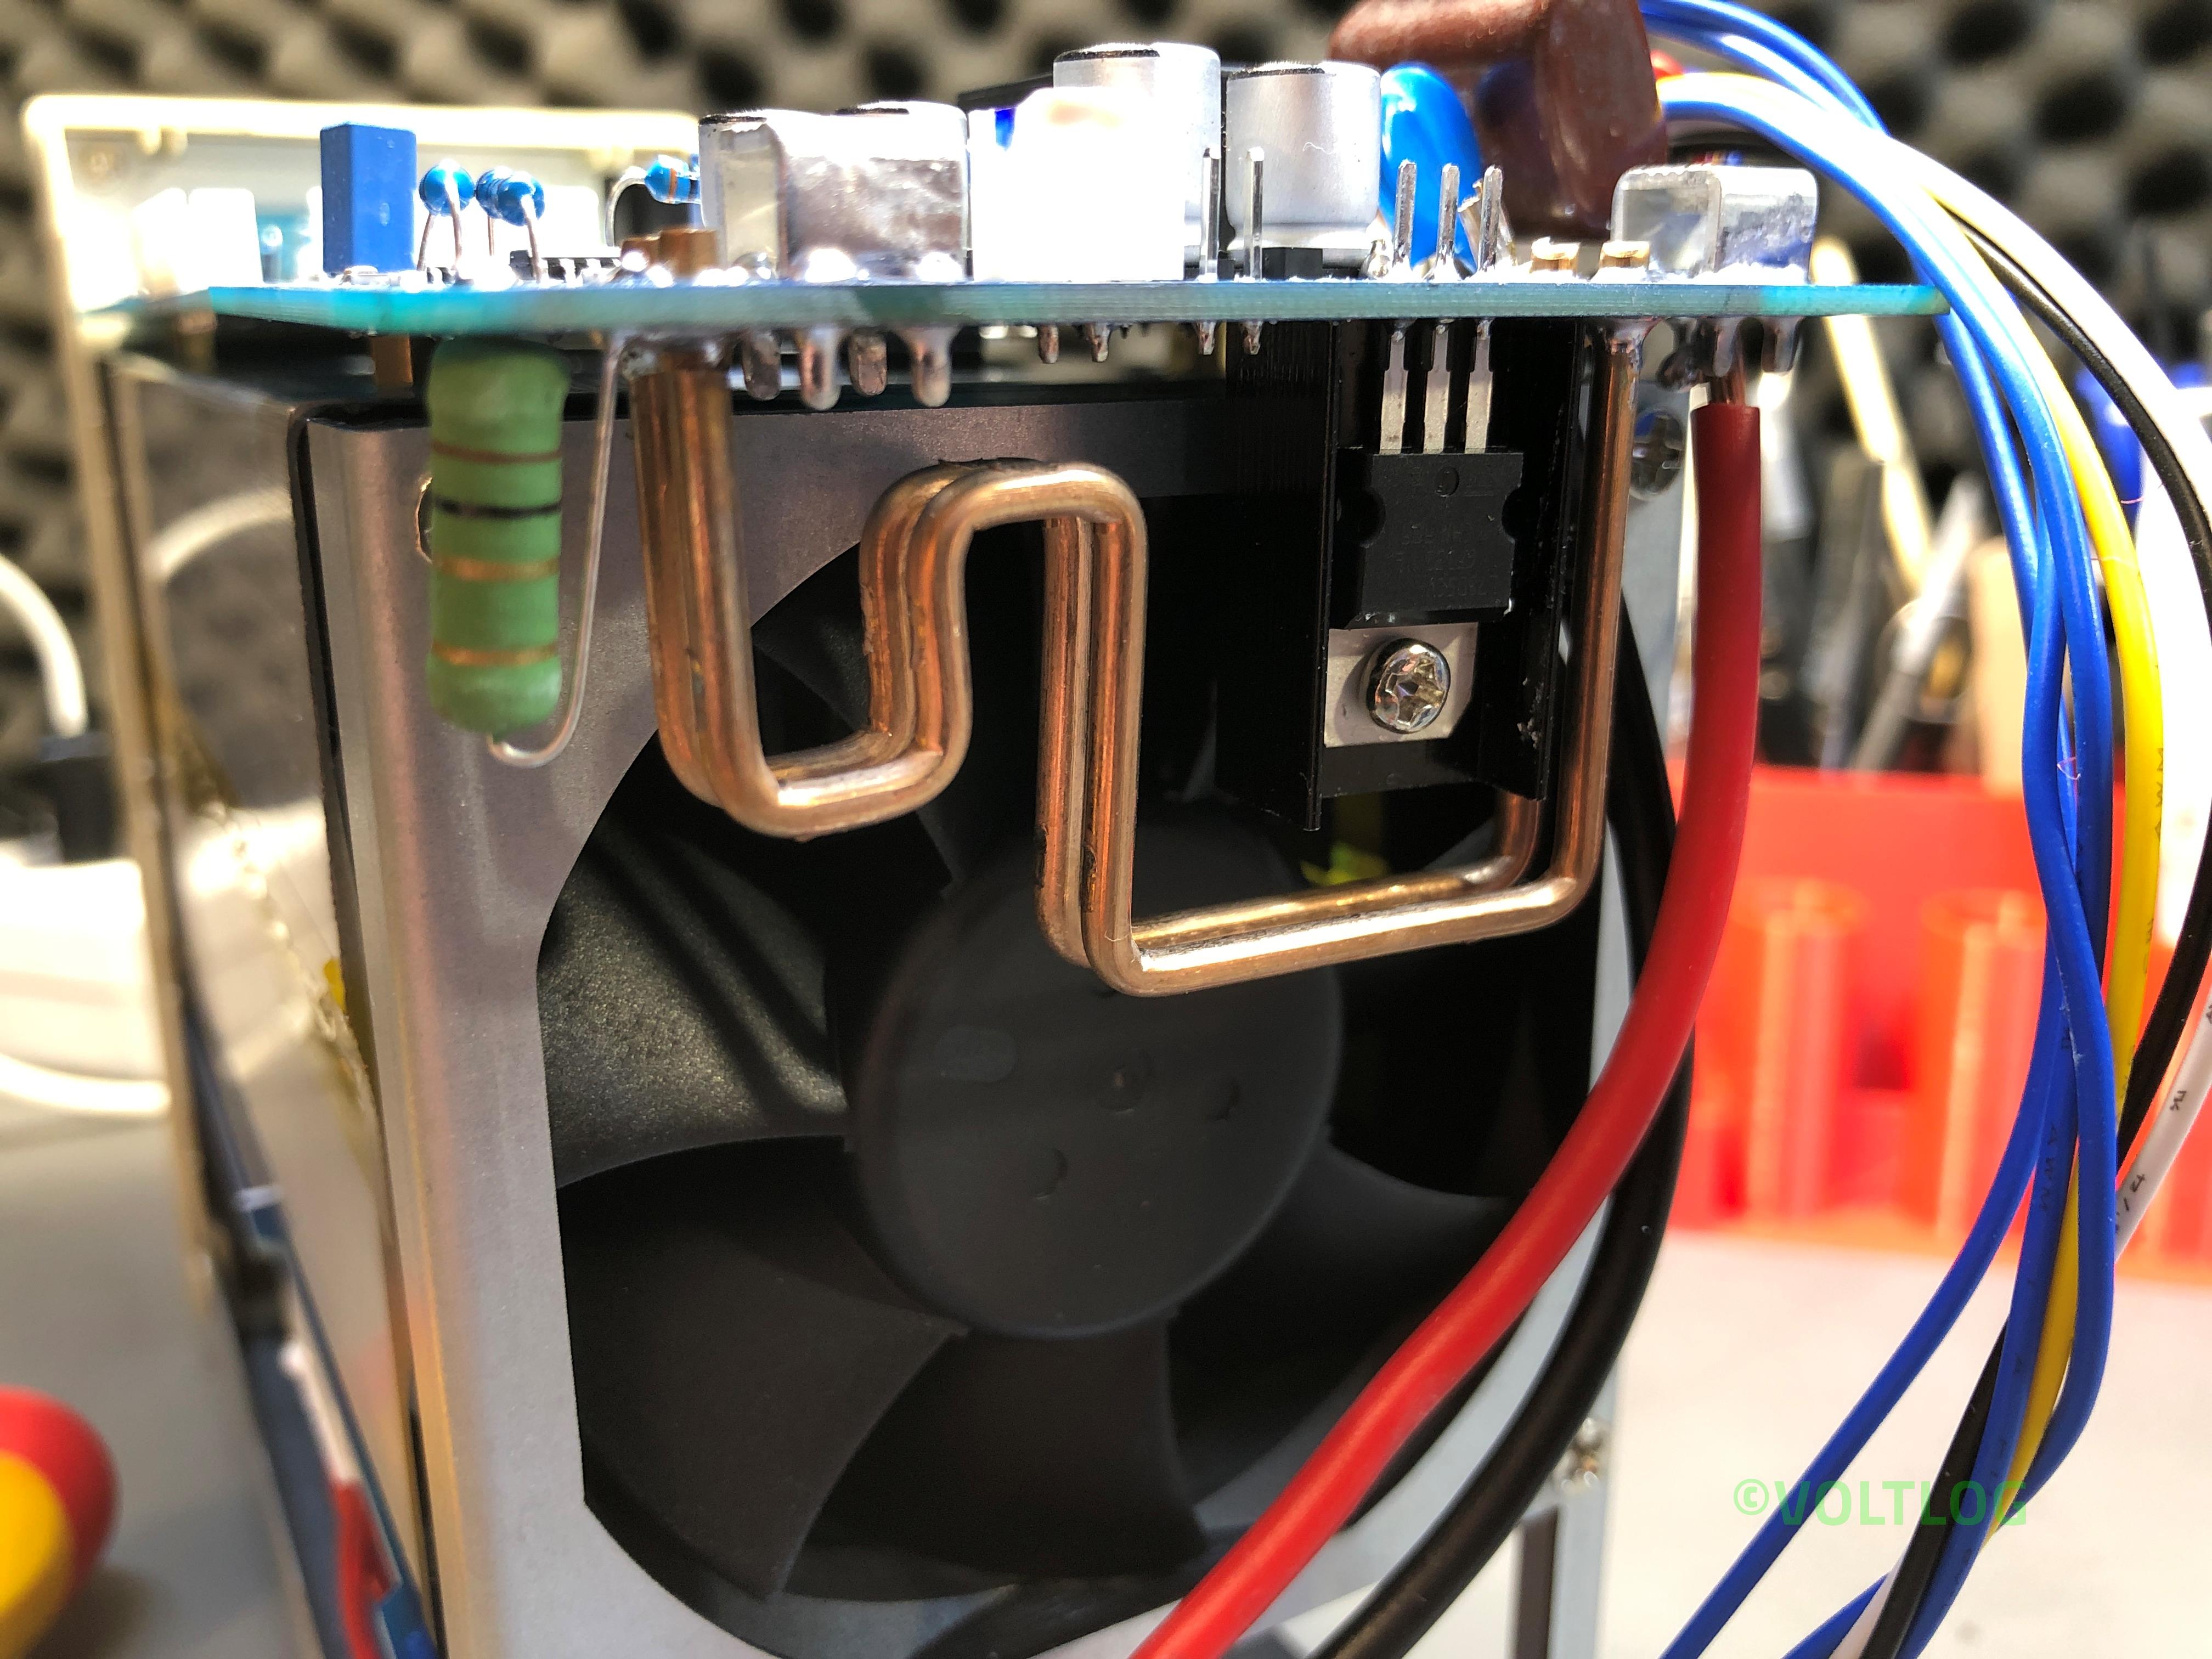
Here are some images captured during the teardown, click on the thumbnails to get a high resolution image of the LCR Meter internal PCBs.

Kunkin KP184 Electronic Load Issues Fixed | Voltlog #302

In this video I’m going to address the issues I found with the Kunkin KP184 electronic load during the review and teardown of the unit but also some issues people mentioned in the comments. There are 7 things I would like to address in total:

  1. Binding post internal diameter issue.
  2. Grounding issue with blue metal enclosure.
  3. Bad solder joints on thick wires coming to mainboard.
  4. IRFP250M mosfet safe operating area, fake or genuine?
  5. Supposed bug in tripping over-power protection.
  6. Supposed noise in constant current mode loop.
  7. Calibration procedure.

Nothing changes in terms of this being the best electronic load you can buy in this price range, II like it and I highly recommend it if you need to test power supplies or batteries, I think you will be pleased with this unit. If you would like to see the review or the teardown video I will link those on screen right now so you just have to click somewhere in this area. As always thank you for watching and don’t forget you can support this channel on Patreon.


InTheMail | Voltlog #301

Welcome to a new InTheMail, the series that will touch both your passion for electronics and your bank account at the same time. Today’s video will be an automotive special, meaning, the items shown today are most likely intended to be used for your car. I ordered a bunch of this stuff and I thought it would be nice if I kept it all together into one video.

So let’s start with this reversing camera kit, inside we have the camera module and some long wires so you can run them up to your display or head unit. I went for this 45 degree style of camera and with white enclosure because I plan to install this on my wife’s car which is painted white and I figured going for this style of enclosure and mounting would integrate it better with the paint of the car and it would be less obvious, like you would barely notice there is something changed in the back of the car.

But this does come with some limitations, you would have to install this on a flat, horizontal surface, parallel to the road, because the camera is angled for that mounting position and you will likely end up seeing too much of the road or too much of the sky if you install it otherwise. In terms of image sensor, when you order one of these, if you go for the cheapest you will get a crappy sensor with poor low light capability so I spent a little extra and picked a SONY CCD.

Best Affordable Electronic Load – Kunkin KP184 Teardown | Voltlog #300

In the previous video I reviewed the KP184 electronic load, I showed you all the features it has, I tested the accuracy of the front panel meter but the video was getting quite long and I skipped the teardown for a future video. Well, this is it, it looks like we have a bunch of screws that have to be removed to slide the folded metal cover off.

As you may remember from the previous video I discovered something related to wiring & safety, the earth wire was connected to the bottom part of the enclosure but it wasn’t connected to this blue cover which is also metallic. Now we can see why, this has a thick coat of paint so we can fix this by either scraping the paint away in the area where this makes contact with the bottom part or we could add a separate earth wire which would probably be a more reliable way to fix this.

The first thing I’m noticing is the silkscreen, this board is version 04 and has a date code of November 2019. And there are a bunch of other nicely placed labels for various signals throughout the board. Soldering looks to be nice and clean with the exception of these thick wires coming from the bottom board, which in this particular joint looks like it hasn’t flowed sufficiently, I will have to fix that later. Wires are nicely secured with adhesive to their end connectors and apart from these thick wires coming from the bottom board everything has connectors which makes it easy to disassemble and service.

Checkout the teardown pictures of the Kunkin KP184 electronic load below

Best Affordable Electronic Load – Kunkin KP184 Review | Voltlog #299

Welcome to a new video, this will be a review of a new test instrument I discovered, you know I like electronic loads and I’ve tested a bunch of hobby grade electronic loads in the past, these were sub $50 items and that budget also meant they had some disadvantages like limited power, limited reliability, limited connectivity, limited functionality and limited accuracy. You were basically trading off a bunch of stuff to be able to get a cheap affordable electronic load.

This is the Kunkin KP184 and I believe this will be a game changer for those who are looking to get something a bit more professional but are still limited by budget and they can’t go for the better instruments starting at 500 USD. The unit is delivered in a large box with nice padding protection and inside you get the instrument, a user manual and a few accessories like some spade connector, an RS232 cable and some wiring.

Let’s talk a bit about the specs of this unit, I have the KP184 model which is like their better equipped model, it works with both 110 and 240VAC, the load voltage can be a DC voltage between 1 and 150V, up to 40A, up to 400W. Measurement accuracy is 0.05% + 5 counts for both current and voltage with 1mV and 1mA of resolution, we’ll be verifying that later. There is RS232 and RS485 connectivity with a modbus protocol which is specified in the user manual and there is a piece of software for the PC, you have to obtain it from the manufacturer which doesn’t respond to emails but I’ve managed to source it and I’m gonna put a link to this in the description below the video and I’ll try to connect it towards the end of this video.

If you would like to checkout the teardown of the Kunkin KP184 click here.

Voltlog #298 – InTheMail

Welcome to a new InTheMail, the series that will touch both your passion for electronics and your bank account at the same time. Before I get started I’m gonna take a second to remind you to subscribe to the channel and hit the bell notification icon because that’s the only way you will know for sure when I upload new videos. 

I’m going to start this mailbag with a lamp base, this is a retro style E27 lamp base, it was supposed to be this antique brass look, I must say it looks browner in the images, in reality it’s more of a gray color. It doesn’t feel super high quality, the metal is pretty thin so you’ll probably need to handle it with care. It’s very light and I think they mention it’s aluminium in the product description. It has this built in switch, which is continuous rotation, it has this nice positive click, I quite like it and it’s useful to have the switch built-in because if I were to add an external switch it  would be pretty hard to find a vintage looking one locally.

I’m probably going to use this as it is, with it’s base sitting flat on the table but using the provided hardware you could install this on a wall as well, you might even extend the socket from the base using some copper pipe piece or you could install this on the ceiling and drop a wire from the base to the socket.

Voltlog #297 – How To Parfocal A Trinocular Microscope

Welcome to a new Voltlog, in this video I’m gonna show you how to parfocal your trinocular microscope, this means getting both the eyepieces and the third camera port in focus at the same time and maintaining them in focus while adjusting through the zoom range of microscope from low to high. 

This is extremely useful if for example you are using the microscope through the eyepieces, soldering on some board and at the same time you are using the camera port for recording or live streaming. Once you do this procedure, the camera and the eyepieces will be synced in focus even as you adjust a different zoom level but with some limitations, as I will show in a moment, these are the result of the camera optics which will limit the effective zoom range in focus.

Now if you are using a 0.5x barlow lens like I do and like most people doing electronics will be using, you need to consider the fact that the working distance is about 16.5cm between the barlow lens and the work surface. So keep that in mind, because the adjustment we will do later will be happening around that working distance.

Voltlog #296 – Microscope Camera Focus Issue Fixed!

Welcome to a new Voltlog, as you may remember in Voltlog #282 I got a new trinocular microscope and then in Voltlog #292 I got a new camera because the one shipped with the microscope had issues. Banggood till this day did not replace the camera which I believe is defective, they kept asking me to try these various settings in the camera menu to improve the brightness but none worked.

Now to get a good image and have both the camera in focus and the eyepieces you will need some kind of reduction, an optical adapter between the camera and the microscope port. So first I got this SZMCTV 0.3X adapter, after reading some reviews who were claiming this will give the best field of view.

After installing this adapter I noticed the field of view was almost the same as through the eyepiece which is great but I couldn’t get it in perfect focus with the limited adjustment available on the adapter and I was getting this tunnel vision which I couldn’t quite explain but it was obviously not what you want to see.

And so I got this newer wide body 0.5 adapter and installed it on my microscope and the problem was solved I could now get my camera into focus at the same time with the eye pieces but with a loss in the field of view due to the 0.5x adapter. Getting the SZMCTV 0.5X adapter would probably also work, that’s a bit cheaper, but I went with the recommendation of getting the newer type of adapter with better optics.

Voltlog #295 – Weekend Update

Welcome to a new Voltlog, this will be just a short weekend update video, to let you know what I’ve been doing in the past couple of weeks. So I’m staying at home and only going out for important stuff, which gave me more time to tinker and work on projects. I hope you are doing the same because social distancing is a good way to slow the spread of this disease.

One of the things I’ve been thinking of doing for a long time is a bench tool holder, the kind that will hold my tweezers, soldering iron tips, flux syringes, stuff like that. So far I’ve been keeping them in one of these pen holding cups but they fill up and it’s hard to grab the thing you need quickly. So I’ve started designing my own in Fusion 360, I included 6 deep pockets, 2 shallow ones in the front and 5 tubes for holding syringes. 

The next thing I did with my 3d printer is related to the current pandemic, as you may know, medical staff in many countries which have been hit hard are lacking protective equipment, they just don’t have enough mask or suits or face shields, not to mention enough ventilators which are desperately needed for those in critical condition. 

In parallel I’ve been designing the battery monitor circuit for the power drill I reviewed in Voltlog #285, this is the first revision of the PCB, the circuit works as expected but I’m still waiting on some parts to be delivered and I’ll do a separate video on this subject. It probably needs a second revision of the PCB because this one doesn’t quite fit in, the way I thought it will.

I also started designing a T10 automotive LED bulb. It’s using a linear  constant current driver and some decent LEDs, because what I’m currently using in my car are the aliexpress bulbs which kinda start dying after a few months of usage. I’ll probably place an order for this panel today but who knows when I’ll receive it.

Voltlog #294 – InTheMail

Welcome to a new InTheMail, the series that will touch both your passion for electronics and your bank account at the same time. Before I get started I’m gonna take a second to remind you to subscribe to the channel and hit the bell notification icon because that’s the only way you will know for sure when I upload new videos. 

Depending on which part of the world you live in, you might be dealing with the same isolation measures as I am, the government is recommending we stay inside as much as possible here in Romania, to avoid contact with other people. So that gives me more time to work on projects, learn new stuff and of course discover and order stuff from the internet.

I’m gonna start with this notebook which has a retro looking leather cover, I think it’s quite neat looking, I’m not sure if this is real leather or not, description just said leather. I always keep a notebook around the workbench, it can be useful for drafting a quick schematic, some dimensions or just for writing down some measurements. Another cool feature of this notebook is the binder style clips you have inside, which allow you to insert or remove paper and what’s even nicer is that you can find this type of paper with different grid styles and they’re very affordable.