Welcome to a new Voltlog, here is my raspberry pi 4 which I got a few months ago when they released it and if you have one you might have noticed it gets quite hot especially when it has to do some processing. This newer processor, will get hot quick and the board alone cannot cope with all of this heat so what does it do? Well when the CPU temperature reaches 80 degrees Celsius it will start throttling down the CPU as a way of protecting itself from overheating and this will result in a loss of performance.
The Raspberry Pi 4 has a 1.5GHz quad-core 64-bit Arm Cortex-A72 CPU, that’s roughly three times the performance of the raspberry pi 3 cpu. That inevitably generates more heat. In the original plastic case just sitting idle, connected to a network, doing pretty much nothing, the raspberry pi4 when compared to a raspberry pi3 runs about 12 degrees hotter.
To be honest I didn’t think we were going to have services like these available so cheap so fast. I mean yes I know pcb prices have been so low in the past couple of years that it no longer makes sense to etch your own PCBs, unless you are in a big hurry. But having smt assembly service so cheap? Soon enough it would not make sense to hand assemble these boards because it would be equally cheap to have them assembled at JLCPCB
Welcome to a new Voltlog, today we’re comparing a few different serial to usb adapters and the discussion started ever since I showed the CH340E breakout board I designed in voltlog #249. People wanted to know if this CH340E affordable chip would perform similar to the well known FTDI or Silicon labs chips, and I’m thinking at high throughput and reliability here, the kind of application where you are sending lots of data, fast and you need it to be transferred reliably.
So today I’m going to compare the CH340E with a CP2103, and the FT232RL. I wasn’t sure what measurements to take and how to test these but I devised 2 testing methods.
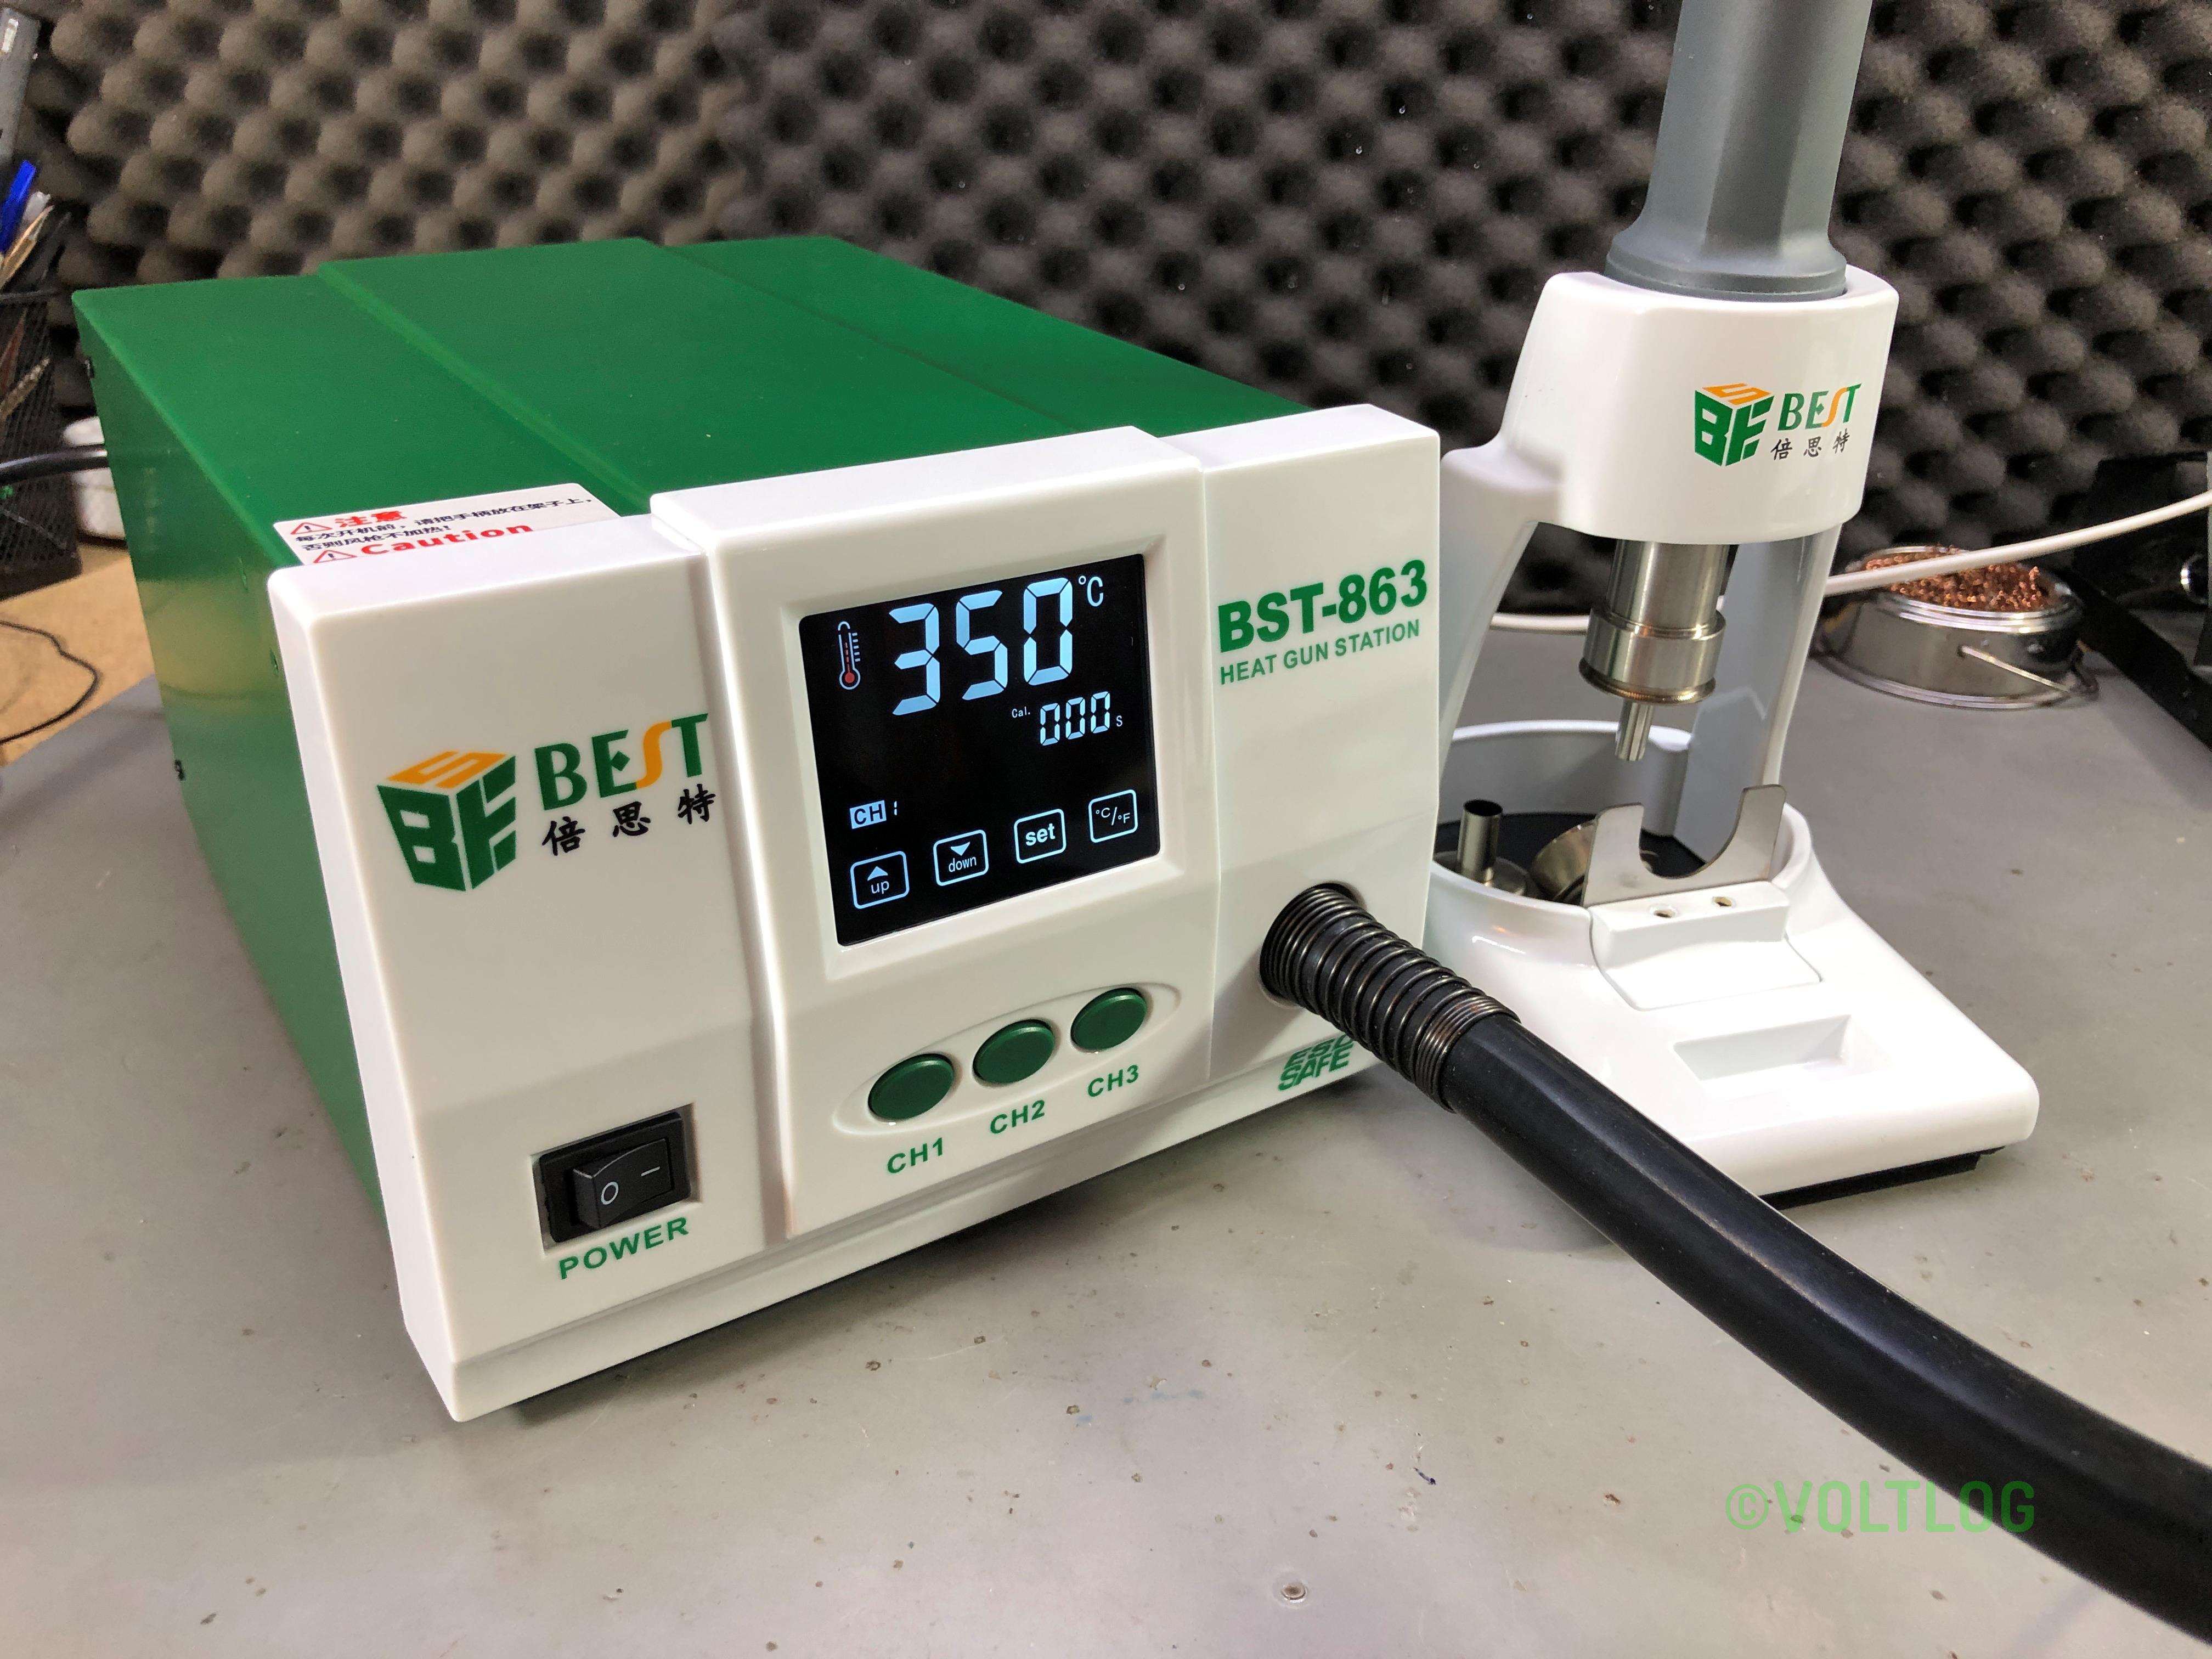
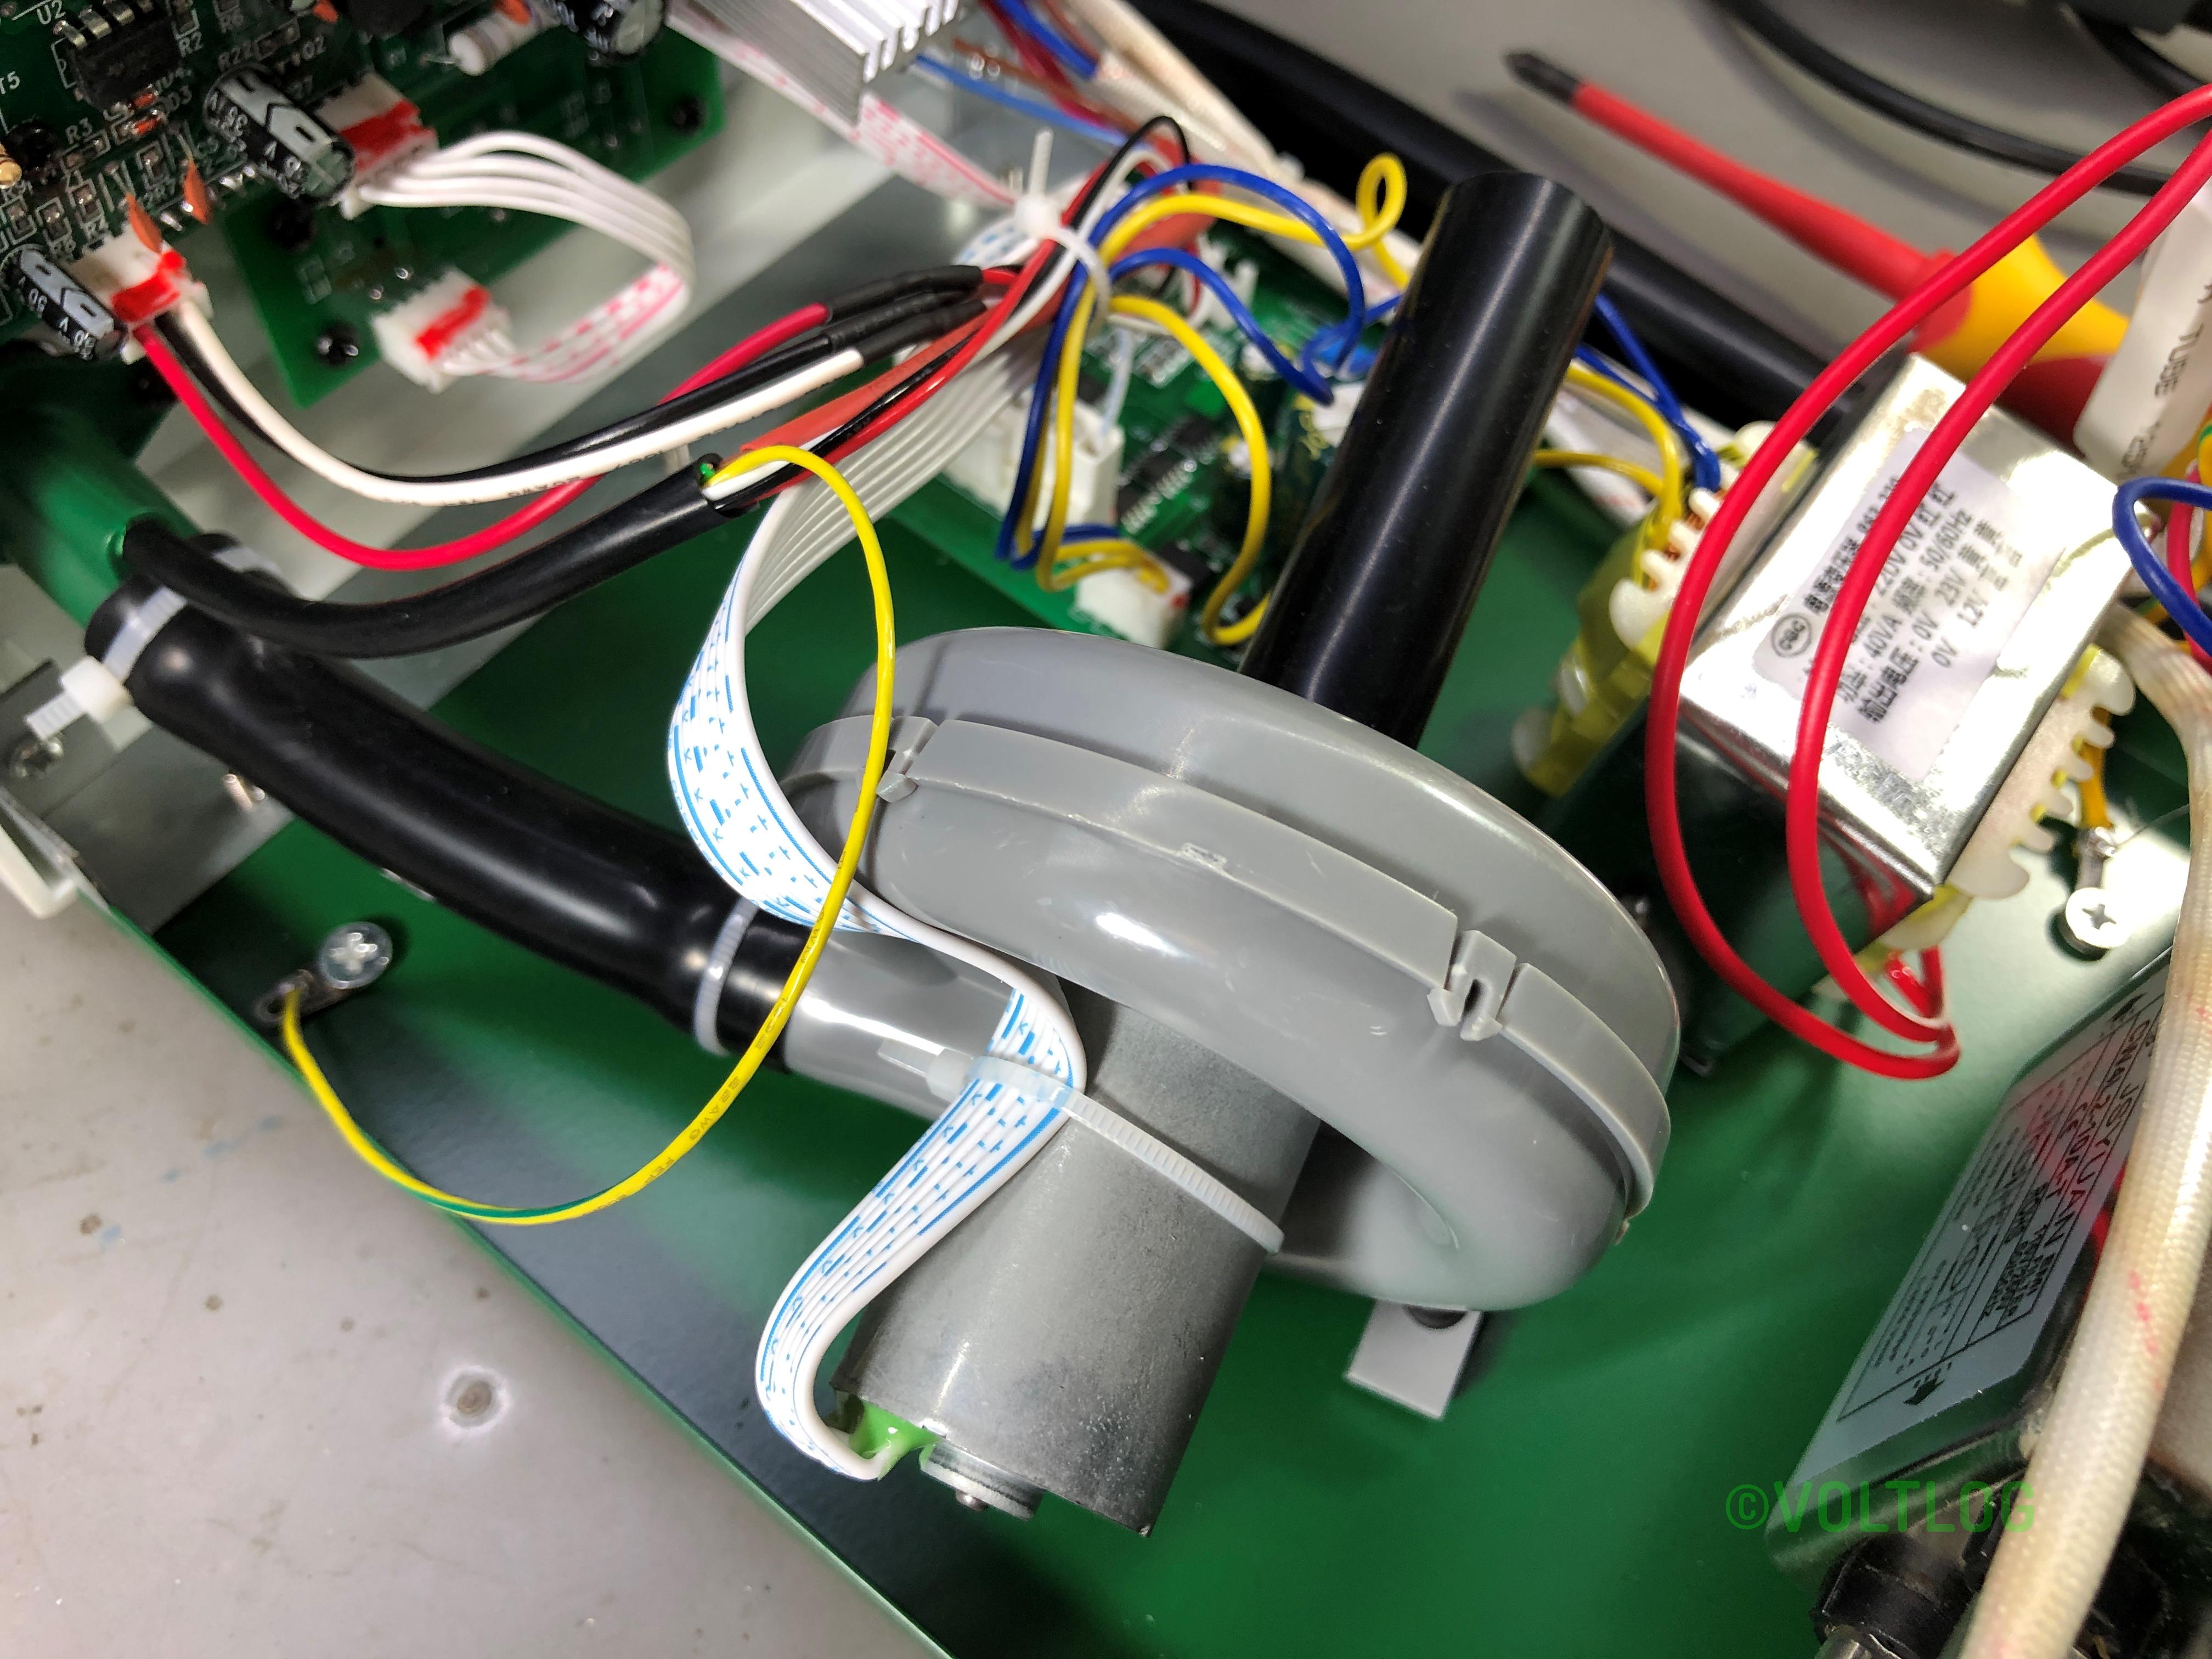
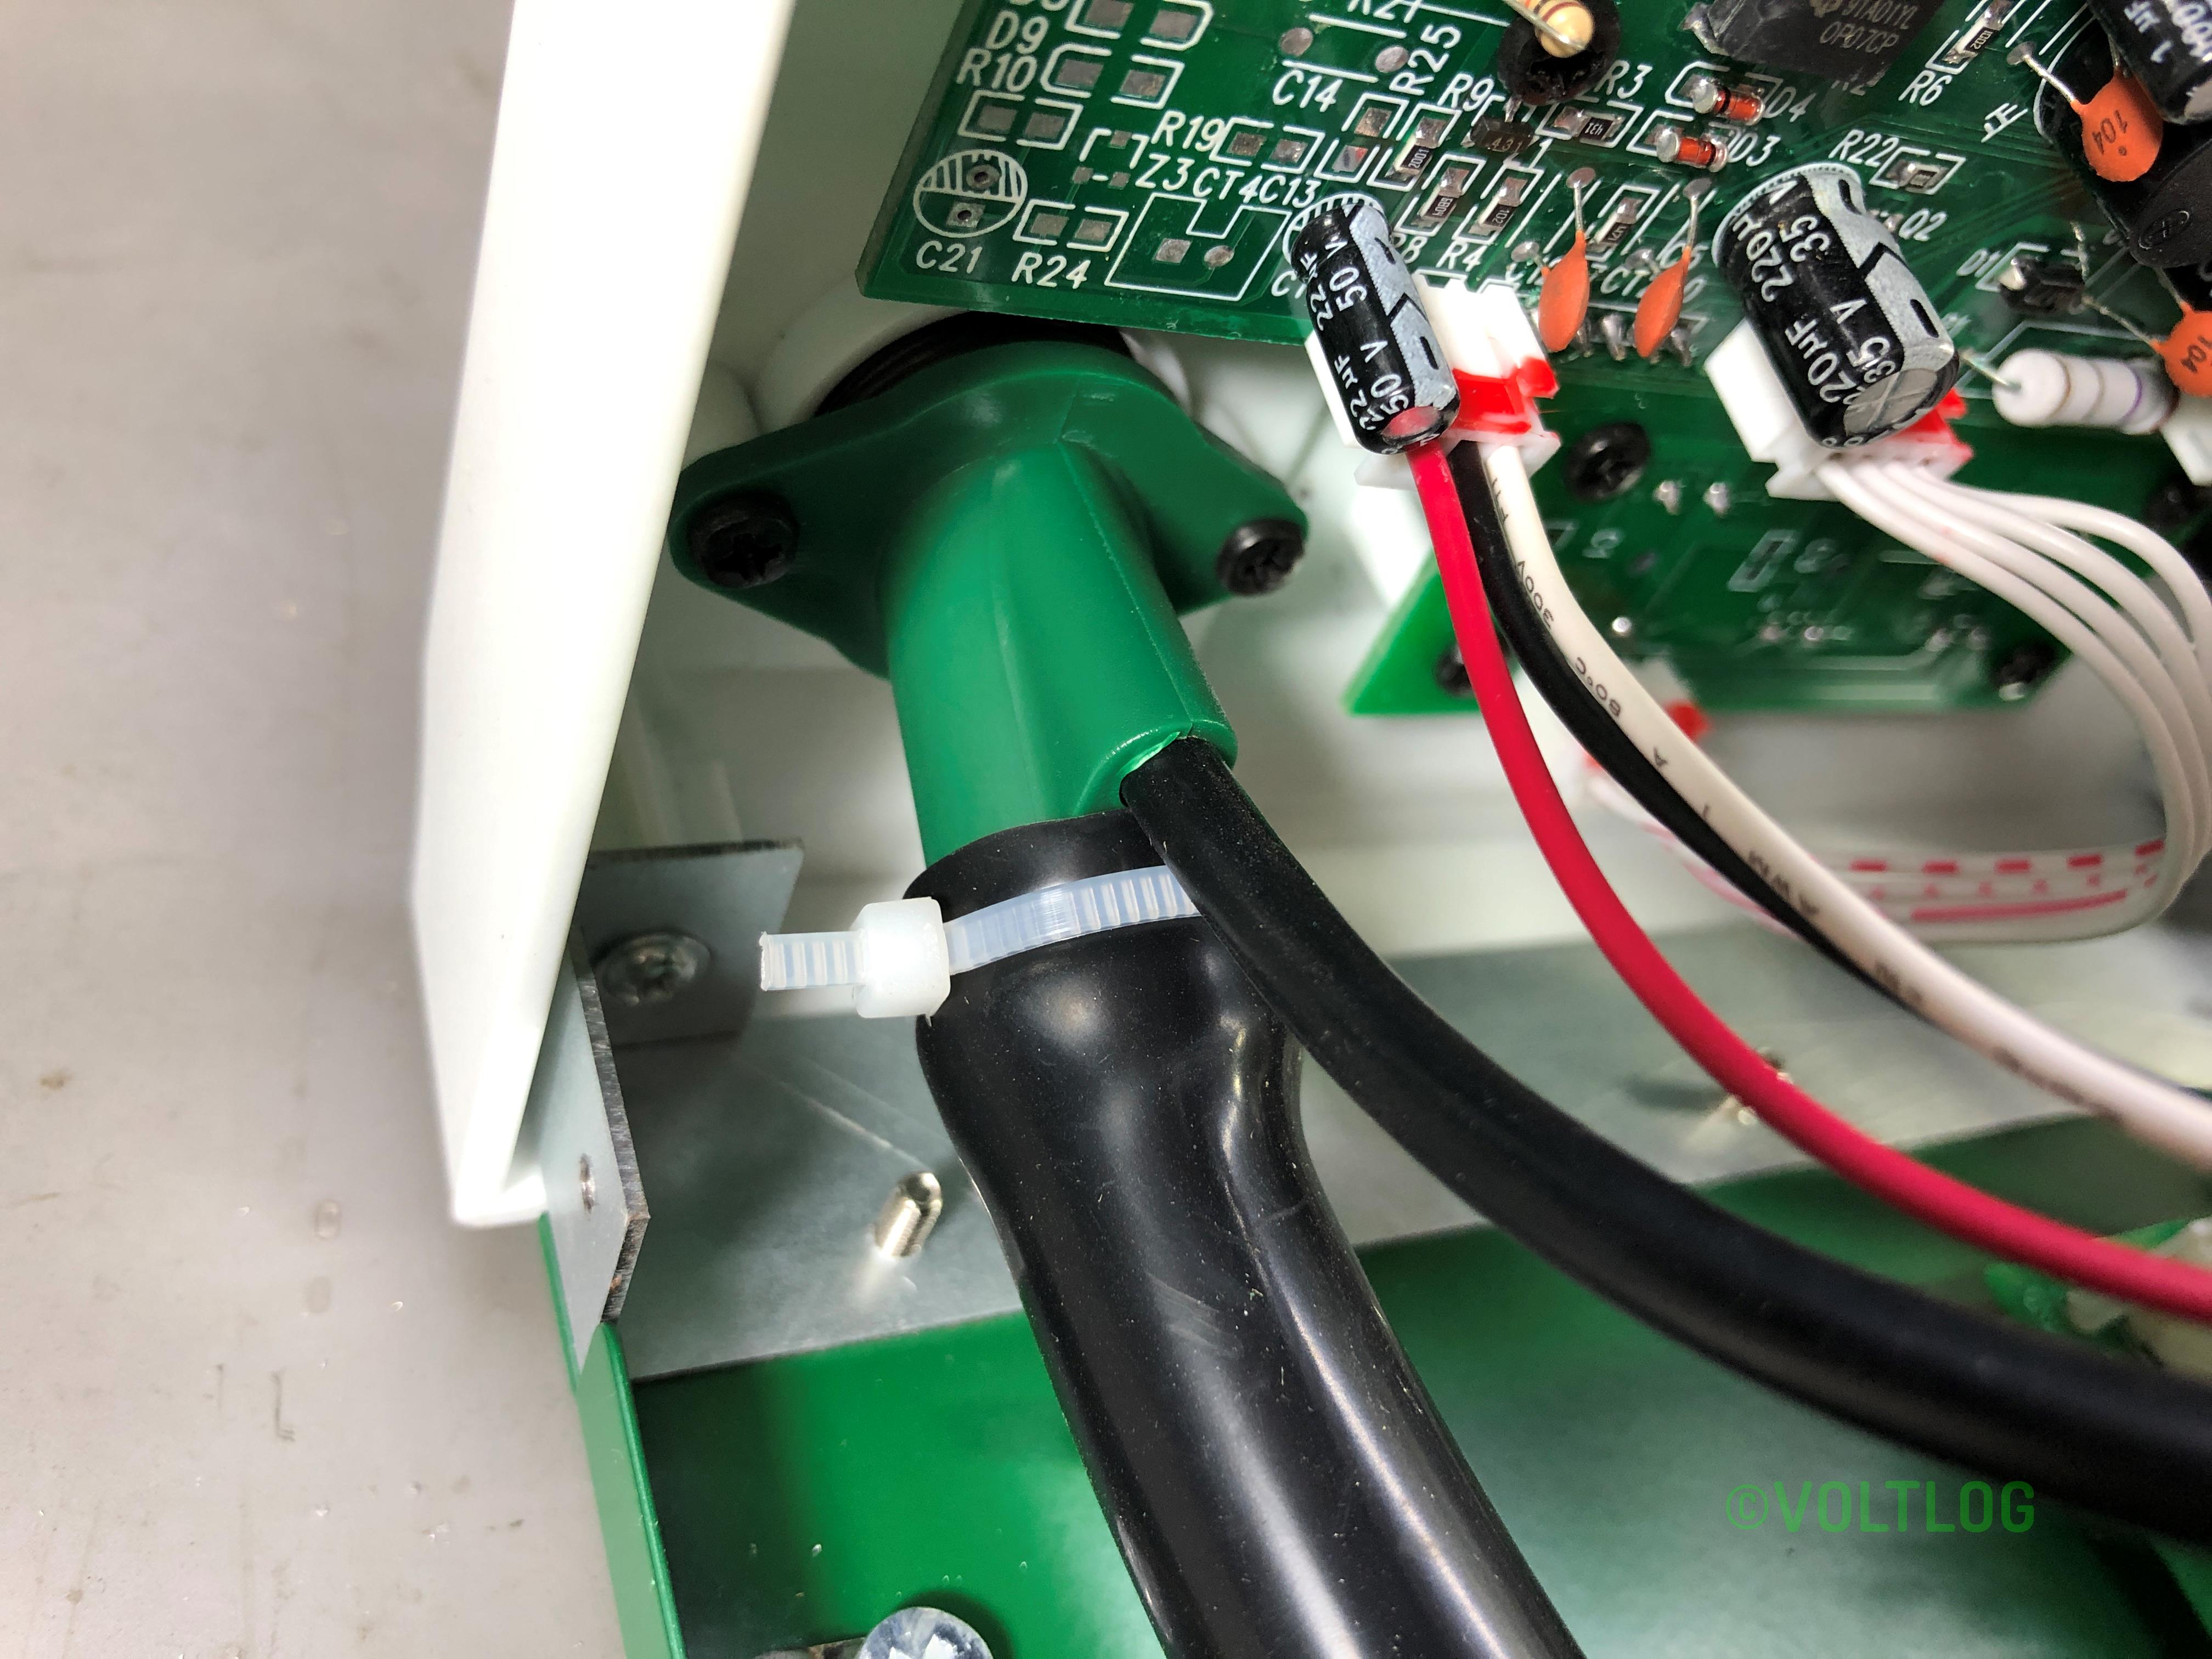
Inside the box of the BST-863 we have the station, a really nice and heavy stand for the tool piece, a total of 3 nozzles, a grounding strap and a power cord. The first thing I notice is the hose which pretty thick, certainly thicker than what I had on my old Gordak station but seems to be softer material. The way it’s designed with the tool standing vertically in the stand makes the air hose forms this loop which depending on your bench setup might or might not bother you but it’s something to consider. But I like the quality of the stand, it’s heavy and feels very sturdy, you get this accessory here which allows you to remove the nozzles while hot and the station has a sensor to detect when the handle is in the stand.
Adjustment of temperature and air level is made through this touch screen control. I’m a bit anti touch screen control on test gear so I would’ve preferred some switches on the front panel but don’t get me wrong, the touch screen works well on this unit, it has nice big touch keys and after setting up your presets you are likely not going to need to adjust the temperature you will just be using the presets like leaded, lead free and another one for heatshrink maybe.
Is this cheaper station a good alternative to the Quick 861DW? This video review should provide you with enough info to decide which one to buy.
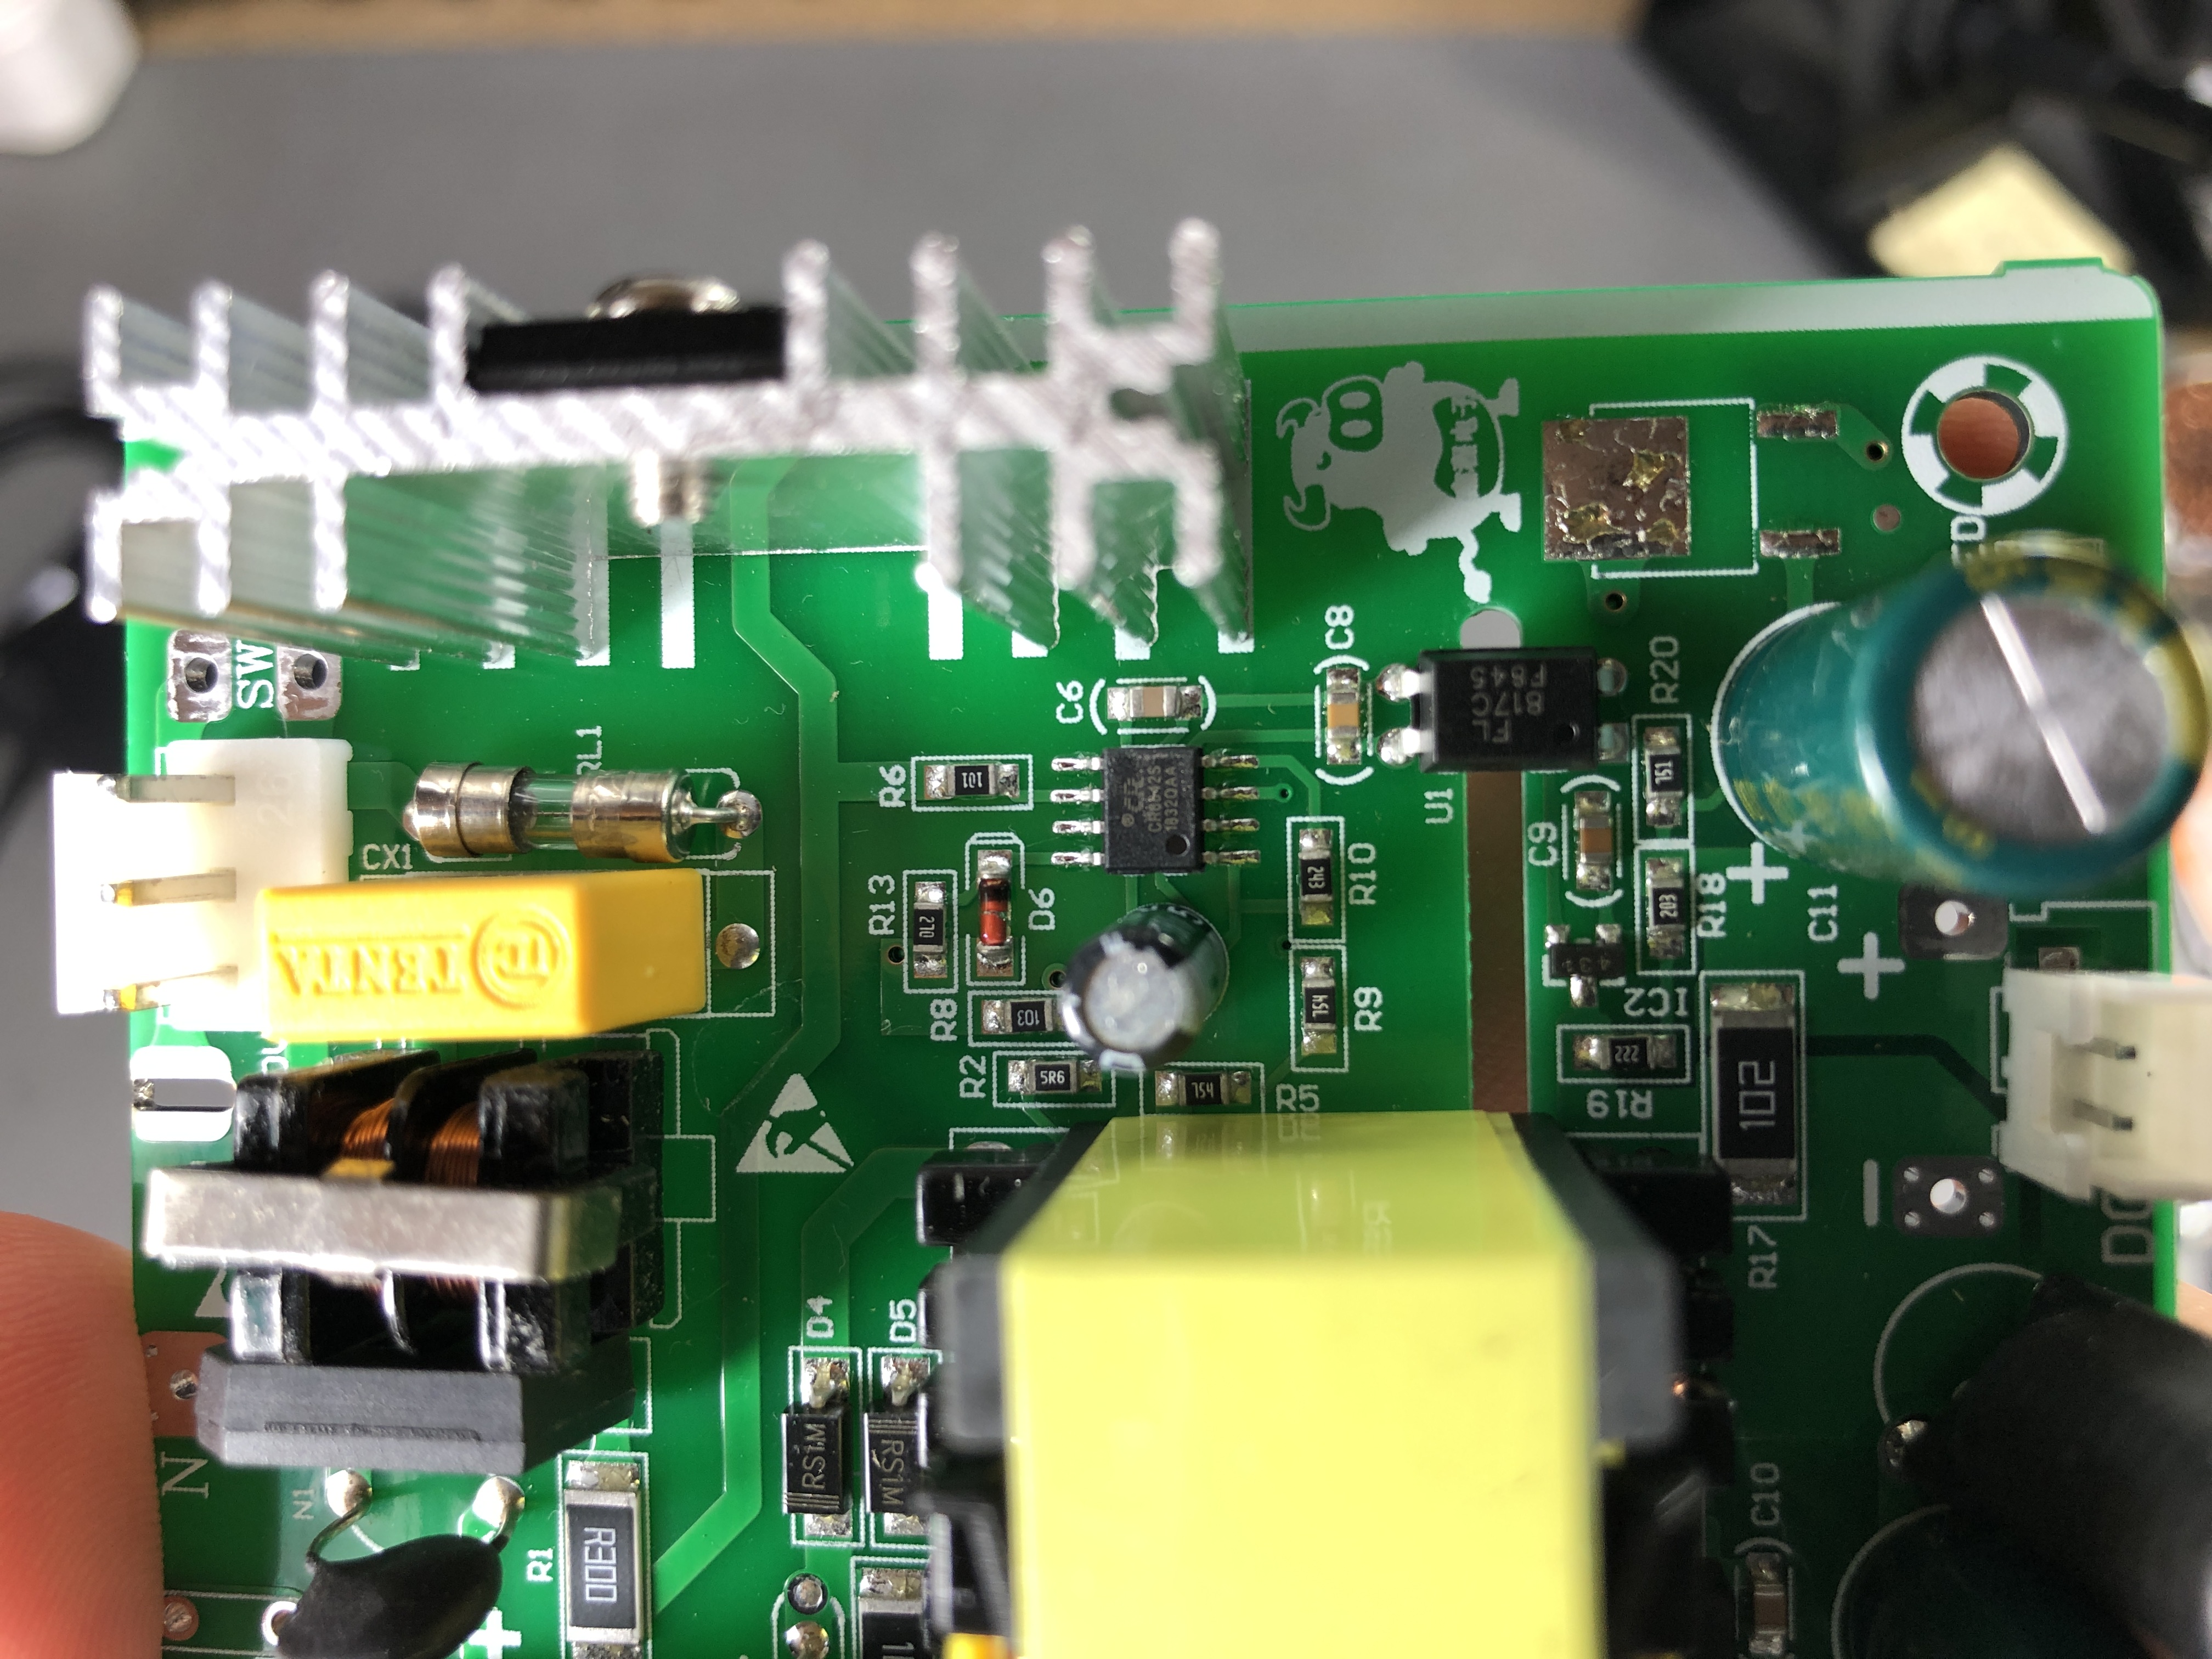
Here are some high resolution images from the teardown:
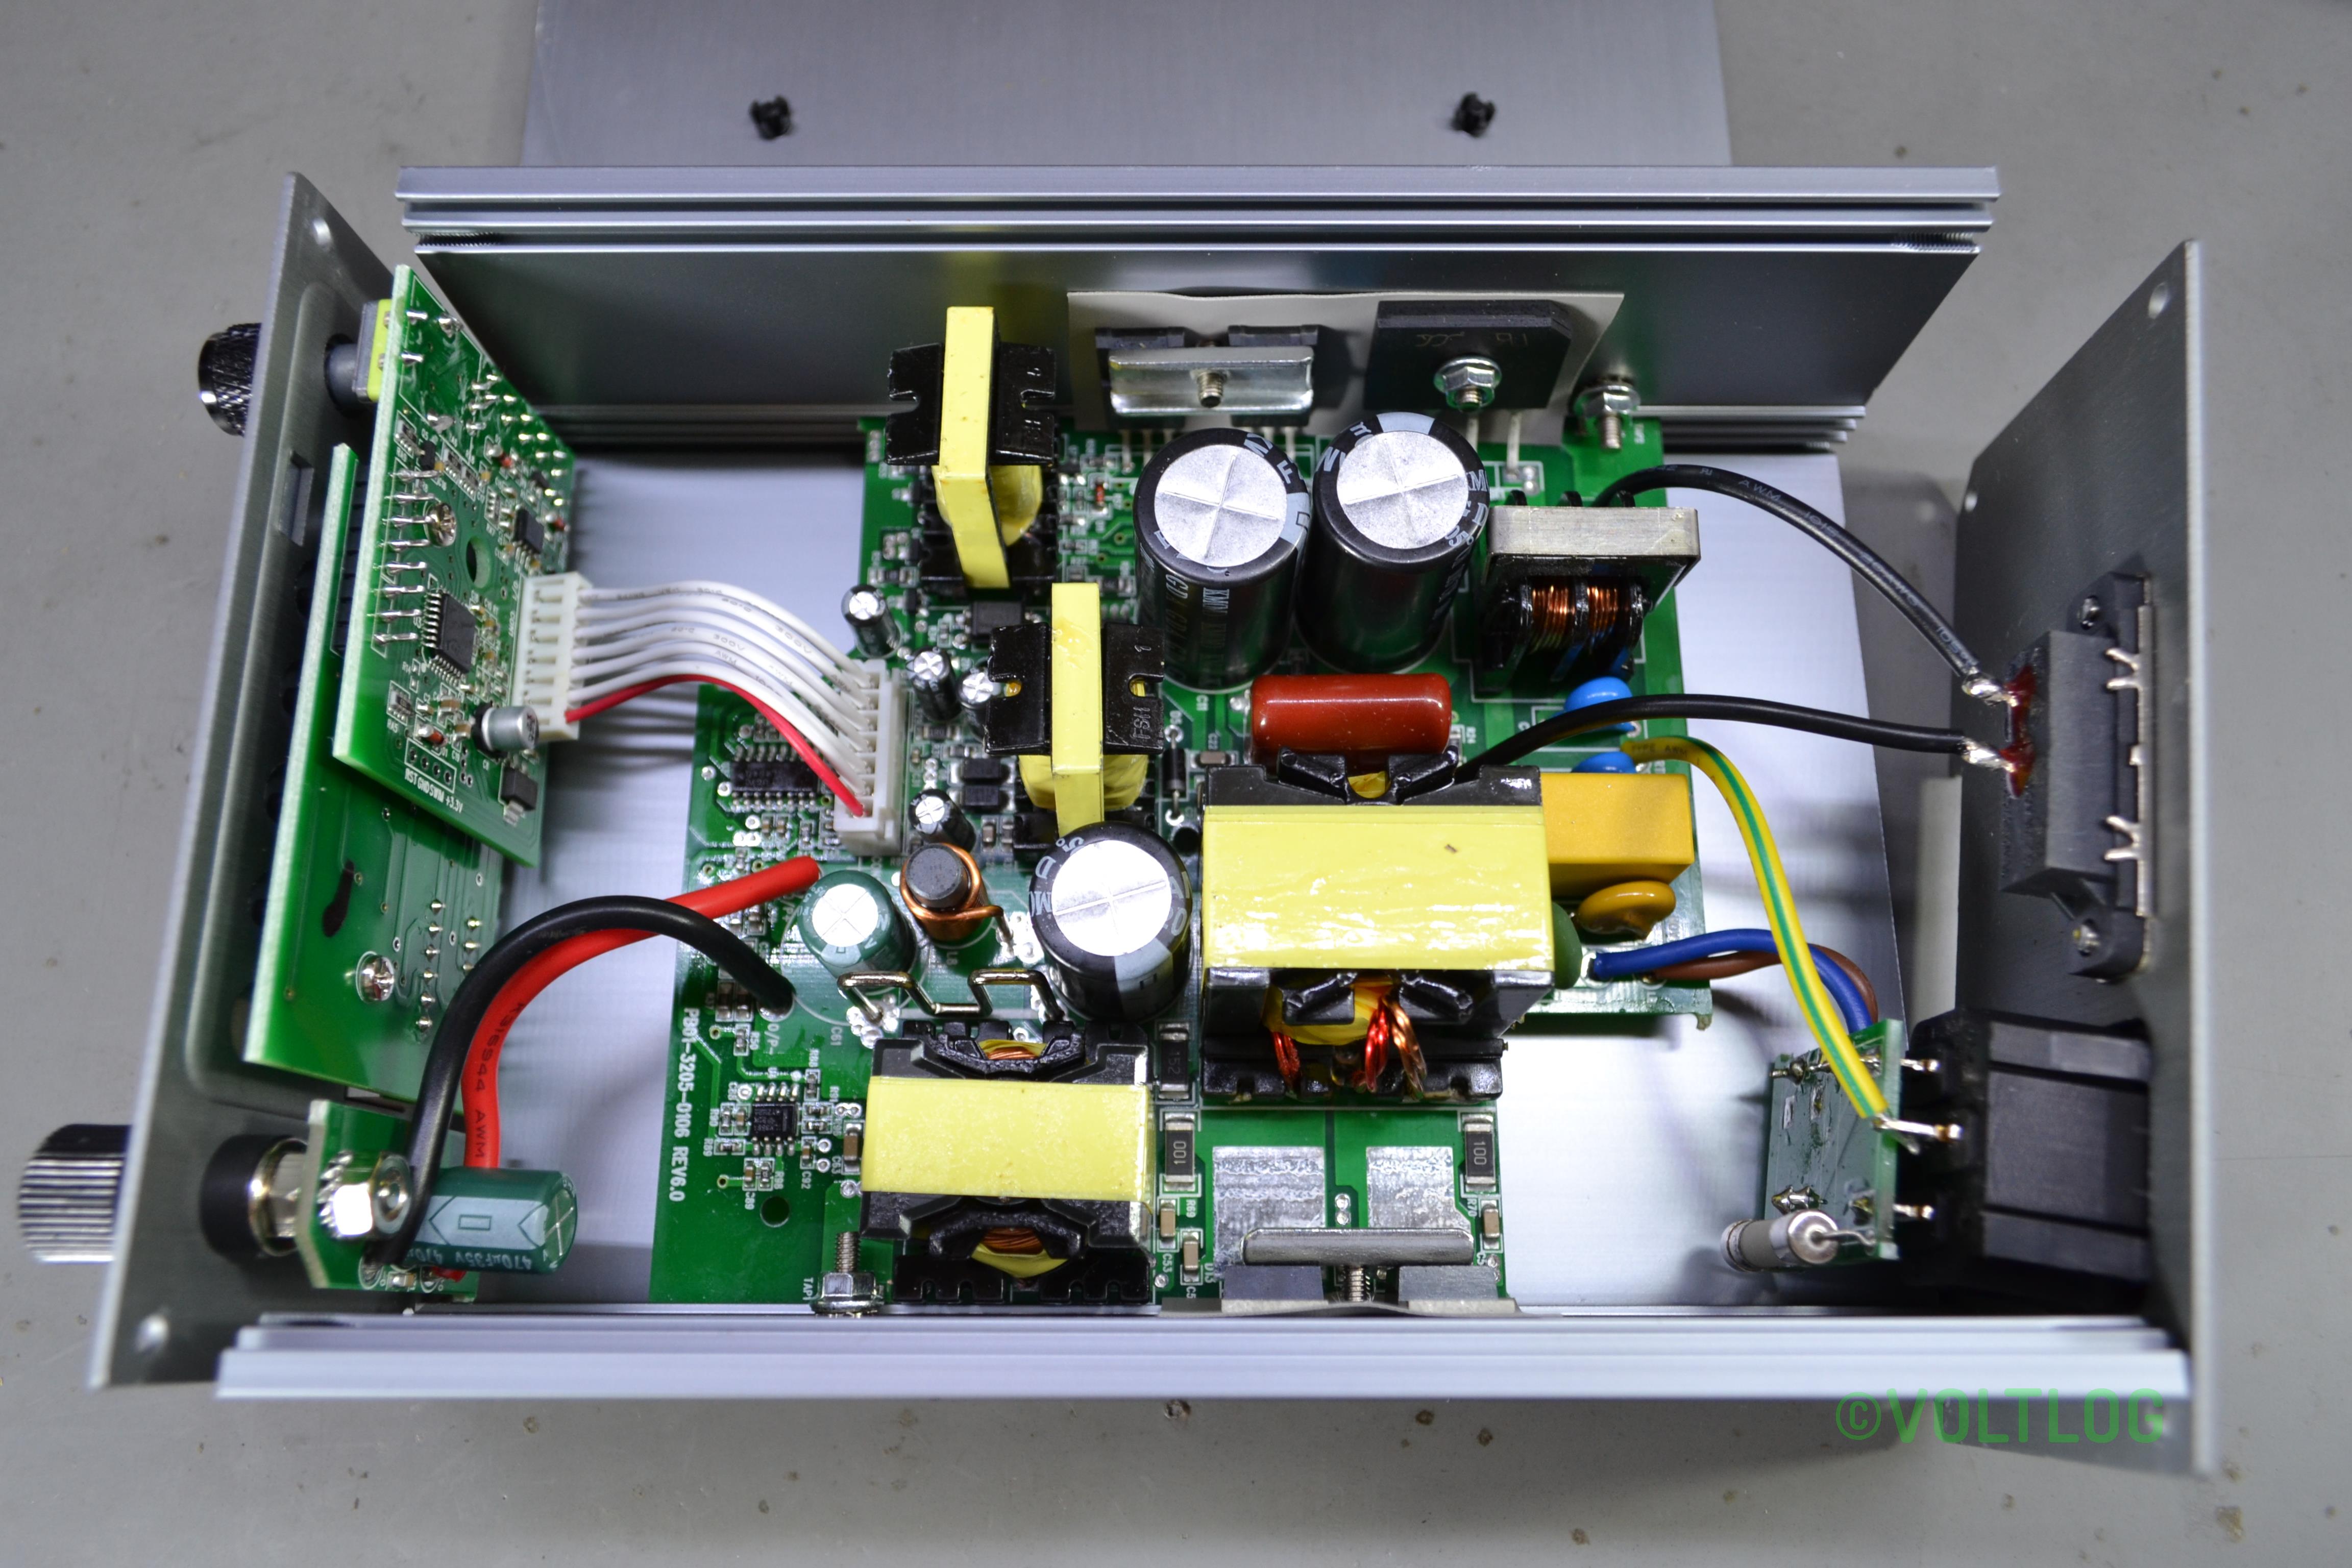
Welcome to a new Voltlog, those who have been with me since the beginning of this channel, may know the first video I ever released, Voltlog #1 was a review of a switch mode bench power supply from Gopher Technology. It was the CPS-3205C and it was a great little unit, it has served me well over the years and I still have it.
At that time I complained about the fact that the unit has the output jacks on the back which is not really convenient for bench use. There were also other issues mentioned while measuring the performance of the power supply, I will link that video on screen if you want to watch it but the video, audio and editing quality are lower than what you’re seeing today.
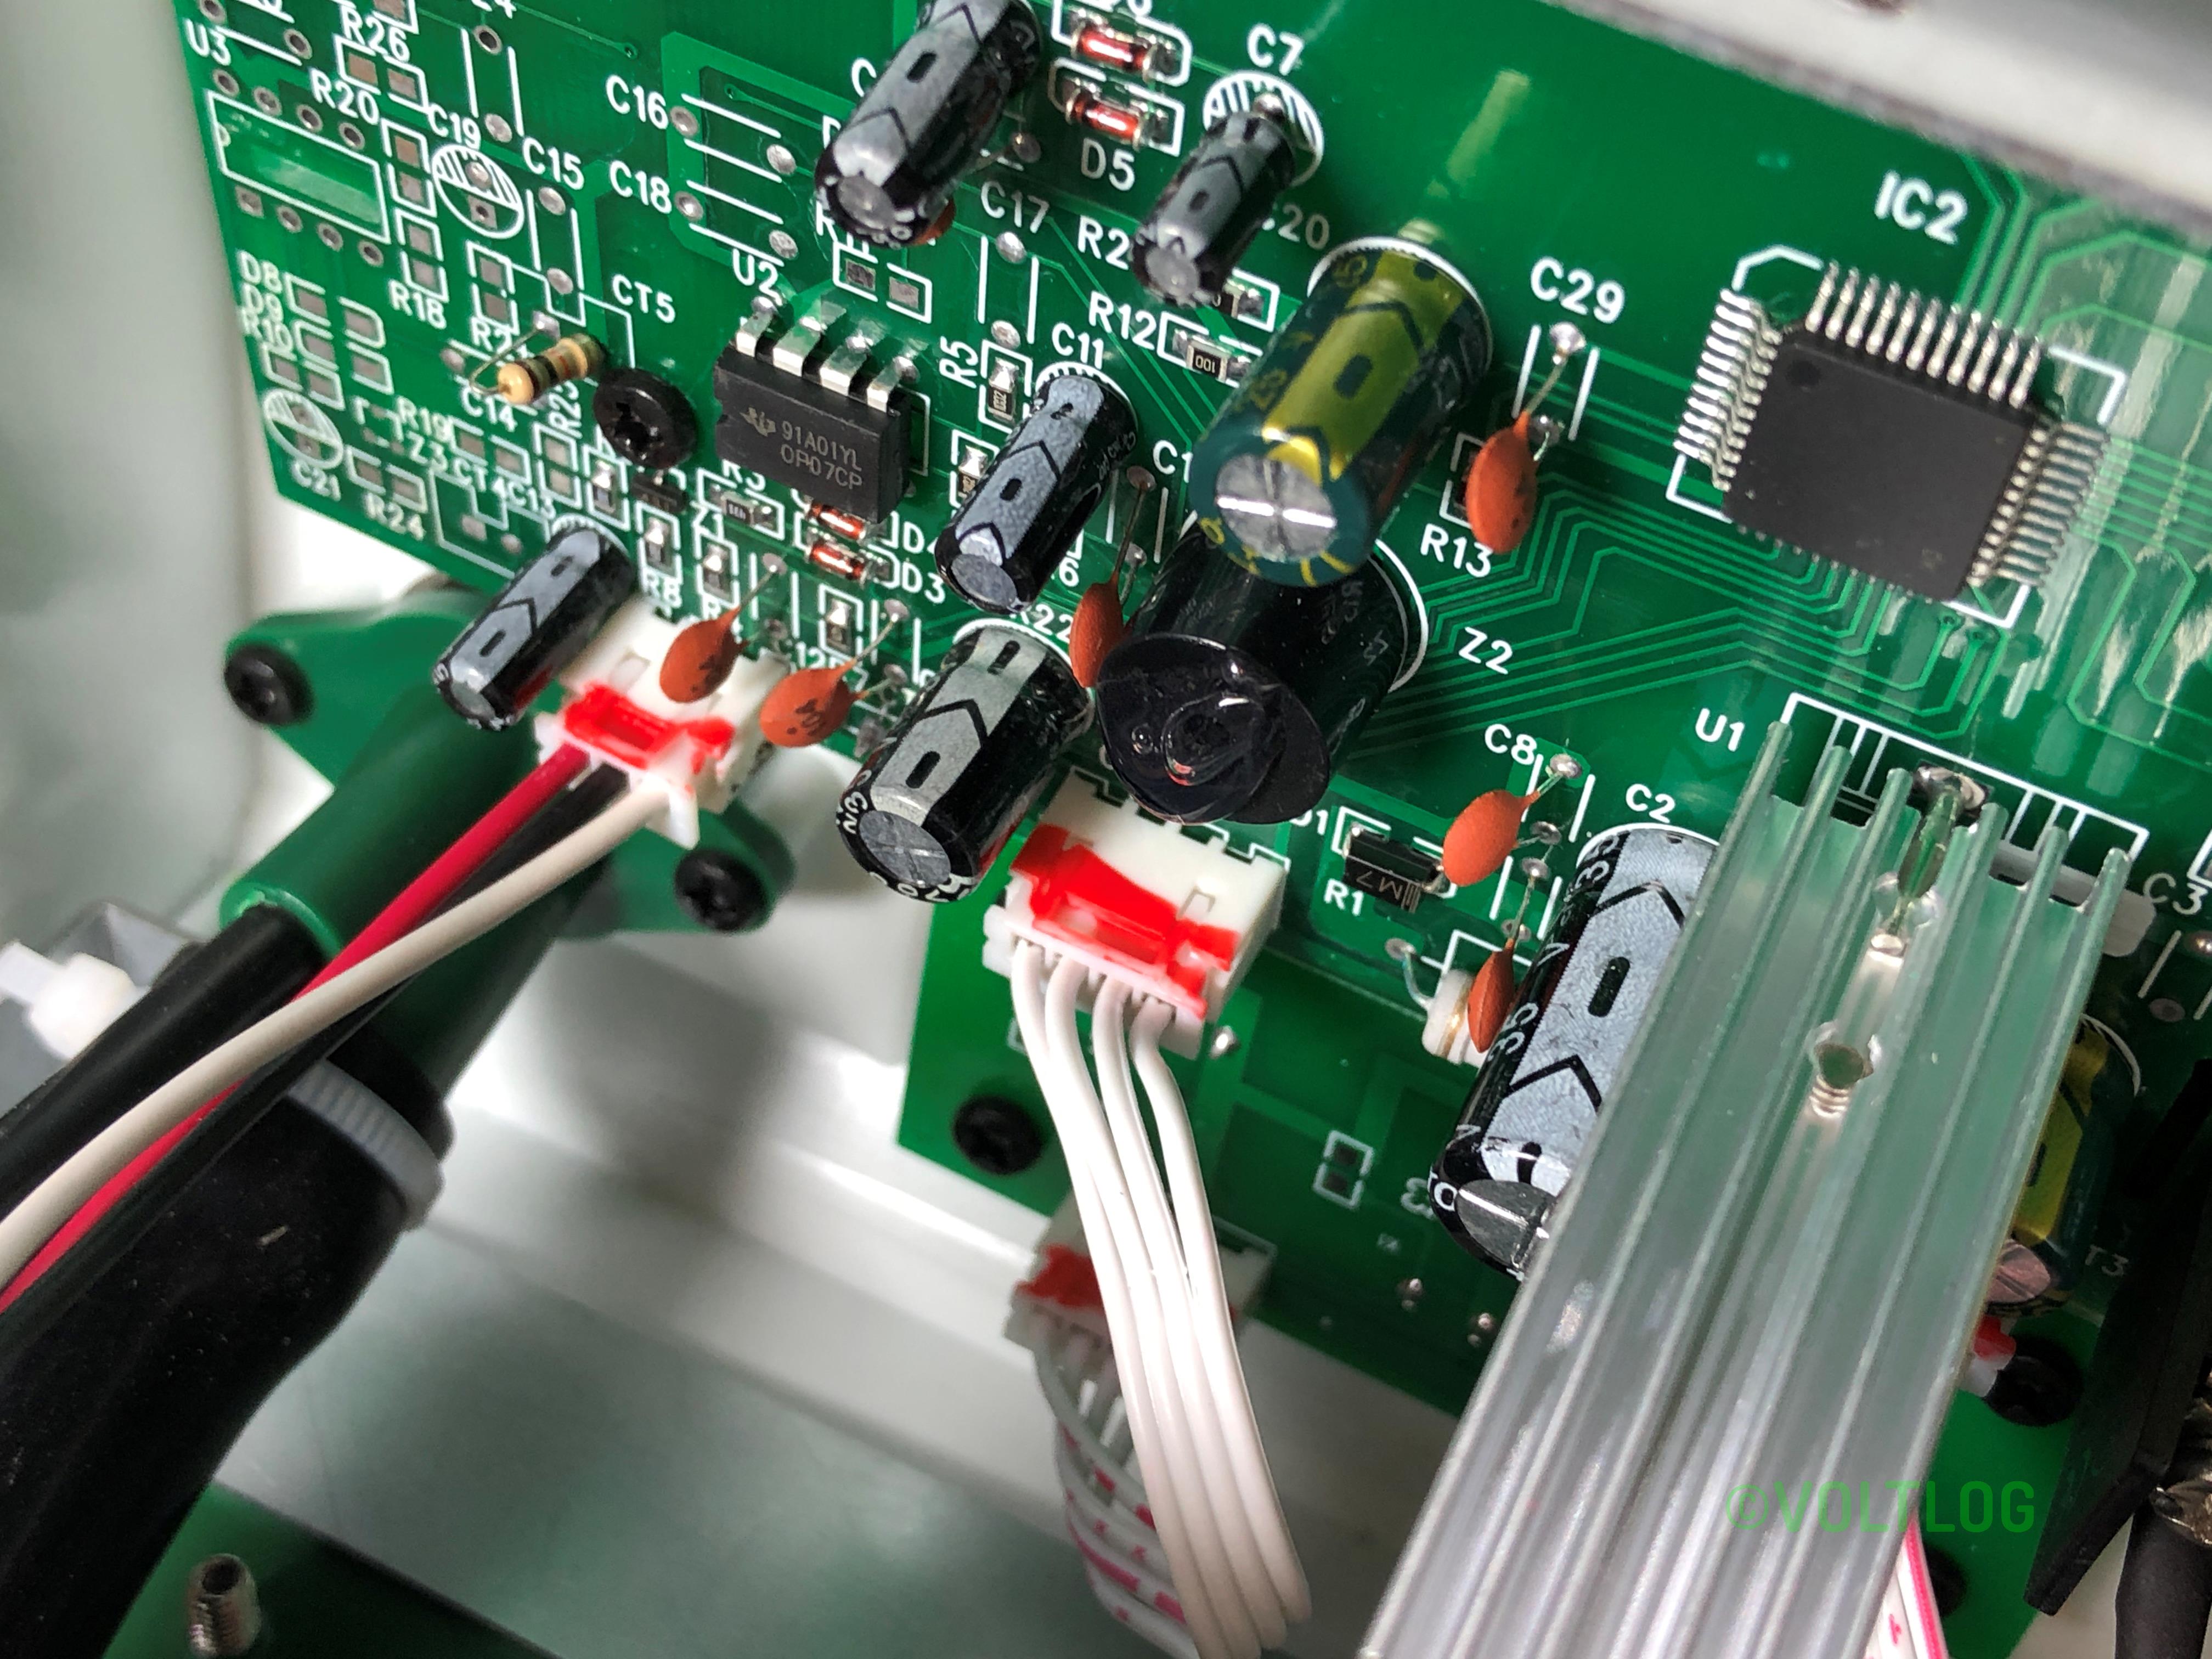
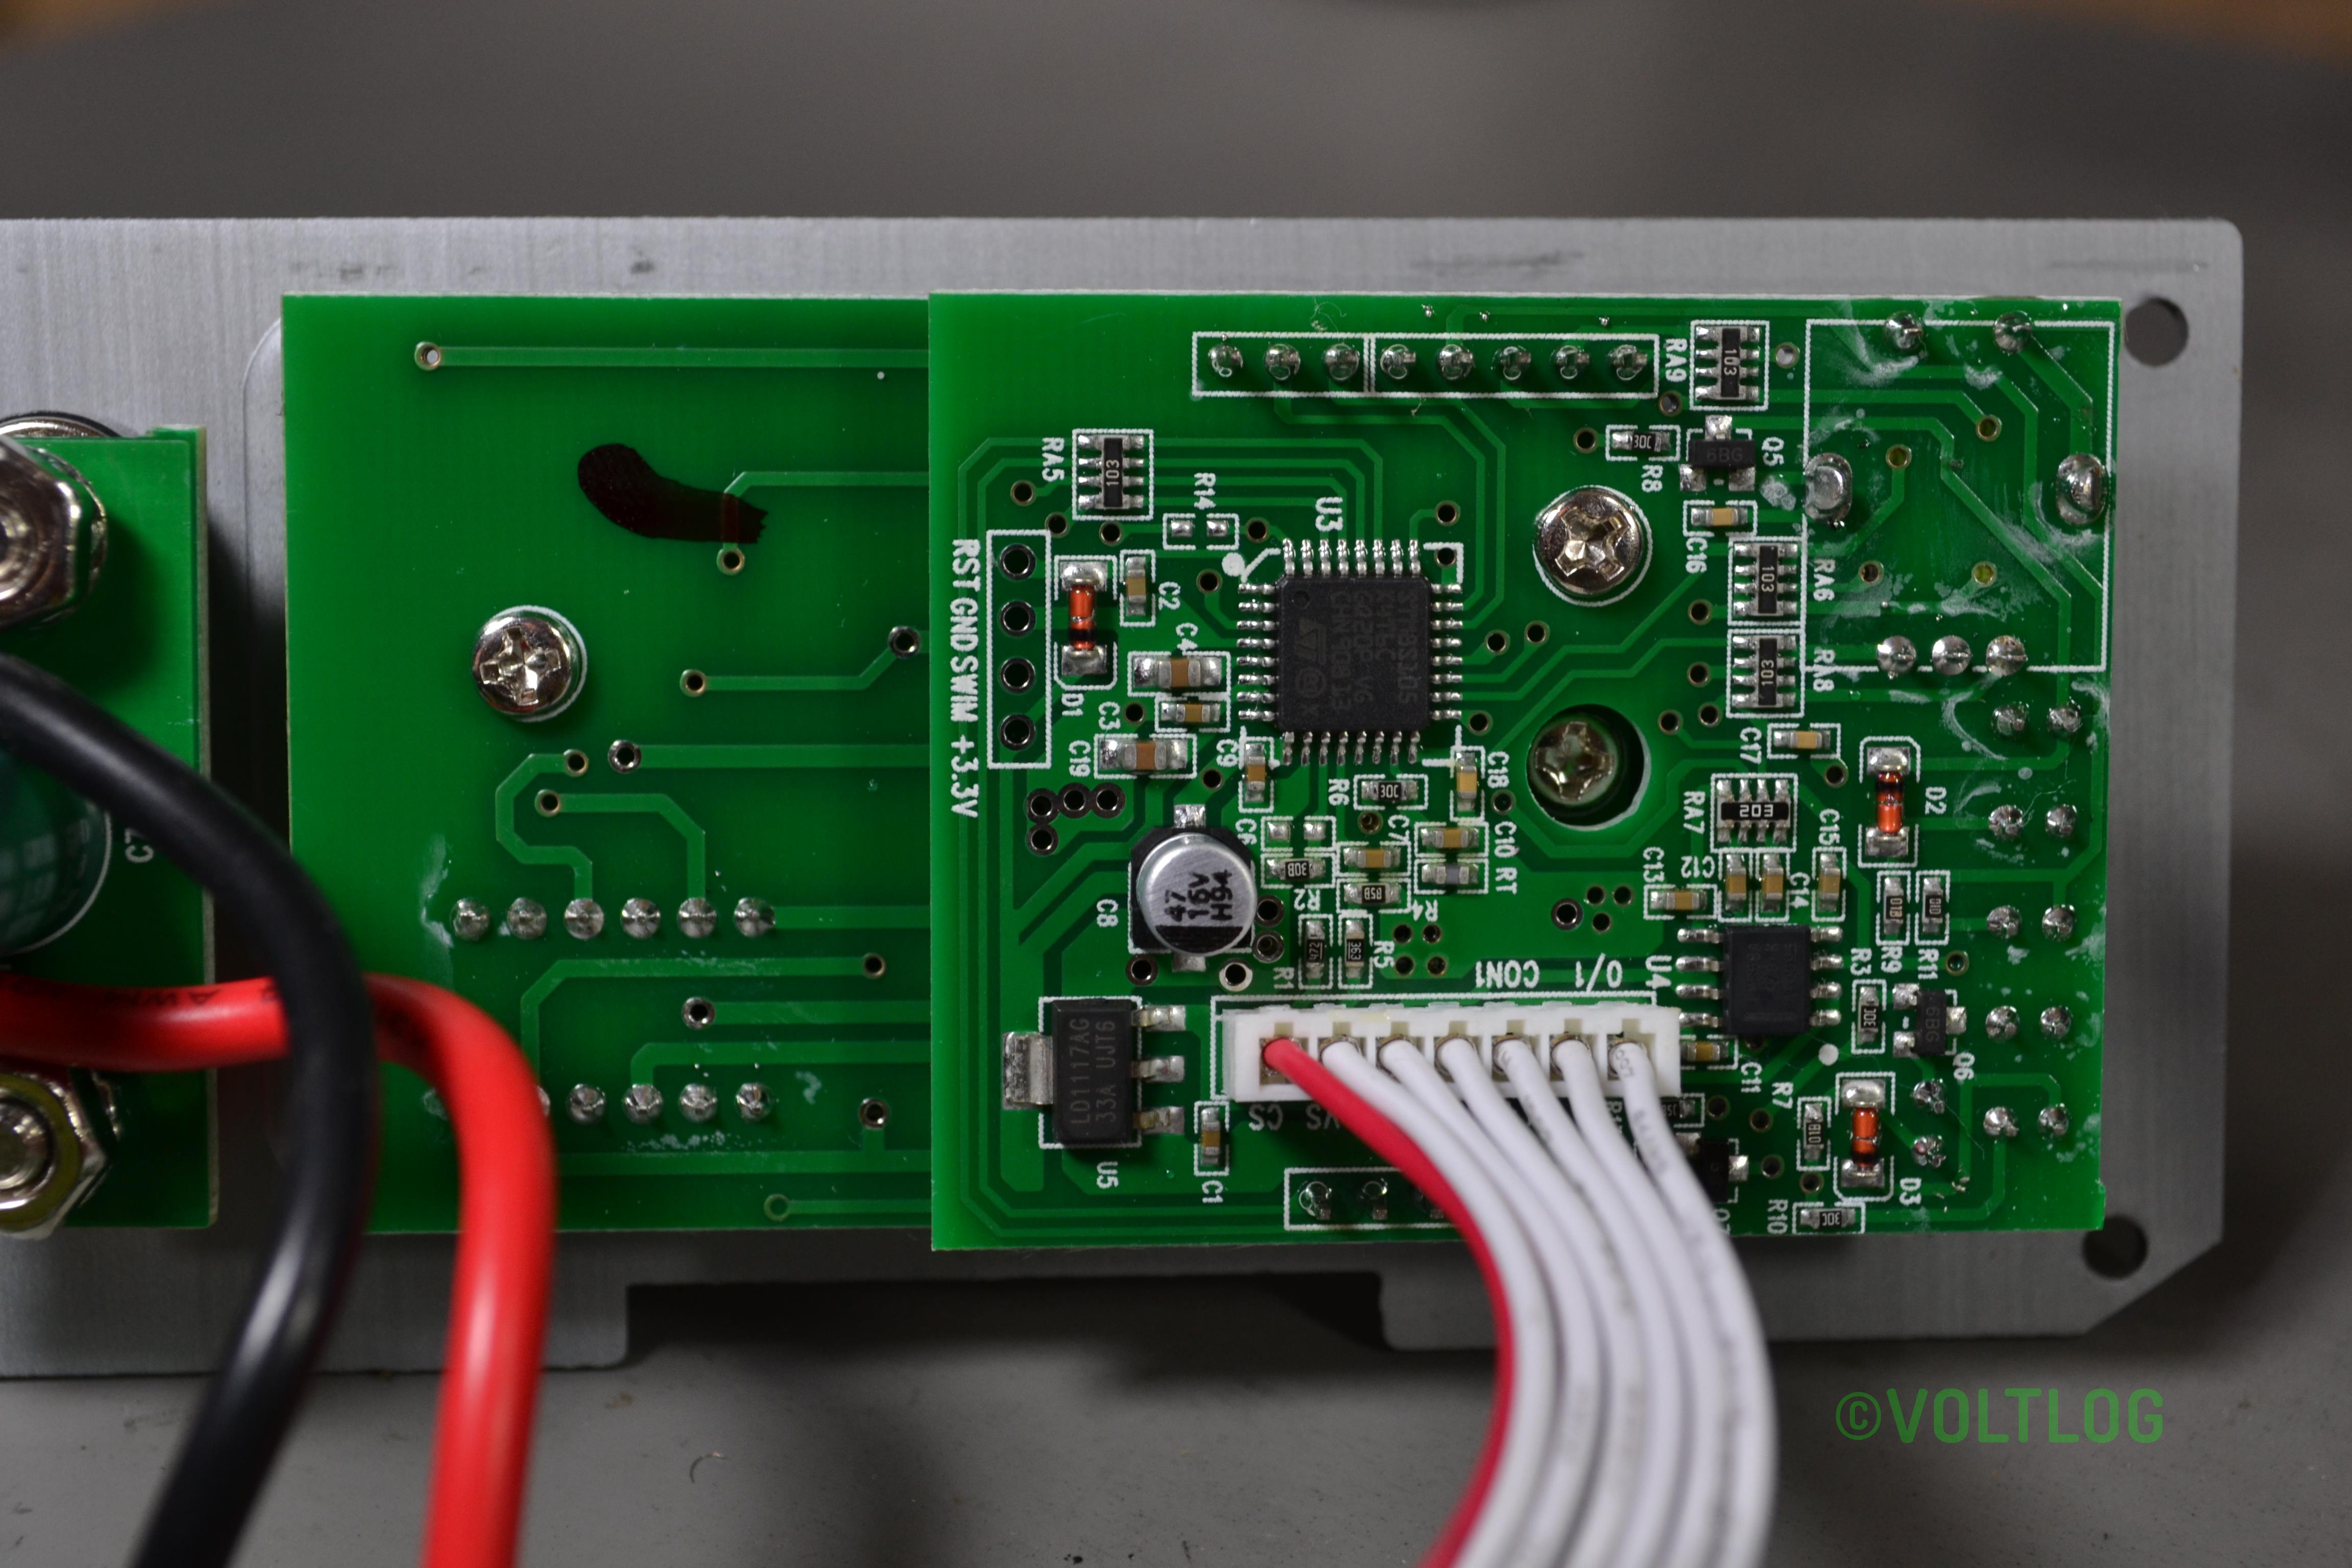
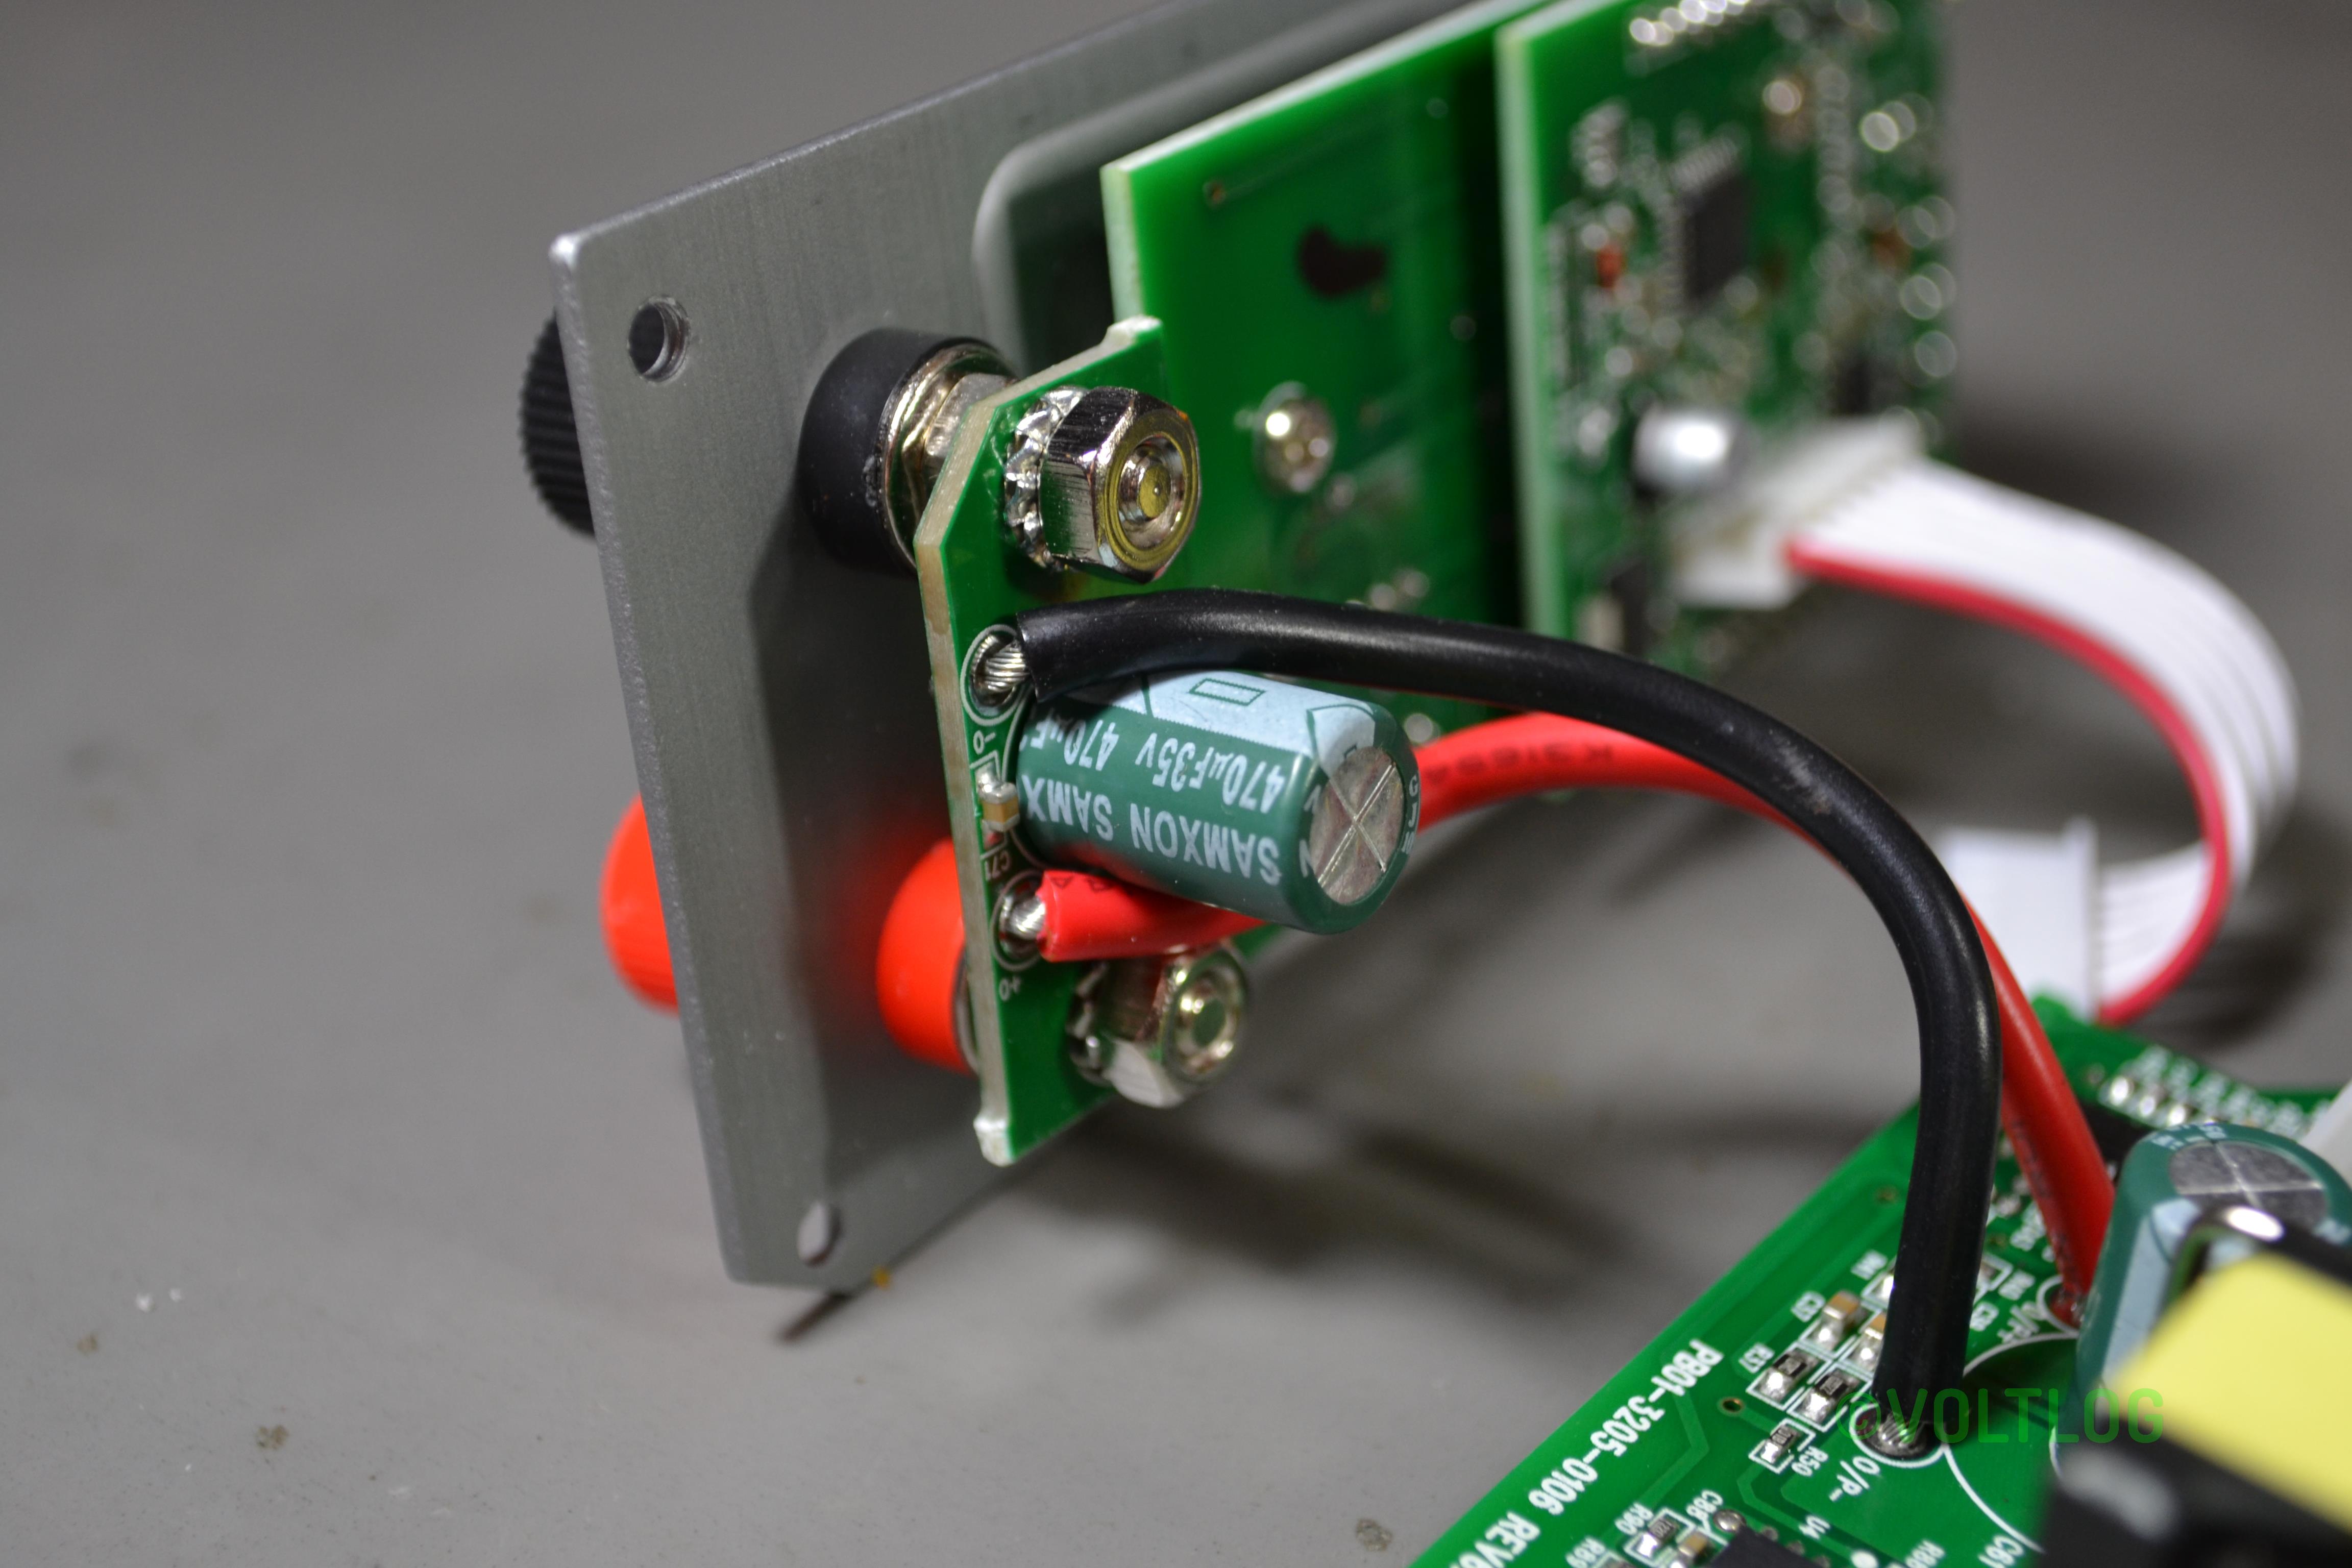
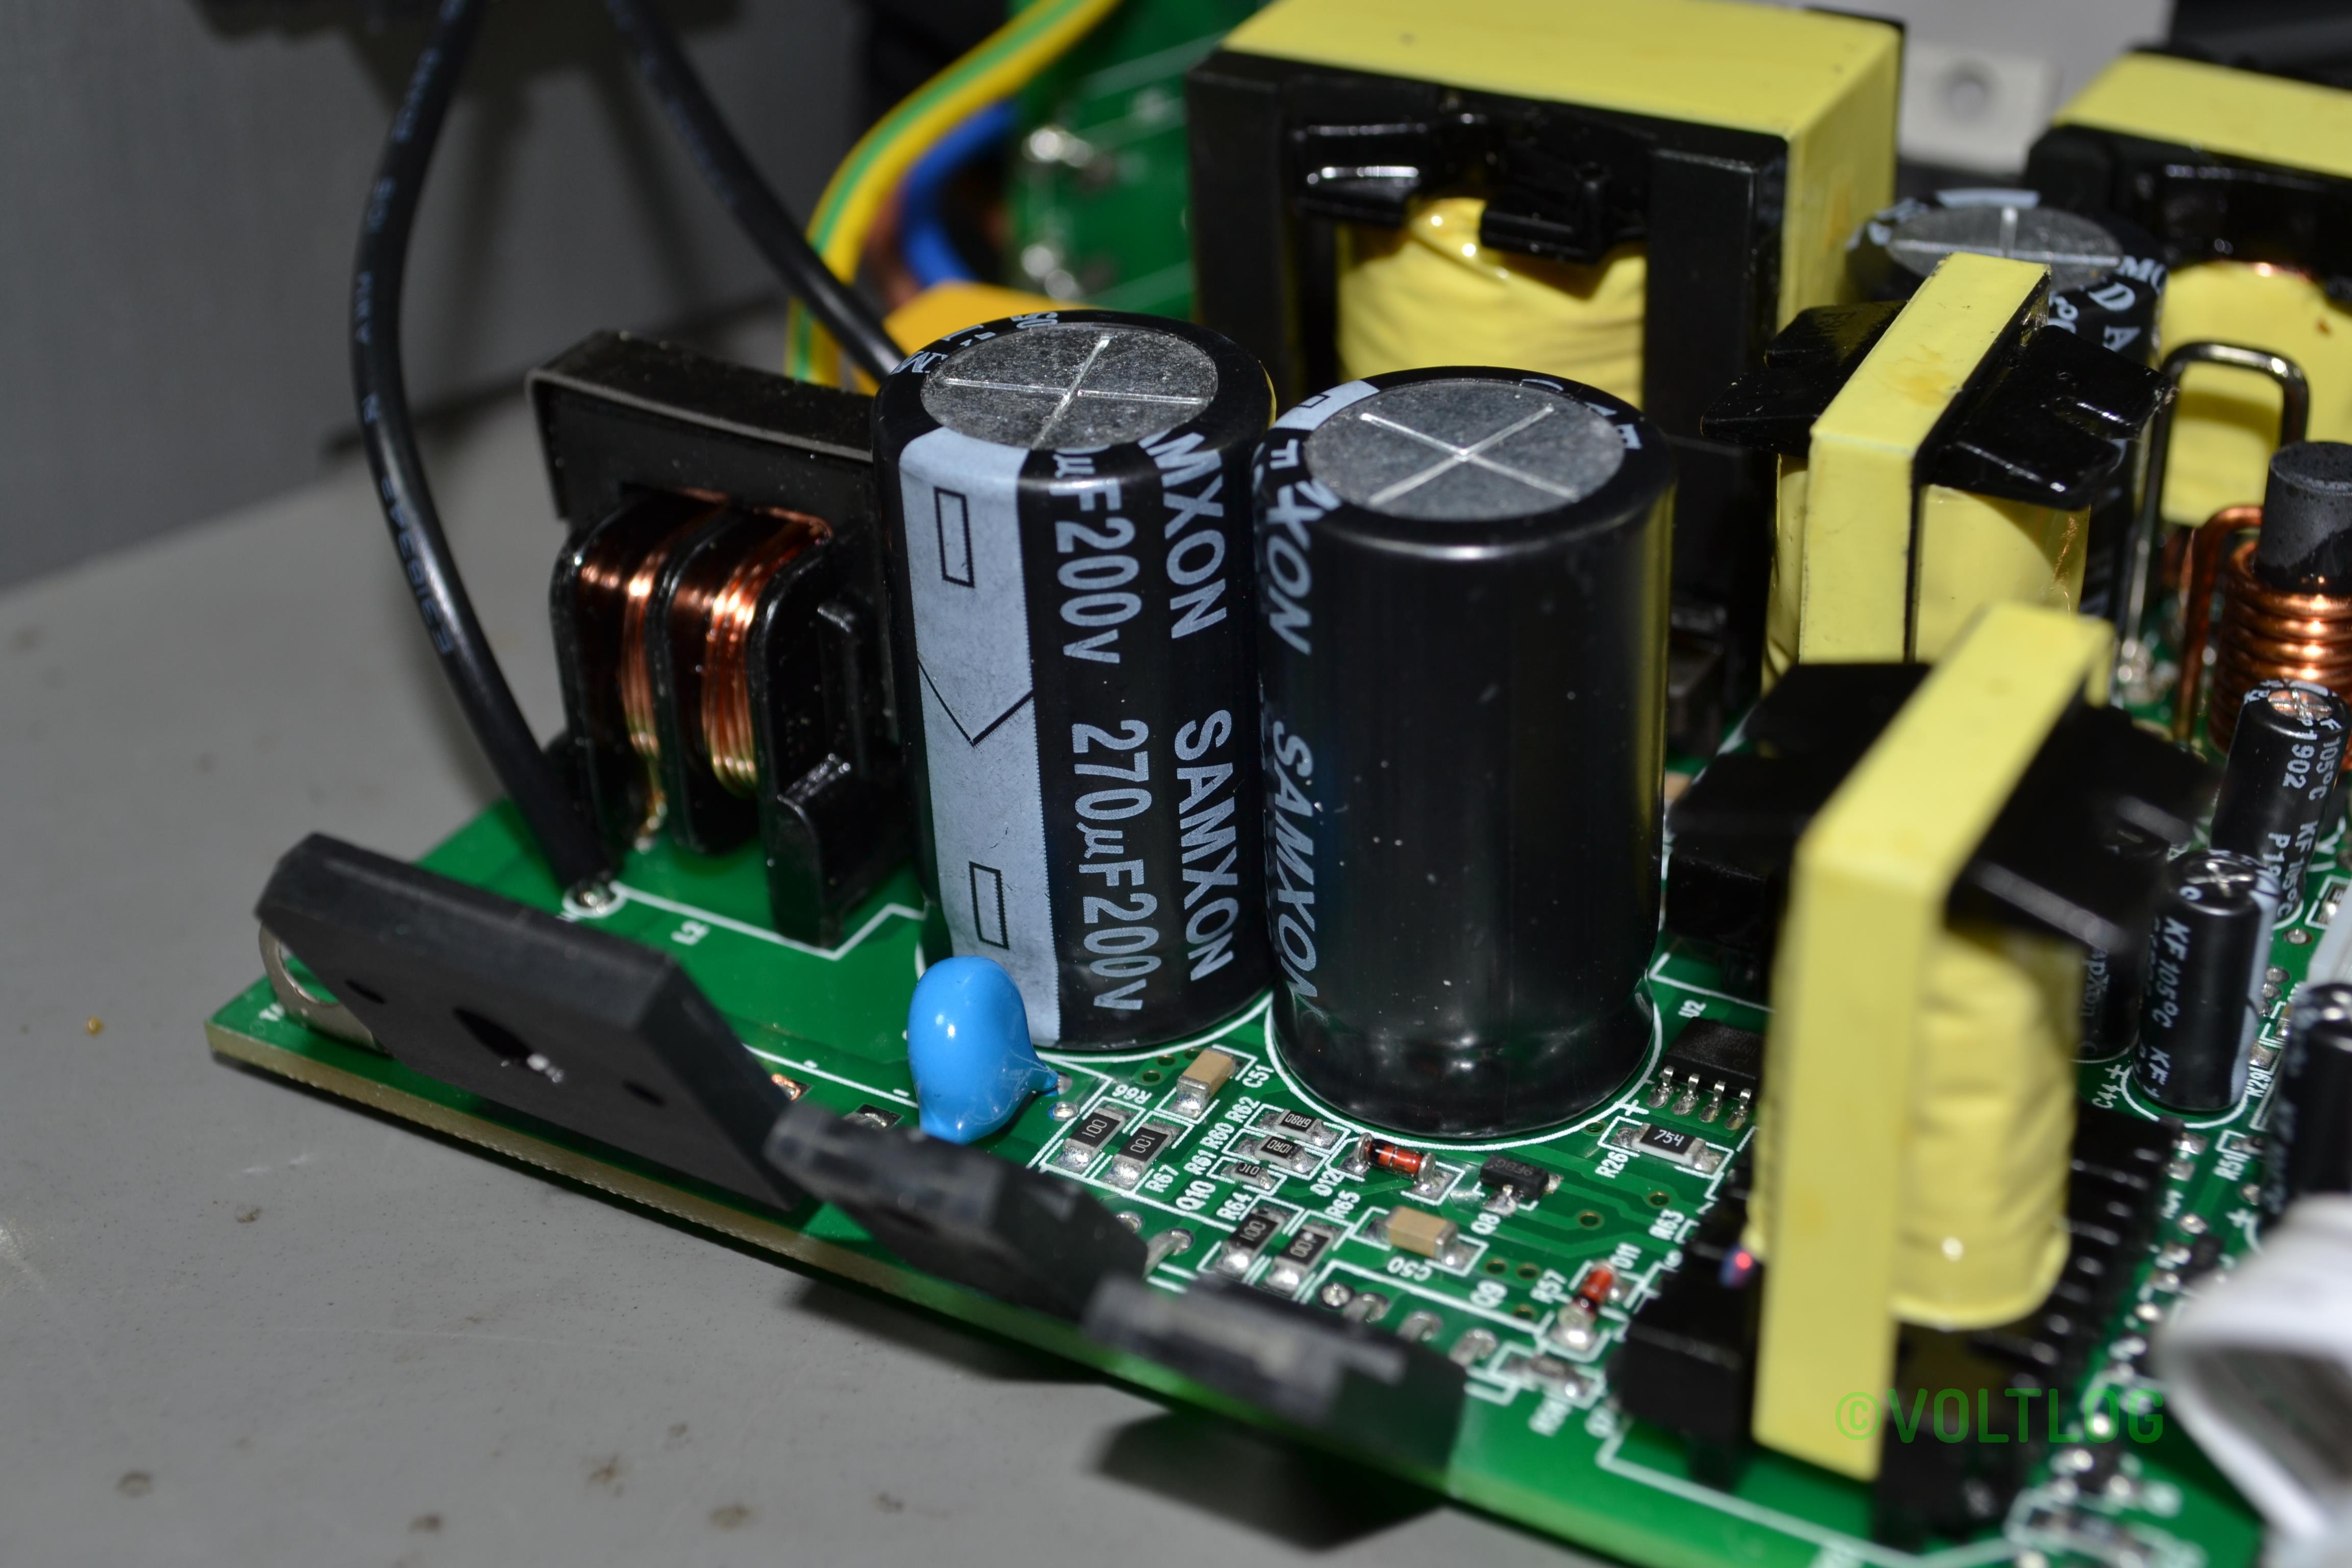
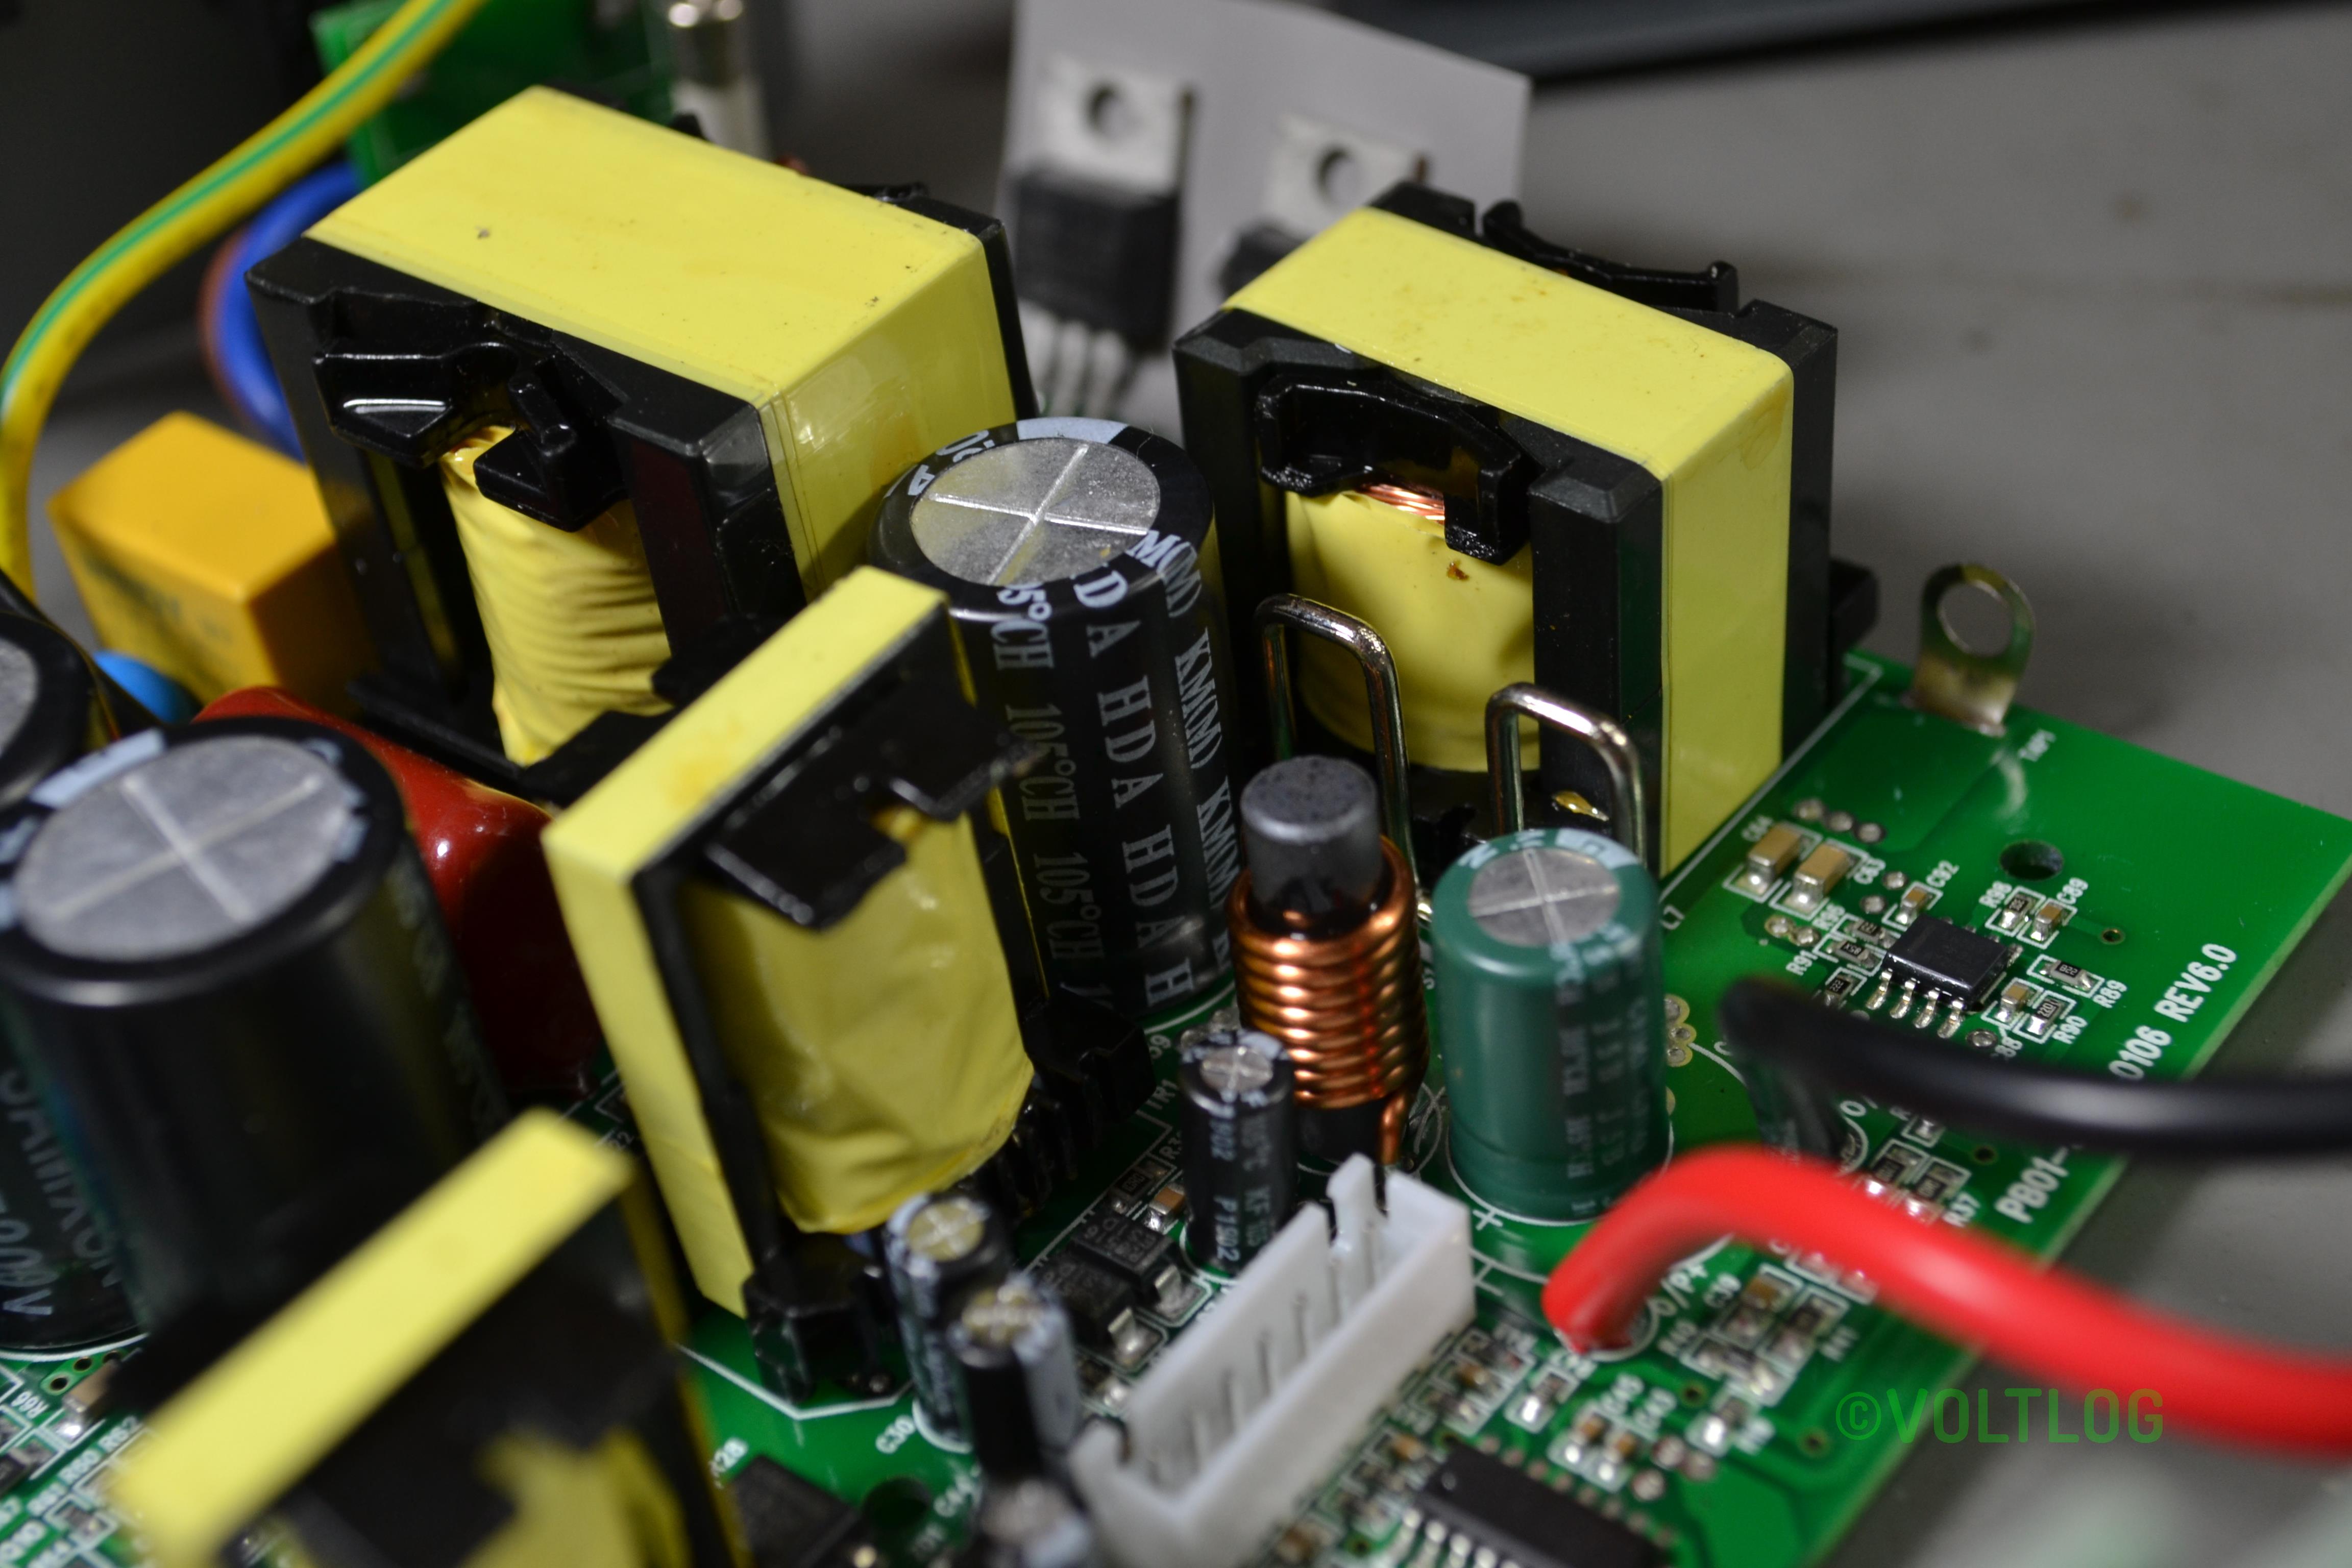
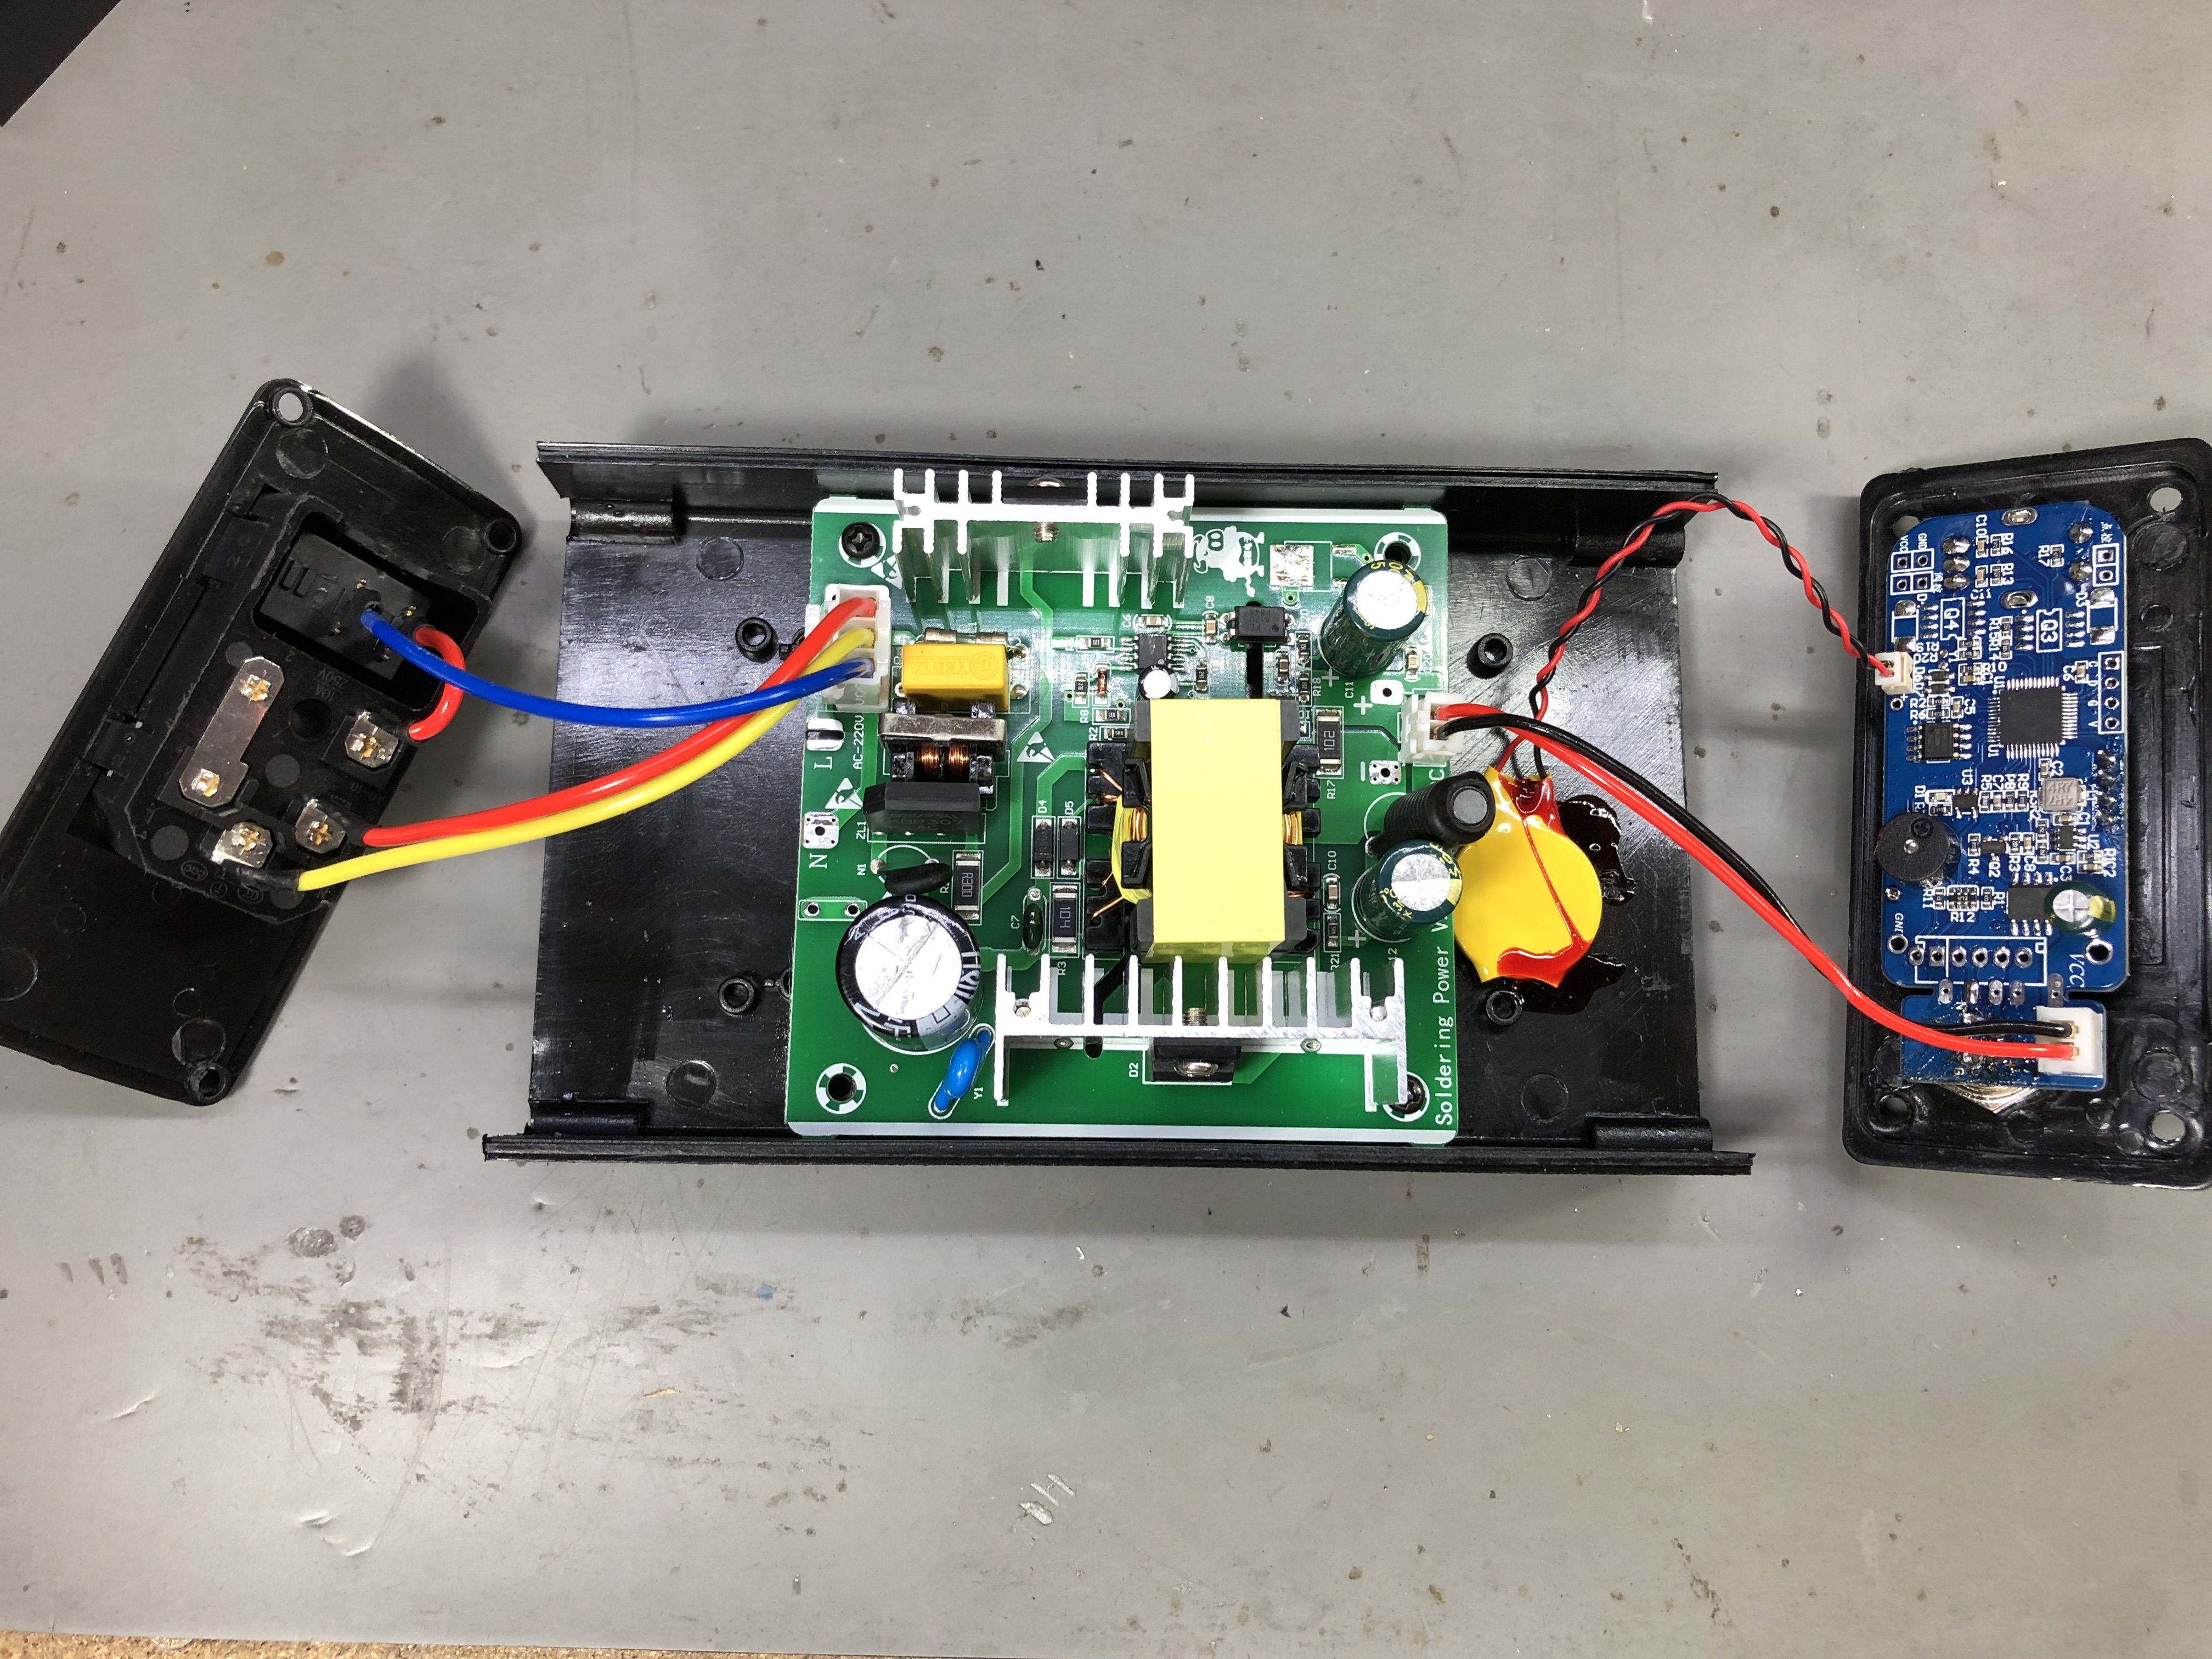
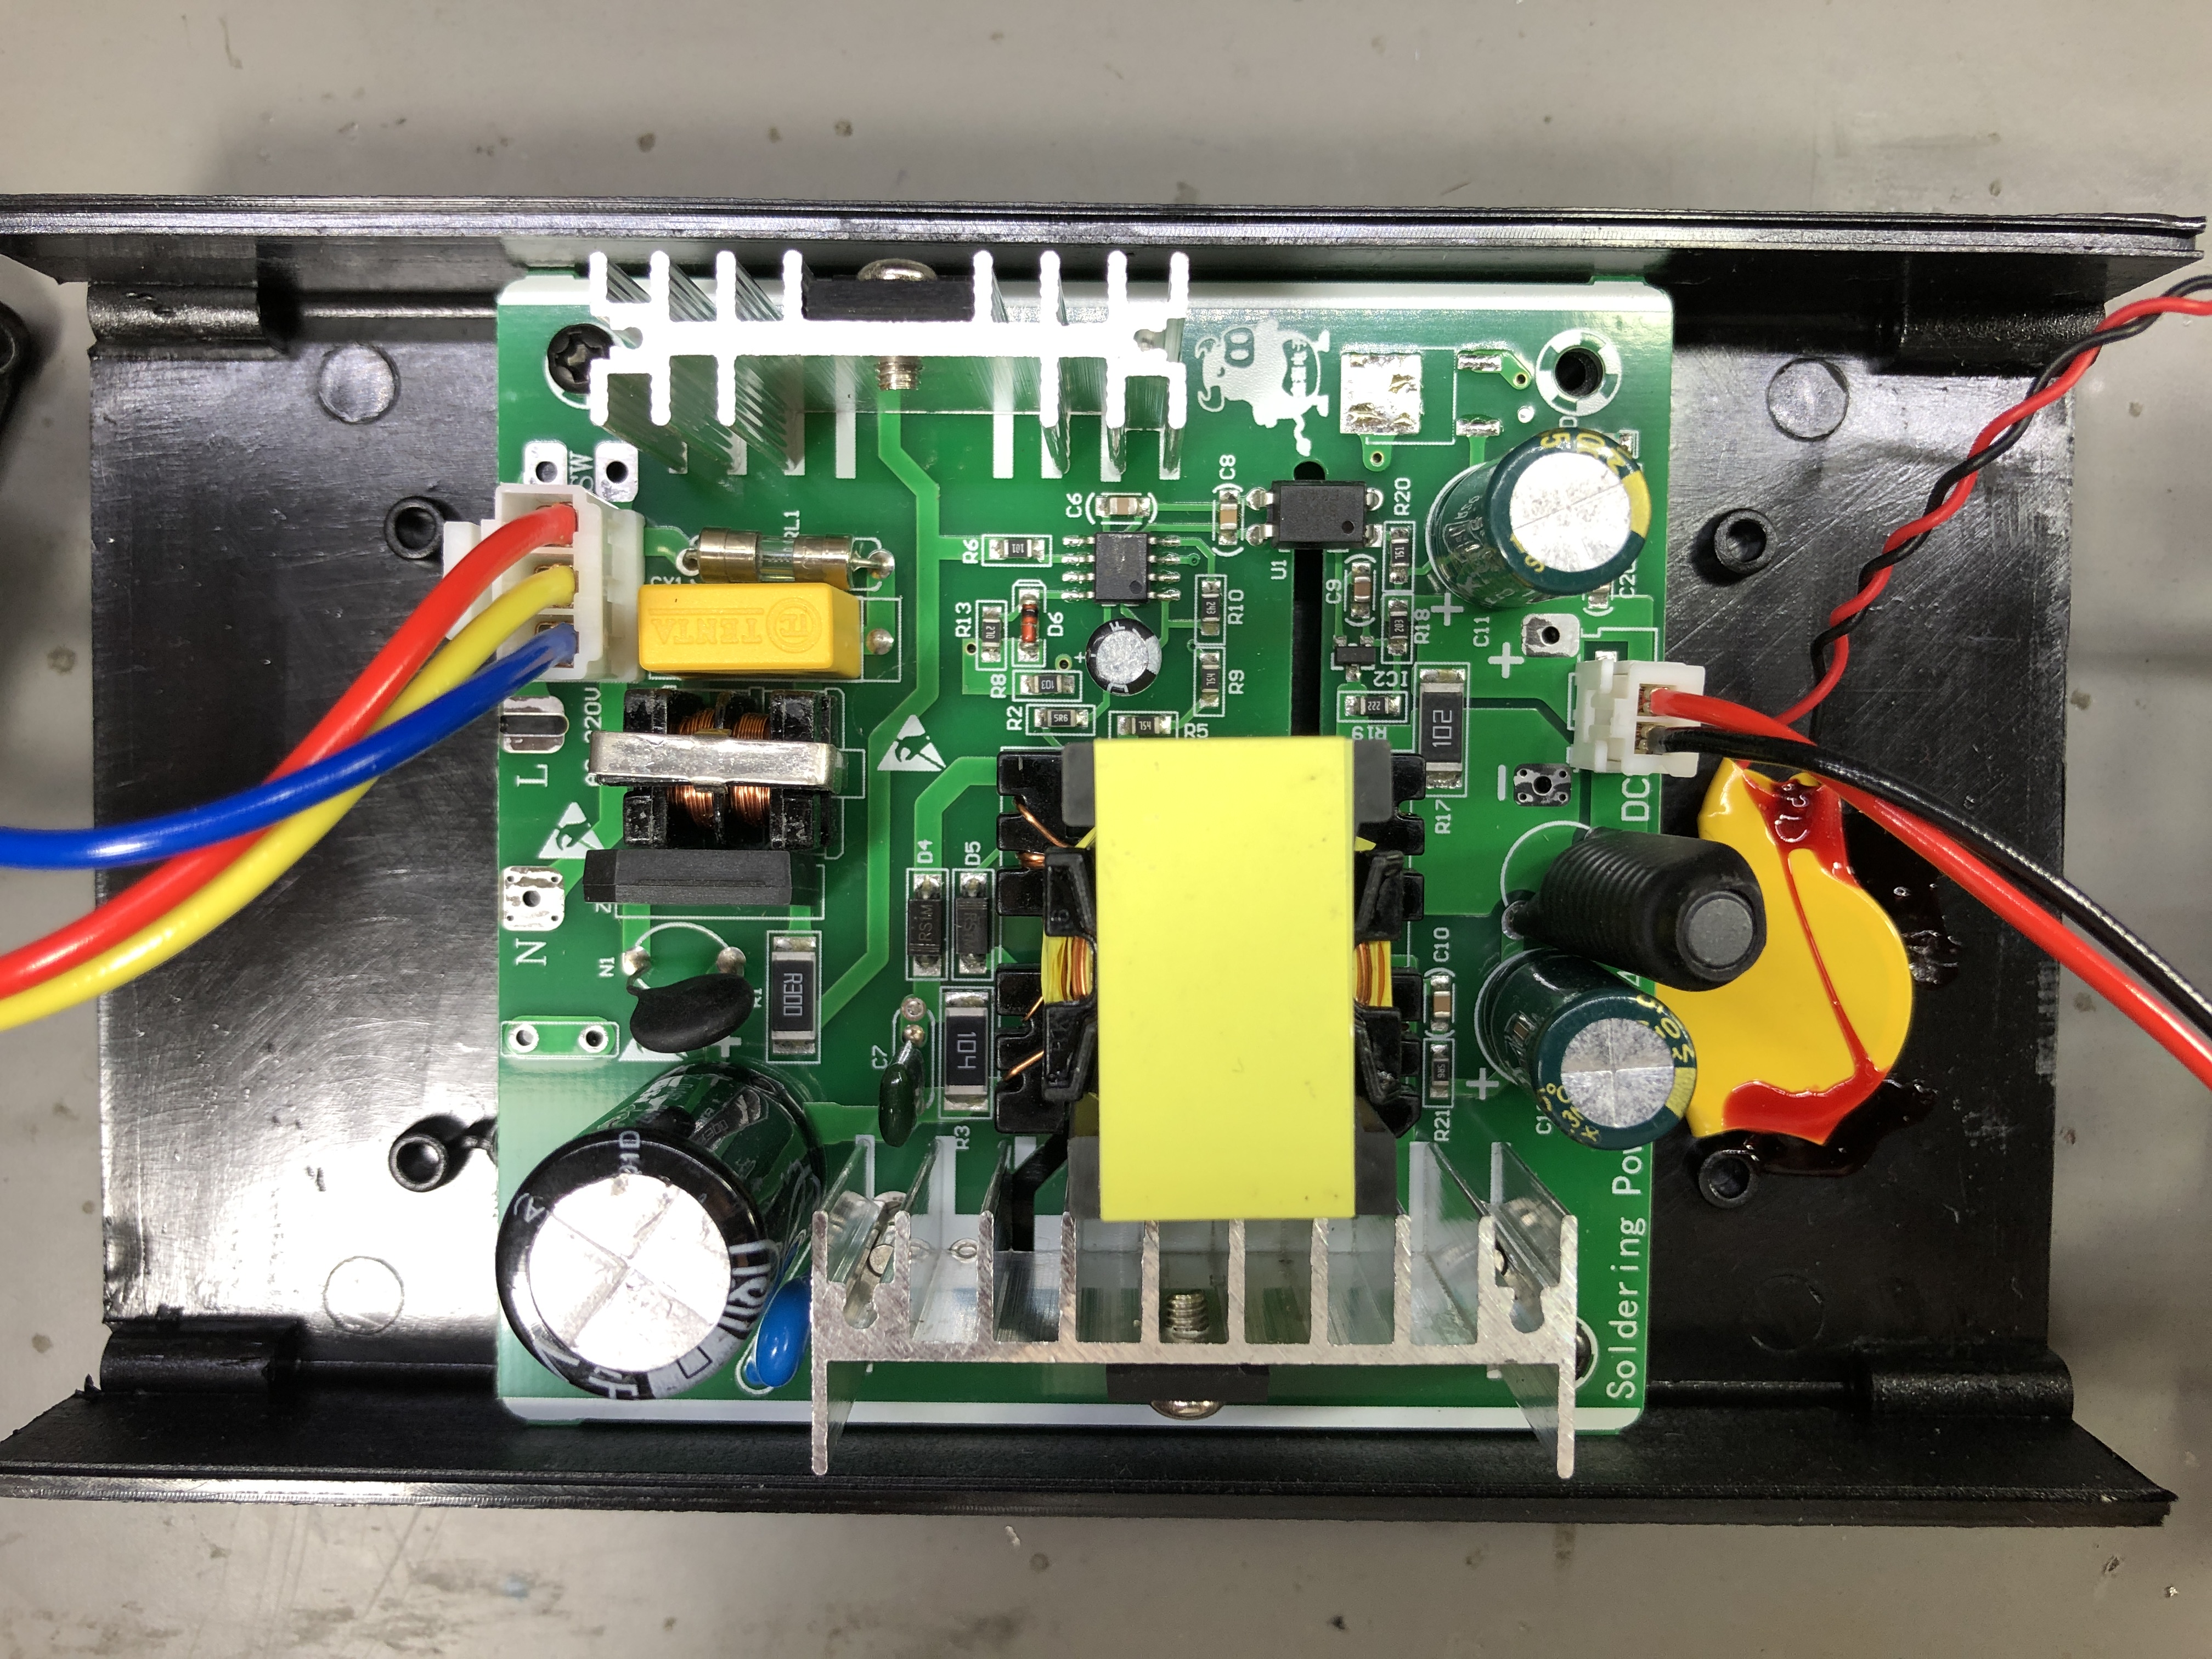
Gophert made some improvements to the original design and have now released a newer version of that power supply, it has a new model number it’s NPS-1601 but it’s the same range of 0-32V and 0-5A. There are other models with different ranges but this is what would correspond to the CPS3205 I reviewed years ago.
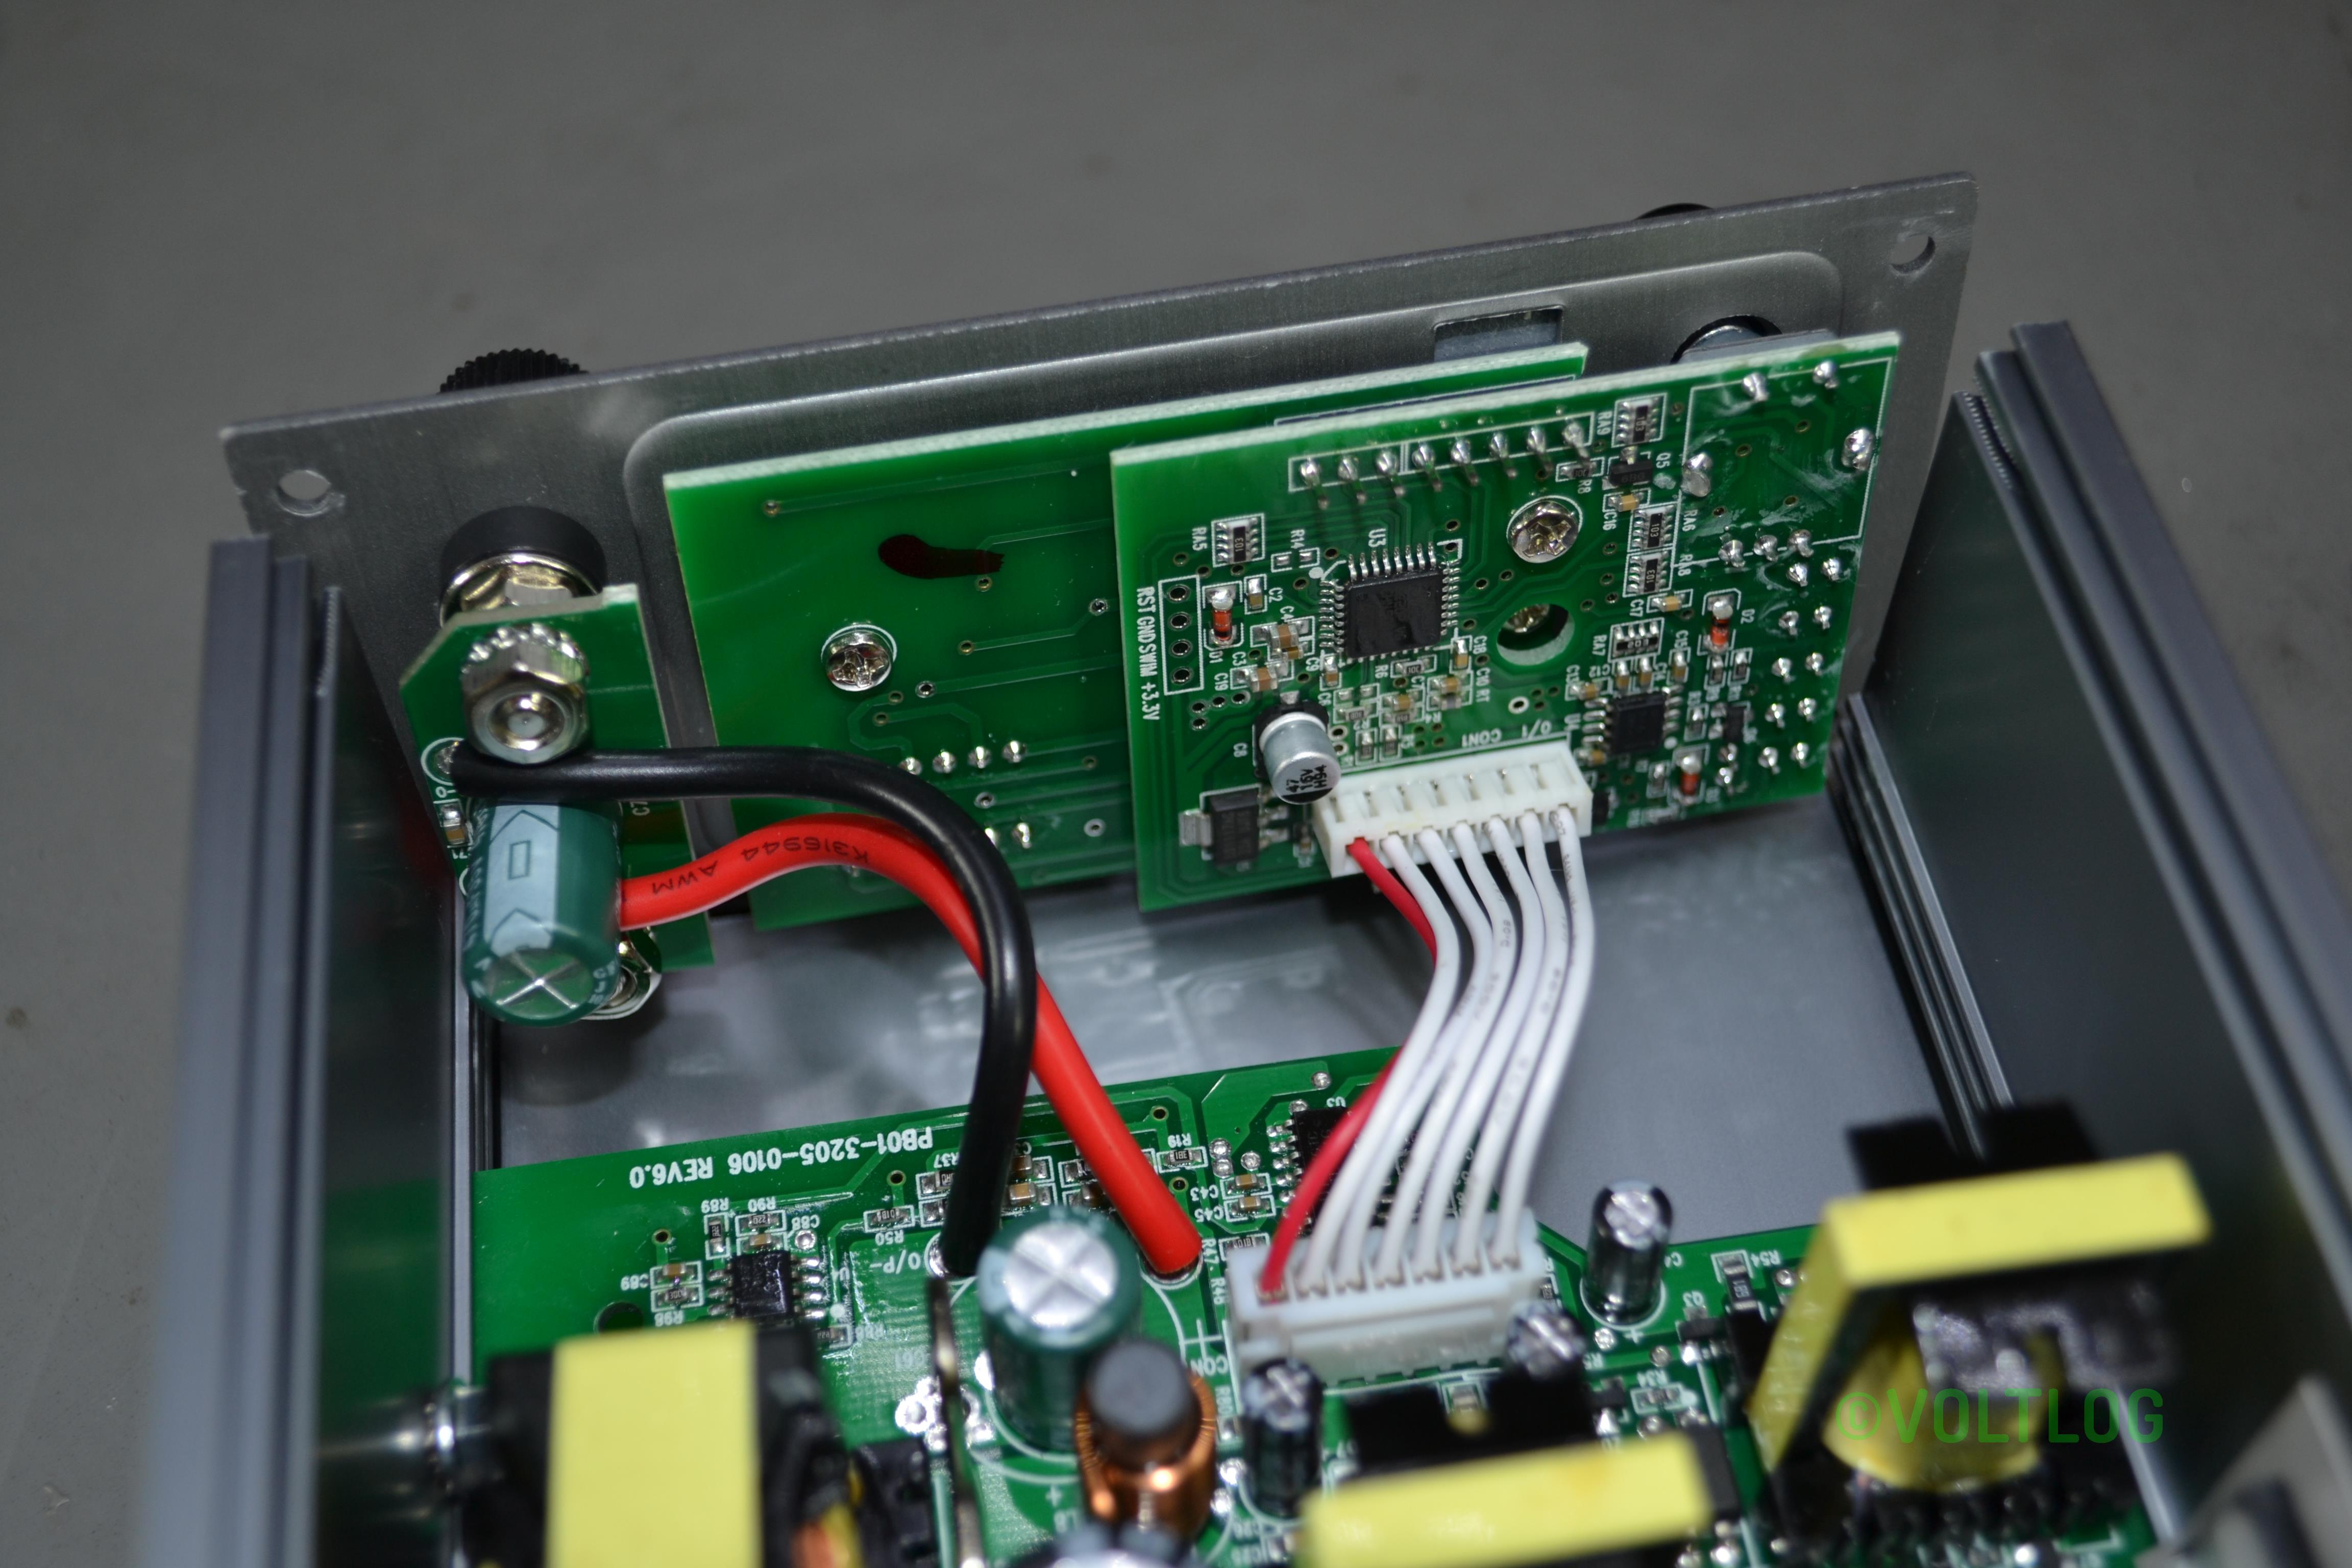
They have made a bunch of changes on the front panel, the most important one is they moved the output jacks to the front panel so now it’s easier to connect the output of this power supply but they are still not standard spacing so you can’t connect one of these adapters with banana jacks. They have also redesigned the front panel completely, they are still using 7 segment displays but now they also have a wattage display which can be switched on temporarily in place of the amps display, you press the watts button and it will show watts measurement for about 3 seconds before reverting to amps display.
The switch for A/V adjustment is now tactile instead of a sliding switch but the rest has stayed the same. I like this redesigned front panel I just wished they used a lighter color for the text, because for example there are some markings which are barely visible next to the LEDs.
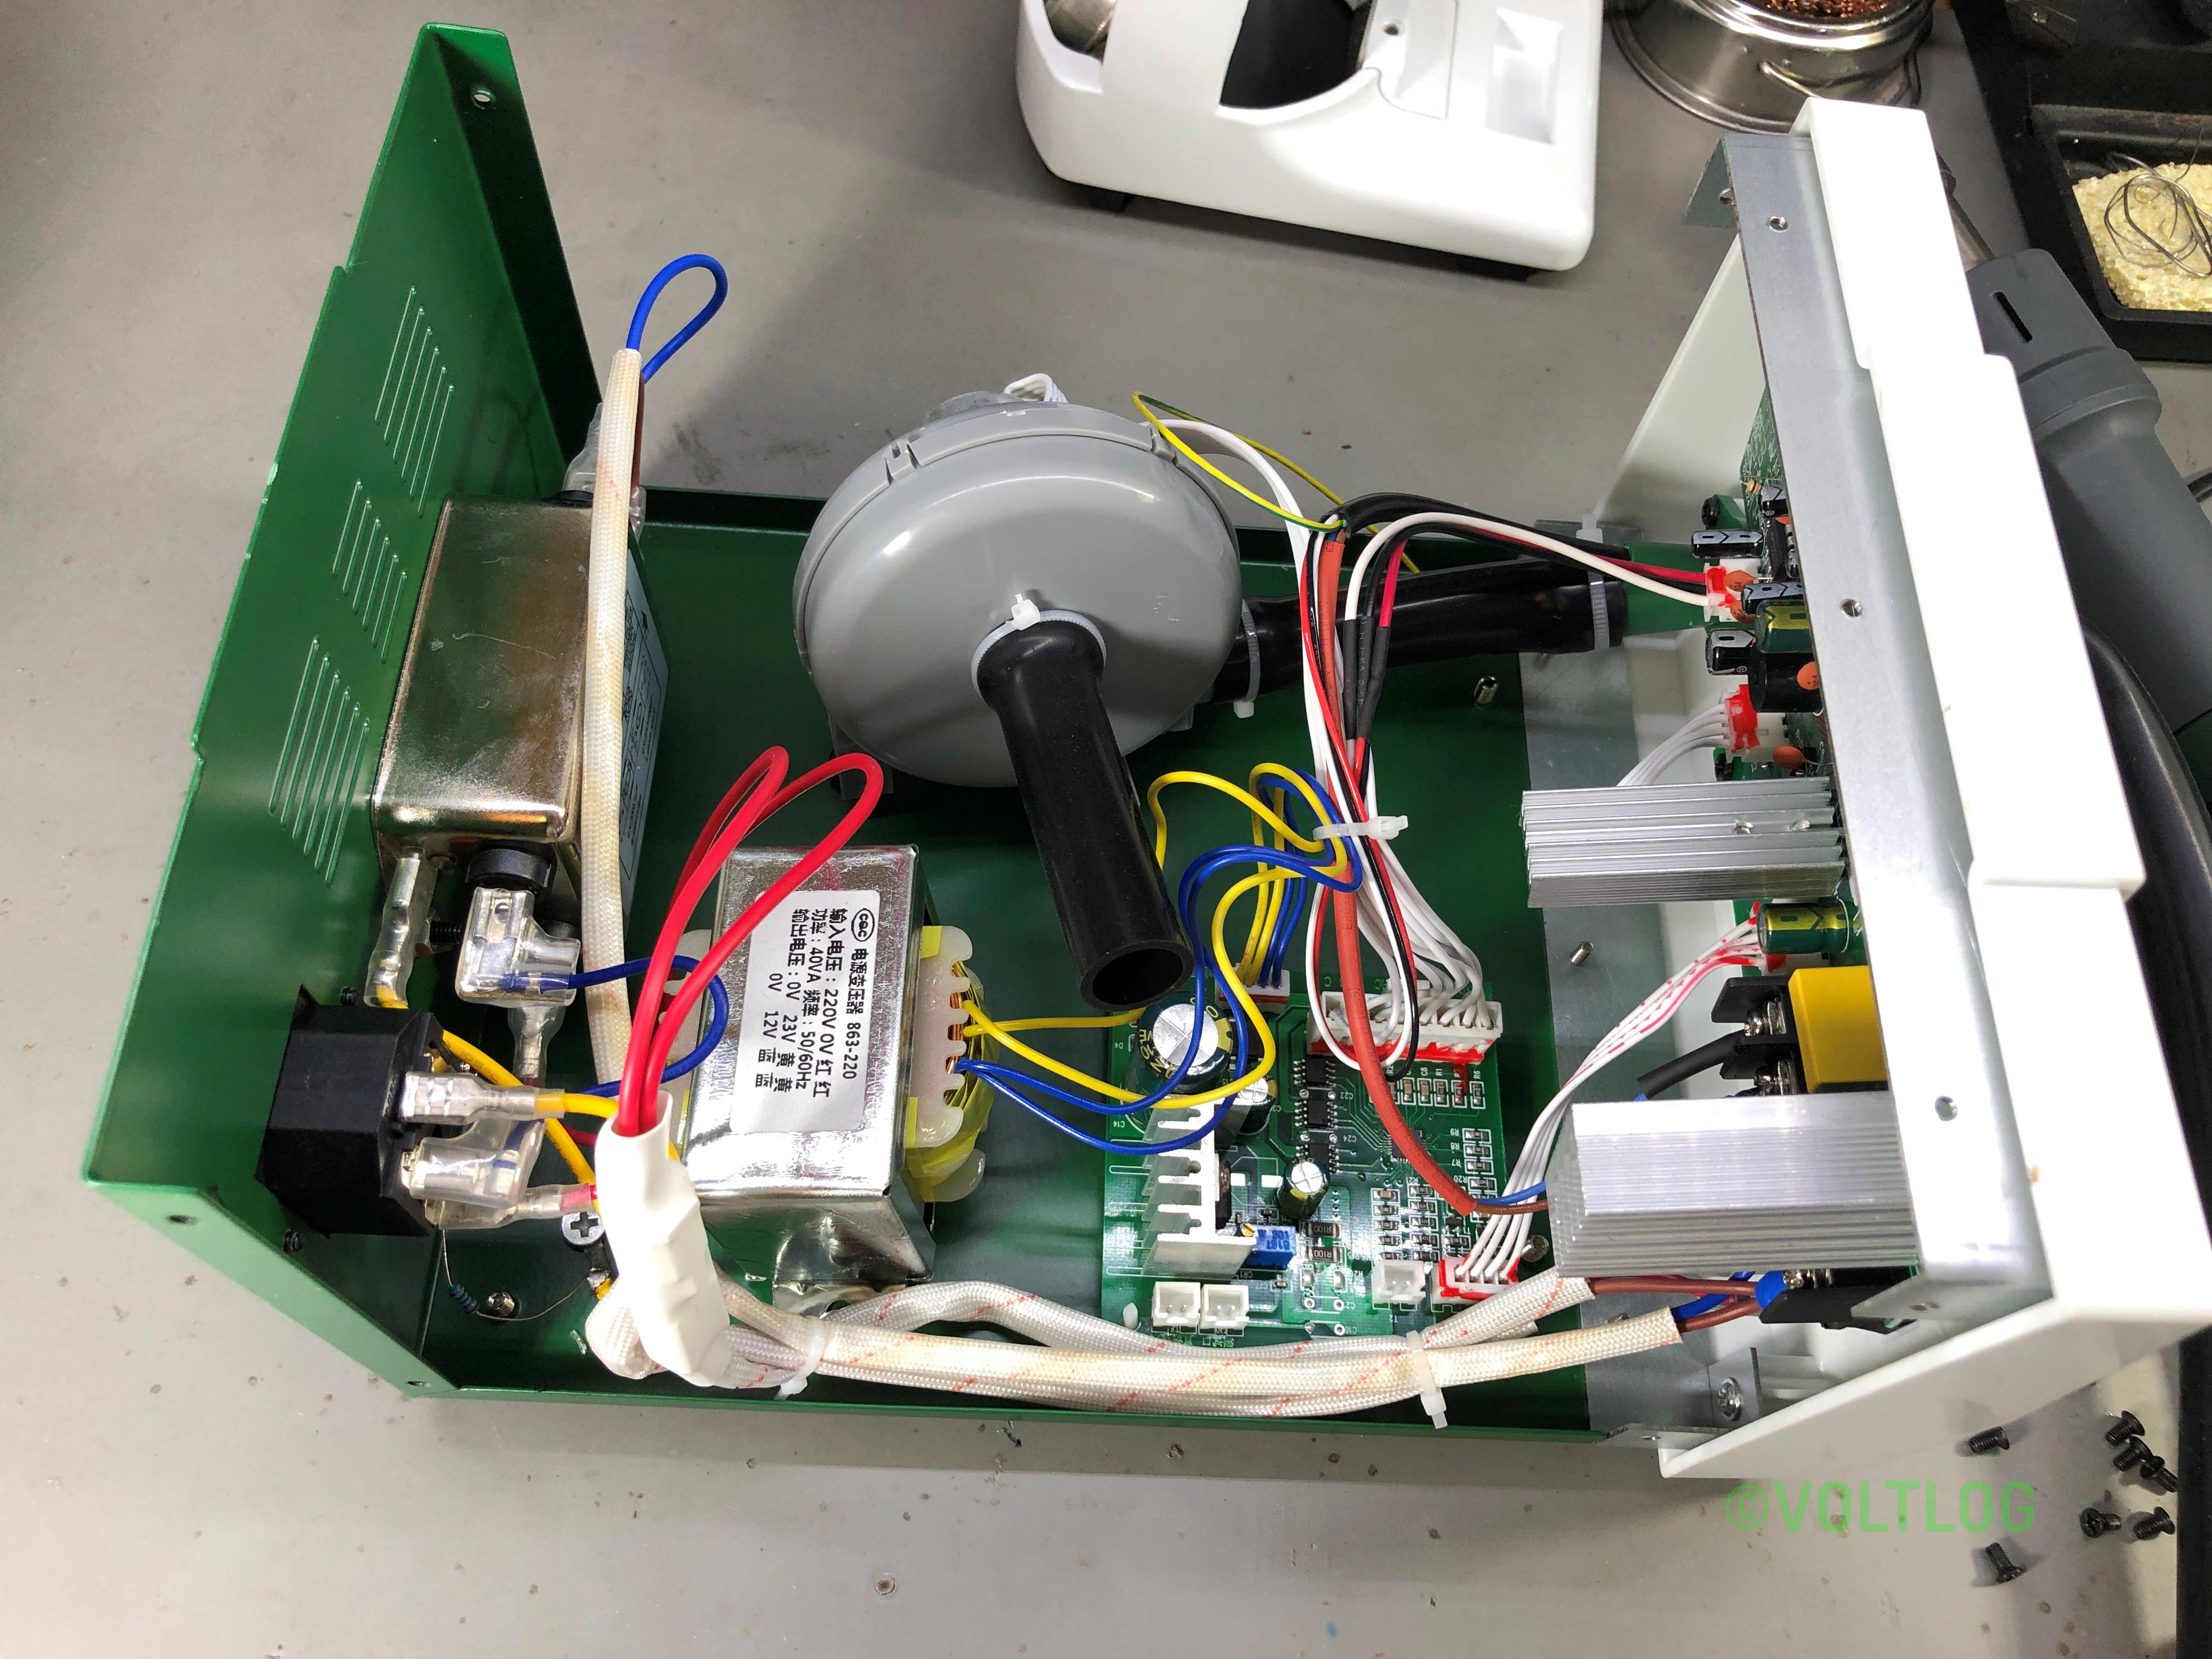
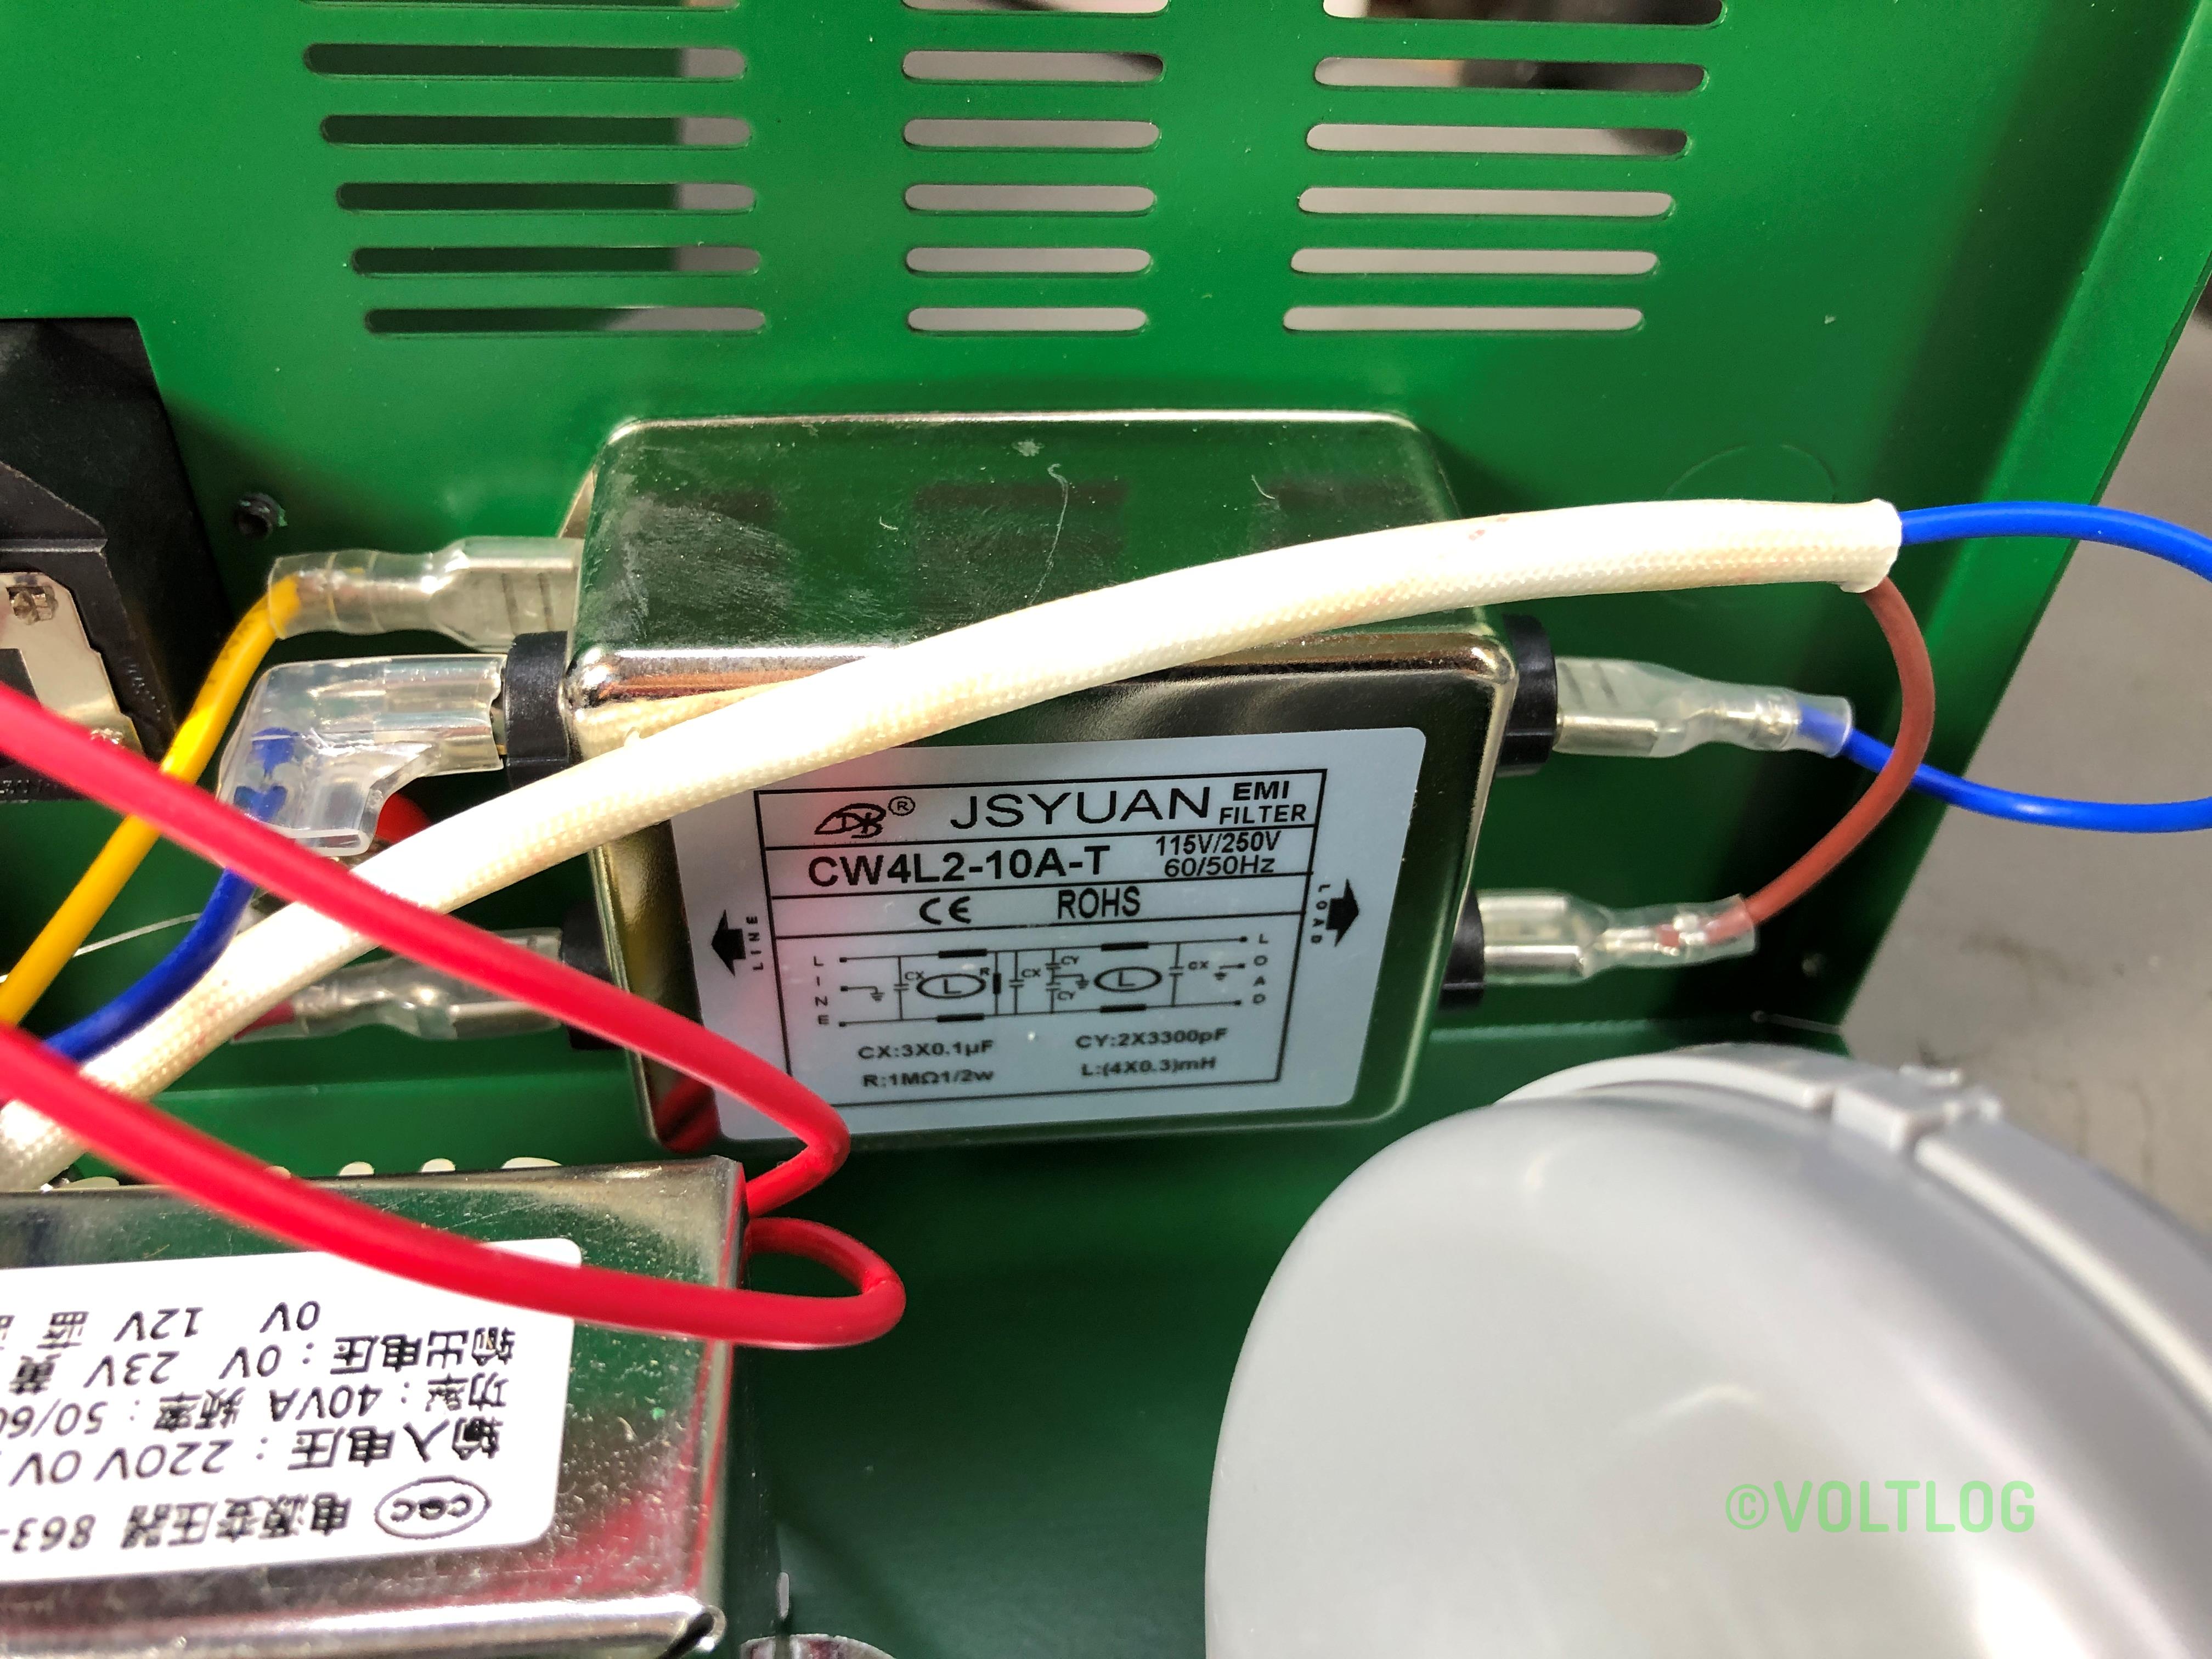
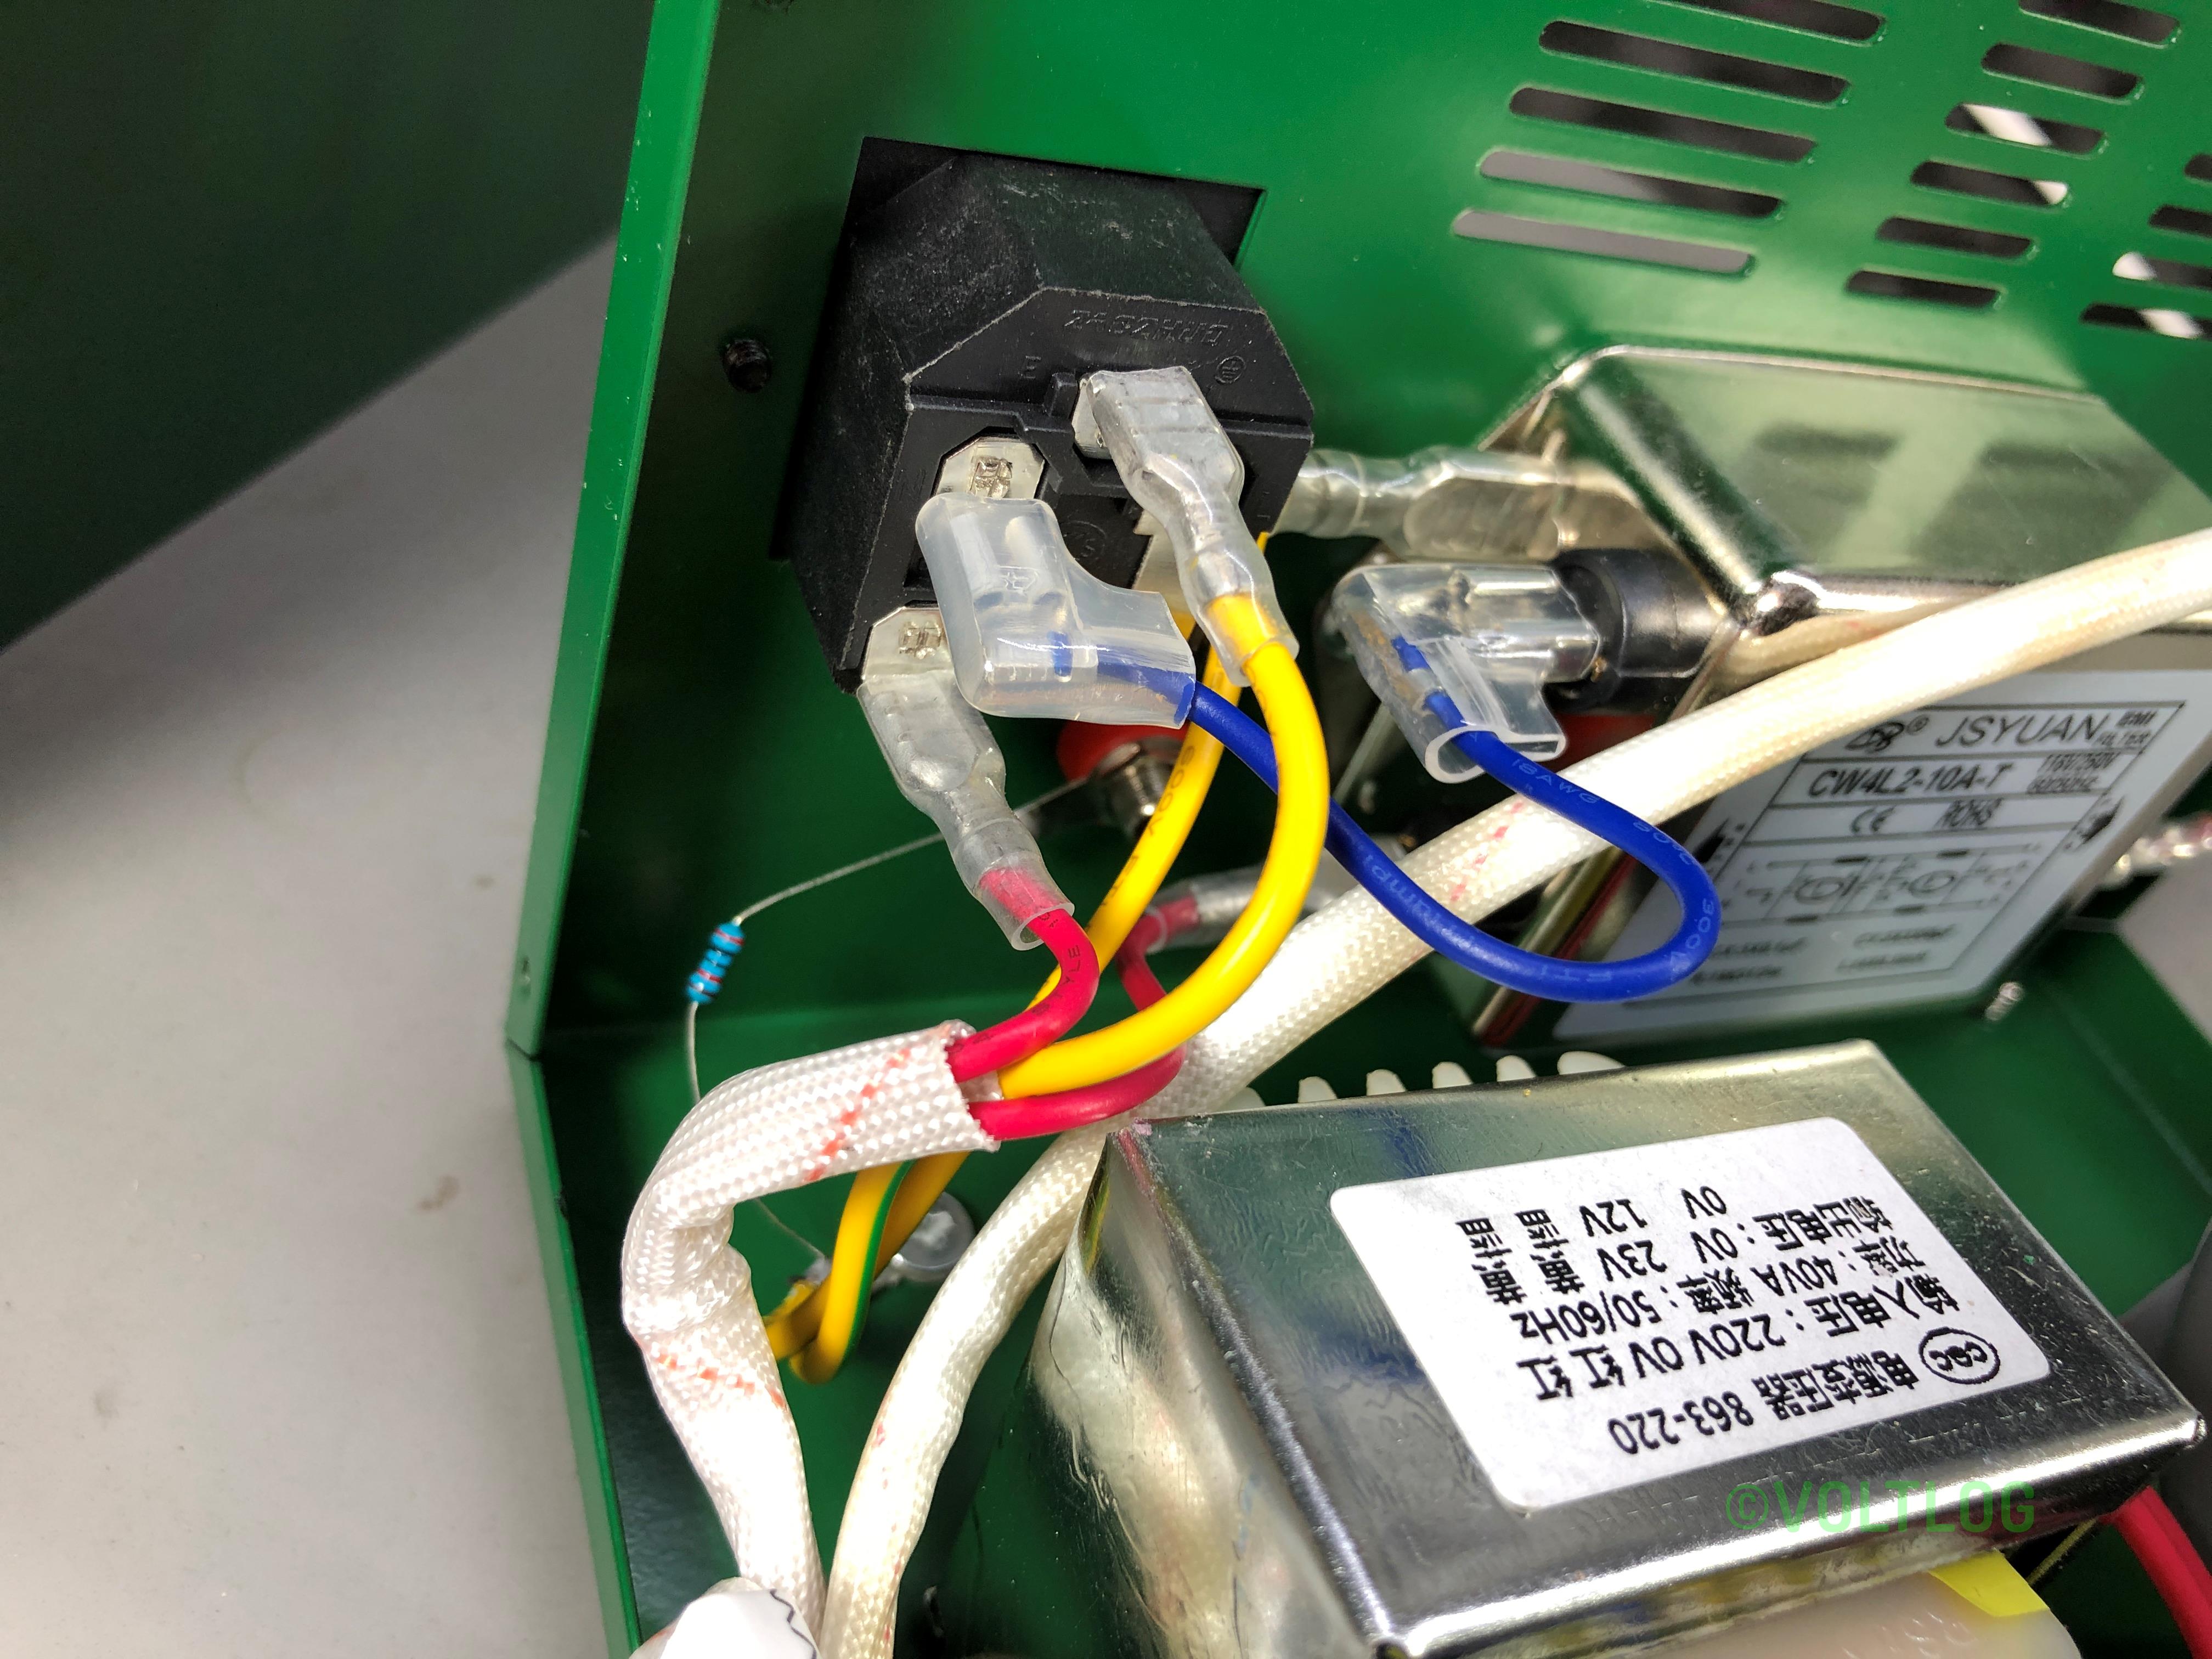
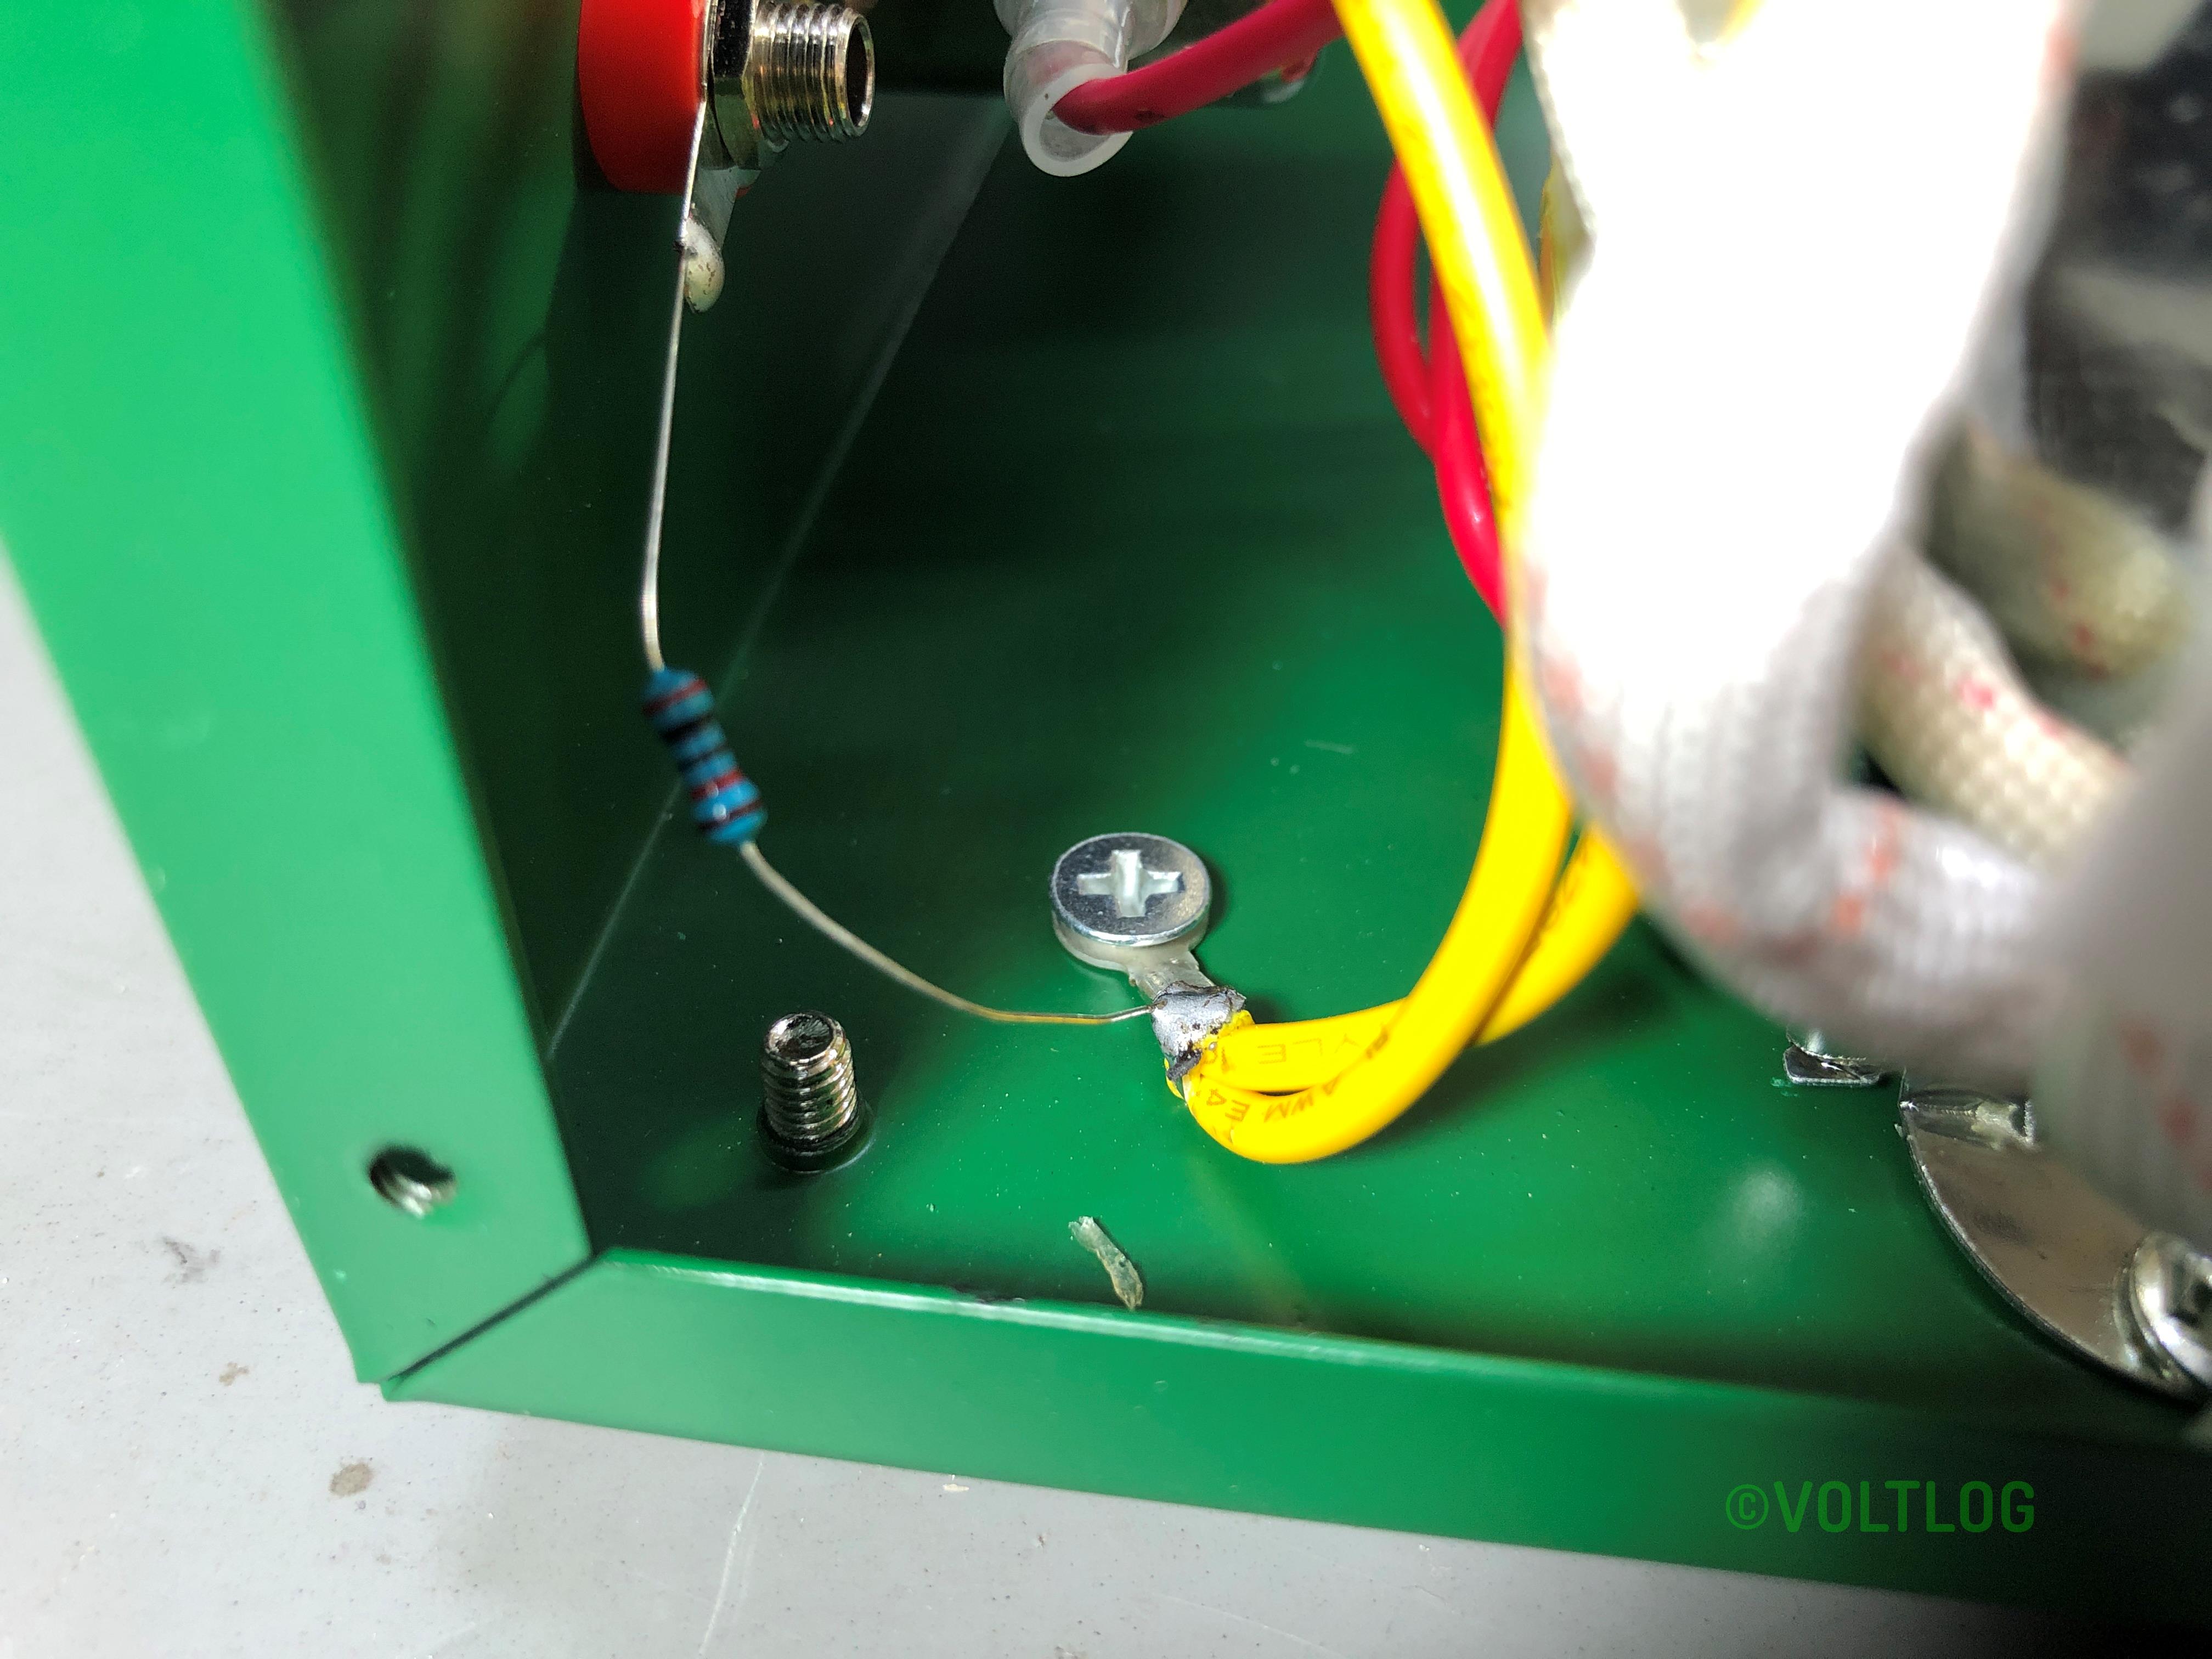
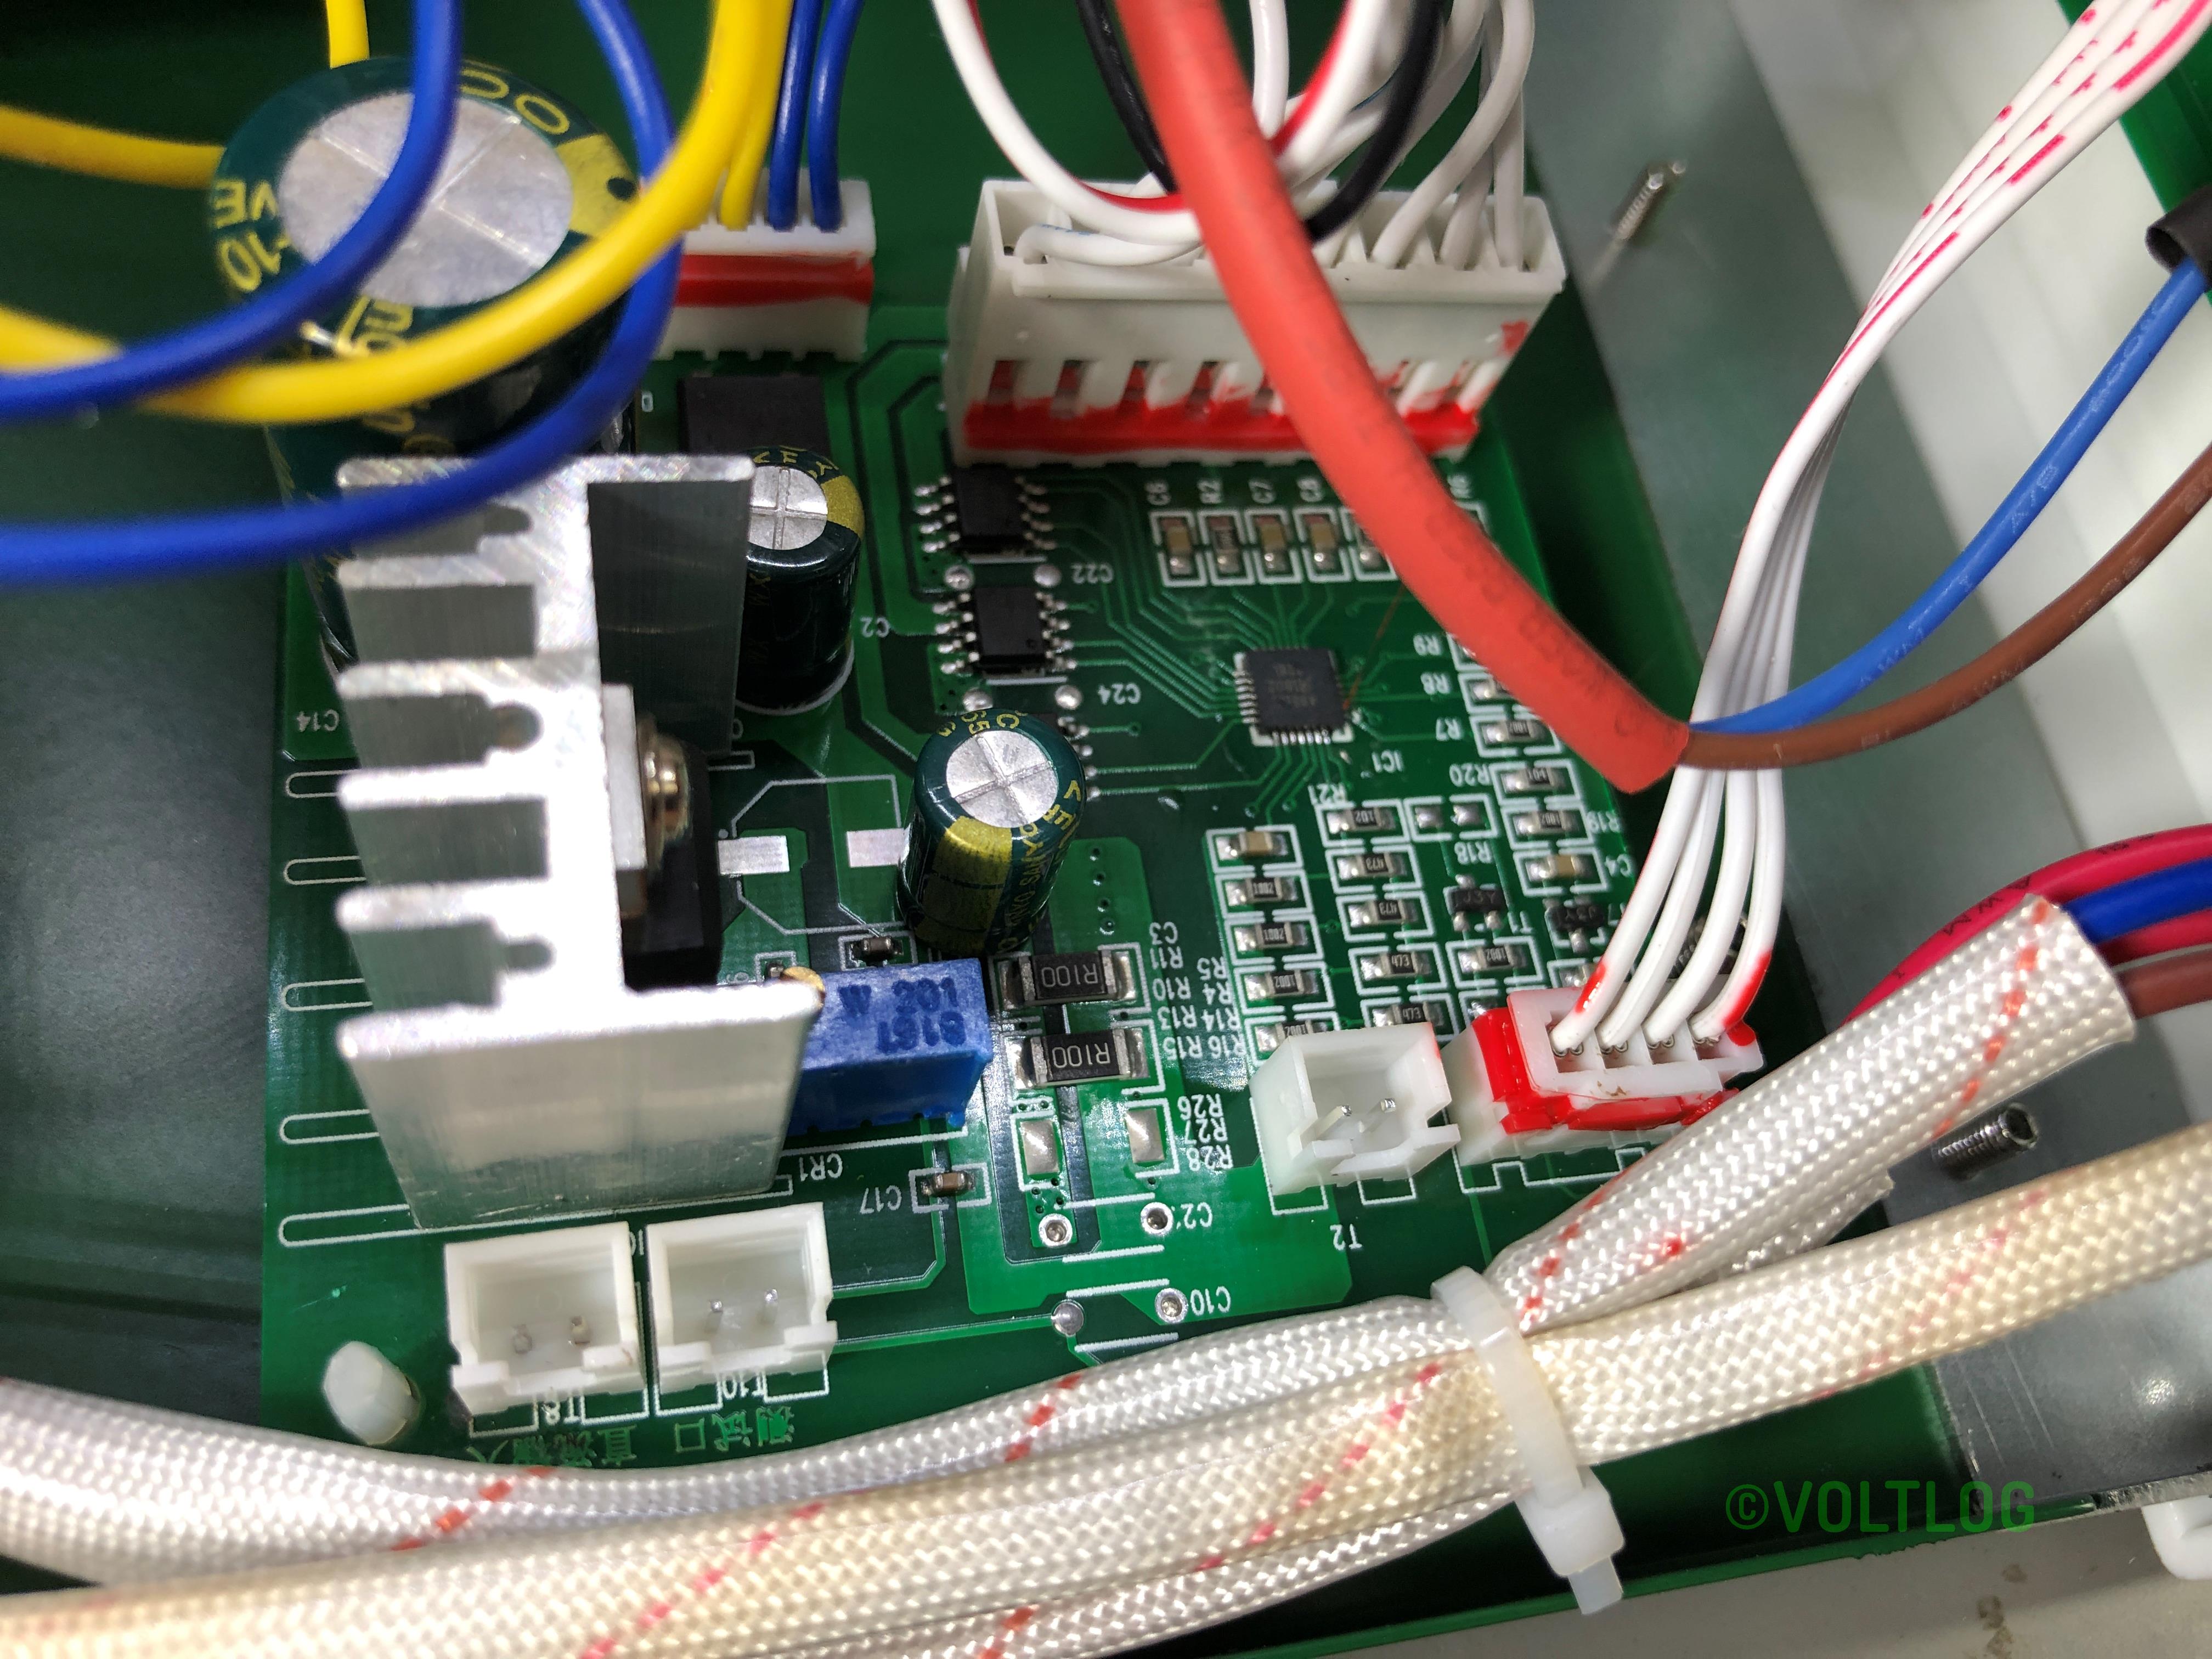
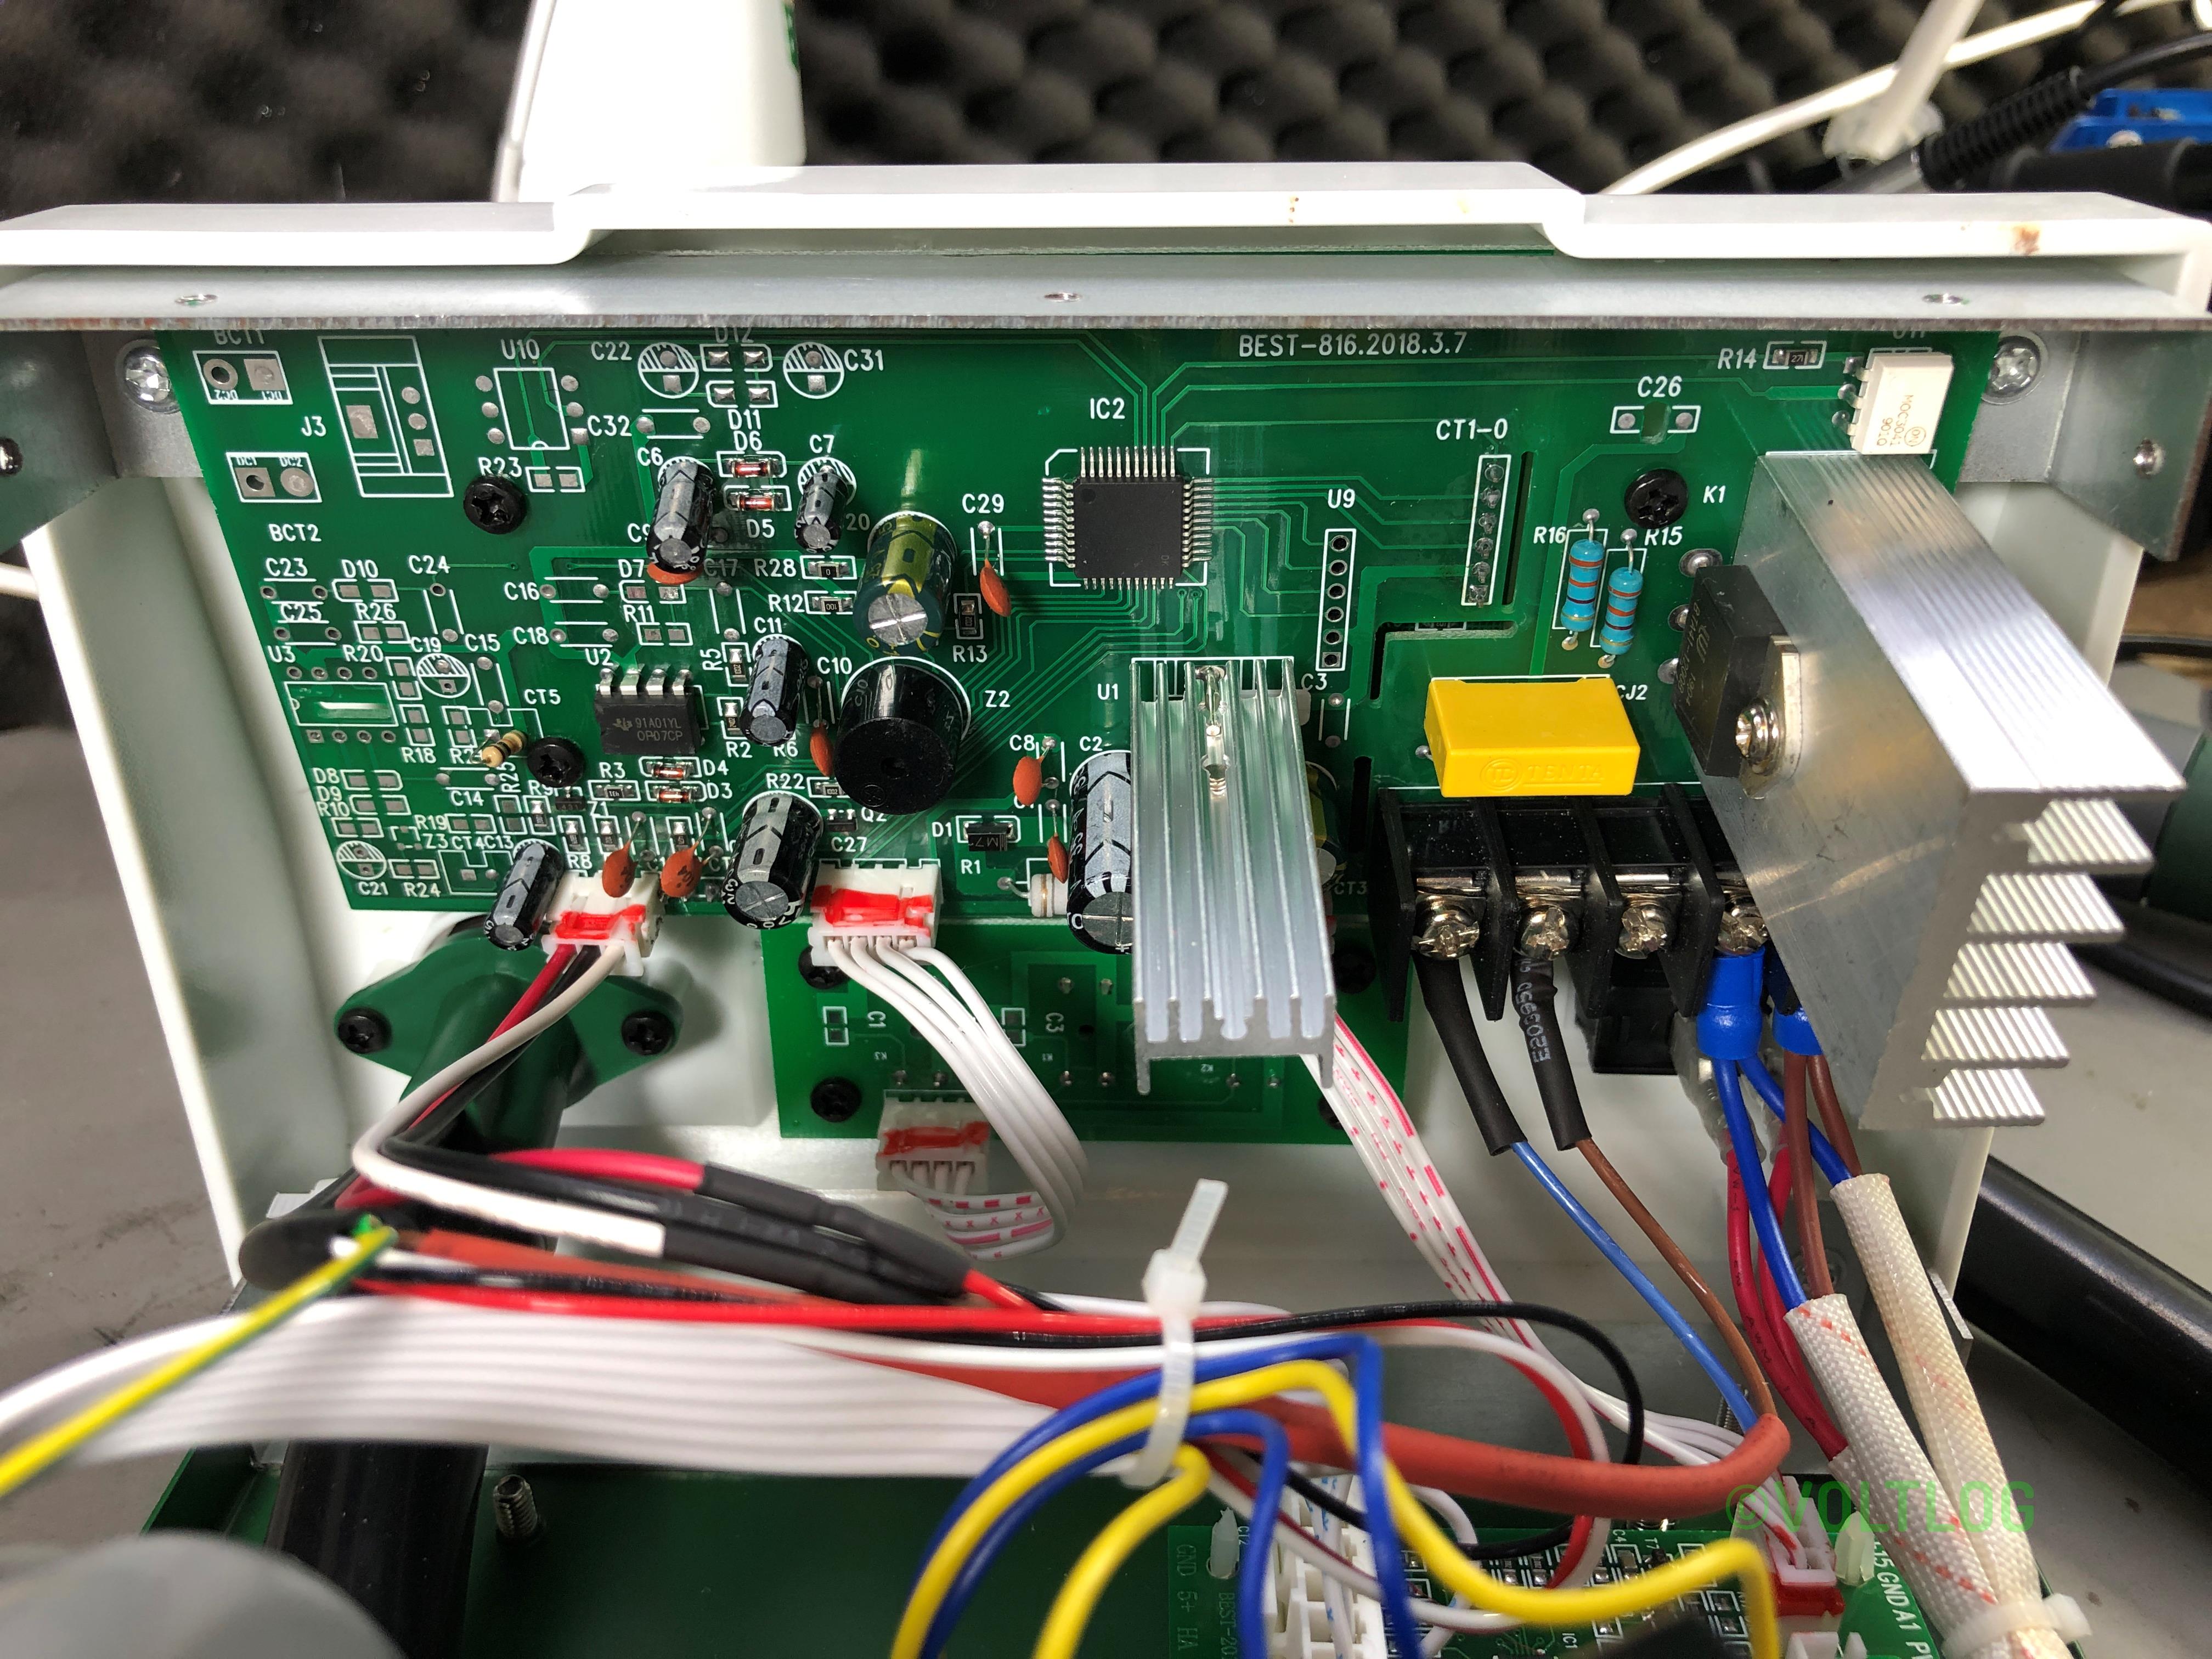
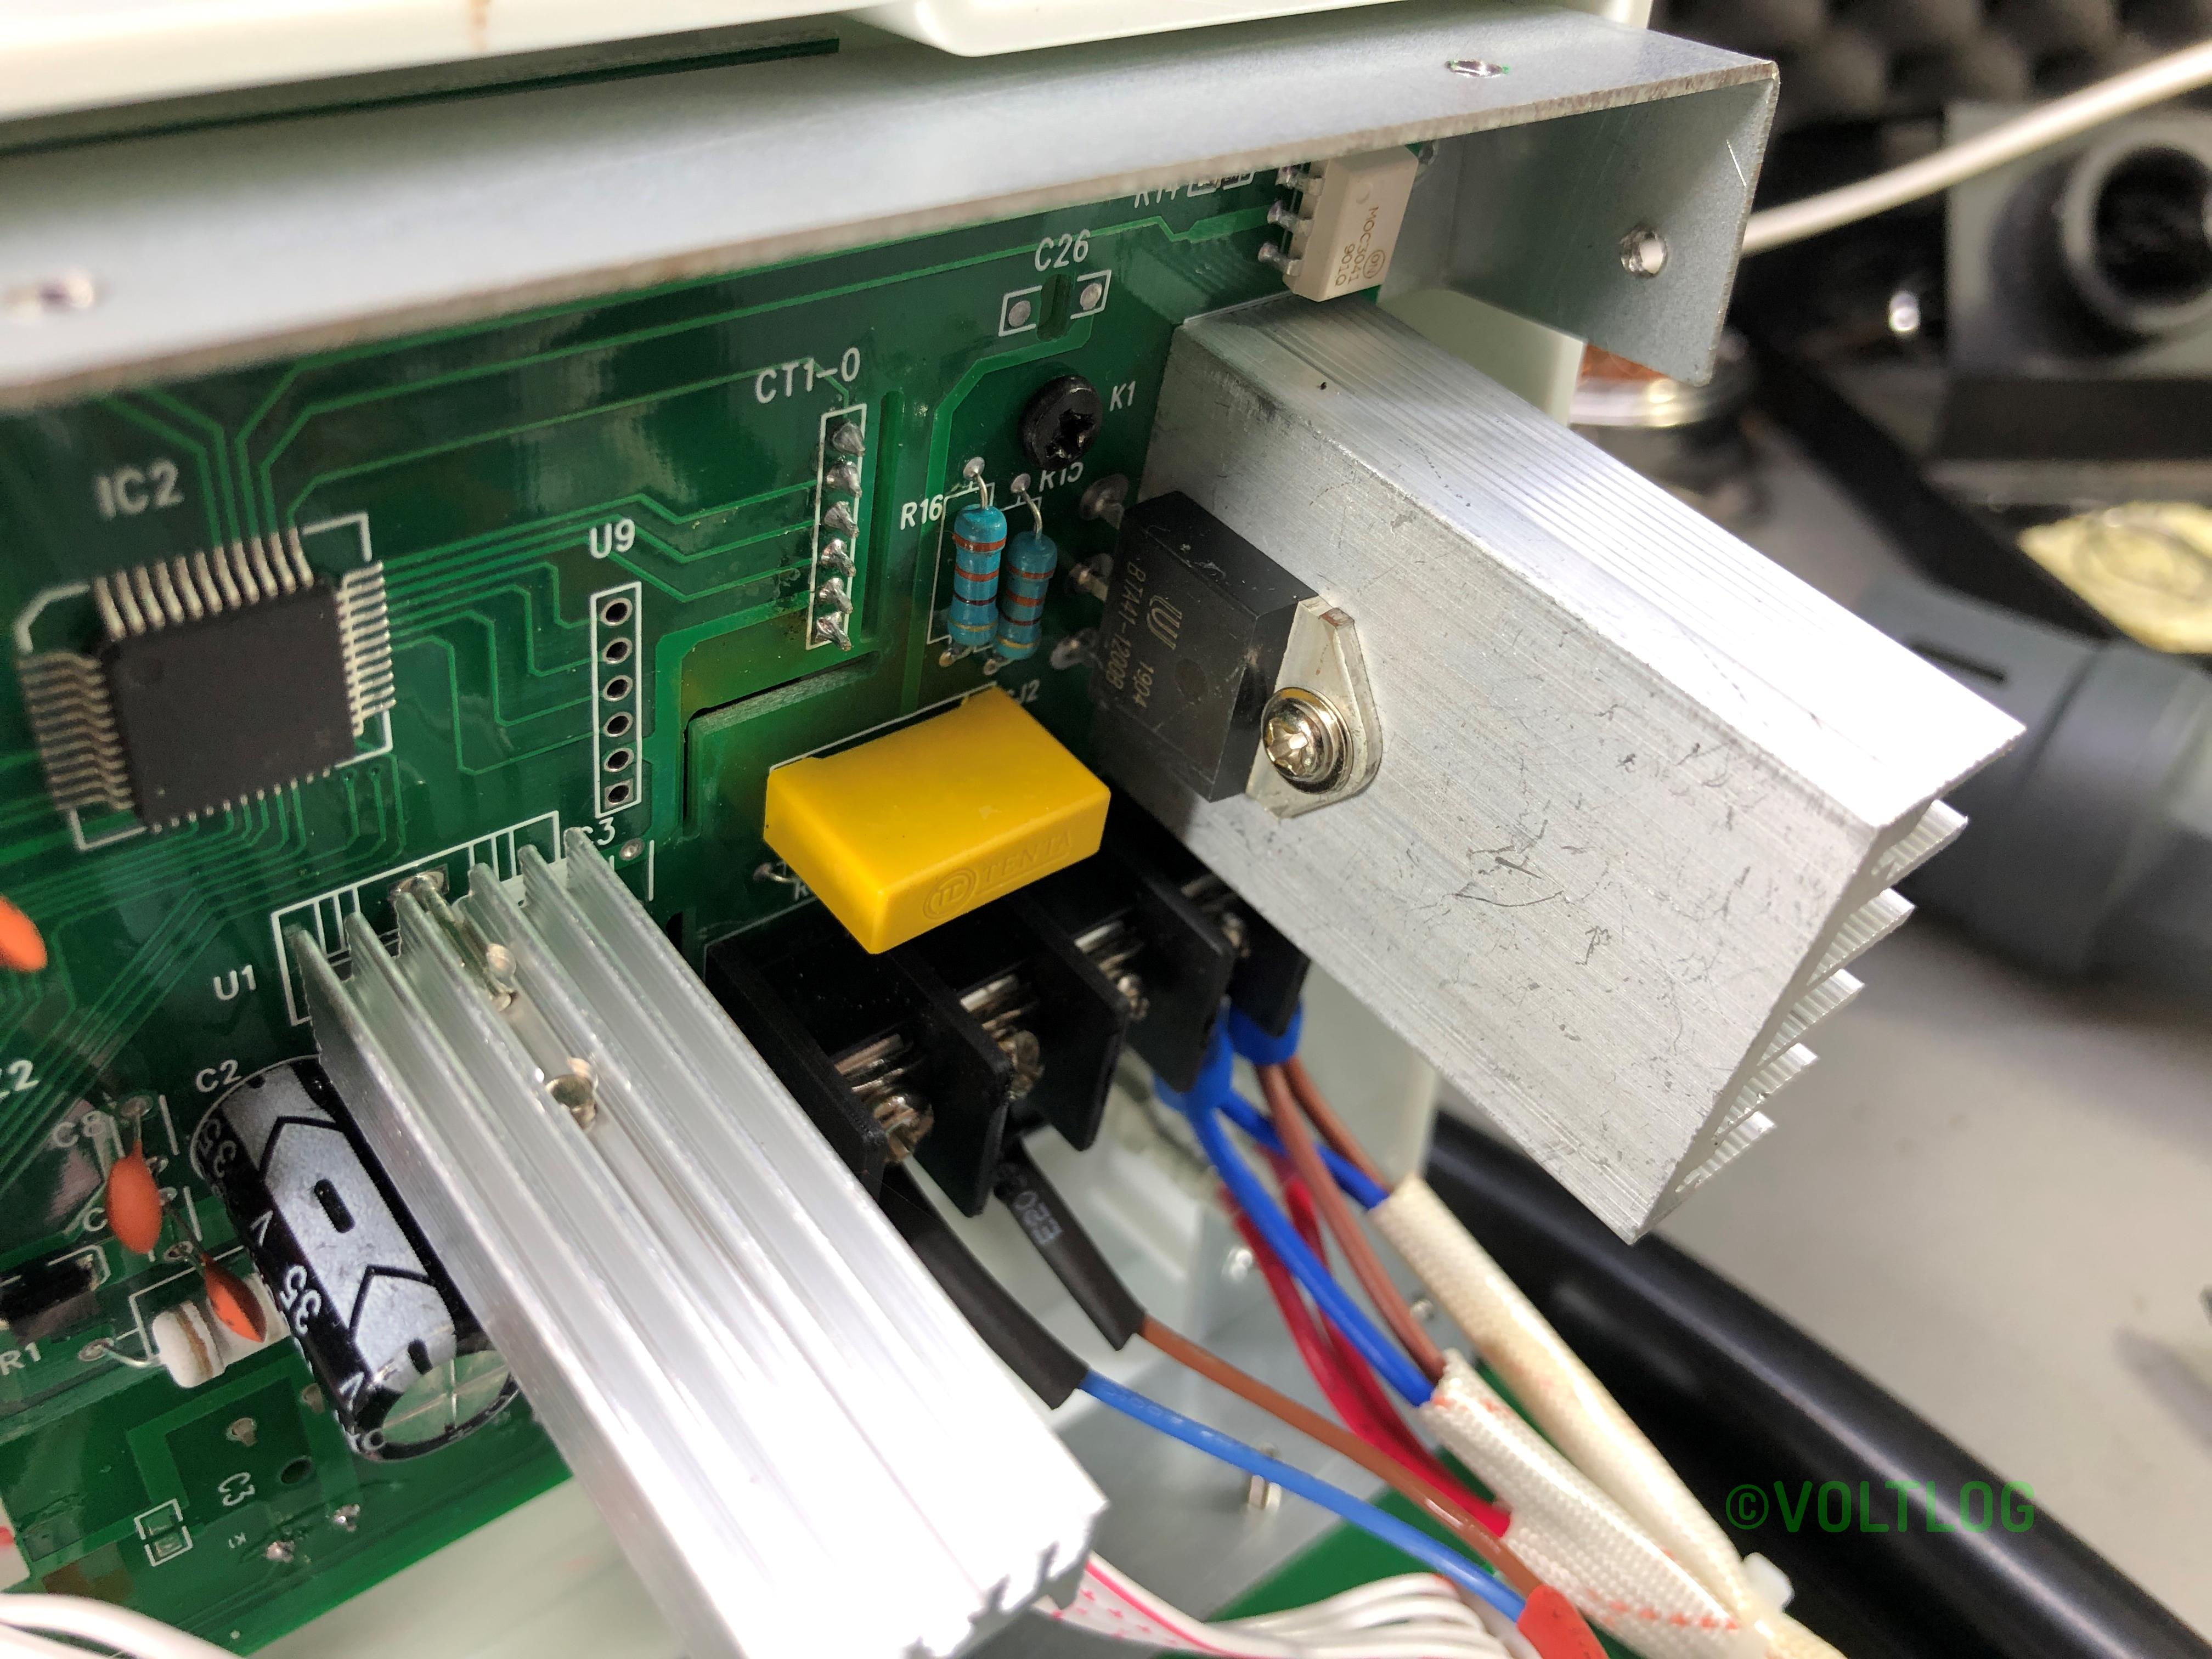
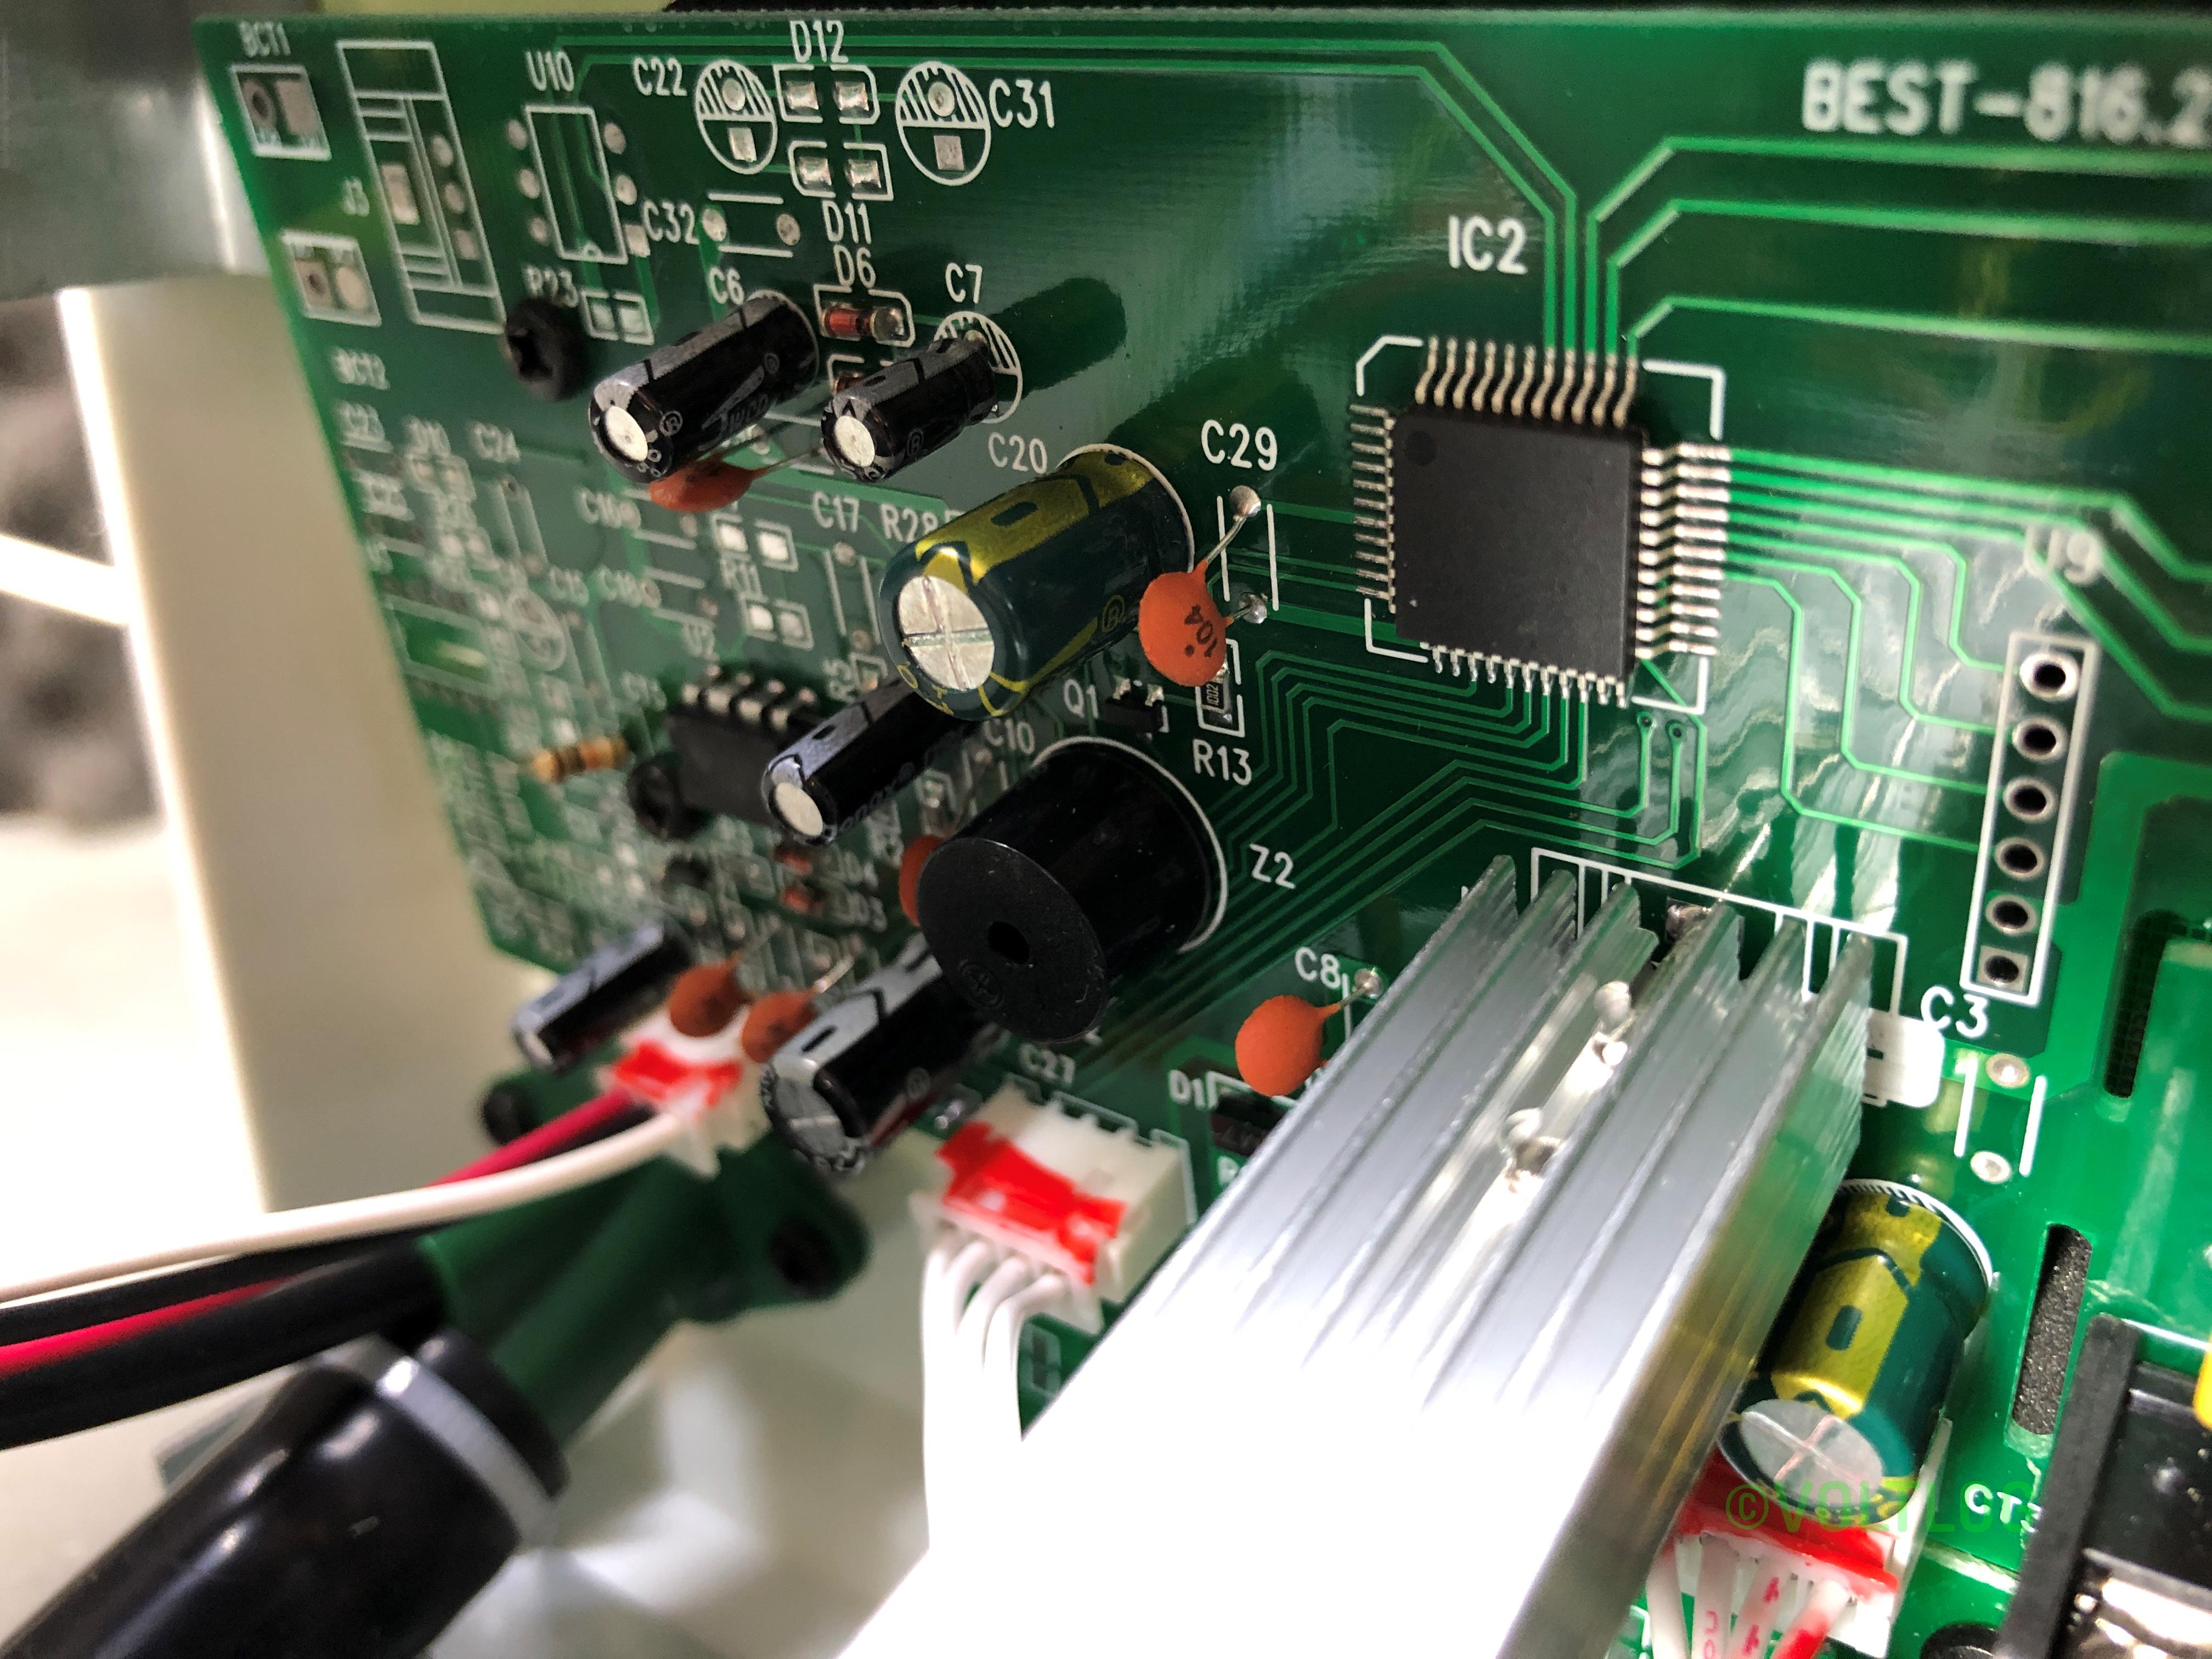
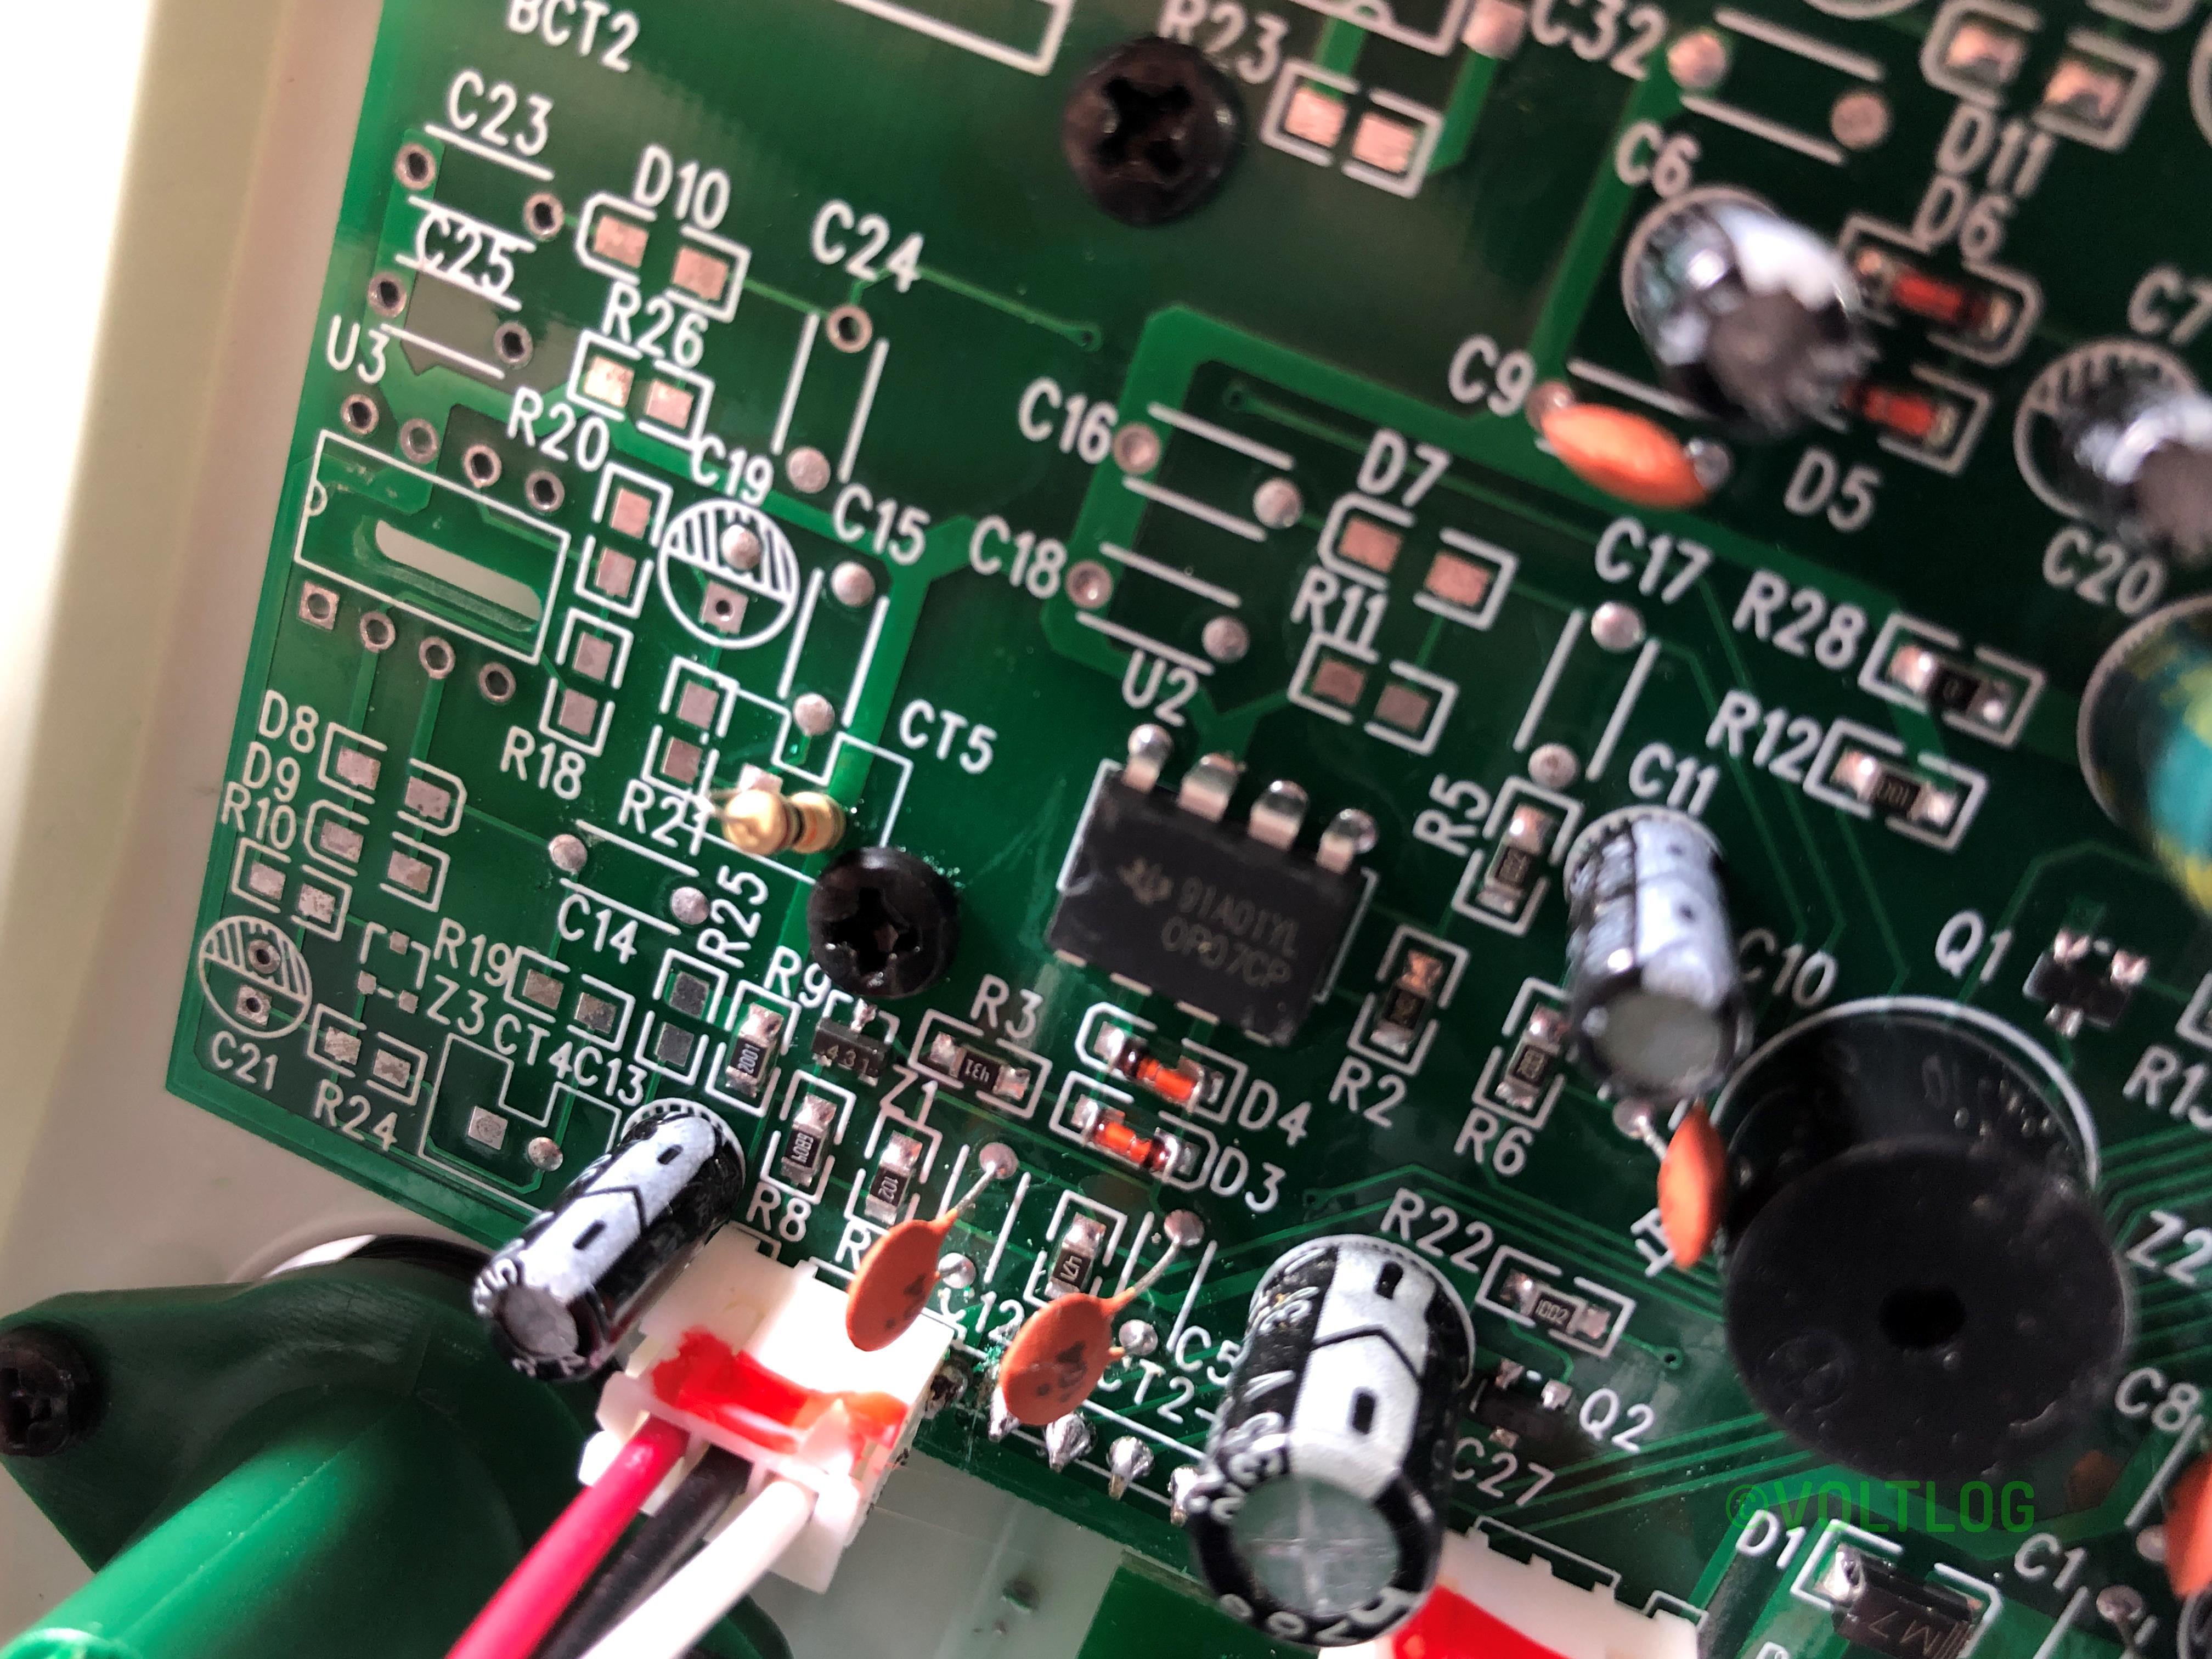
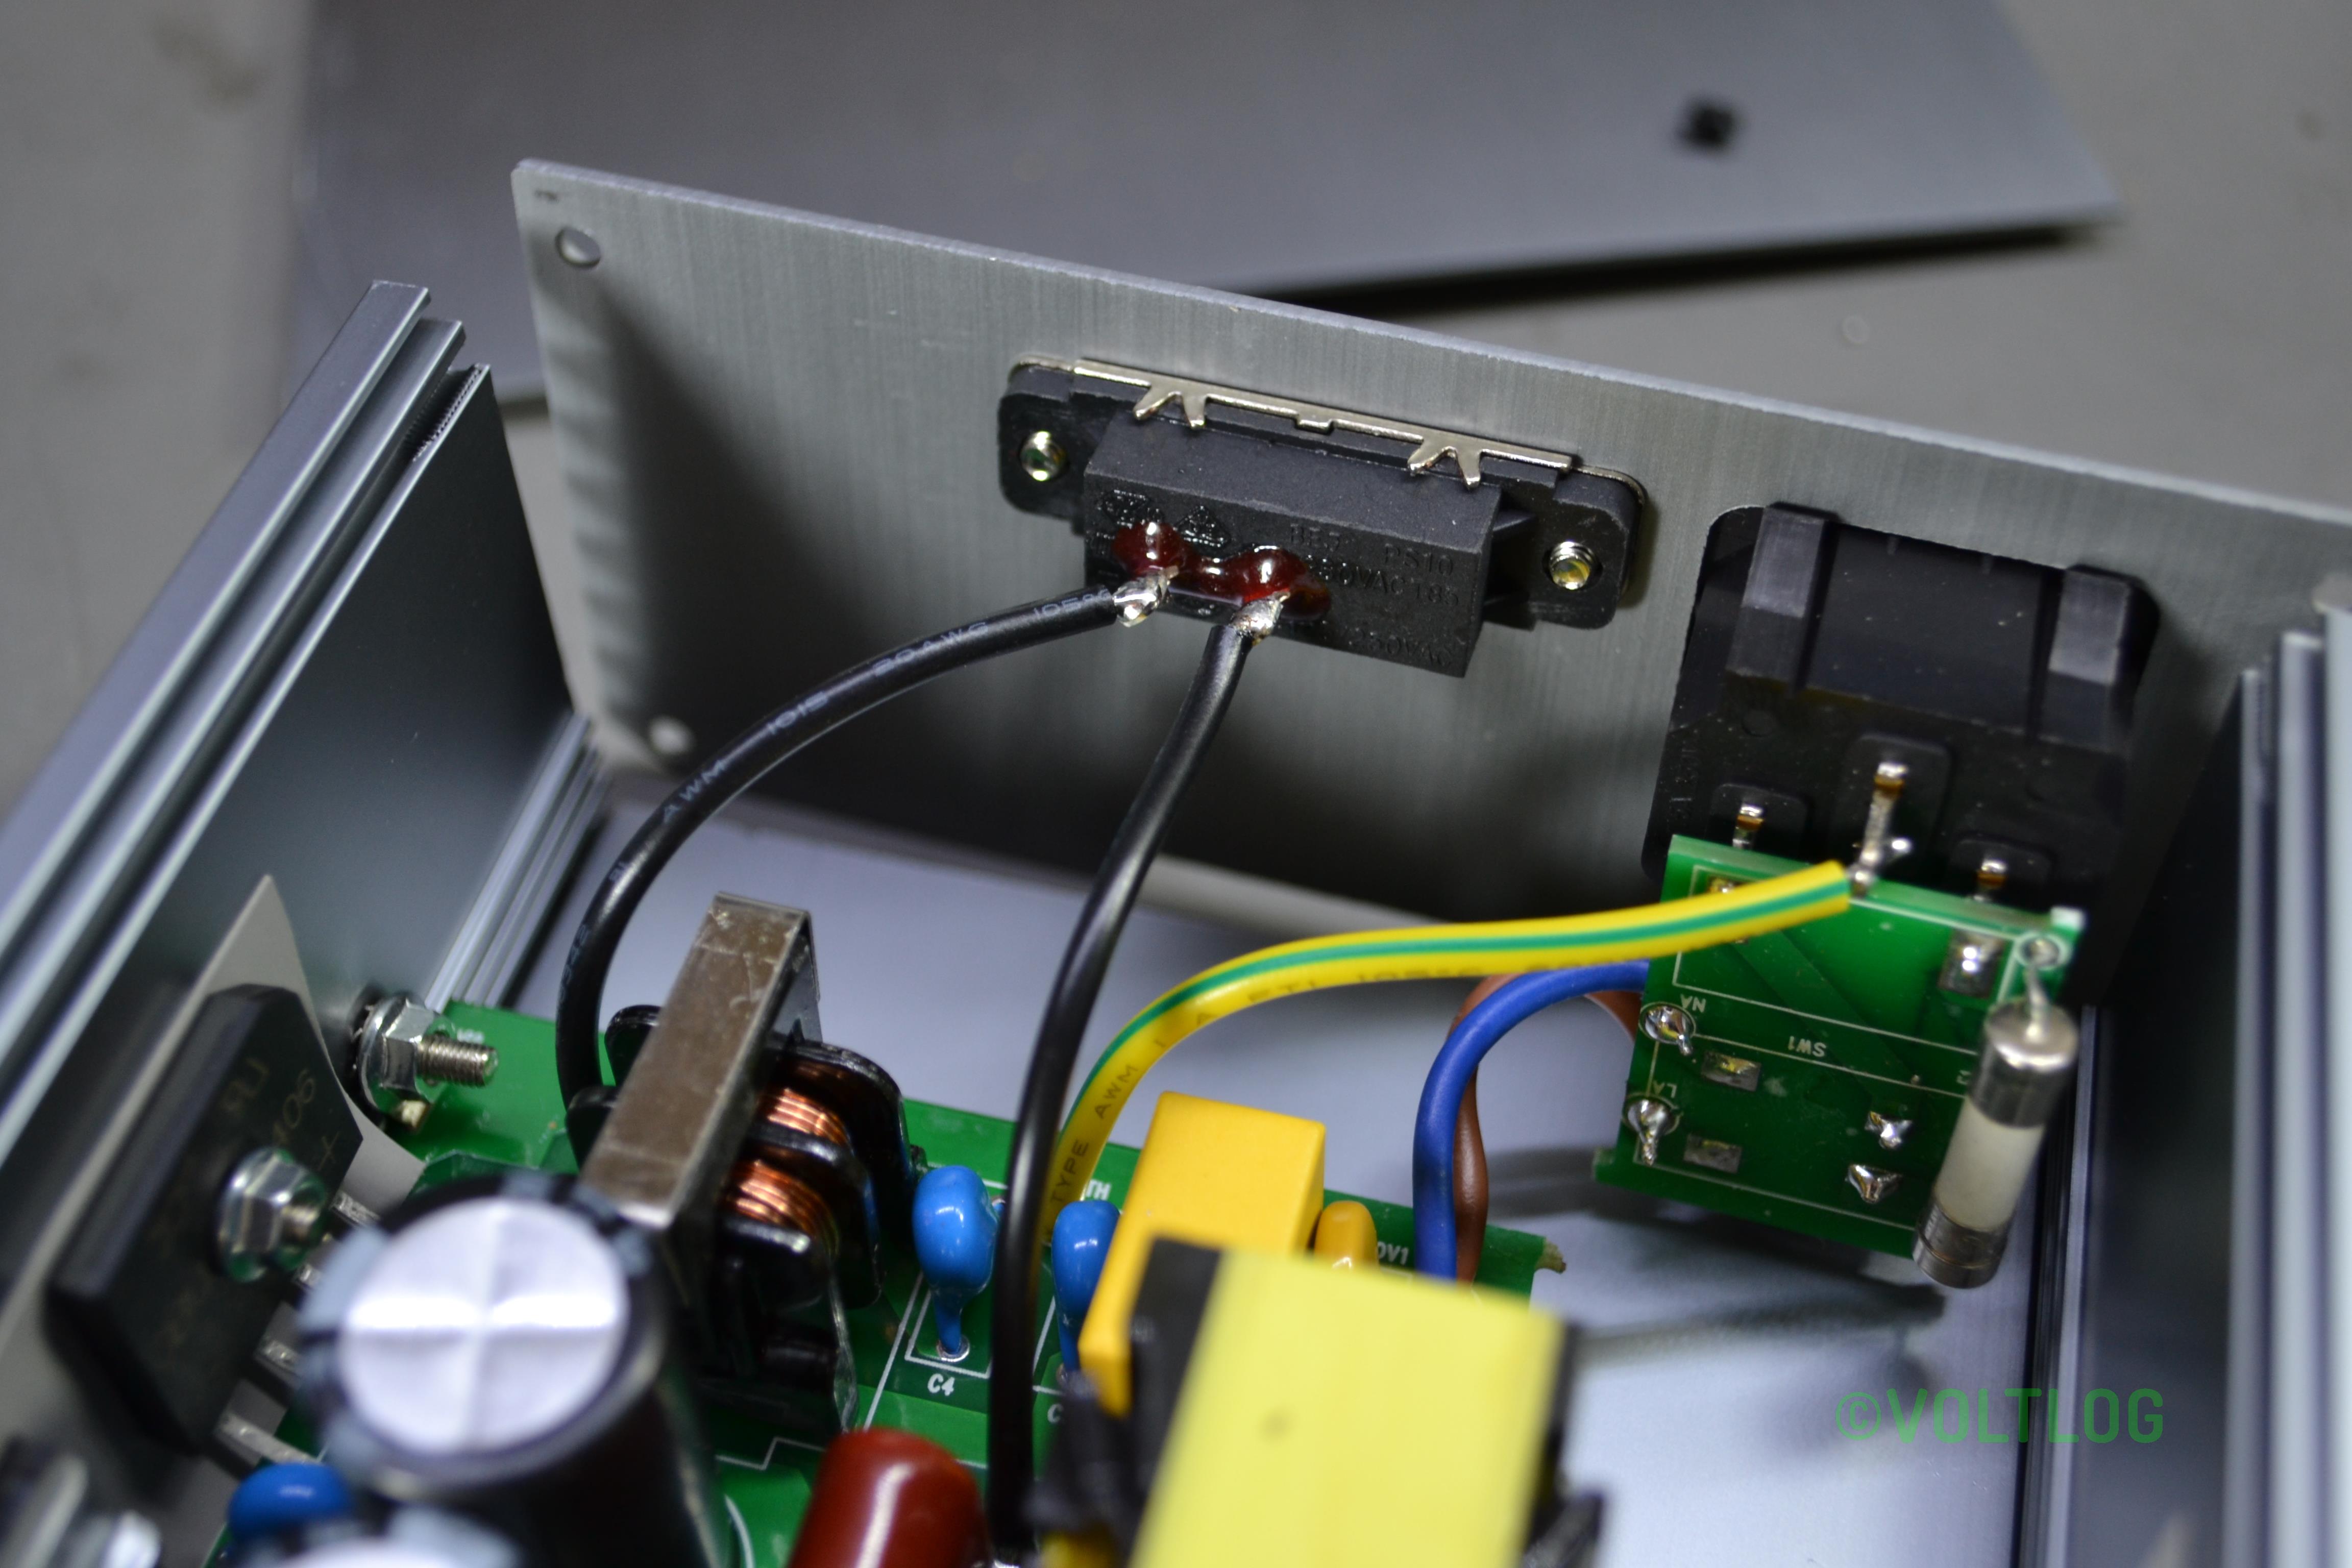
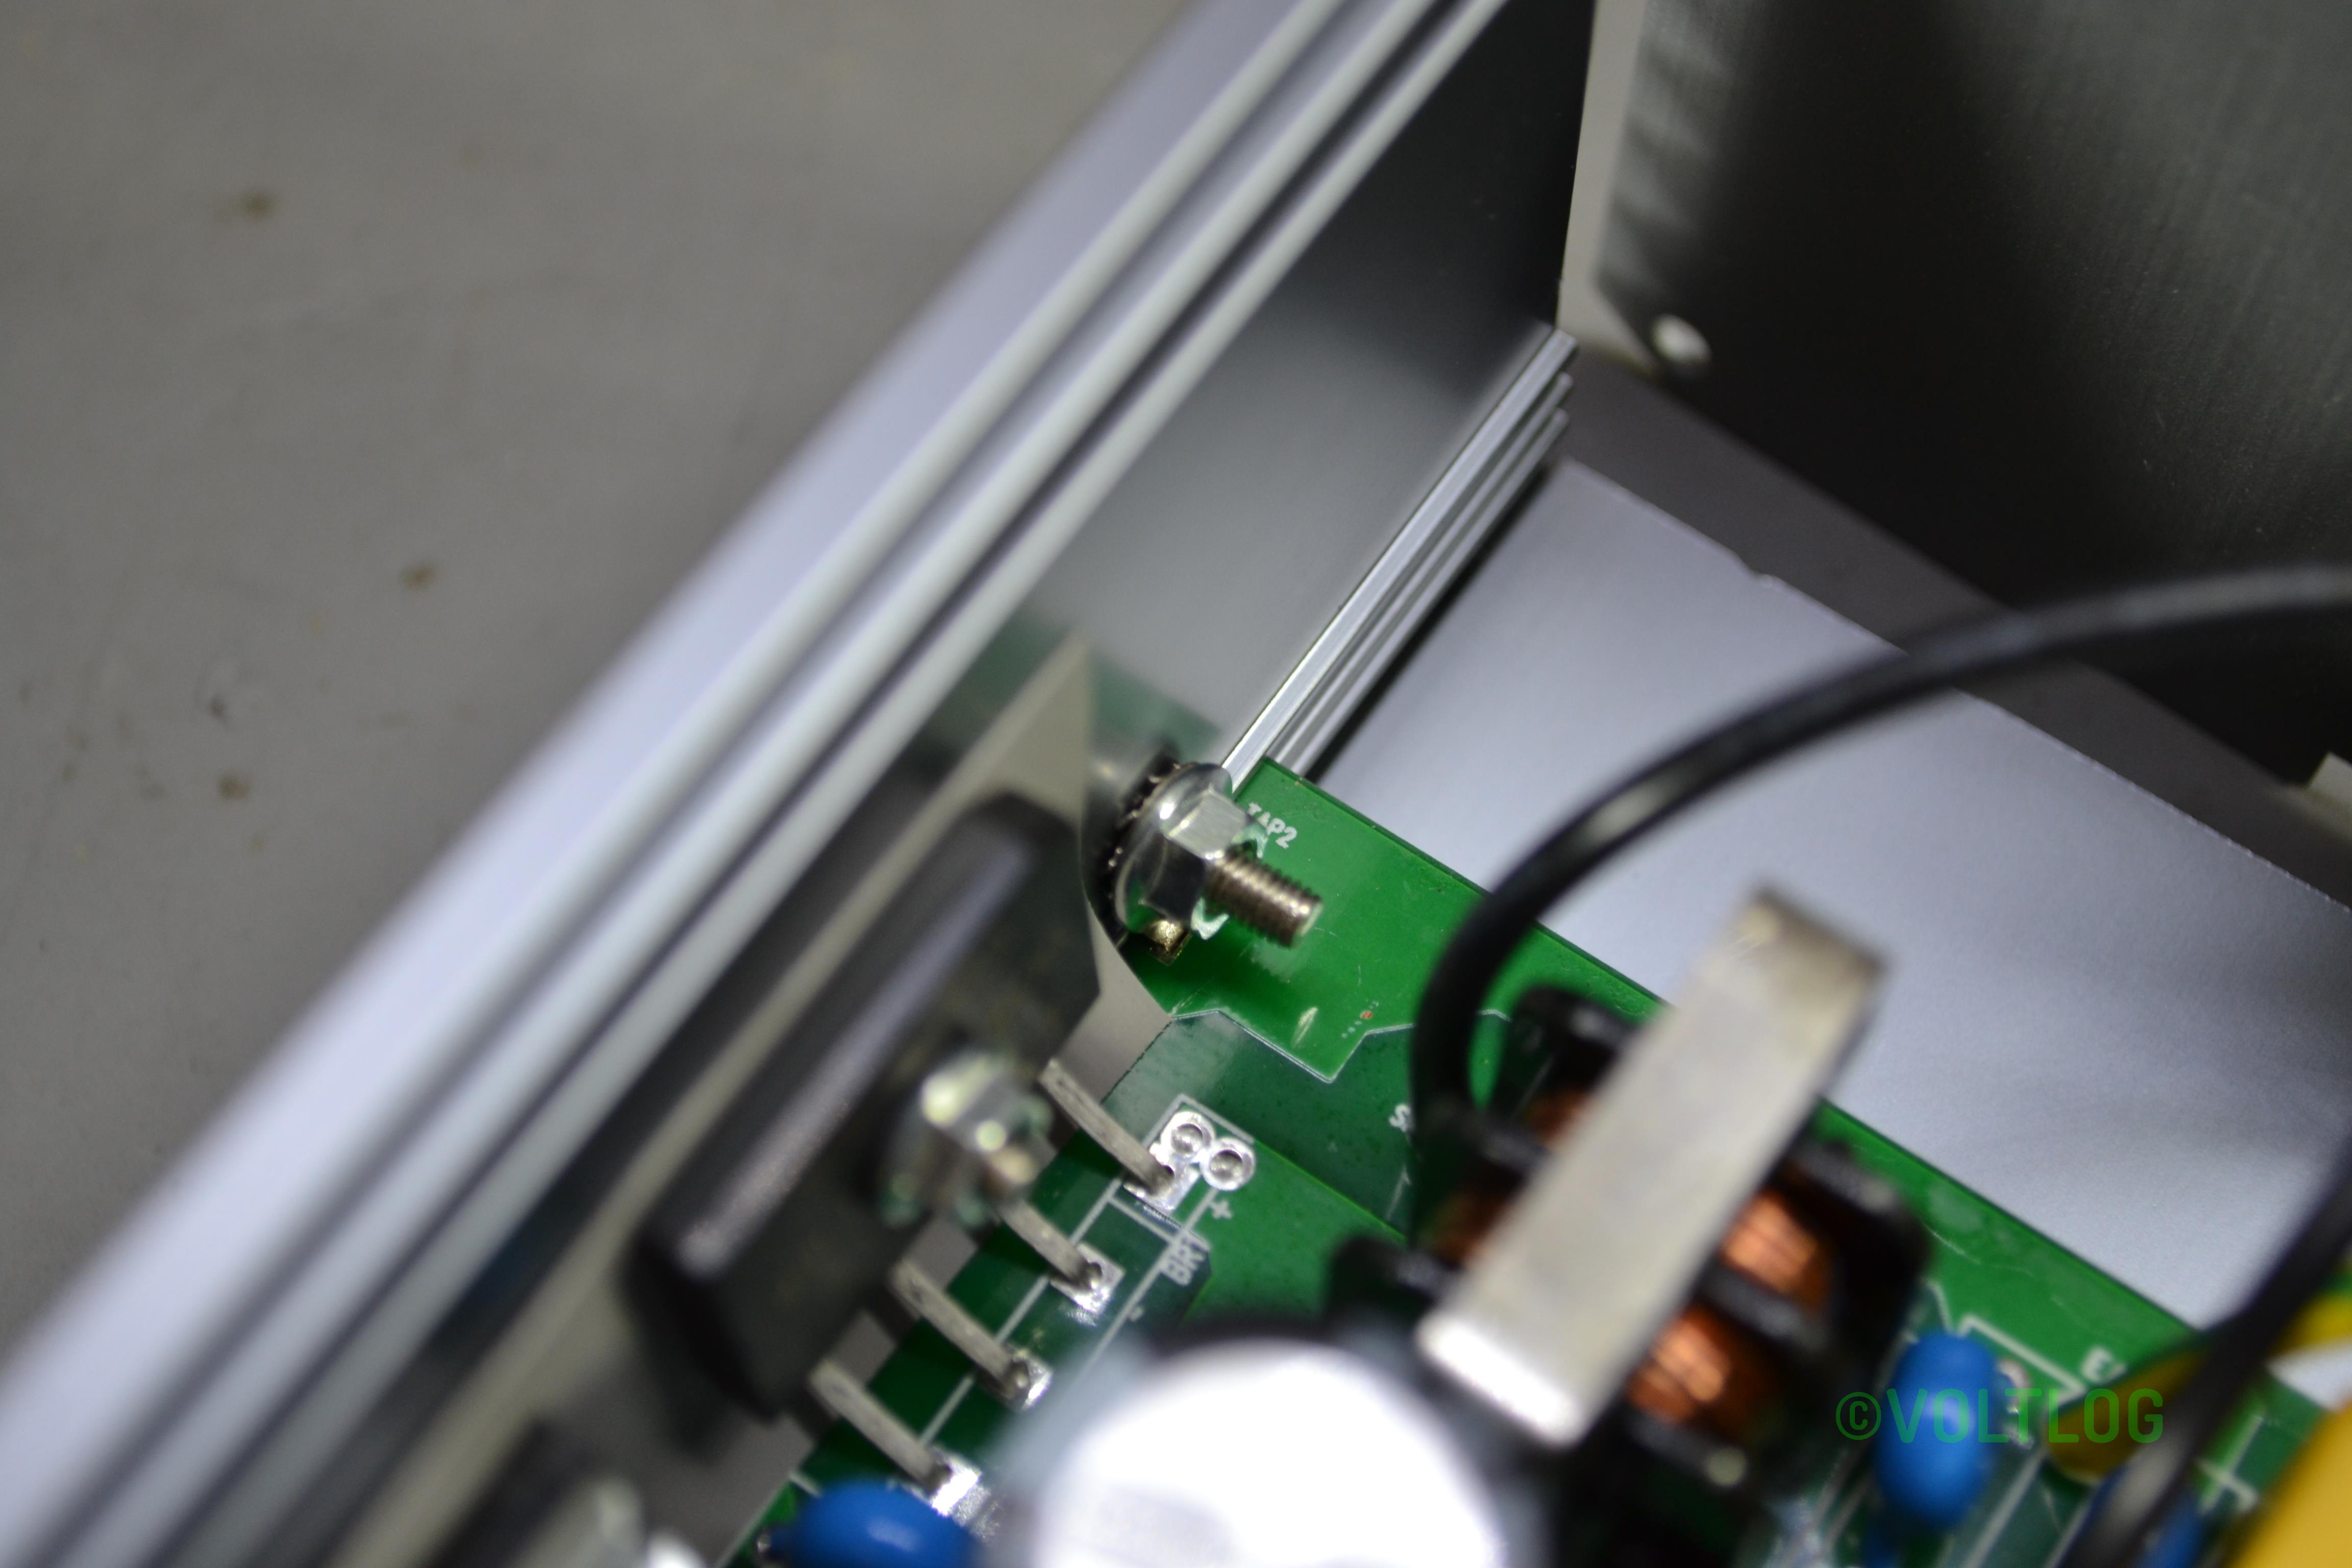
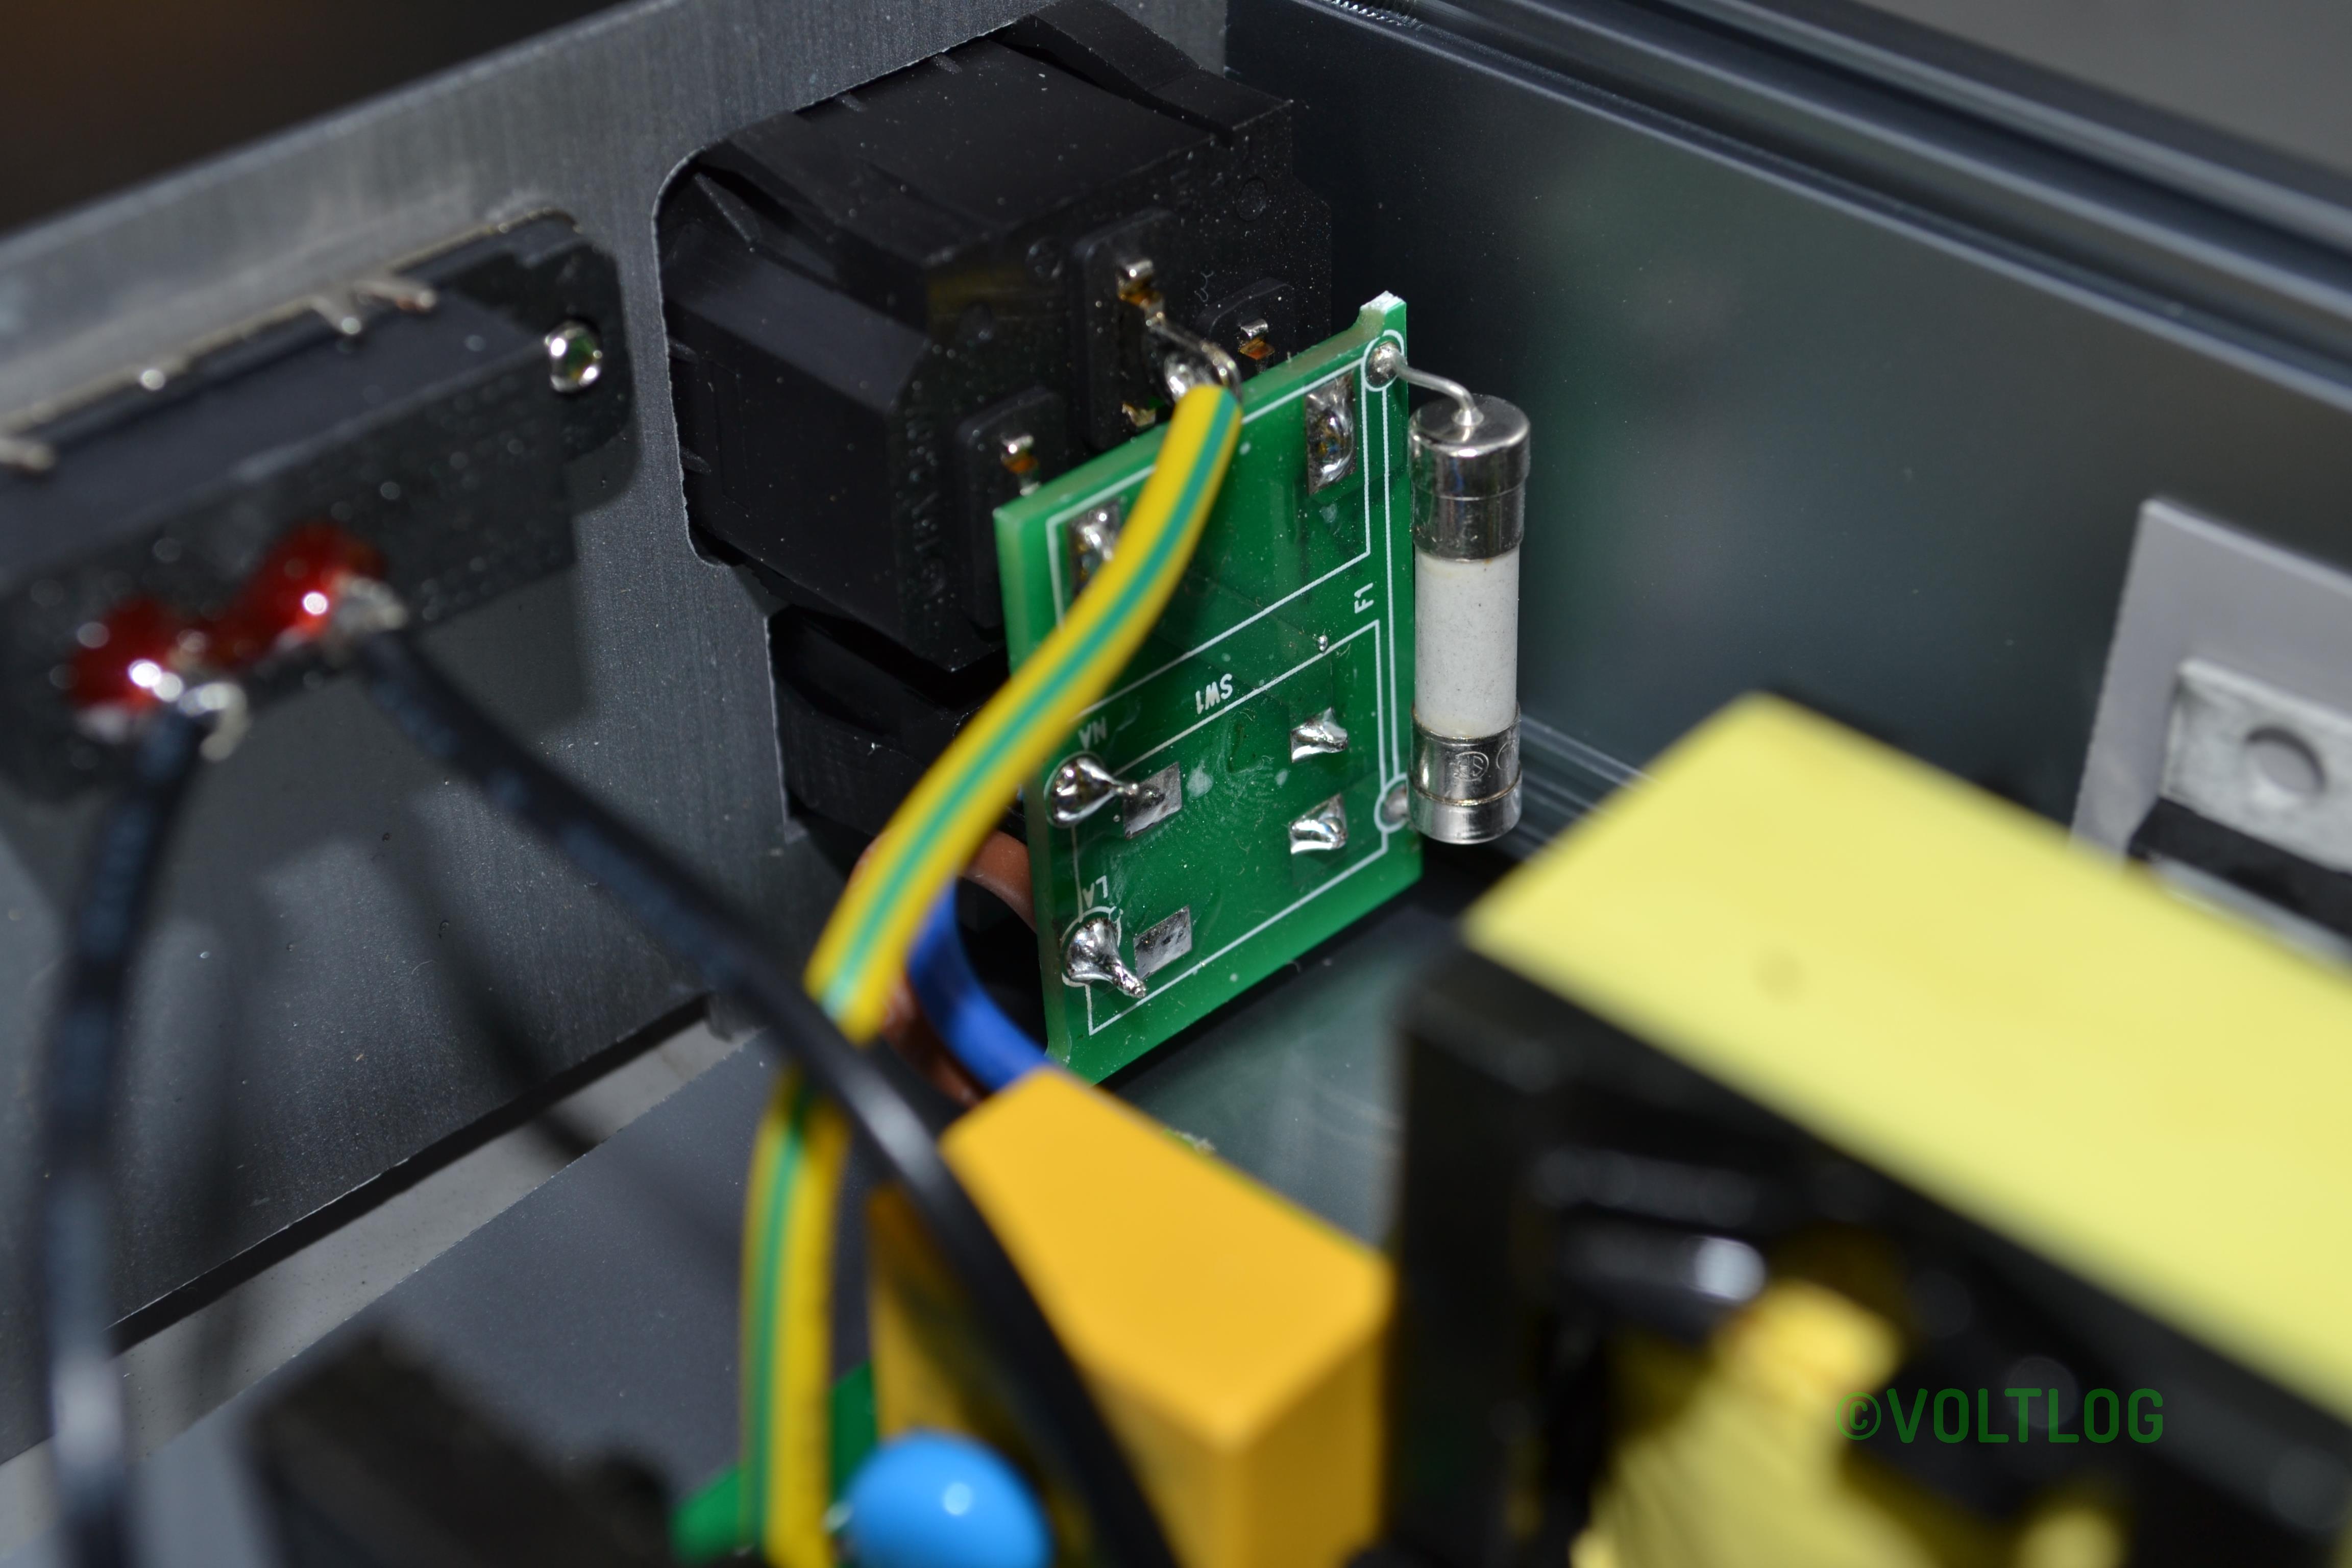
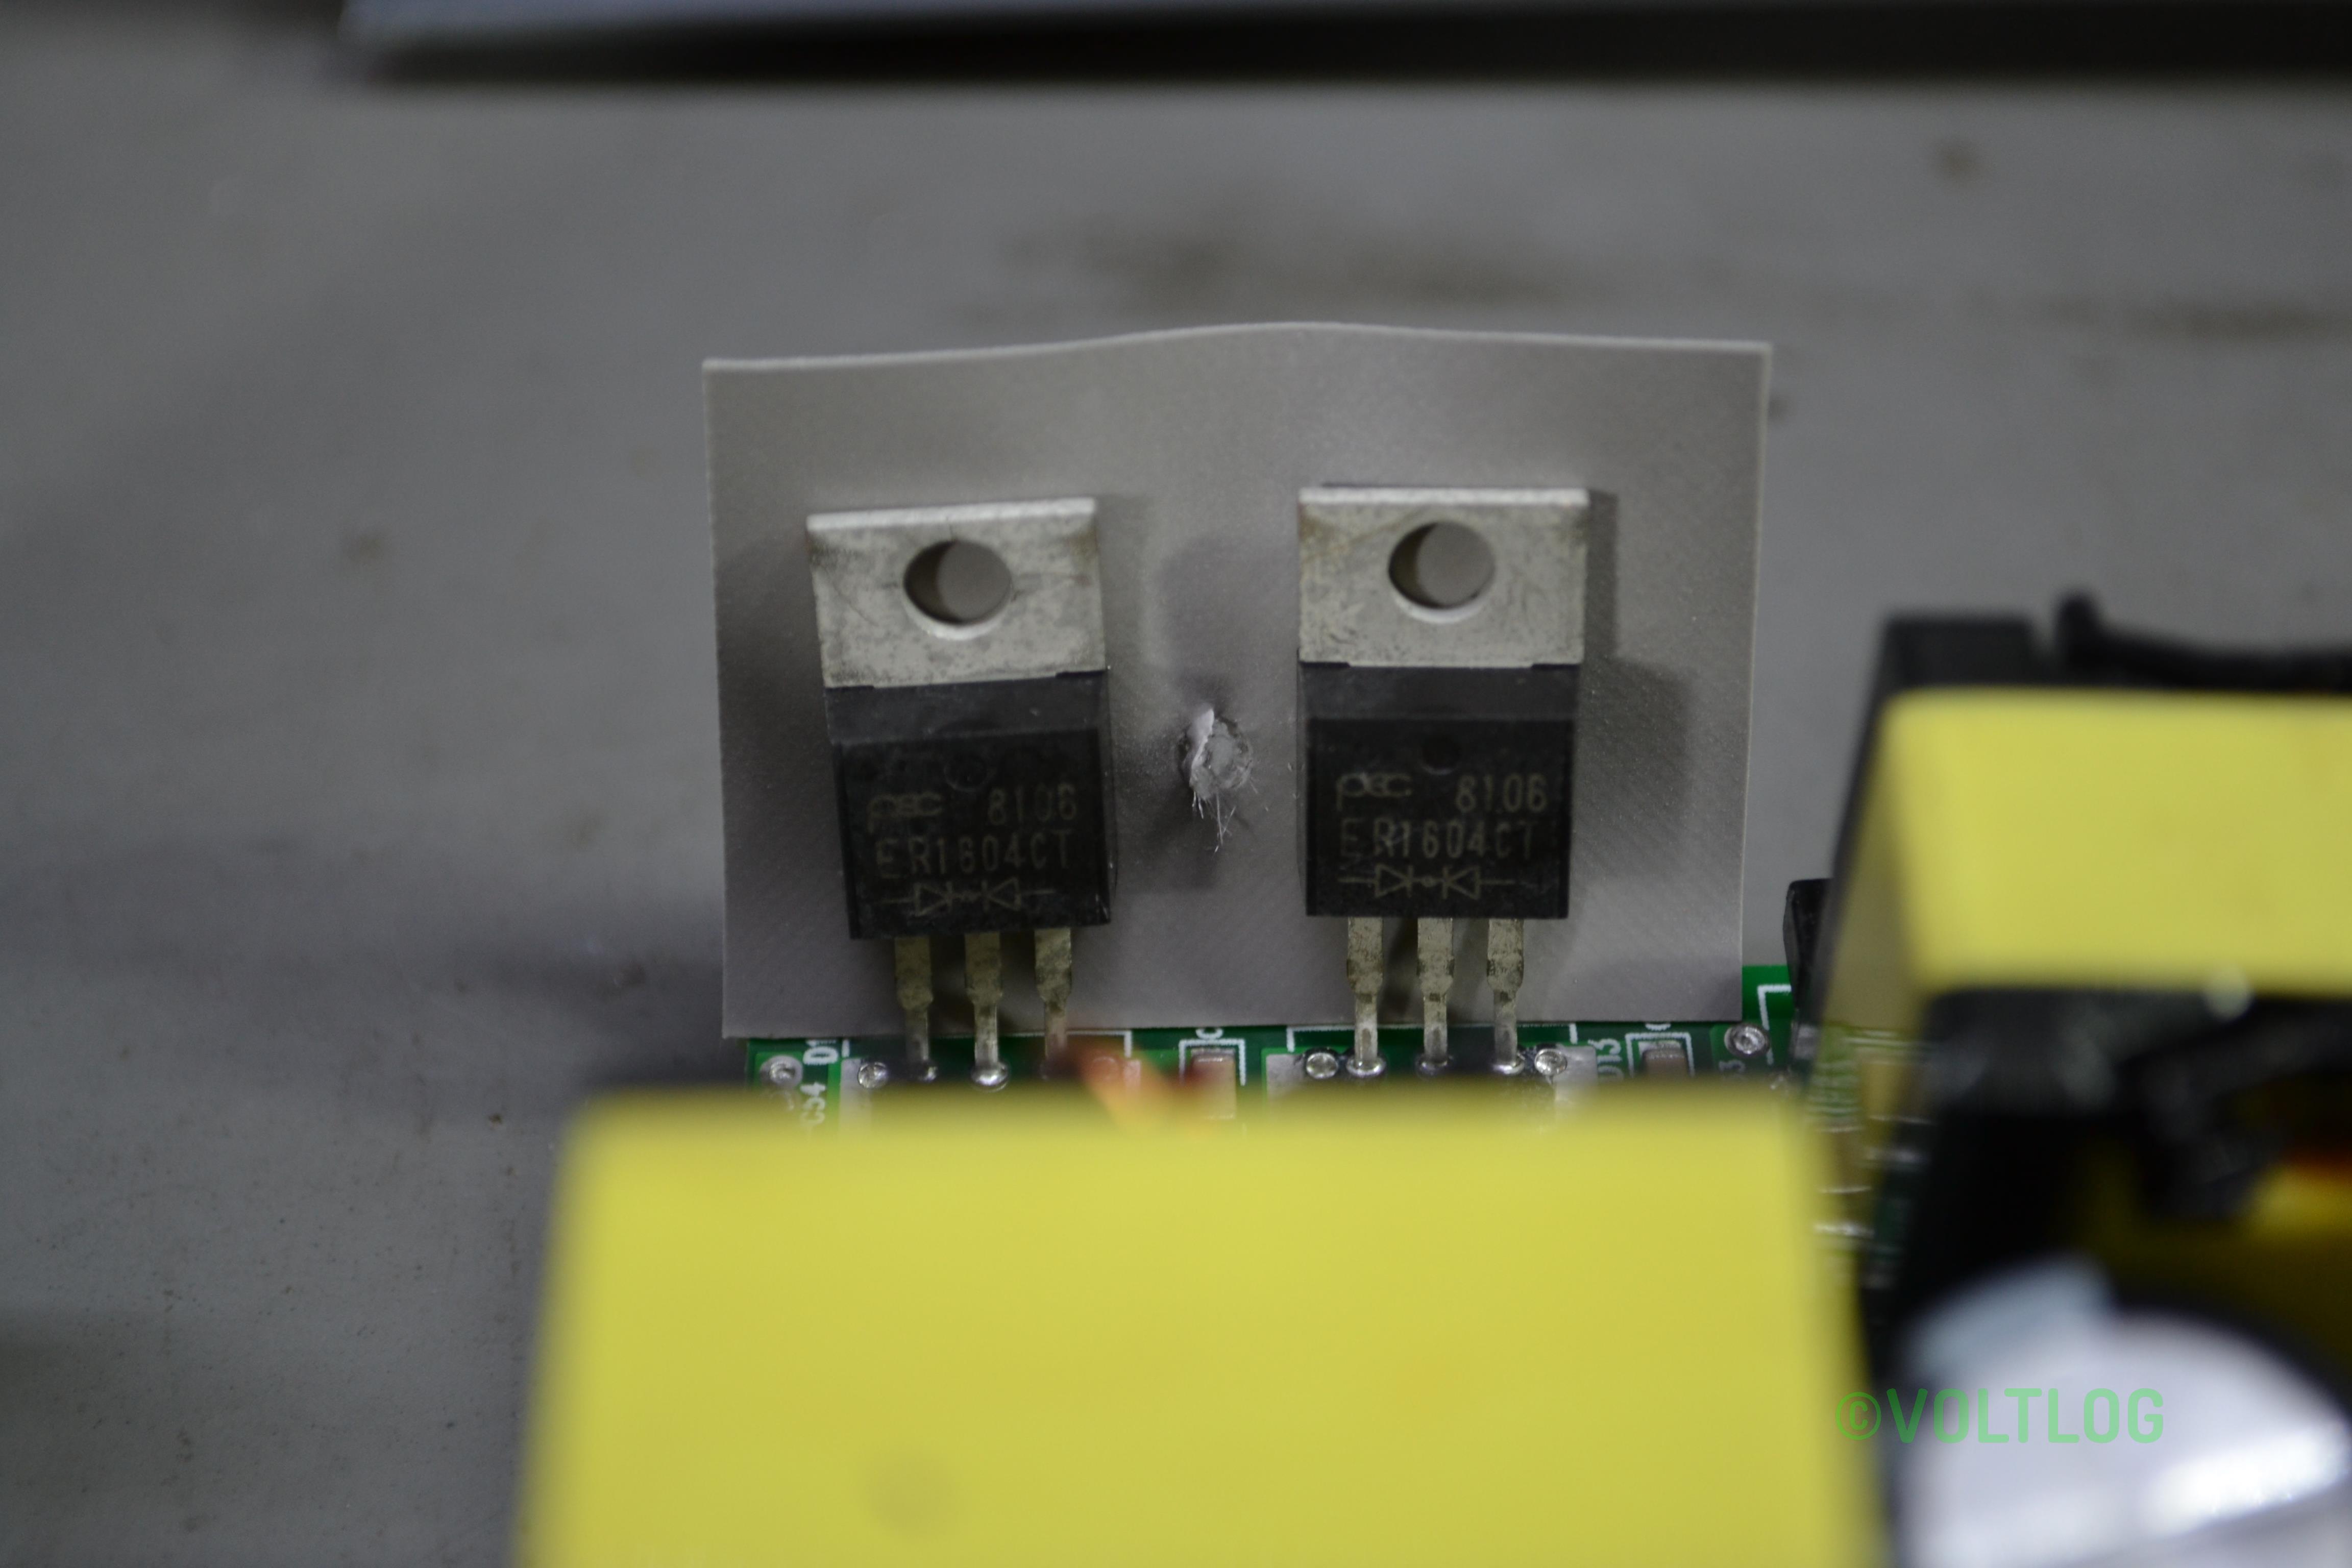
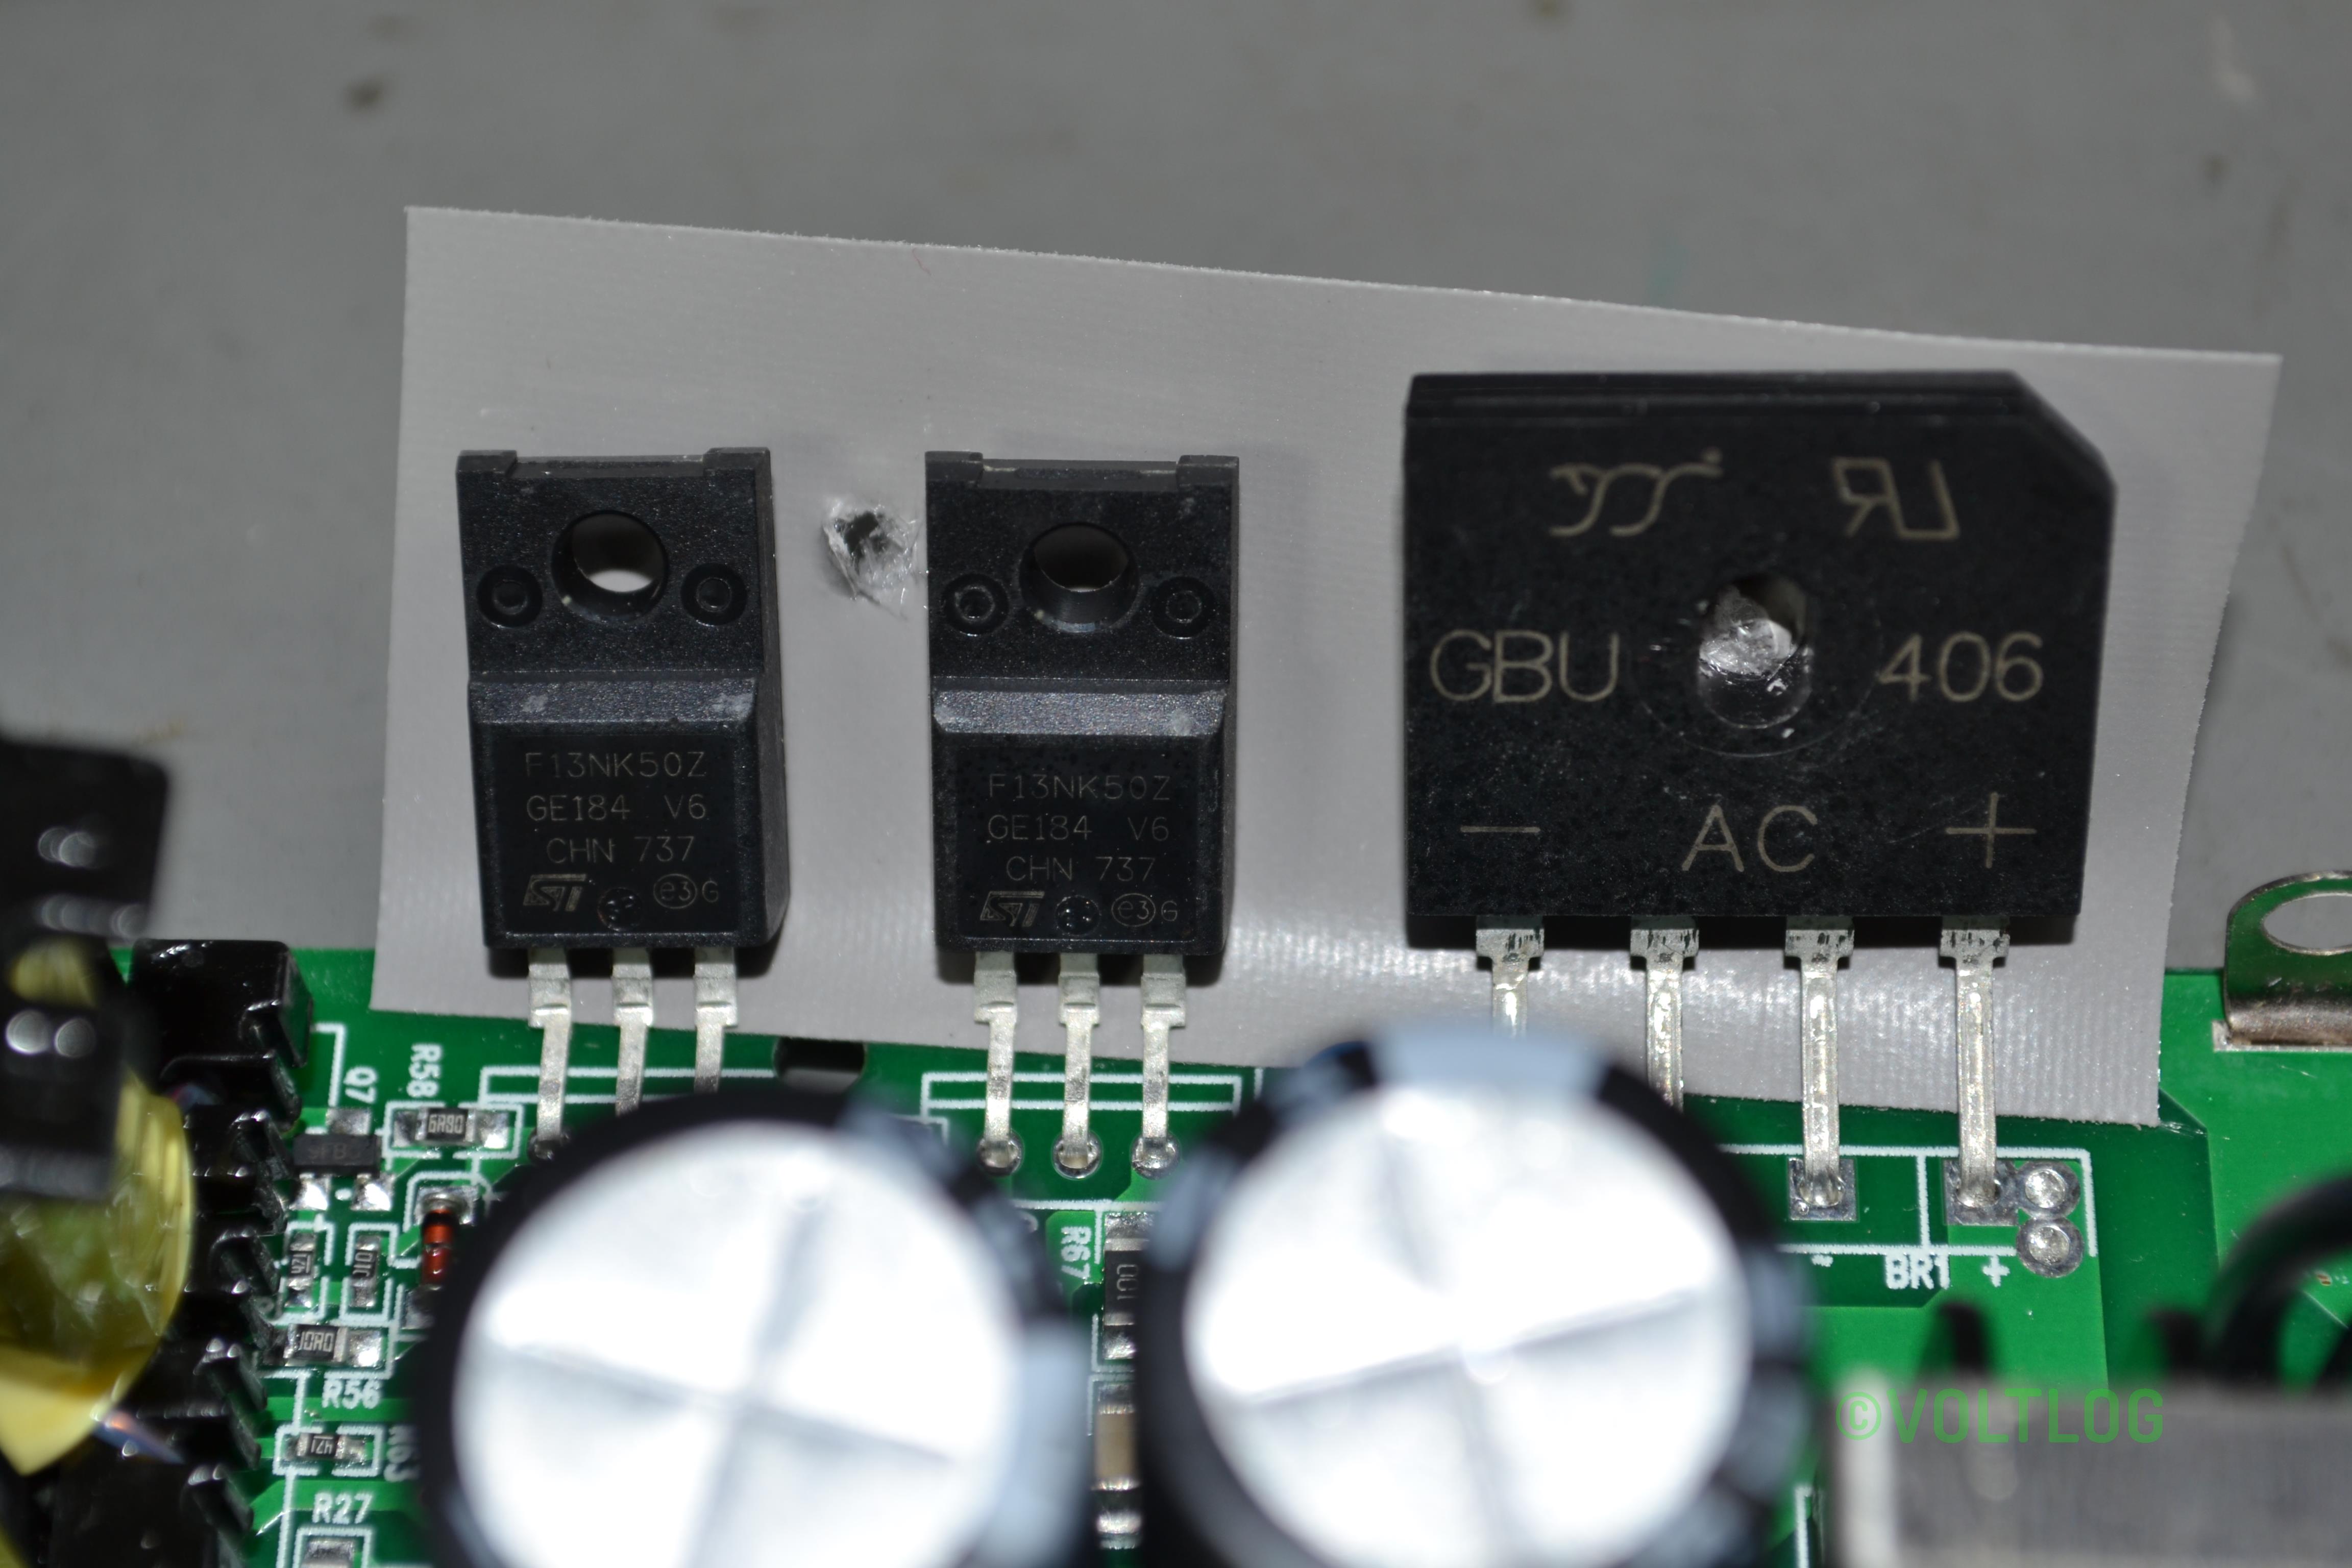
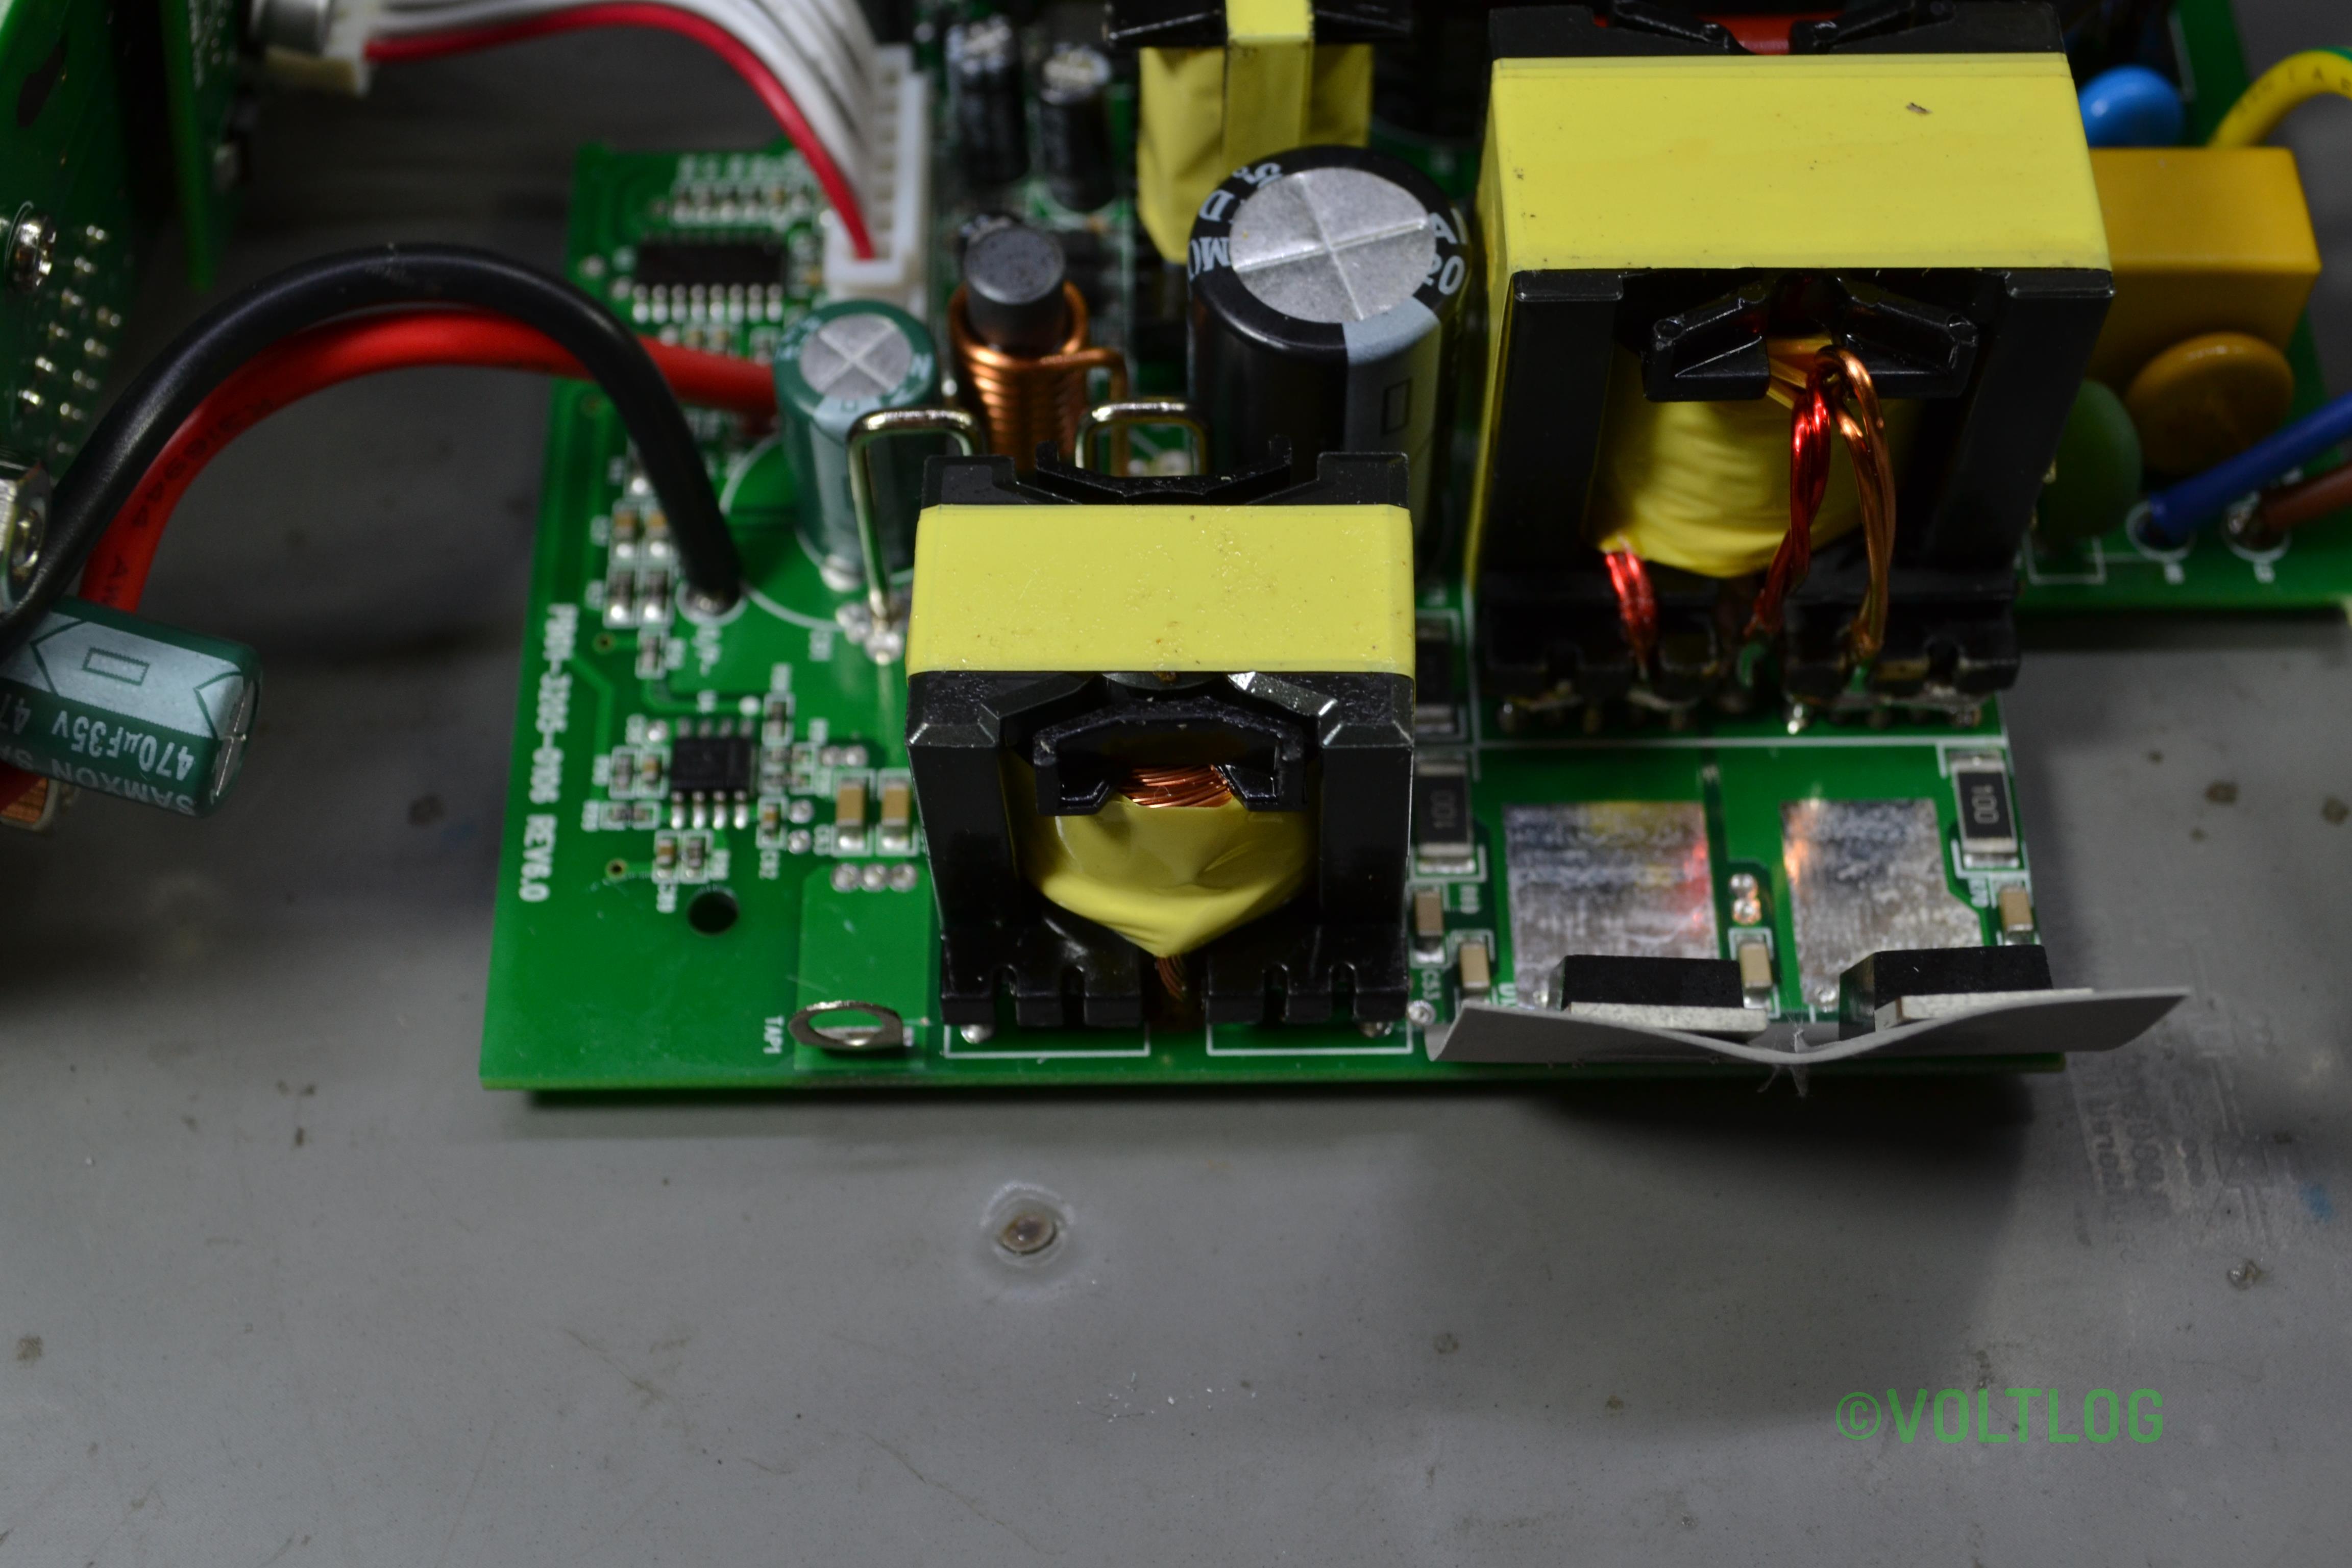
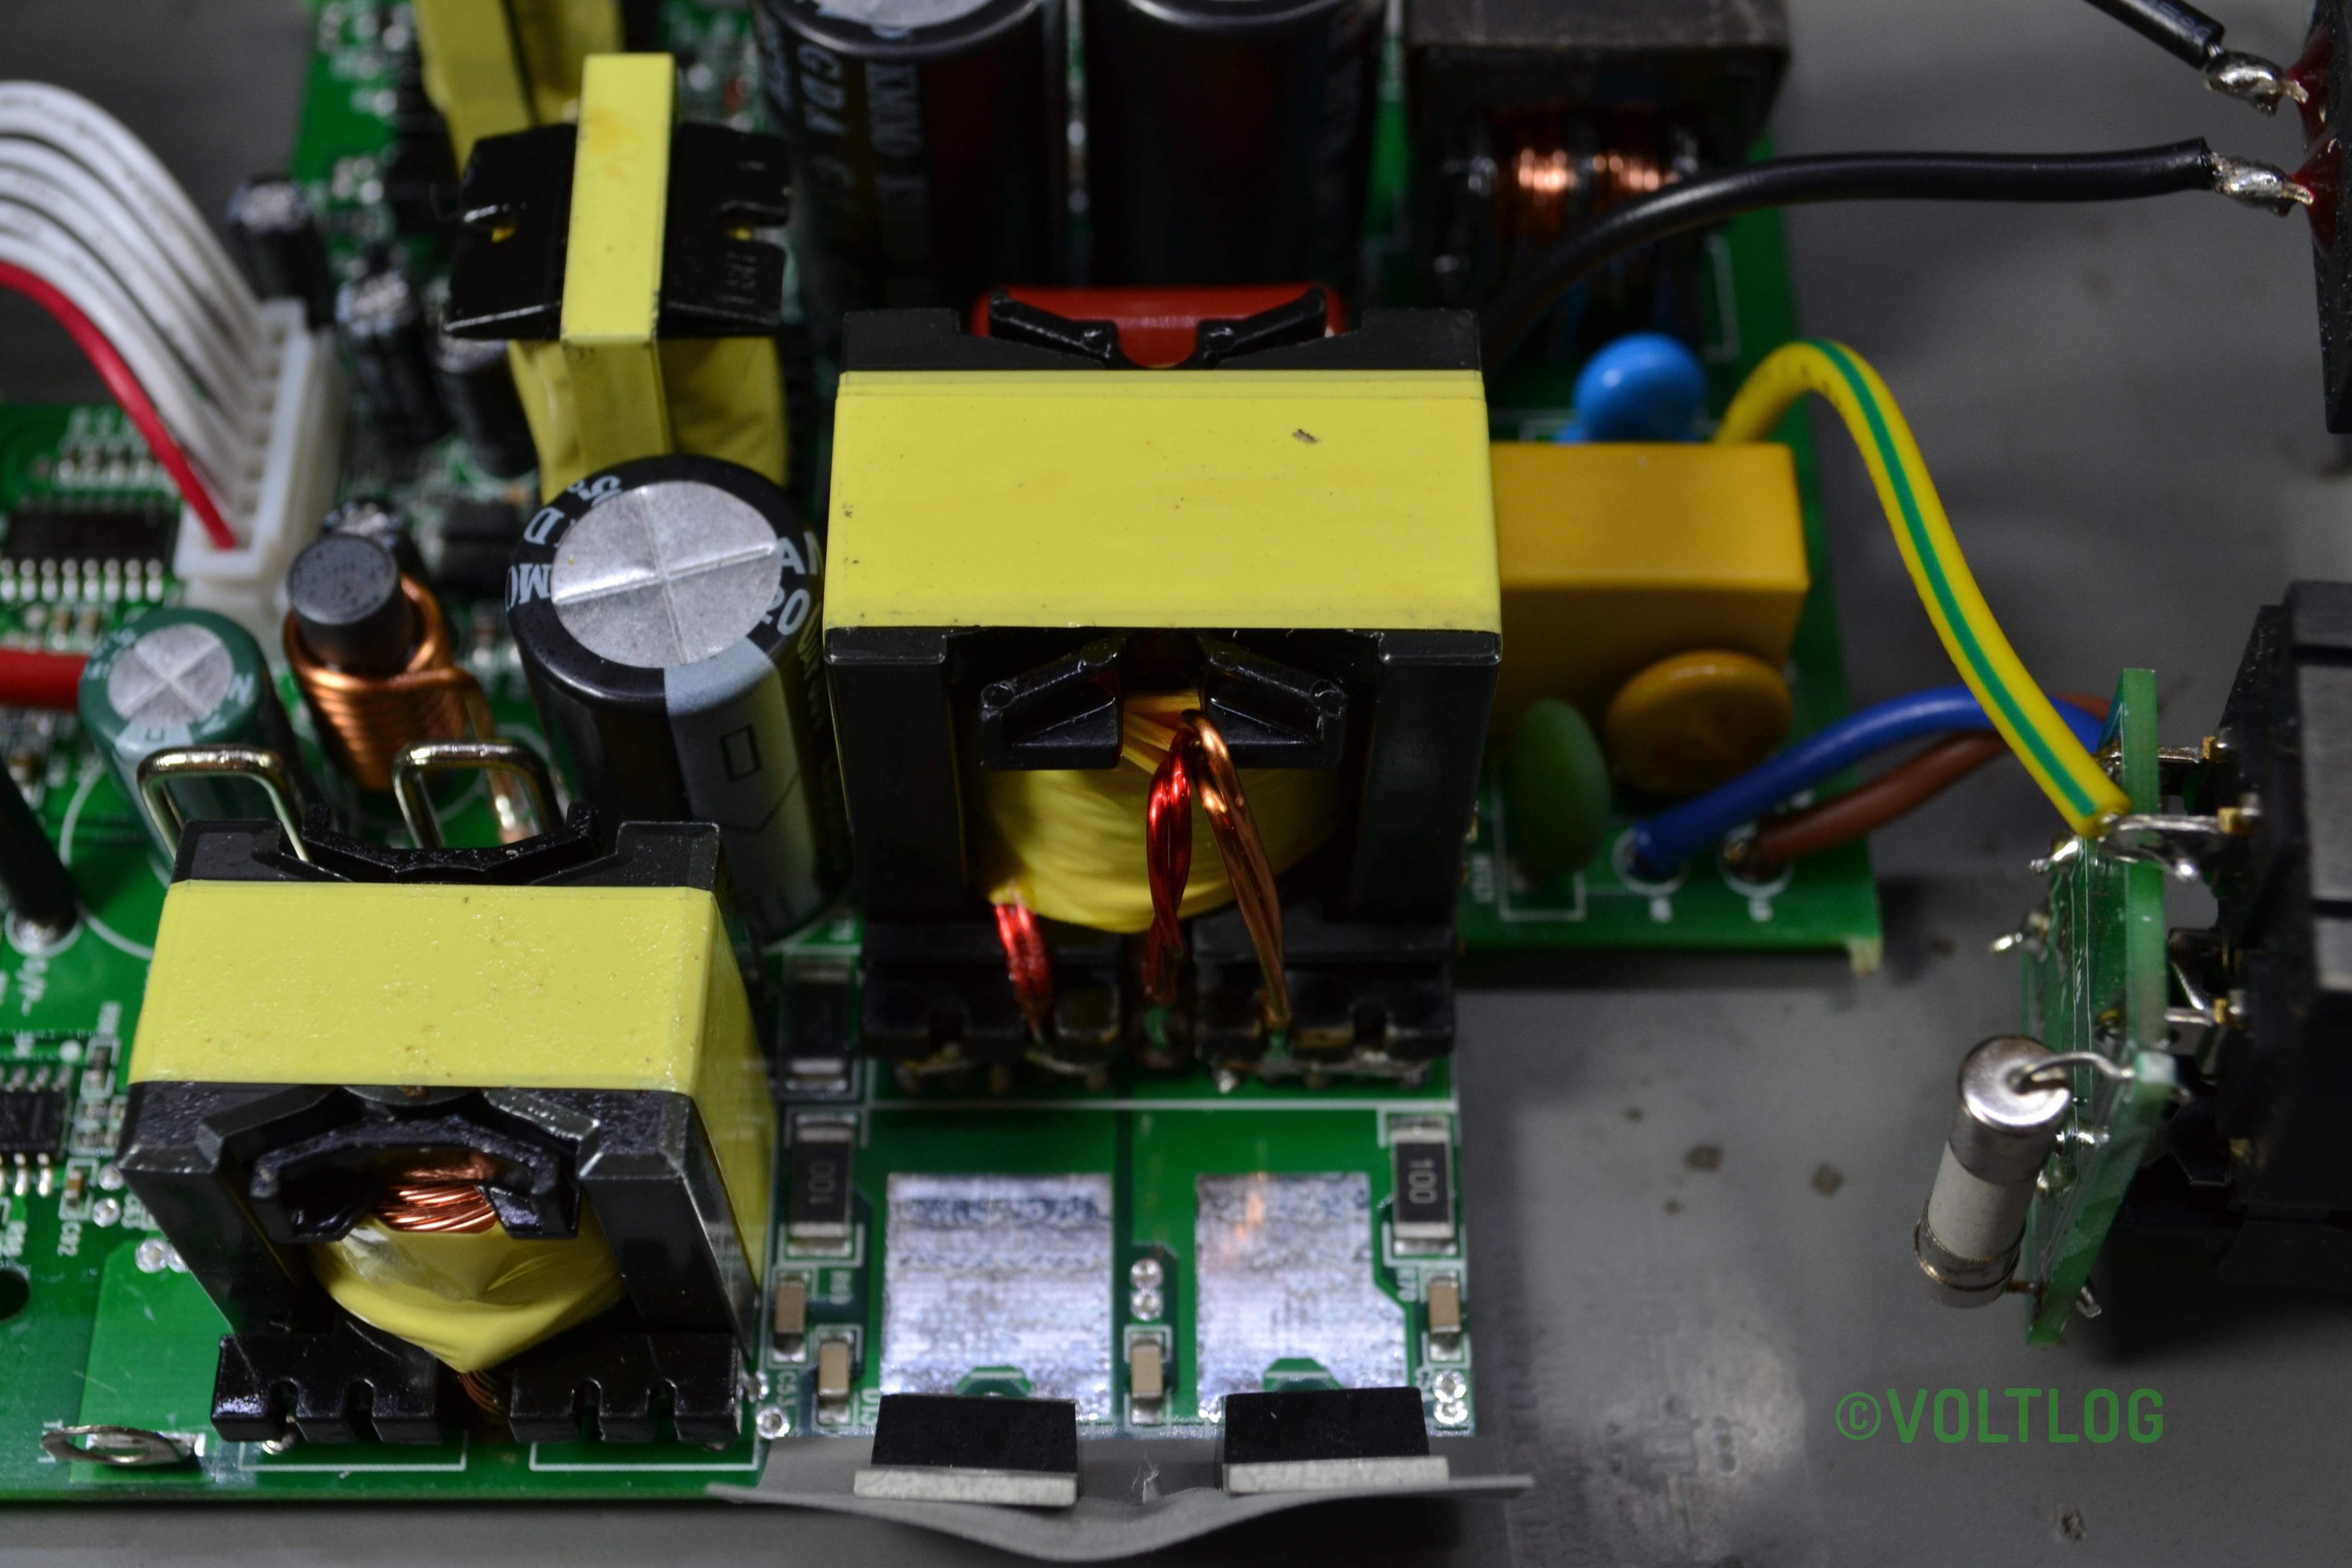
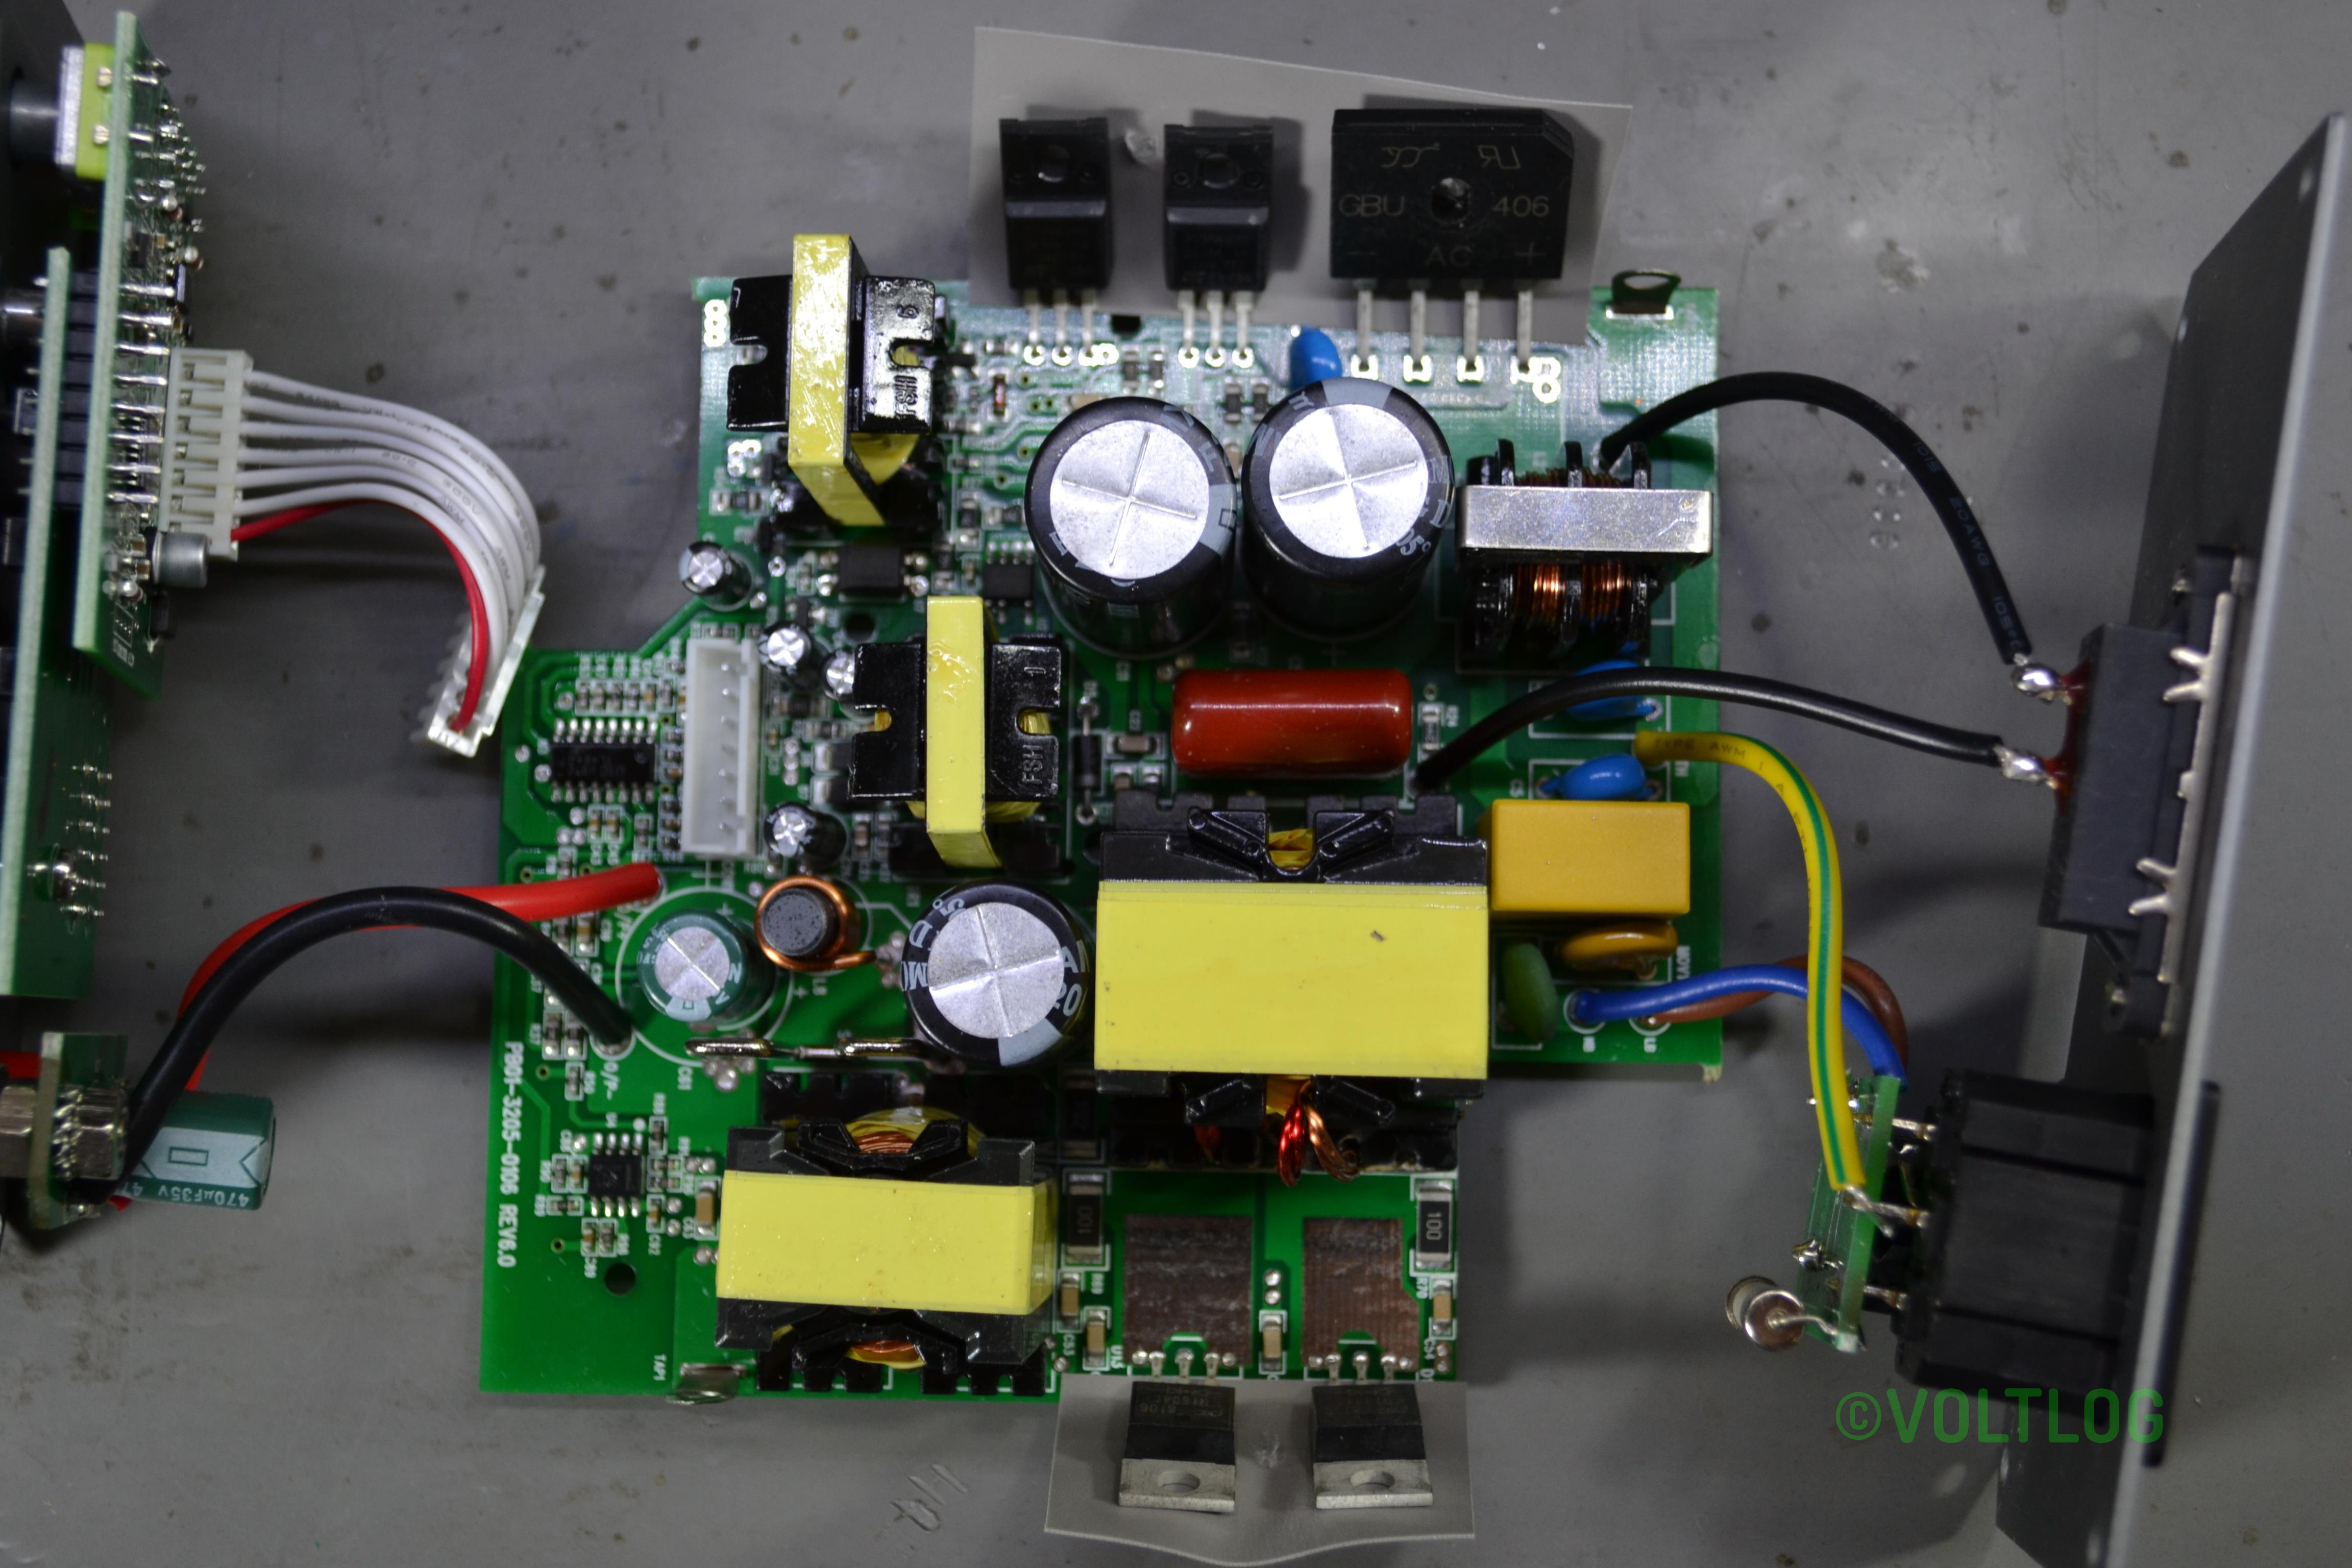
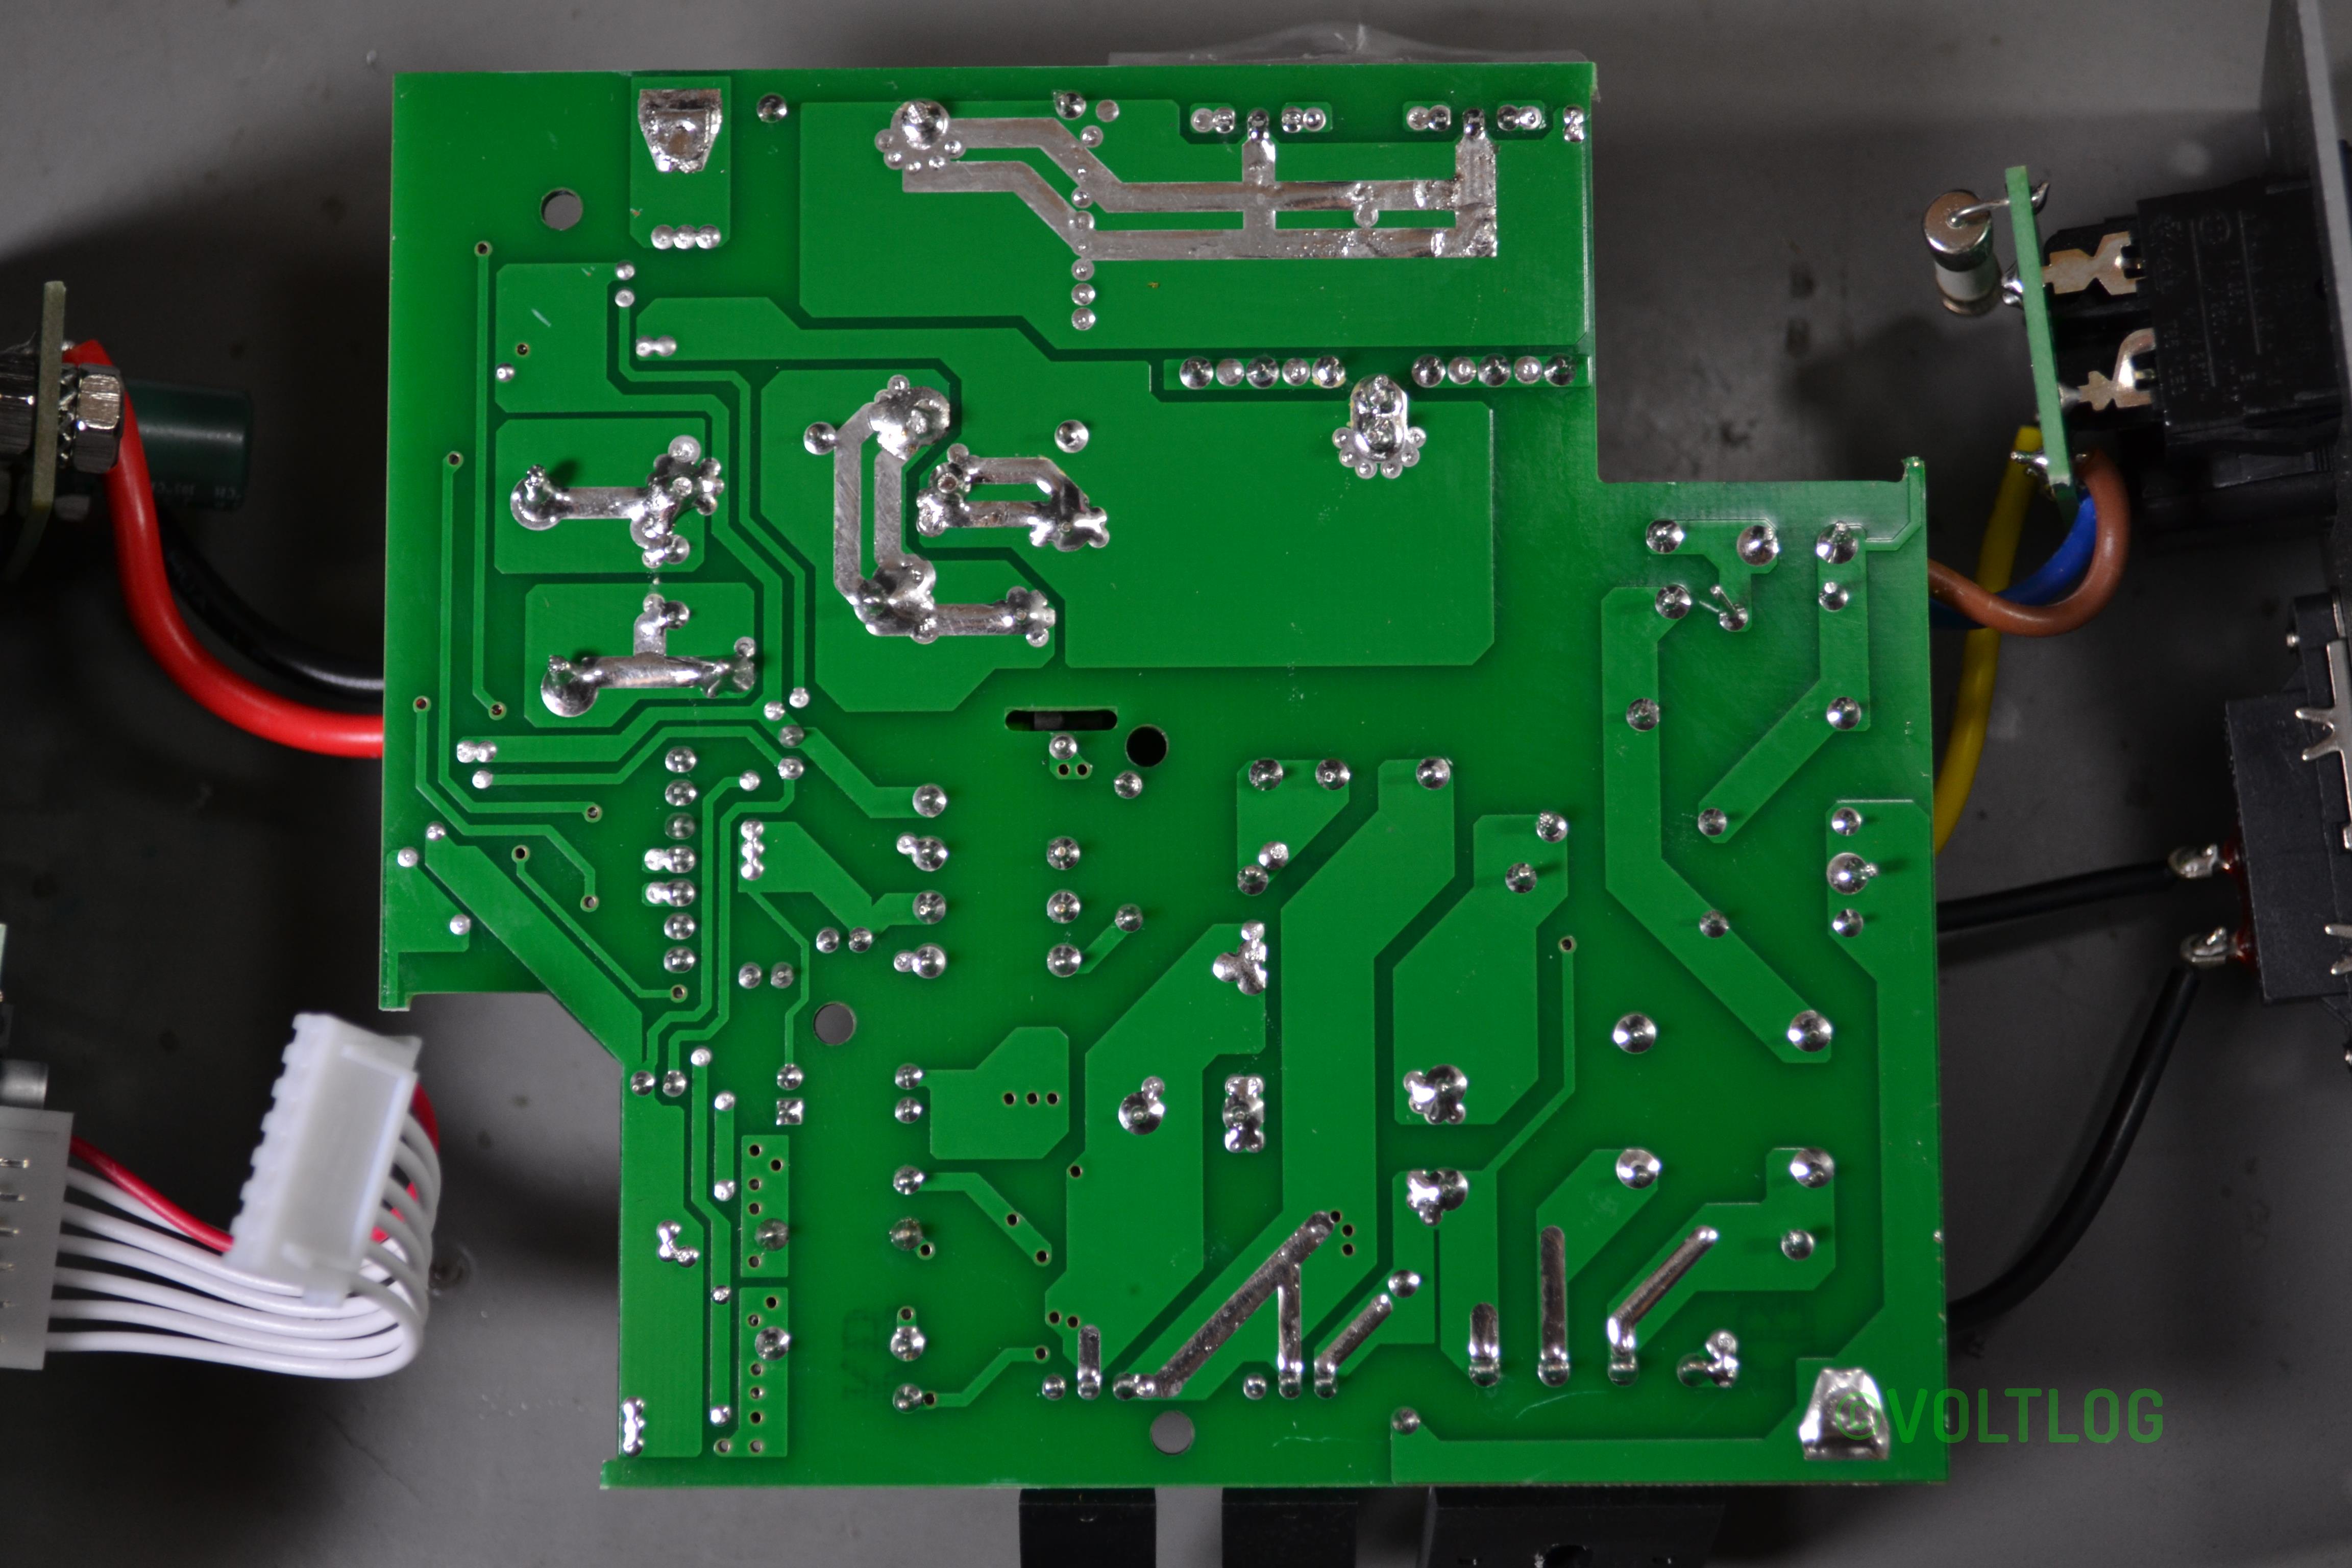
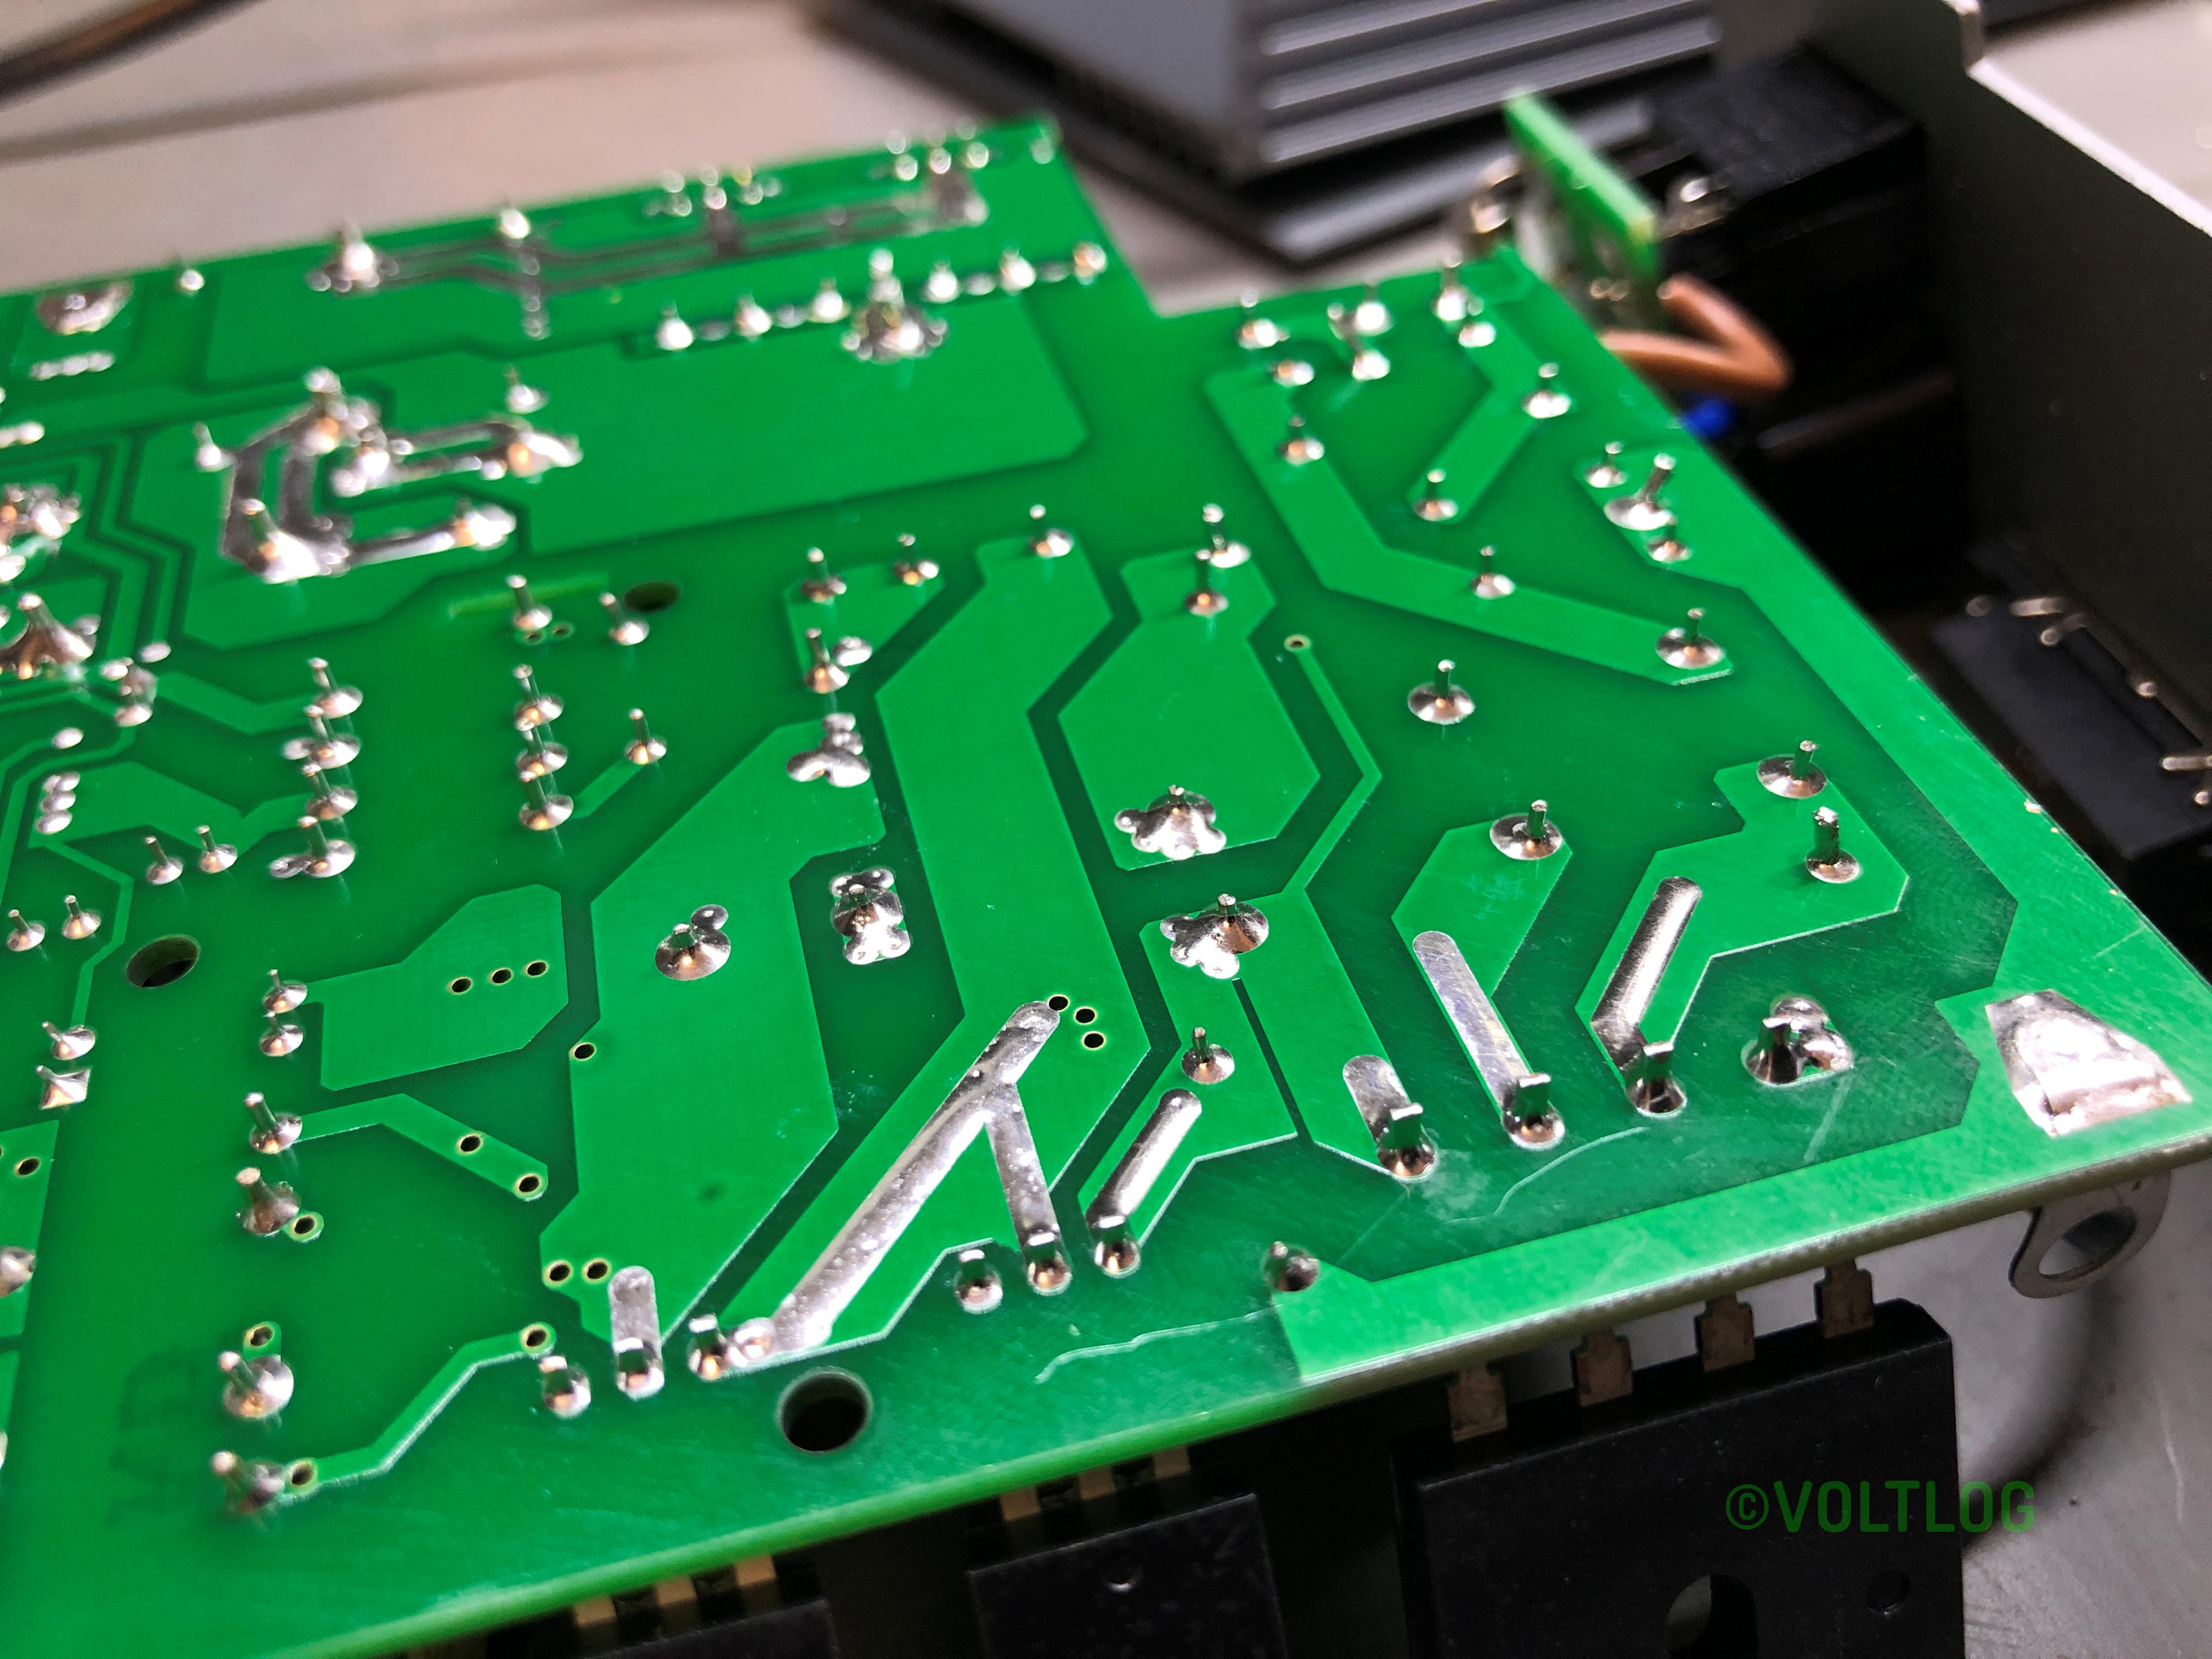
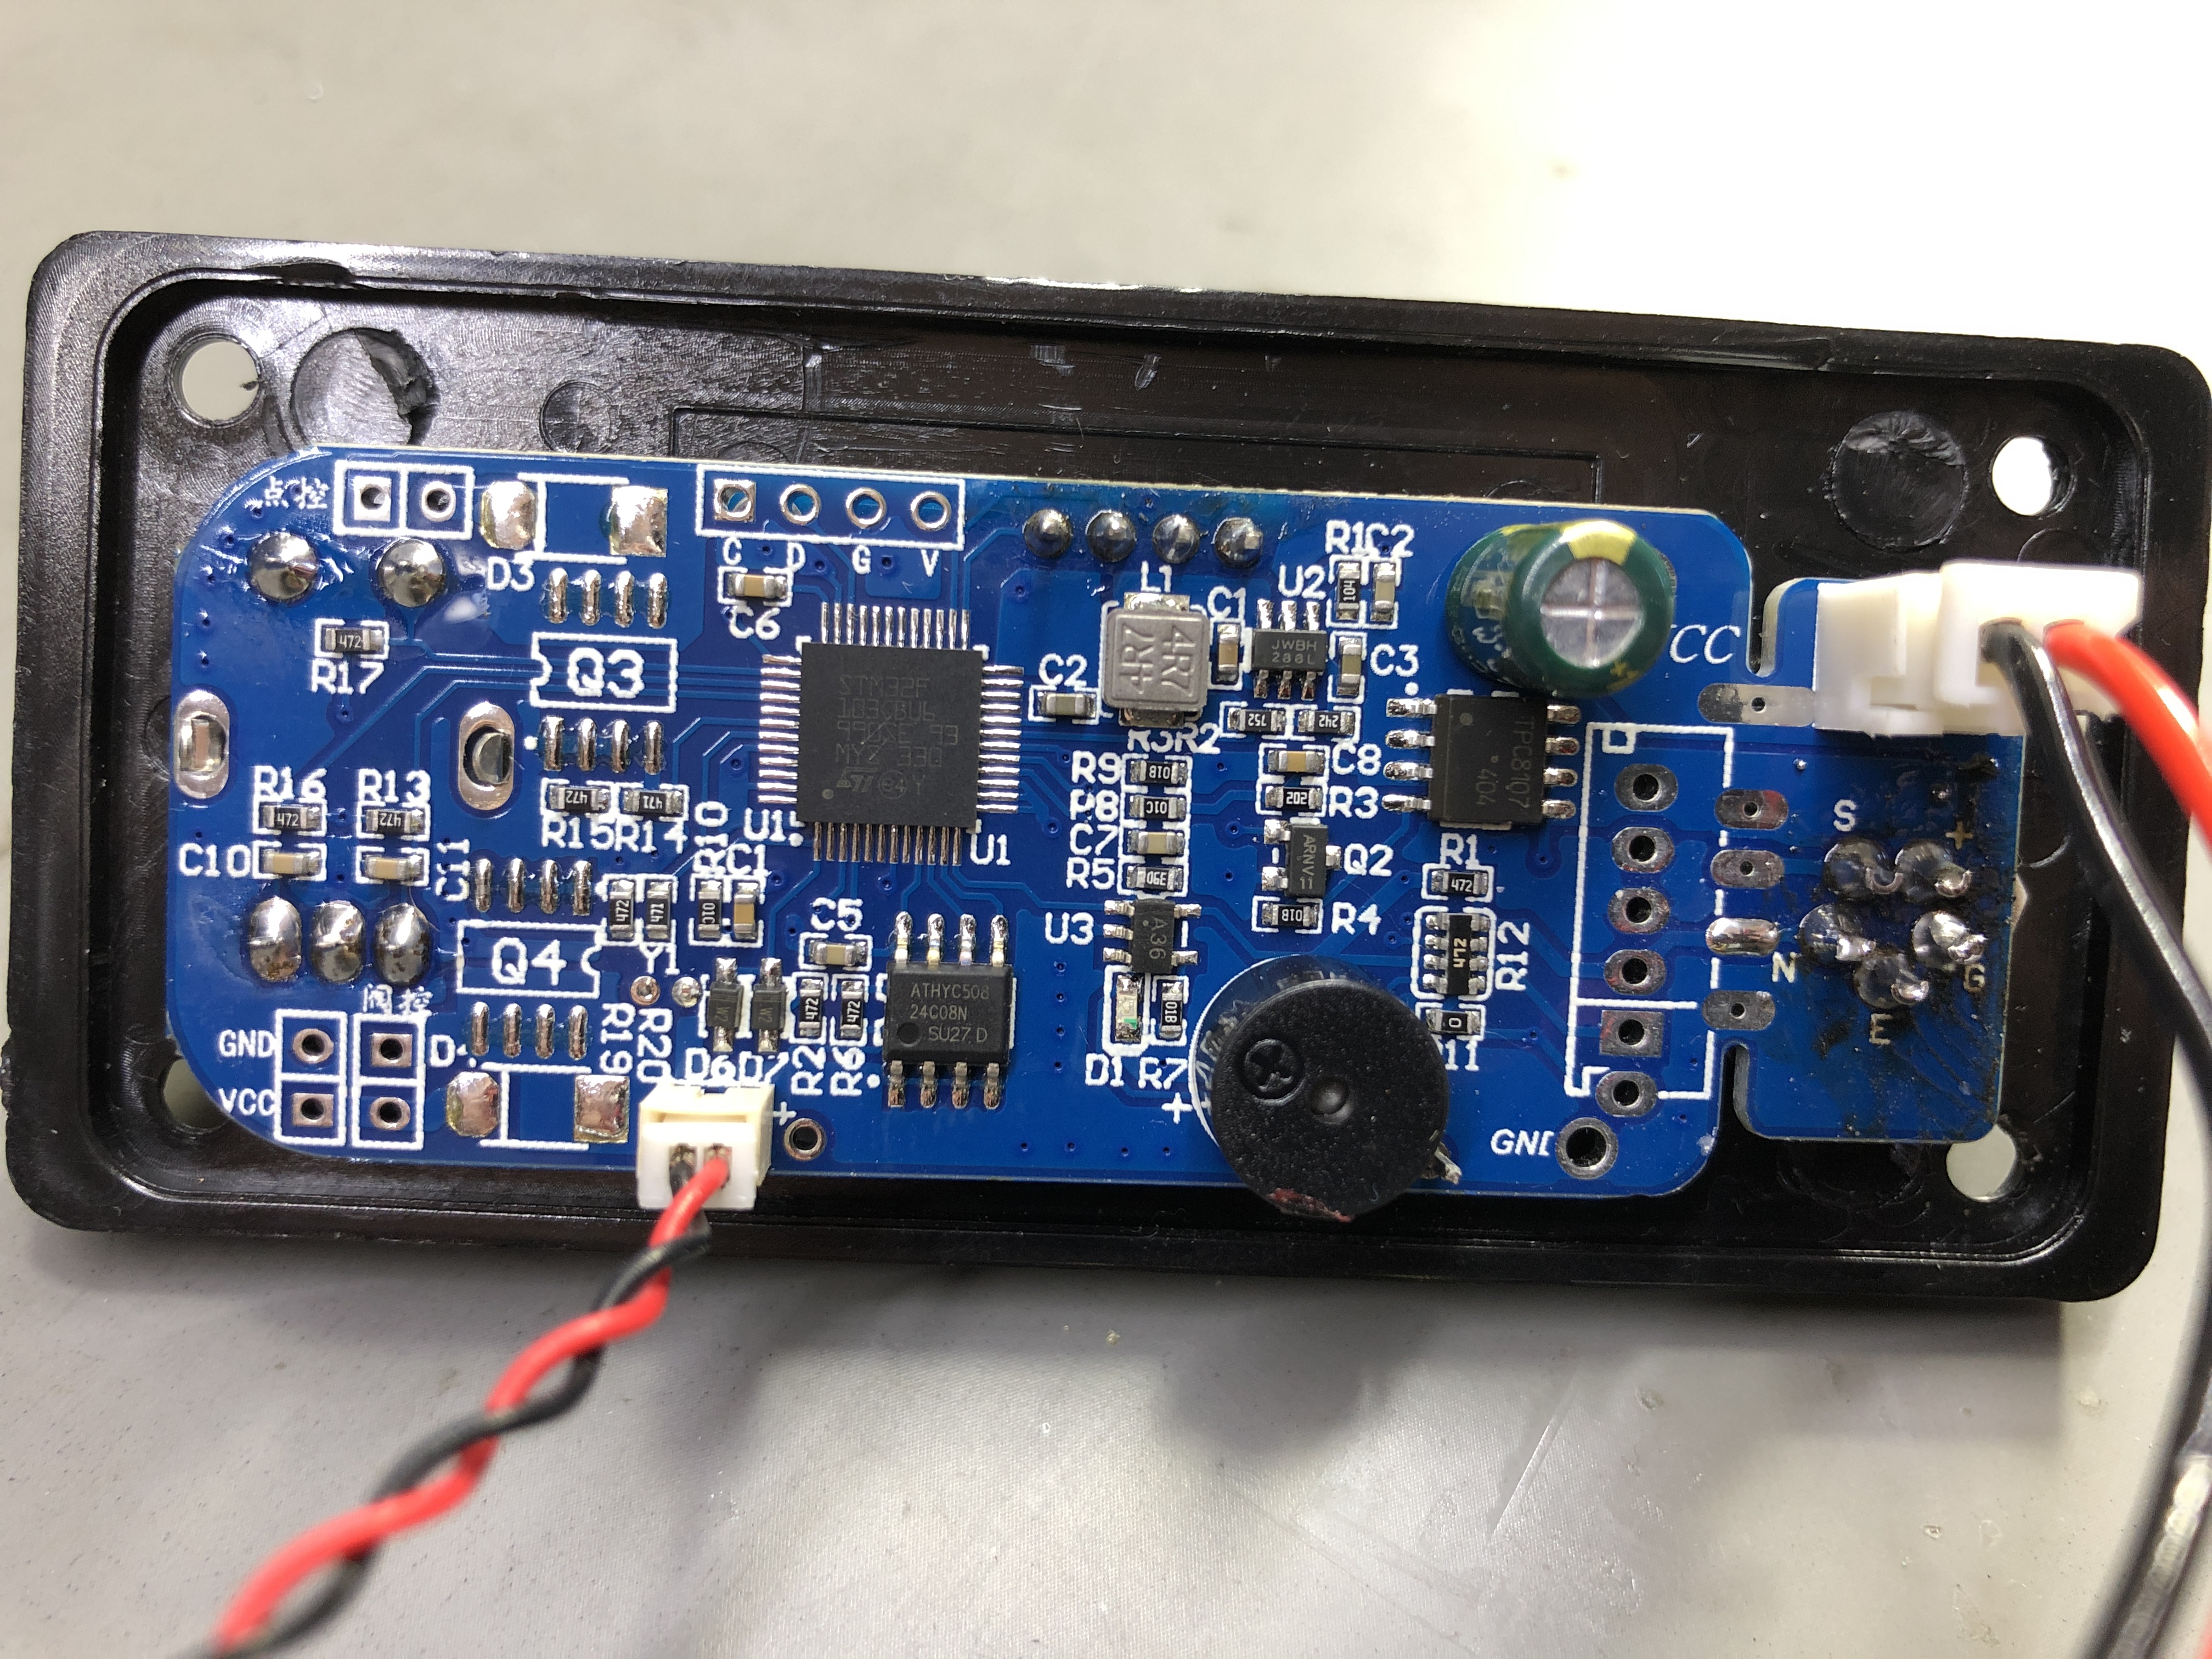
Here is a set of pictures I captured during the teardown:
Welcome to a new Voltlog, today it’s a multimeter review because we haven’t done one in a while and here I have the Smart Digital Multimeter which sounds like a generic name, no obvious branding on the box but granted it is featuring the multimeter on the box, it’s a color image which is not often seen on these cheap meters. On the back, the meter is shown in full black holster and we get a model number sticker, AN-V01 so this probably indicates the Aneng brand.
We’ve looked at Aneng multimeters in the past in Voltlog #114 and others and I’m gonna say this again, Aneng does not make multimeters, Aneng is just a company that rebrands existing multimeters made by other companies.
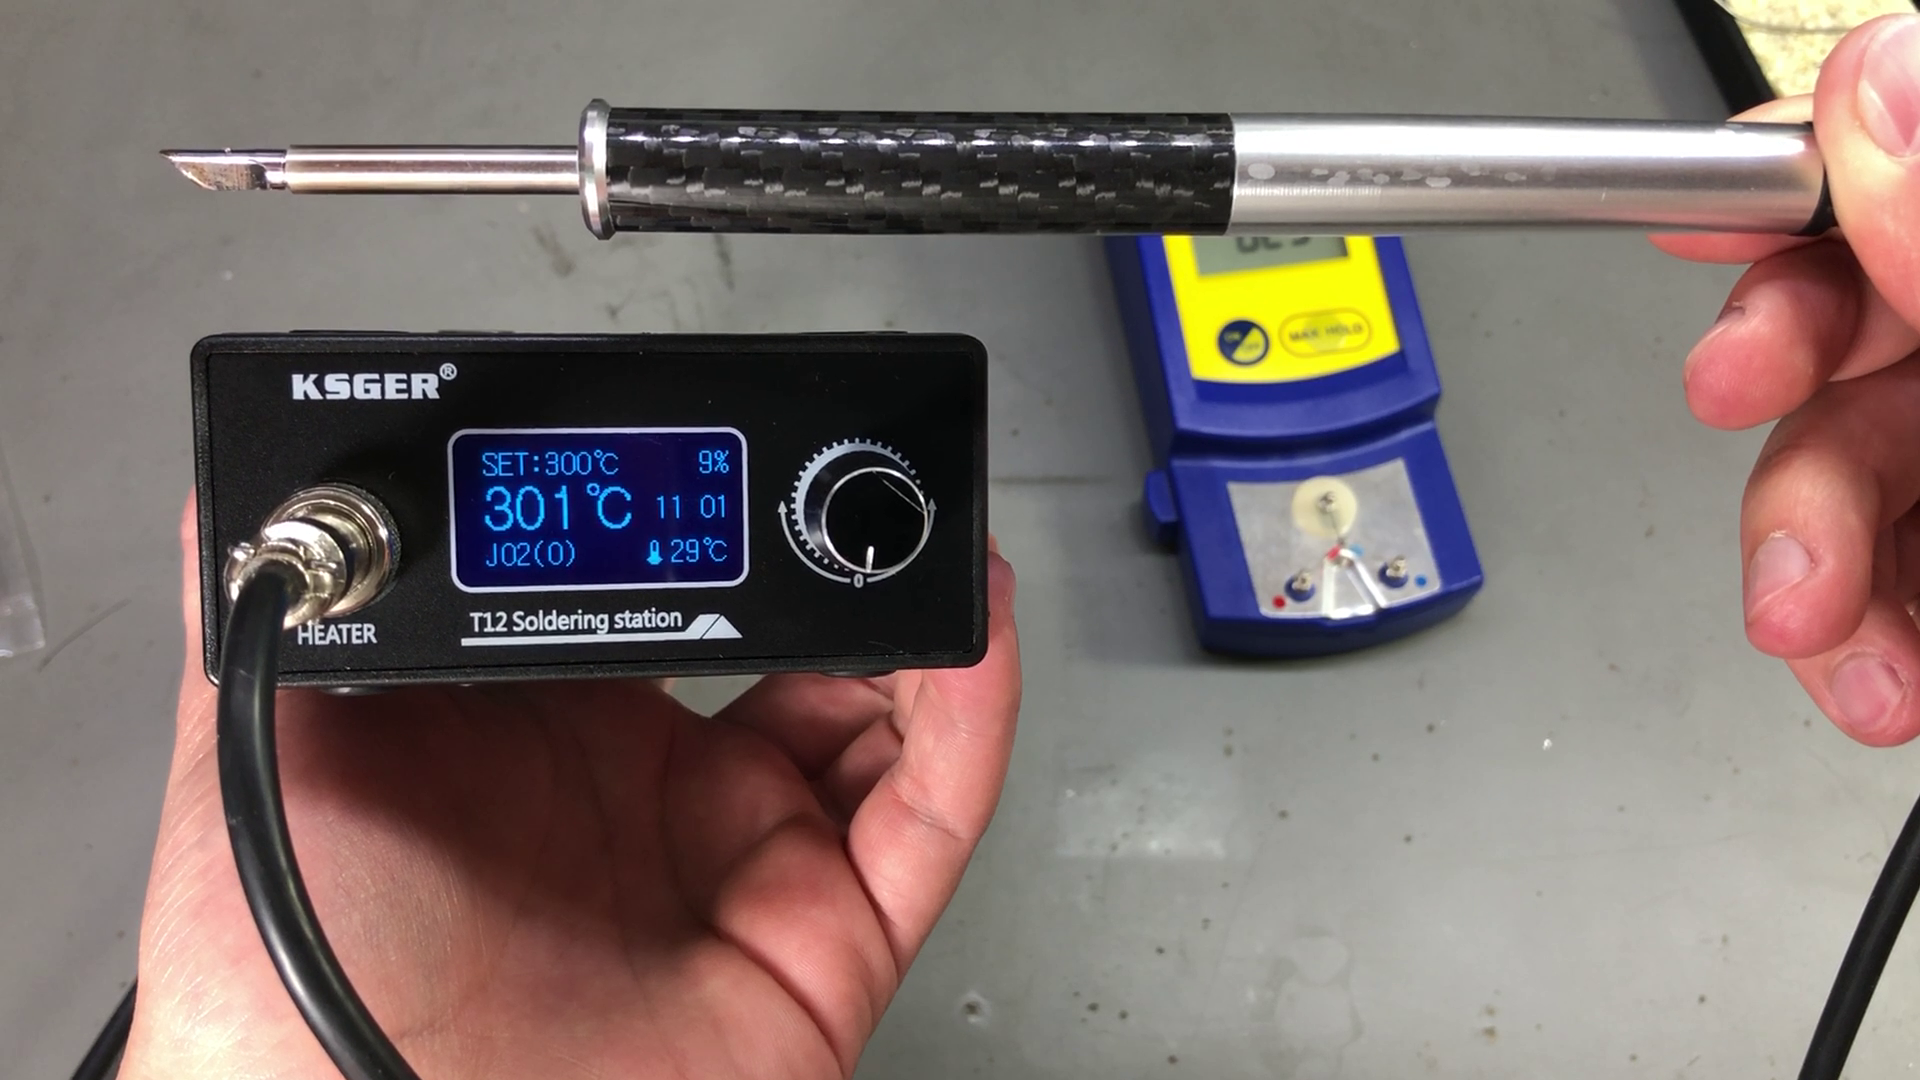
Welcome to a new Voltlog, yet another soldering iron comparison video and today it’s between the TS80 and the KSGER T12 station. Everyone knows the TS80, is quite a popular portable soldering iron, works with USB type C input, it needs a quick charge compatible adapter to reach full power and it’s quite a capable soldering iron. The drawback is the cost of the tips, it uses this proprietary type of tip and the cost is about $20 a piece.
On the other hand we have the KSGER soldering station which I reviewed in Voltlog #232. This station has a built in power supply and uses the well known T12 tips which are widely available on aliexpress, for example you can get KSGER T12 branded tips for about $3 a piece. I think that’s important, because I have 2-3 different tip shapes that I use regularly and maybe another 2 or 3 that I use occasionally for odd jobs. You can’t just rely on a single tip shape and purchasing the same number of tips for the TS80, is not going to be cheap.
In a previous Voltlog I reviewed this KSGER T12 soldering station, it was the first station I got my hands on from this manufacturer, it’s version 2.1S and I was pleasantly surprised by the features it has. If you haven’t seen that video I will link it on screen right now. Since then I’ve been using it as my main soldering station and I’ve been pretty happy with how it works but some of my viewers who have been using these for longer have pointed out a few things I missed in the video so this will be a quick update video to show the things I’ve missed previously.
Out of the three T12 stations that I have, this is now my favorite and will be the one I use daily. I’m not sure if the performance is higher or similar to the other I have, I’ll probably do a separate video to compare them but it’s just the user interface, the menu options, the nice handle that make me wanna use this instead of the others. Yes it has a few disadvantages regarding this handle, it does get warm and it doesn’t really fit that well with a regular stand but I can go past those disadvantages for how nice this station is. If you’re looking for a T12 station this is definitely the one to get.
I also did a second video where I showed the problems I found with this soldering station and if they can be fixed by the user or not.
Welcome to a new voltlog, today I’m excited because we’re going to take a look at an awesome piece of instrumentation. I’ve received a pre-production demo unit of the Joulescope DC Energy Analyzer.
The joulescope is a low cost precision dc energy analyser which is currently on kickstarter so check the links in the description of the video for the kickstarter campaign because it has a massive discount from the retail price. The joulescope has circuitry for measuring voltage and current, from which it can calculate power and then it can integrate power over time to calculate energy. The current measurement range is from 10A al the way down to 1nA, that’s a huge dynamic range which makes it very useful if you plan to measure the energy consumption of a device that has mixed behavior for example an esp32 that will wake up, do some activity and then go back to deep sleep.
The joulescope works with a software companion that has a multimeter view and an oscilloscope view which I find very useful because it will allow you to time correlate measurements of voltage and current. That can be extremely useful when determining the energy usage of your device.