Voltlog #239 – Upgrading The CR10 3D Printer With New Print Surface And Bed Insulation

Welcome to a new voltlog, it’s time for another upgrade on my Creality CR10 3D printer, and this time it’s about the print surface. By default this printer comes with a glass print surface which sits on top of the aluminium bed and that has worked fine for most prints and settings I’ve tried but occasionally I would get some adhesion problems and with glass you need to wait until the part has cooled down in order to remove it. Not such a big deal but there is this newer magnetic print surface, which has two parts, you get the bottom part with adhesive that you stick to the aluminium build plate of the printer and you get the top part which sticks magnetically to the other part.

This way, with the top surface I should get better adhesion and when the print is finished I can just remove the print surface from the printer to have it cool down faster or maybe for easier removal because I could just bend the surface to cause the part to unstick.

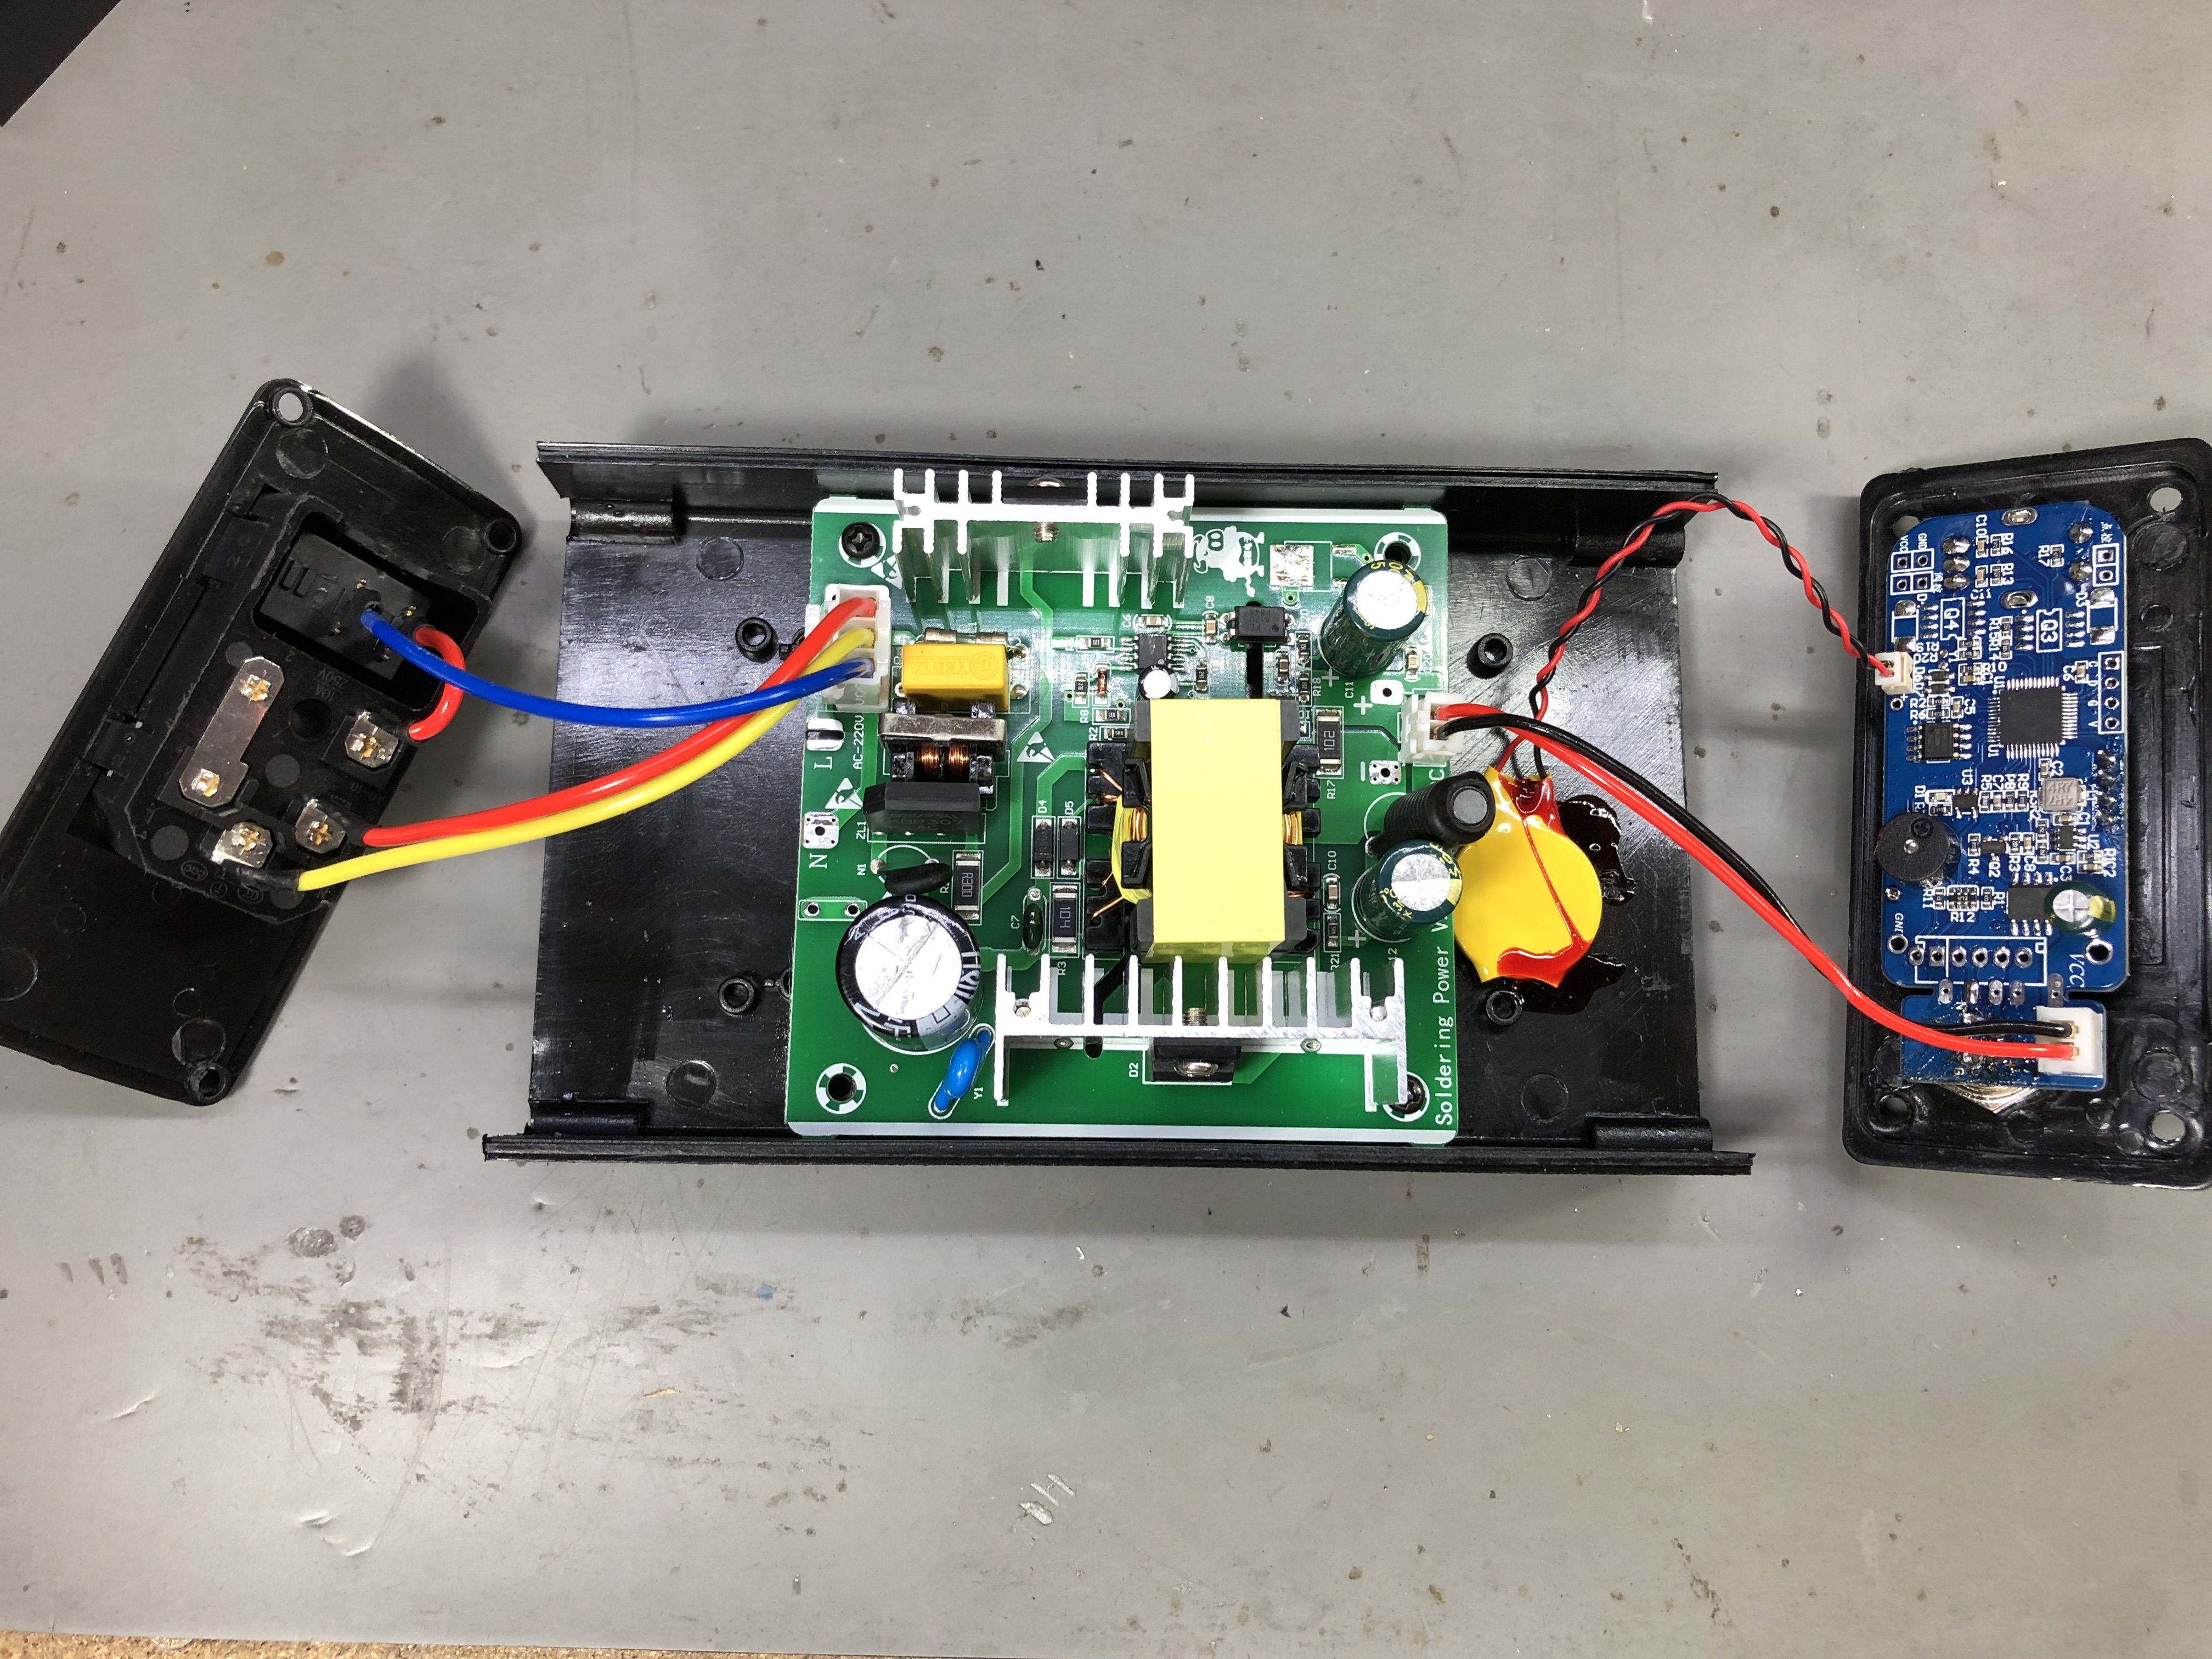
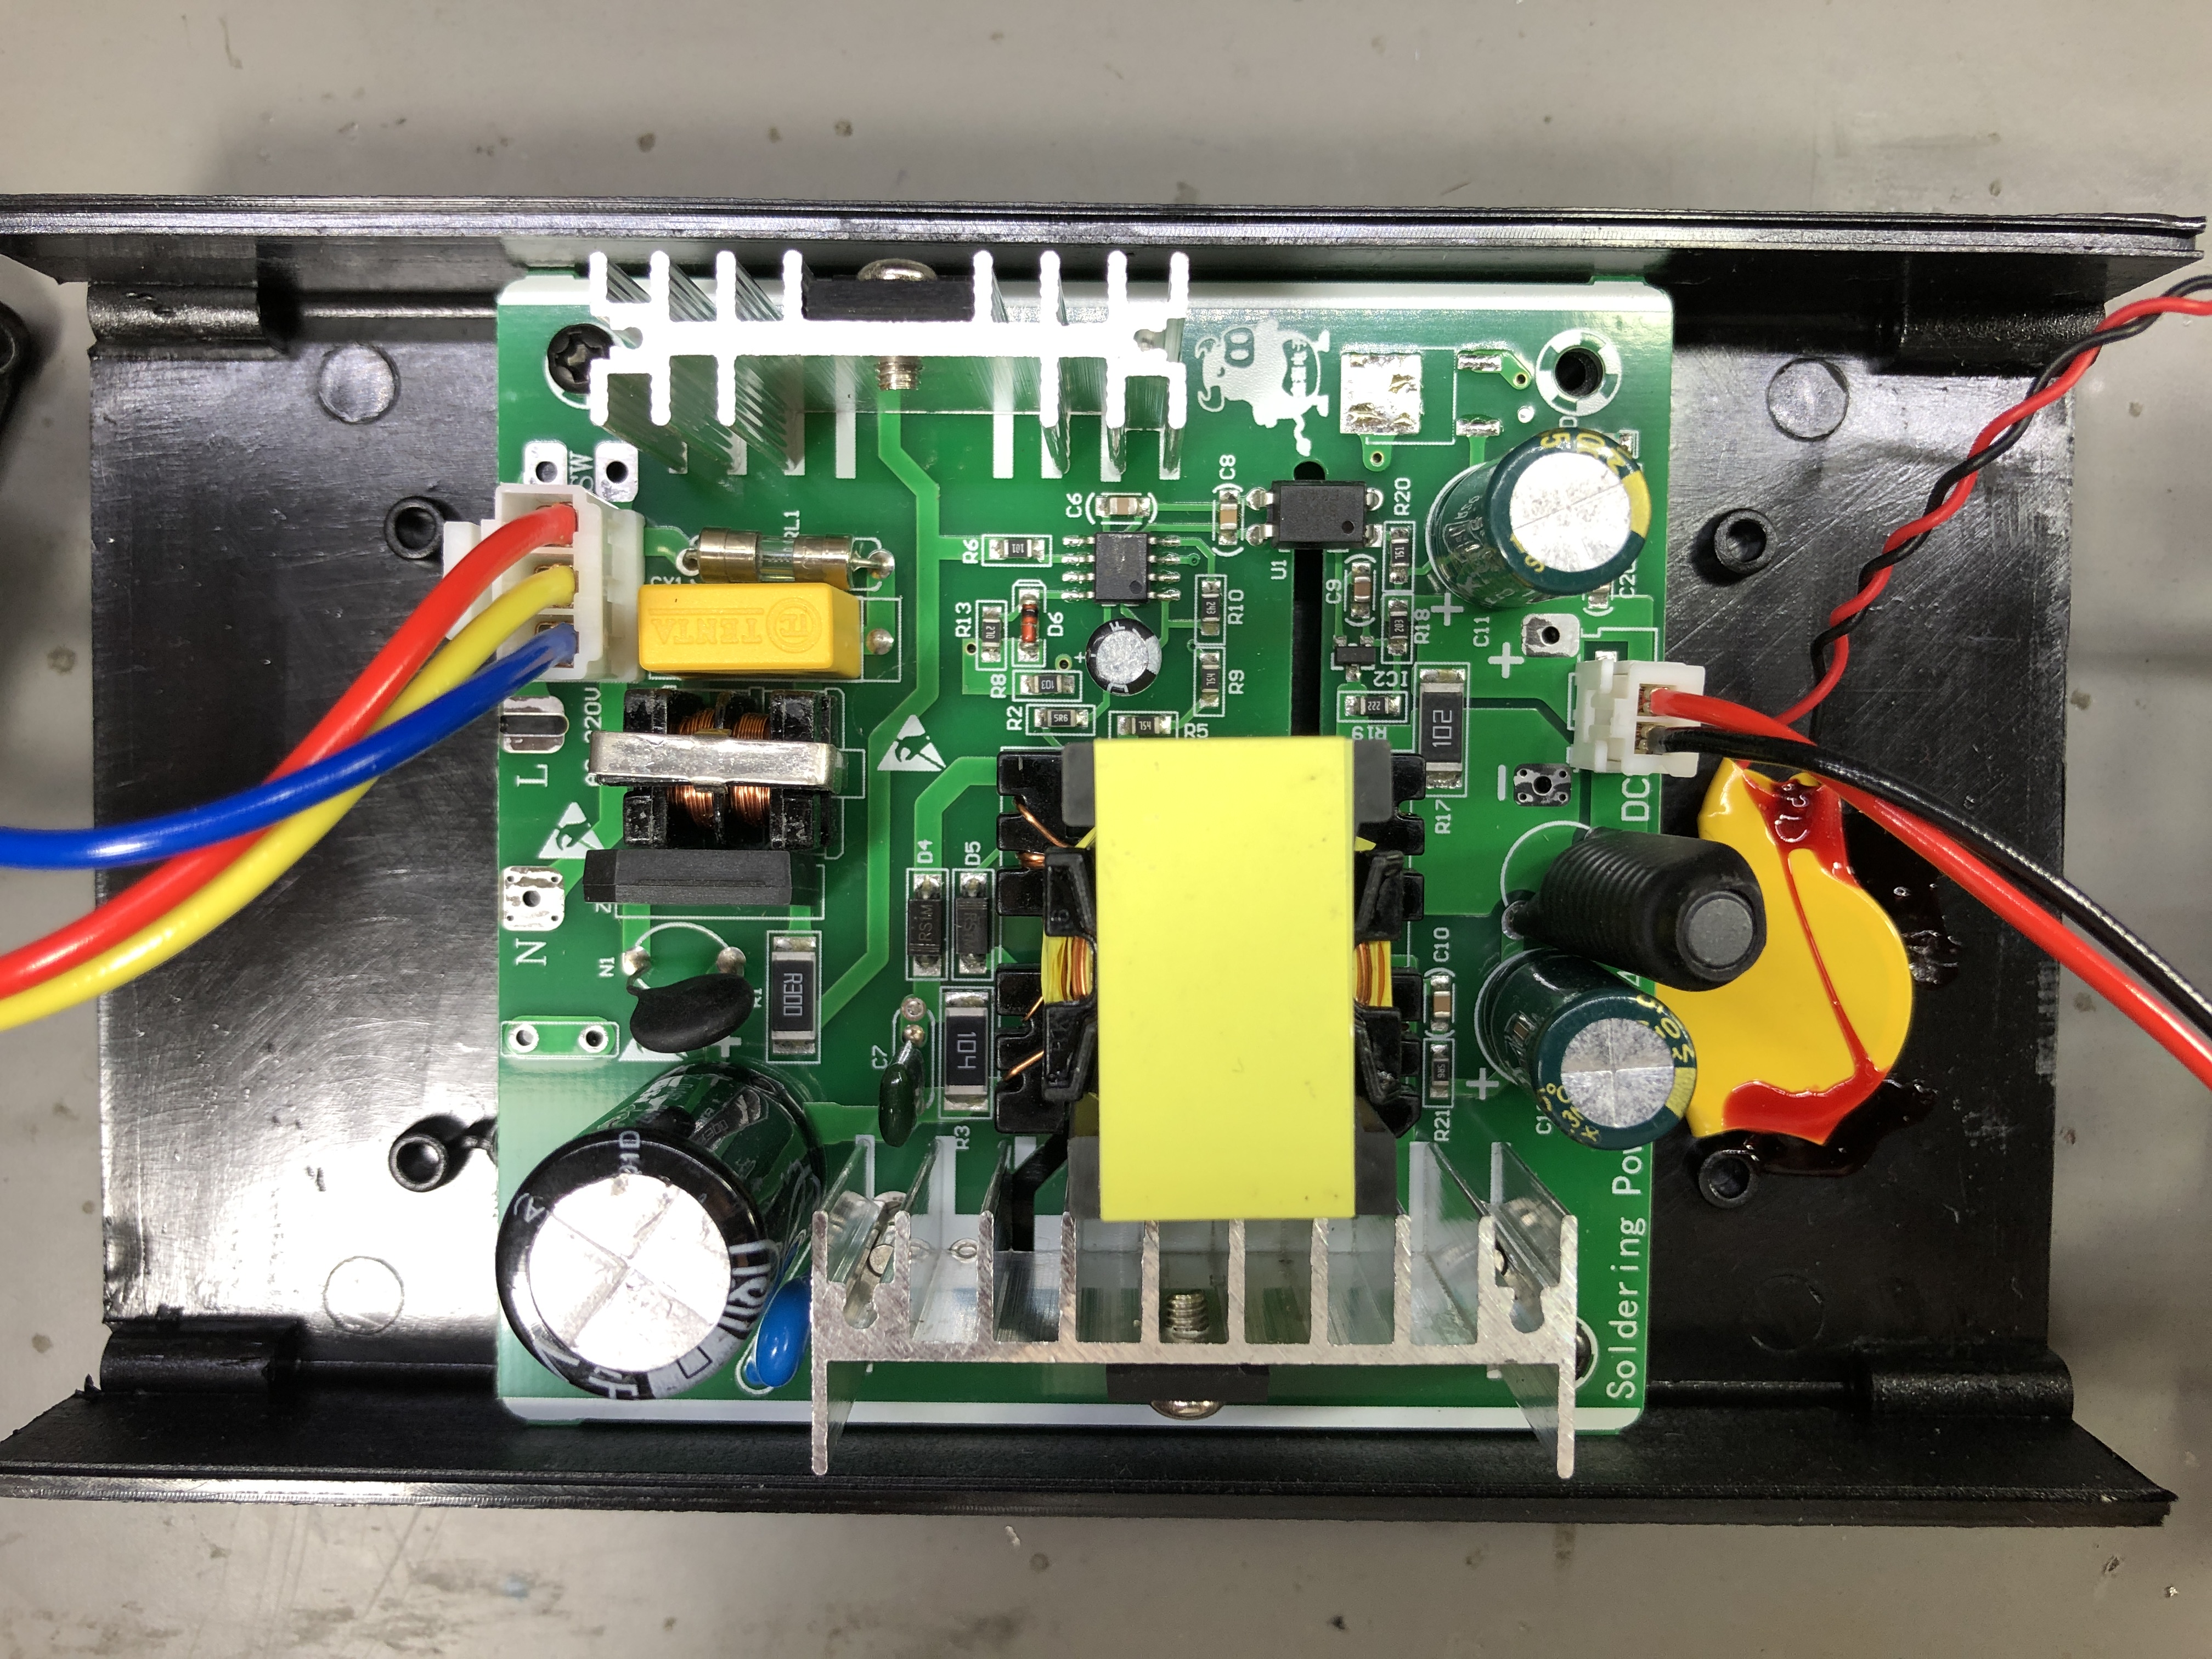
I’m also going to upgrade the bottom heater of the bed by installing one of these insulation sheets, this should help it reach working temperature faster and maybe it will use less power to keep it at working temperature.

Voltlog #238 – Finally Printing Shrink Tube Labels With A Brother Printer

As shown in the previous video I had to trick the printer to accept this type of cartridge by masking some of the micro switches it uses to detect the type of cartridge but that solved one problem and created another one. The text was now mirrored because that works out for regular label tape which gets printed on the inside of a transparent film. However for heatshrink where the label gets printed directly on the tube, it will end up reversed.

I’ve only tried one combination with the 3 micro-switches but some people suggested in the comments that I should try other switch combination and boy were they right because I did find another switch combination which causes the printer to accept the cartridge and mirror the text as well. So this is the right combination to use with my type of printer and this type of cartridge. The two bottom holes need to be opened, and only the single top hole needs to be covered. You can use a small piece of kapton tape like I did here.

Voltlog #237 – Can You Print Shrink Tube Labels With A Cheap Brother Printer?

Welcome to a new Voltlog, today we’ll have just a short video talking about label printers, I’m gonna show you this heat shrink type of label that you can get and it’s pretty useful to label wiring and how the manufacturers of these prevent you from using certain types of label cassettes in lower end printers.

In my case I am using a Brother PT-H107, this is a bottom of the range label printer, it was practically the cheapest I could find around here.

Voltlog #236 – InTheMail

Welcome to a new InTheMail, the series that will touch both your passion for electronics and your bank account at the same time.

Voltlog #235 – I Made A PCB Business Card

Welcome to a new Voltlog, today we’re going to be talking about the possibility of designing a pcb business card. So if you’re an electronics engineer who offers consulting services or even just an enthusiast and you would like to create a nice original and suggestive business card, stick around.

The idea of making a pcb business card is not new and there are many previous examples of pcb business cards, some people build them passive, others like to integrate a small battery some LEDs, maybe a microcontroller with NFC or a USB interface and generate some interaction with the user.

Maybe 7-8 years ago I first wanted to try this idea but back then, it was quite expensive to get PCBs professionally manufactured in China, first they were charging a setup fee which was usually $150 and then you would have the cost of the PCB which for 10 pcs 10 by 10cm was usually about 2-3$ per piece and then you would have the shipping cost which starting from something like $50 for the first kg via DHL. And all of this was for the standard 1.6mm FR4 with green solder mask and tin finish. If you wanted matte black soldermask and gold finish, there was an additional cost.

Voltlog #234 – The Problems I Found With The KSGER T12 Soldering Station

In a previous Voltlog I reviewed this KSGER T12 soldering station, it was the first station I got my hands on from this manufacturer, it’s version 2.1S and I was pleasantly surprised by the features it has. If you haven’t seen that video I will link it on screen right now. Since then I’ve been using it as my main soldering station and I’ve been pretty happy with how it works but some of my viewers who have been using these for longer have pointed out a few things I missed in the video so this will be a quick update video to show the things I’ve missed previously.

Voltlog #233 – InTheMail

Welcome to a new InTheMail, the series that will touch both your passion for electronics and your bank account at the same time. We’re gonna start with this double insulated silicone wire. I’m not even sure if it’s the right name to use but both the outer black insulation and the inner insulation are silicone they can take the soldering iron at 300 degrees Celsius without any issues, no melting. The one I got is 26AWG and it has 7 strands inside each wire. It seems to be tin plated copper because I did the flame test and the individual wires just glowed red. I also measured the resistance and it is 0.132 ohm/meter. I would recommend getting the 24AWG for a bit more strands inside each wire.


Voltlog #232 – My New Prefered T12 Soldering Station KSGER V2.1S

Out of the three T12 stations that I have, this is now my favorite and will be the one I use daily. I’m not sure if the performance is higher or similar to the other I have, I’ll probably do a separate video to compare them but it’s just the user interface, the menu options, the nice handle that make me wanna use this instead of the others. Yes it has a few disadvantages regarding this handle, it does get warm and it doesn’t really fit that well with a regular stand but I can go past those disadvantages for how nice this station is. If you’re looking for a T12 station this is definitely the one to get.

I also did a second video where I showed the problems I found with this soldering station and if they can be fixed by the user or not.


Voltlog #231 – Nitro OBD2 Chip Tuning Scam

Welcome to a new Voltlog, today we’re going to be taking a look at this gadget the nitro OBD2 performance chip tuning box, notice this is specially designed for diesel cars and since it’s using the buzz word nitro, this sounds like it might just work. For sure some company has invested time & money into finding the secret sauce to put into this thing to make it work and boost performance. They claim it fits all cars built after 1996 and all you have to do is to plug this into the obd port, drive for 200km so the device can learn and adjust to your car and after that you will benefit from 35% more power and 25% more torque. It evens says here on the box that it will enable fuel saving. So this sound pretty much like the holy grail in car ECU tuning.

But ofcourse if you have any experience with electronics you can’t believe that this is going to save any fuel or boost any performance just by plugging into the OBD port. So that’s why I purchased this, so we can take a better look inside, and also because I needed an OBD2 connector + enclosure for a project of mine. I plan to do some can bus sniffing and do something with that data but I’ll talk abou that in a future video.

Voltlog #230 – Guidelines For Board Level Temperature Sensor Layout & Placement

Welcome to a new Voltlog, today I’m gonna show you some techniques that you can use when doing temperature measurements. Typically you will want to measure either the ambient temperature or the system or component temperature. Depending on one of these goals you are going to follow different design rules to achieve that. And to better illustrate the problems, I have these 3 pcbs which have exactly the same electrical circuit but with different layouts on the pcb.

The boards consist of an esp8266 and a digital temperature sensor and you might expect that since all 3 boards are placed so close together, they should all indicate the same temperature but that is not the case as we can see on this graph we are getting 3 different temperatures and only one of them is close to the actual ambient temperature measured with another thermometer, so why is that happening? Well the answer lies in the layout of the PCB and that includes component placement, copper planes and various other elements on the PCB.